
Fields to configure
Open the node and fill in the fields below to define who receives the email and what it contains.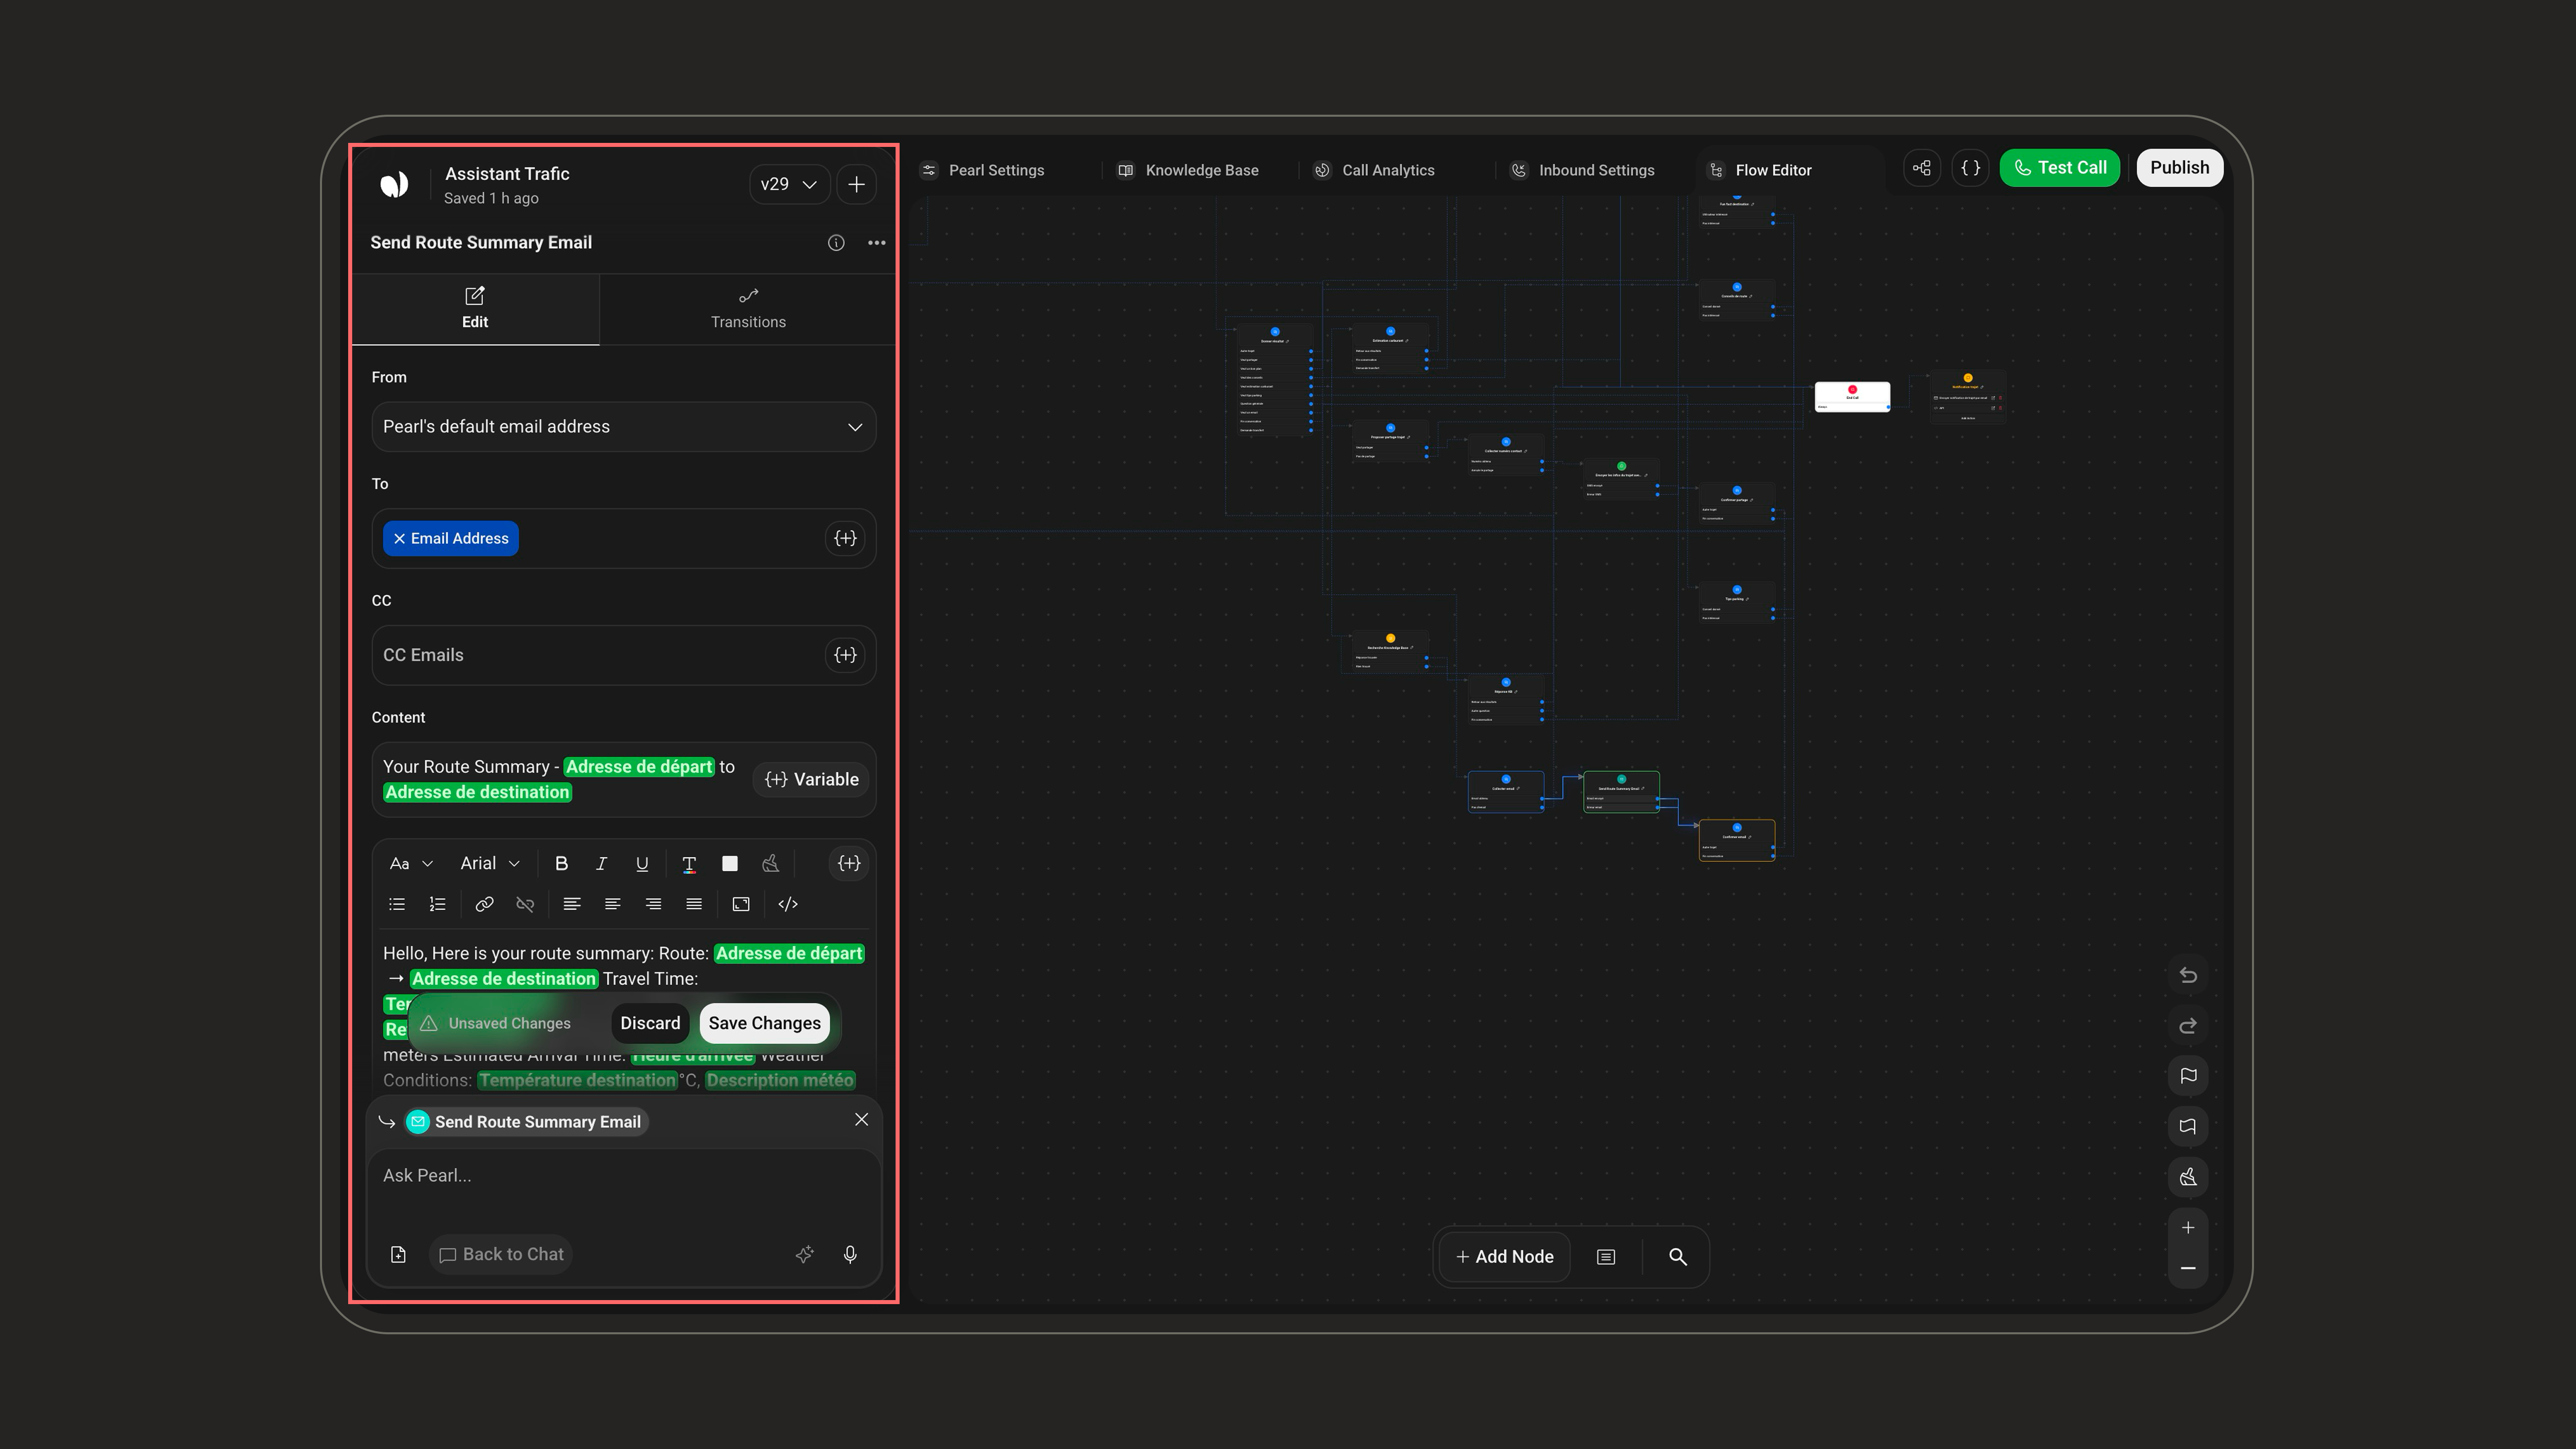
Connecting your email
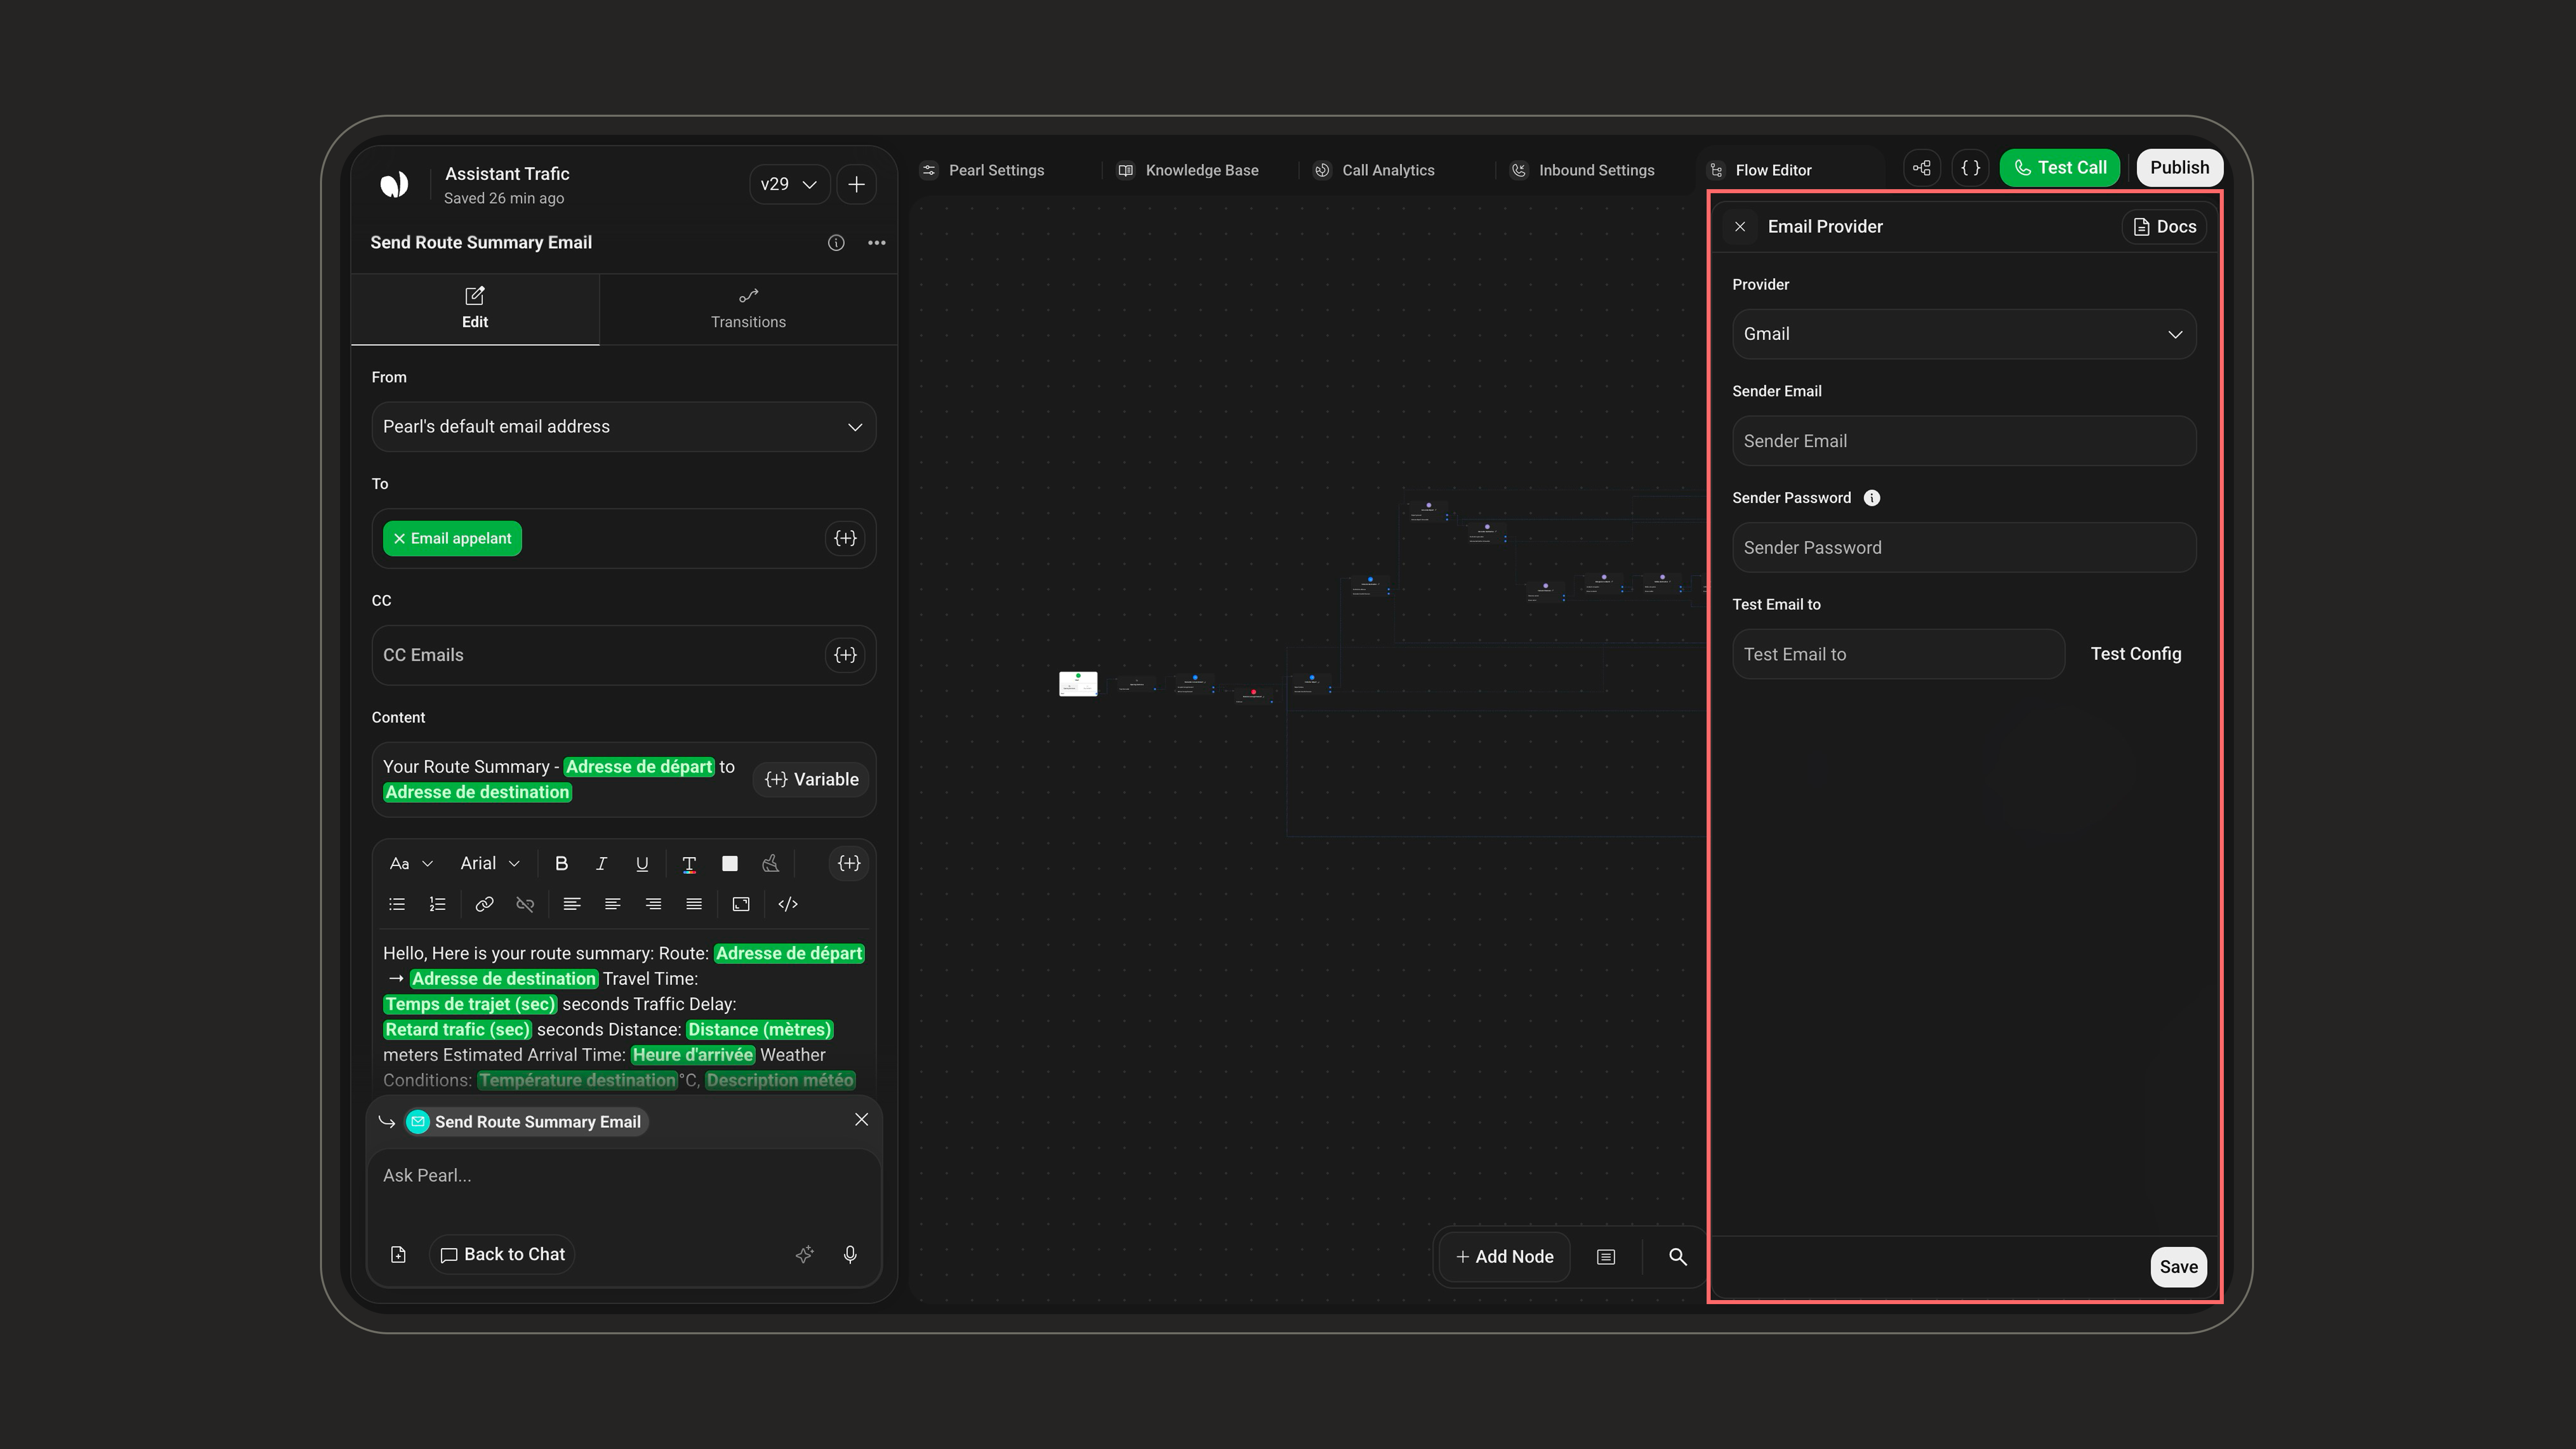
- Gmail
- Office 365
- Custom SMTP
1
Select the provider
Choose Gmail from the provider list.
2
Enter your sender email
Enter your Gmail address in Sender Email.
3
Add an app-password
Enter a Gmail app-password, not your normal password. Learn how to generate one.
4
Test and save
(Optional) Add an address under Test Email to, click Test Config, then Save.
Variables
Personalize the Subject and Content, and set dynamic To and CC recipients using variables collected during the conversation.Using variables
Learn how to create and insert variables to tailor each email to the recipient.