Use account security settings to manage how users access your workspace, how long sessions stay active, and how administrators review important account activity.
Session timeout
Automatically log users out after a period of inactivity.
Two-factor authentication
Add an extra verification step when users log in.
Audit log
Track workspace activity and security-related events.
Enterprise SSO
Connect enterprise identity providers through Single Sign-On.
Accessing Your Settings
All the settings on this page live in your Settings. To open them, click your profile card at the bottom-left corner of the sidebar, then select Settings.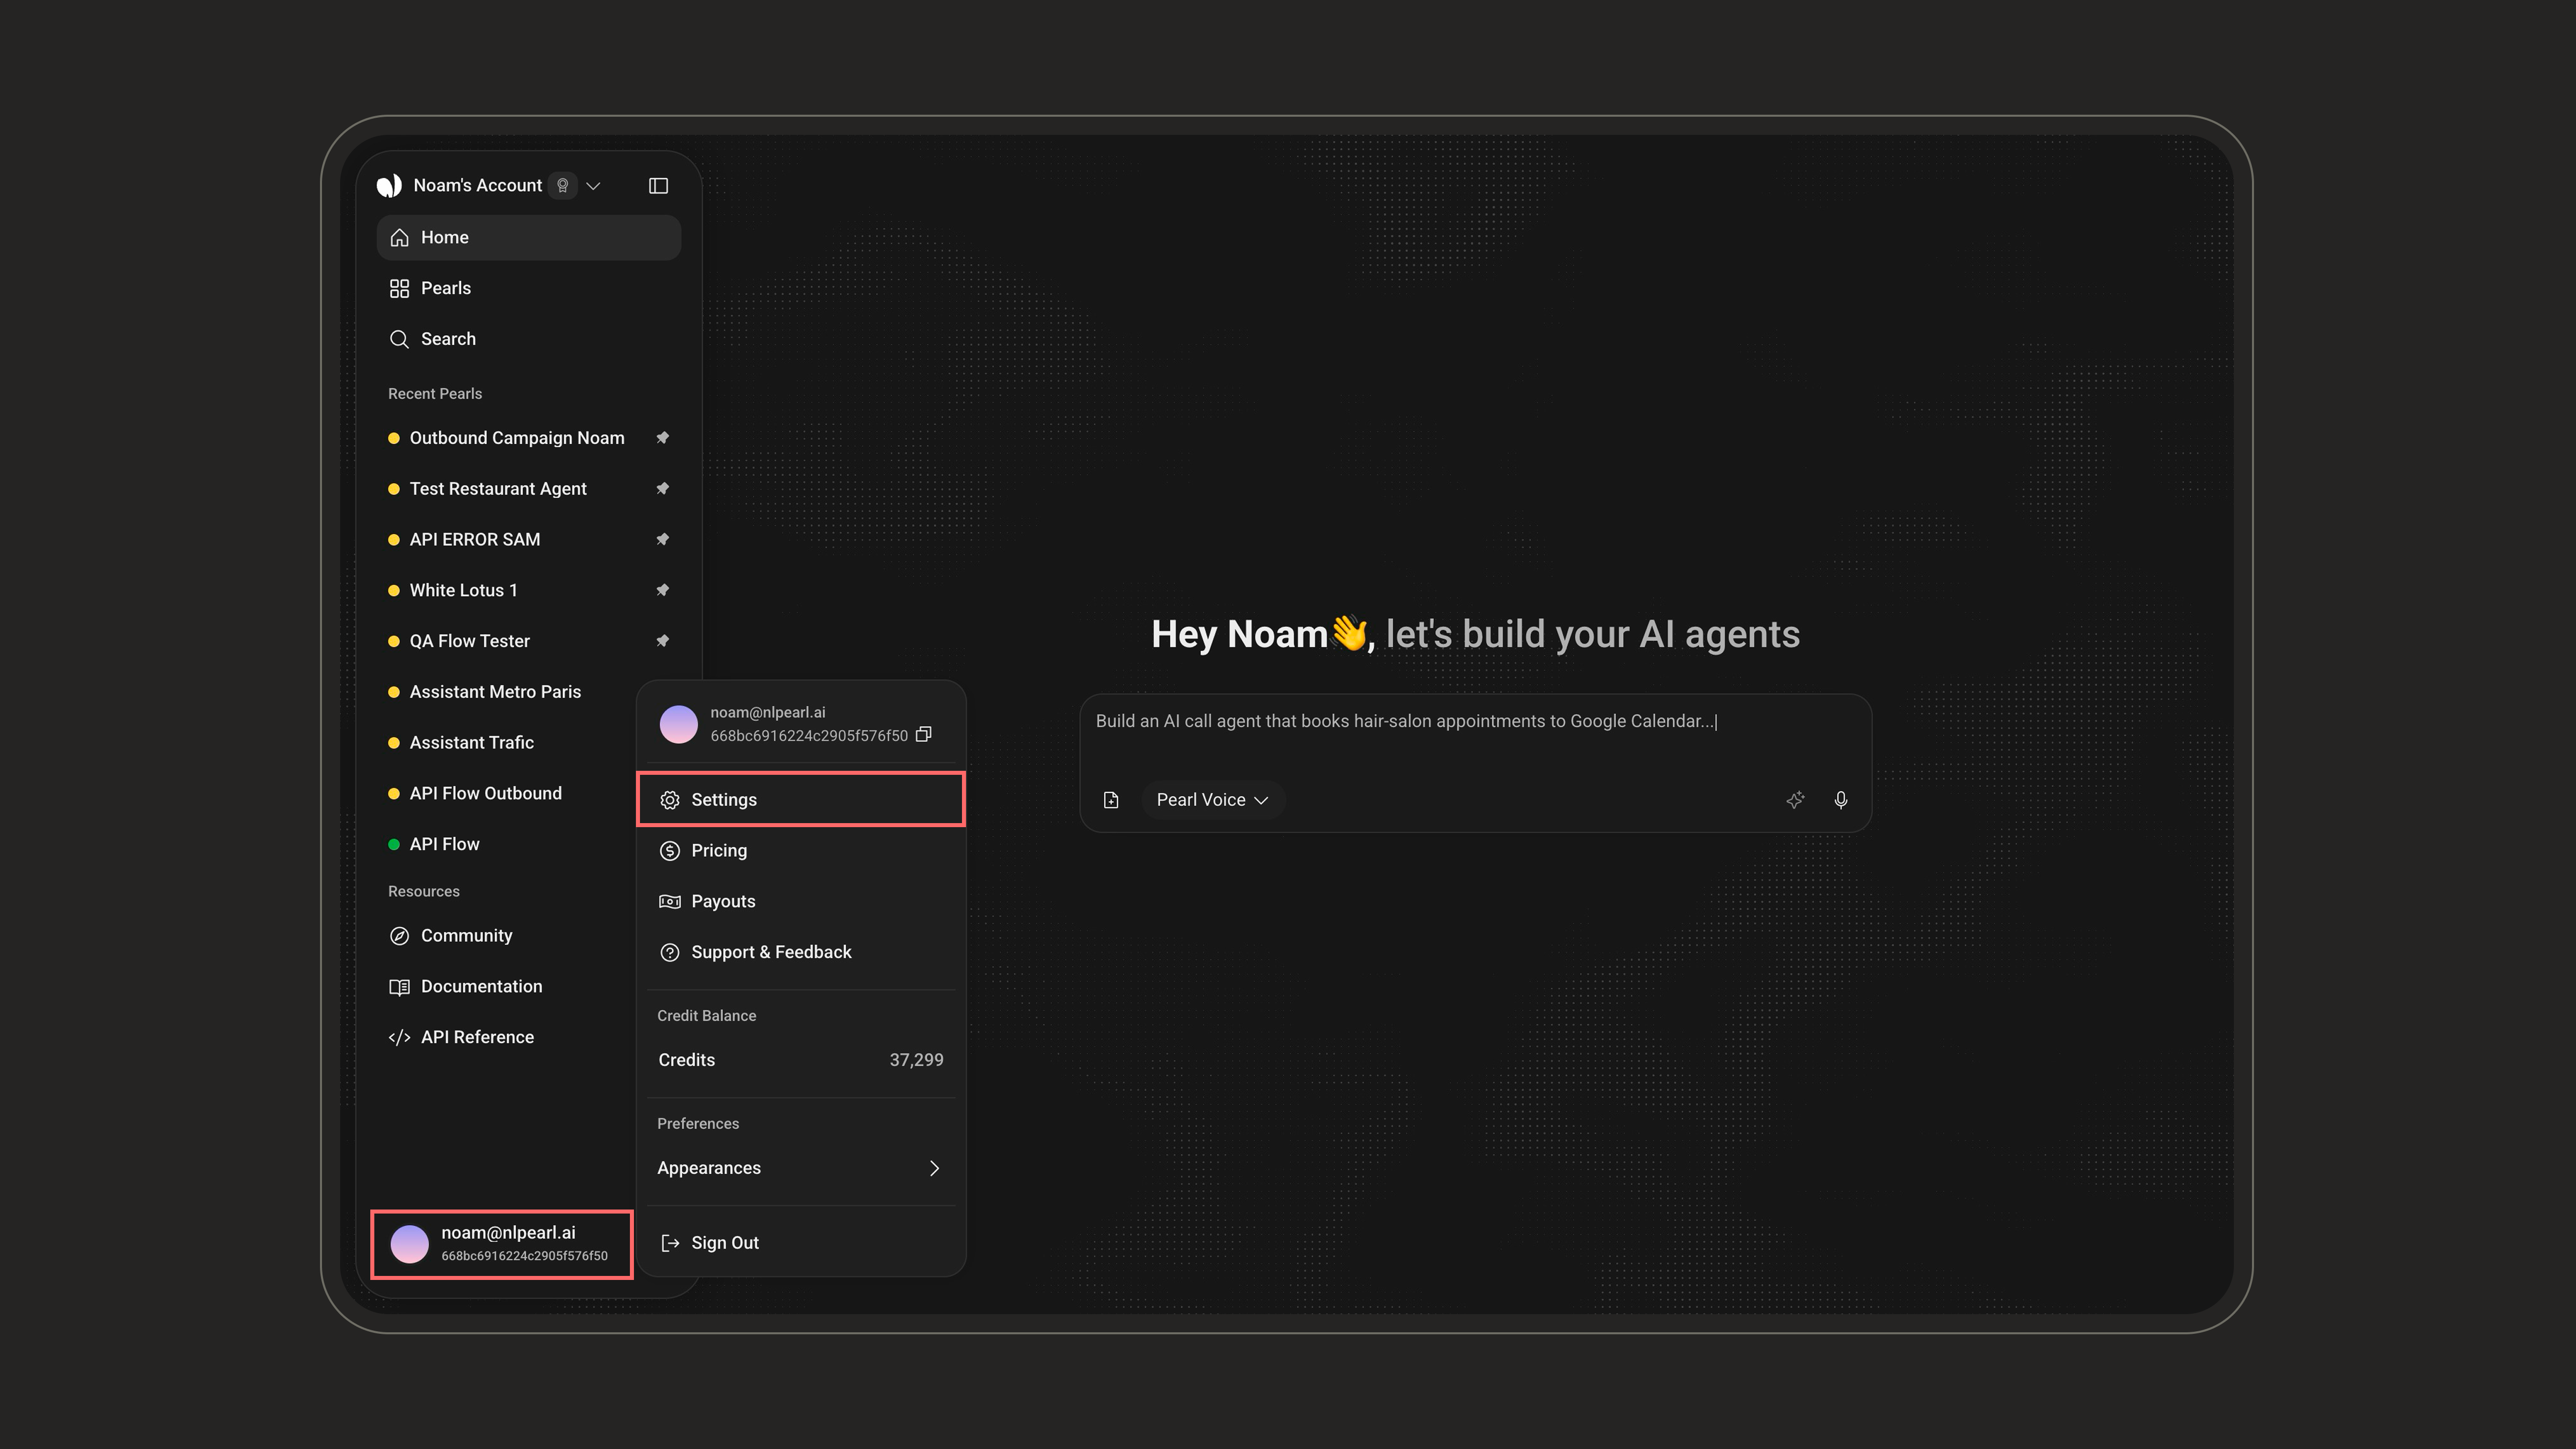
Customizing Your Session Timeout
You can configure how long a session remains active before the user is automatically logged out due to inactivity. This helps protect your account if you forget to log out, especially when using a shared or public device. The session timeout is set in minutes, with a minimum of 30 minutes and a maximum of 3 days.This is a workspace-level setting managed by the workspace owner. The value applies to all members of the workspace, not just the account that changes it.
1
Open General Settings
Go to Settings > General Settings under the Workspace section.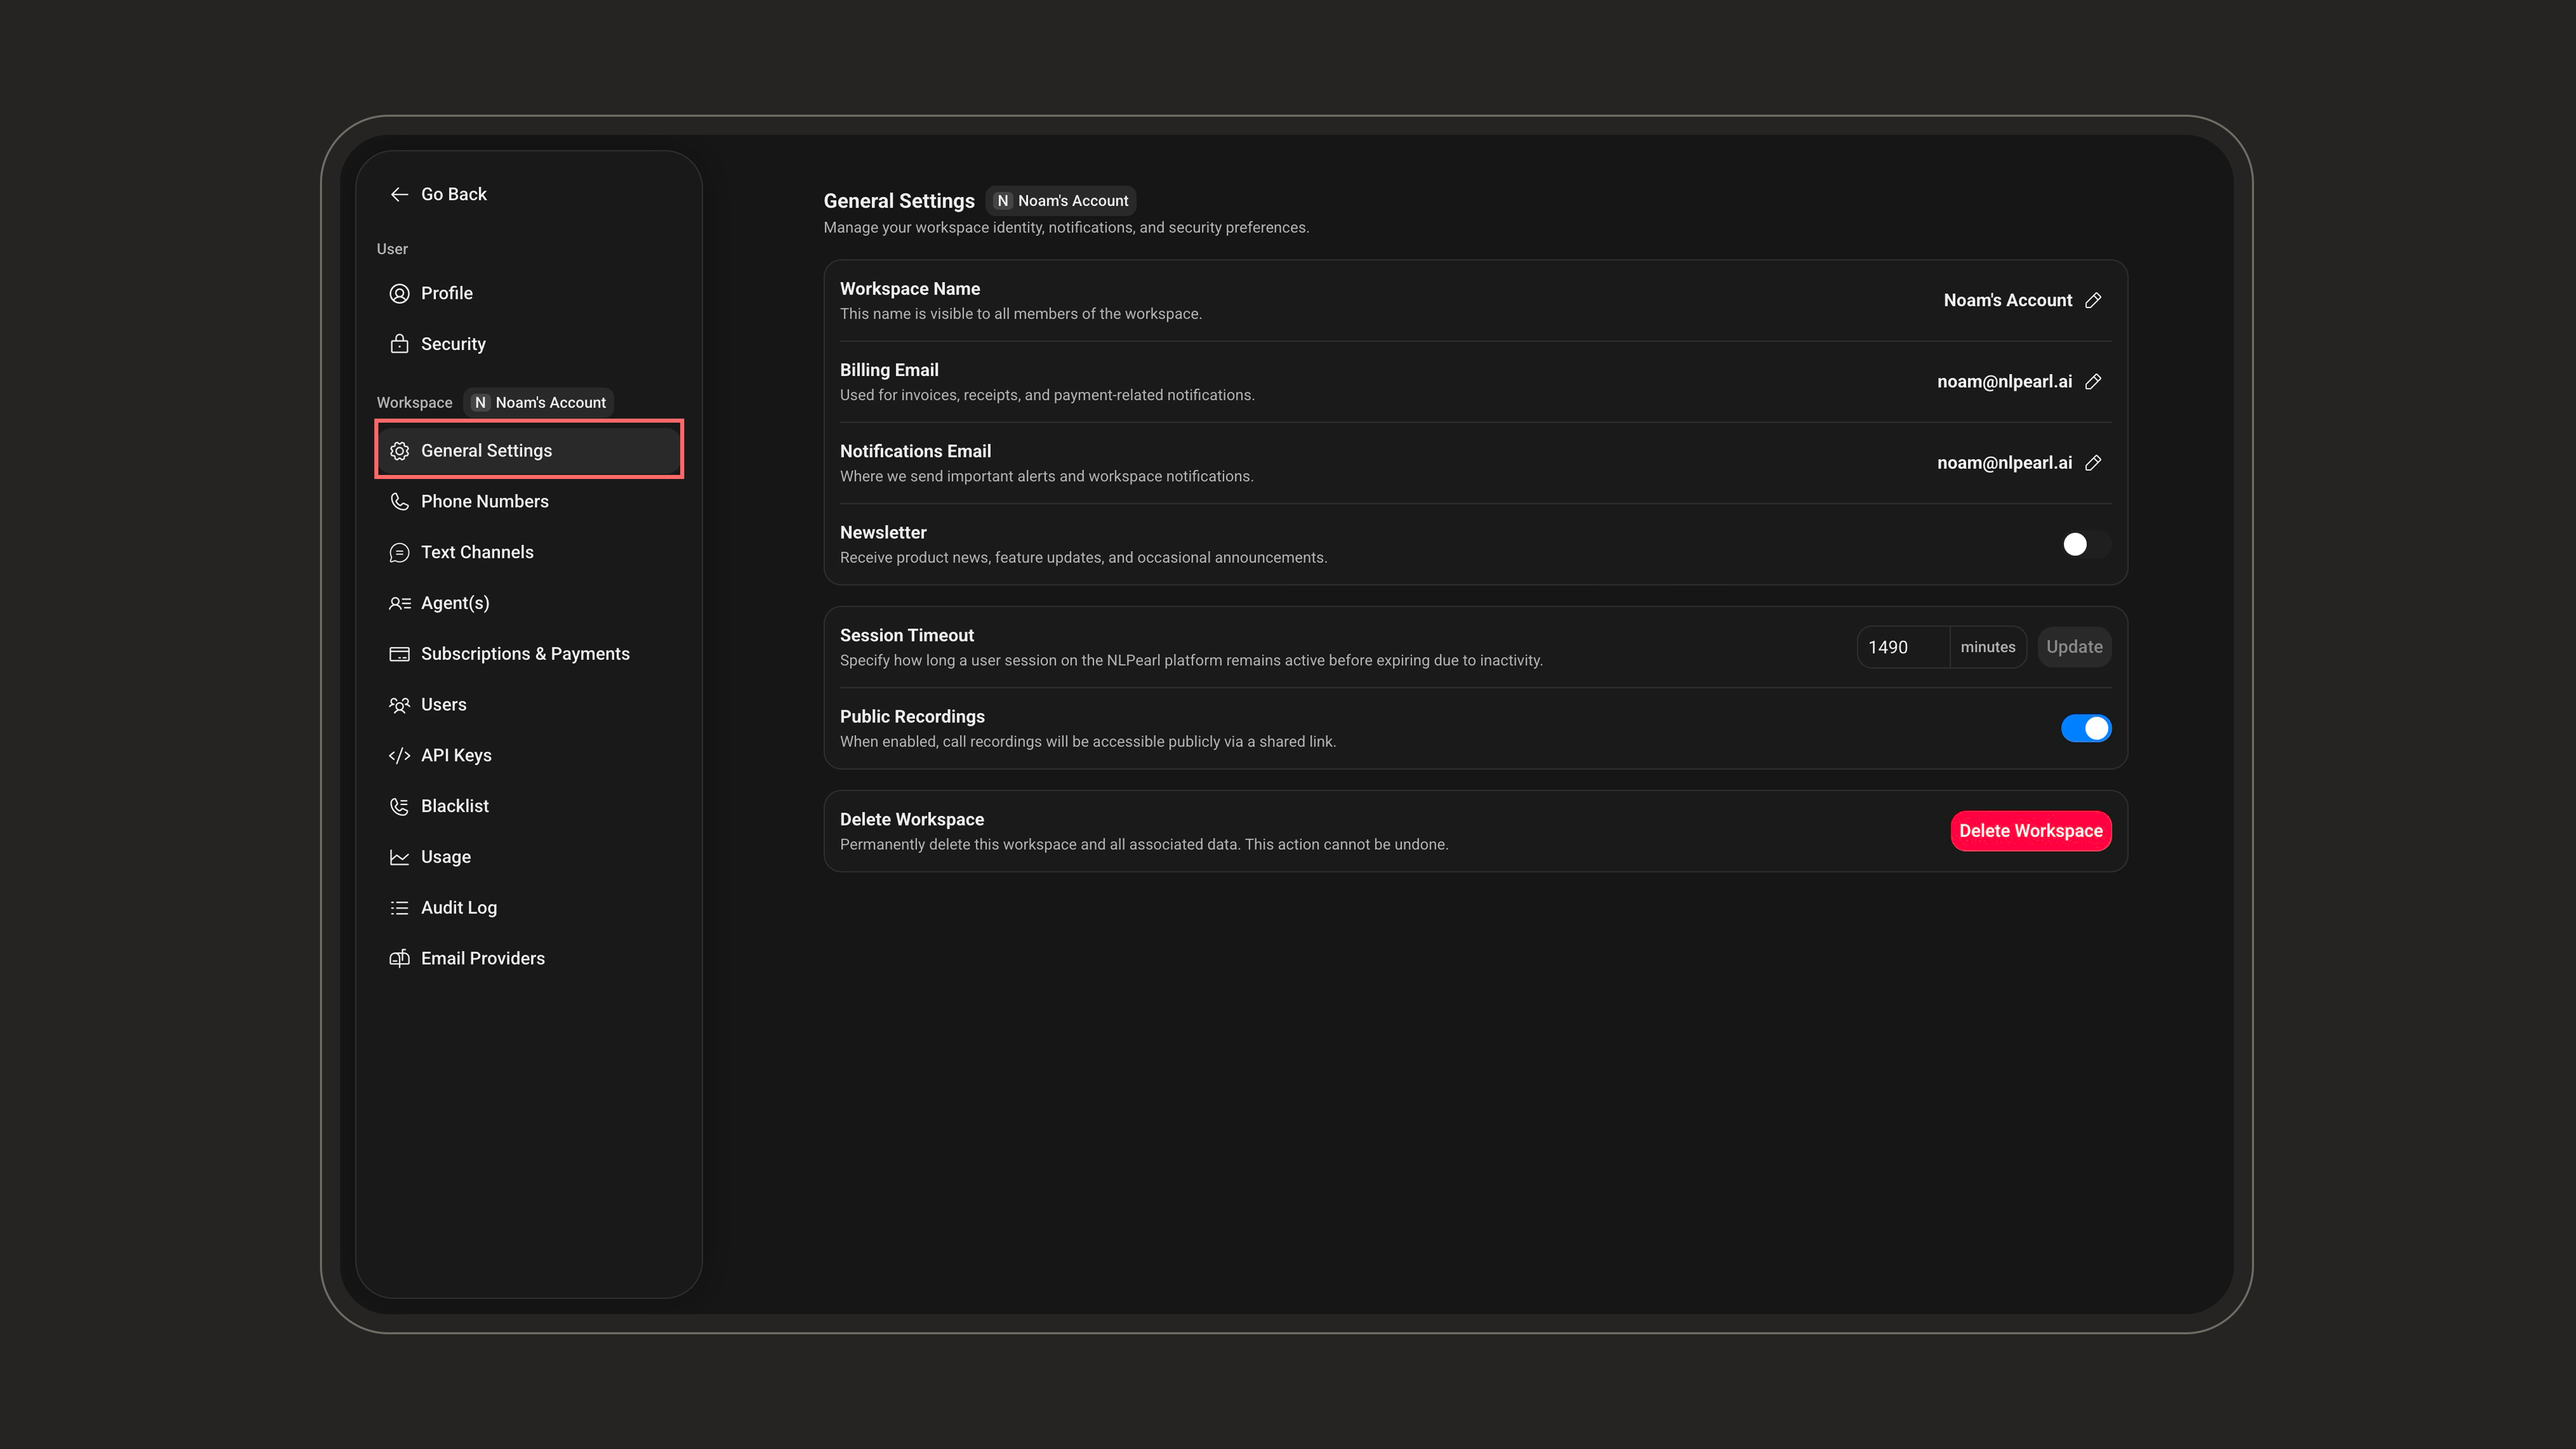
2
Set the Session Timeout
In the Session Timeout field, enter the duration in minutes and click Update.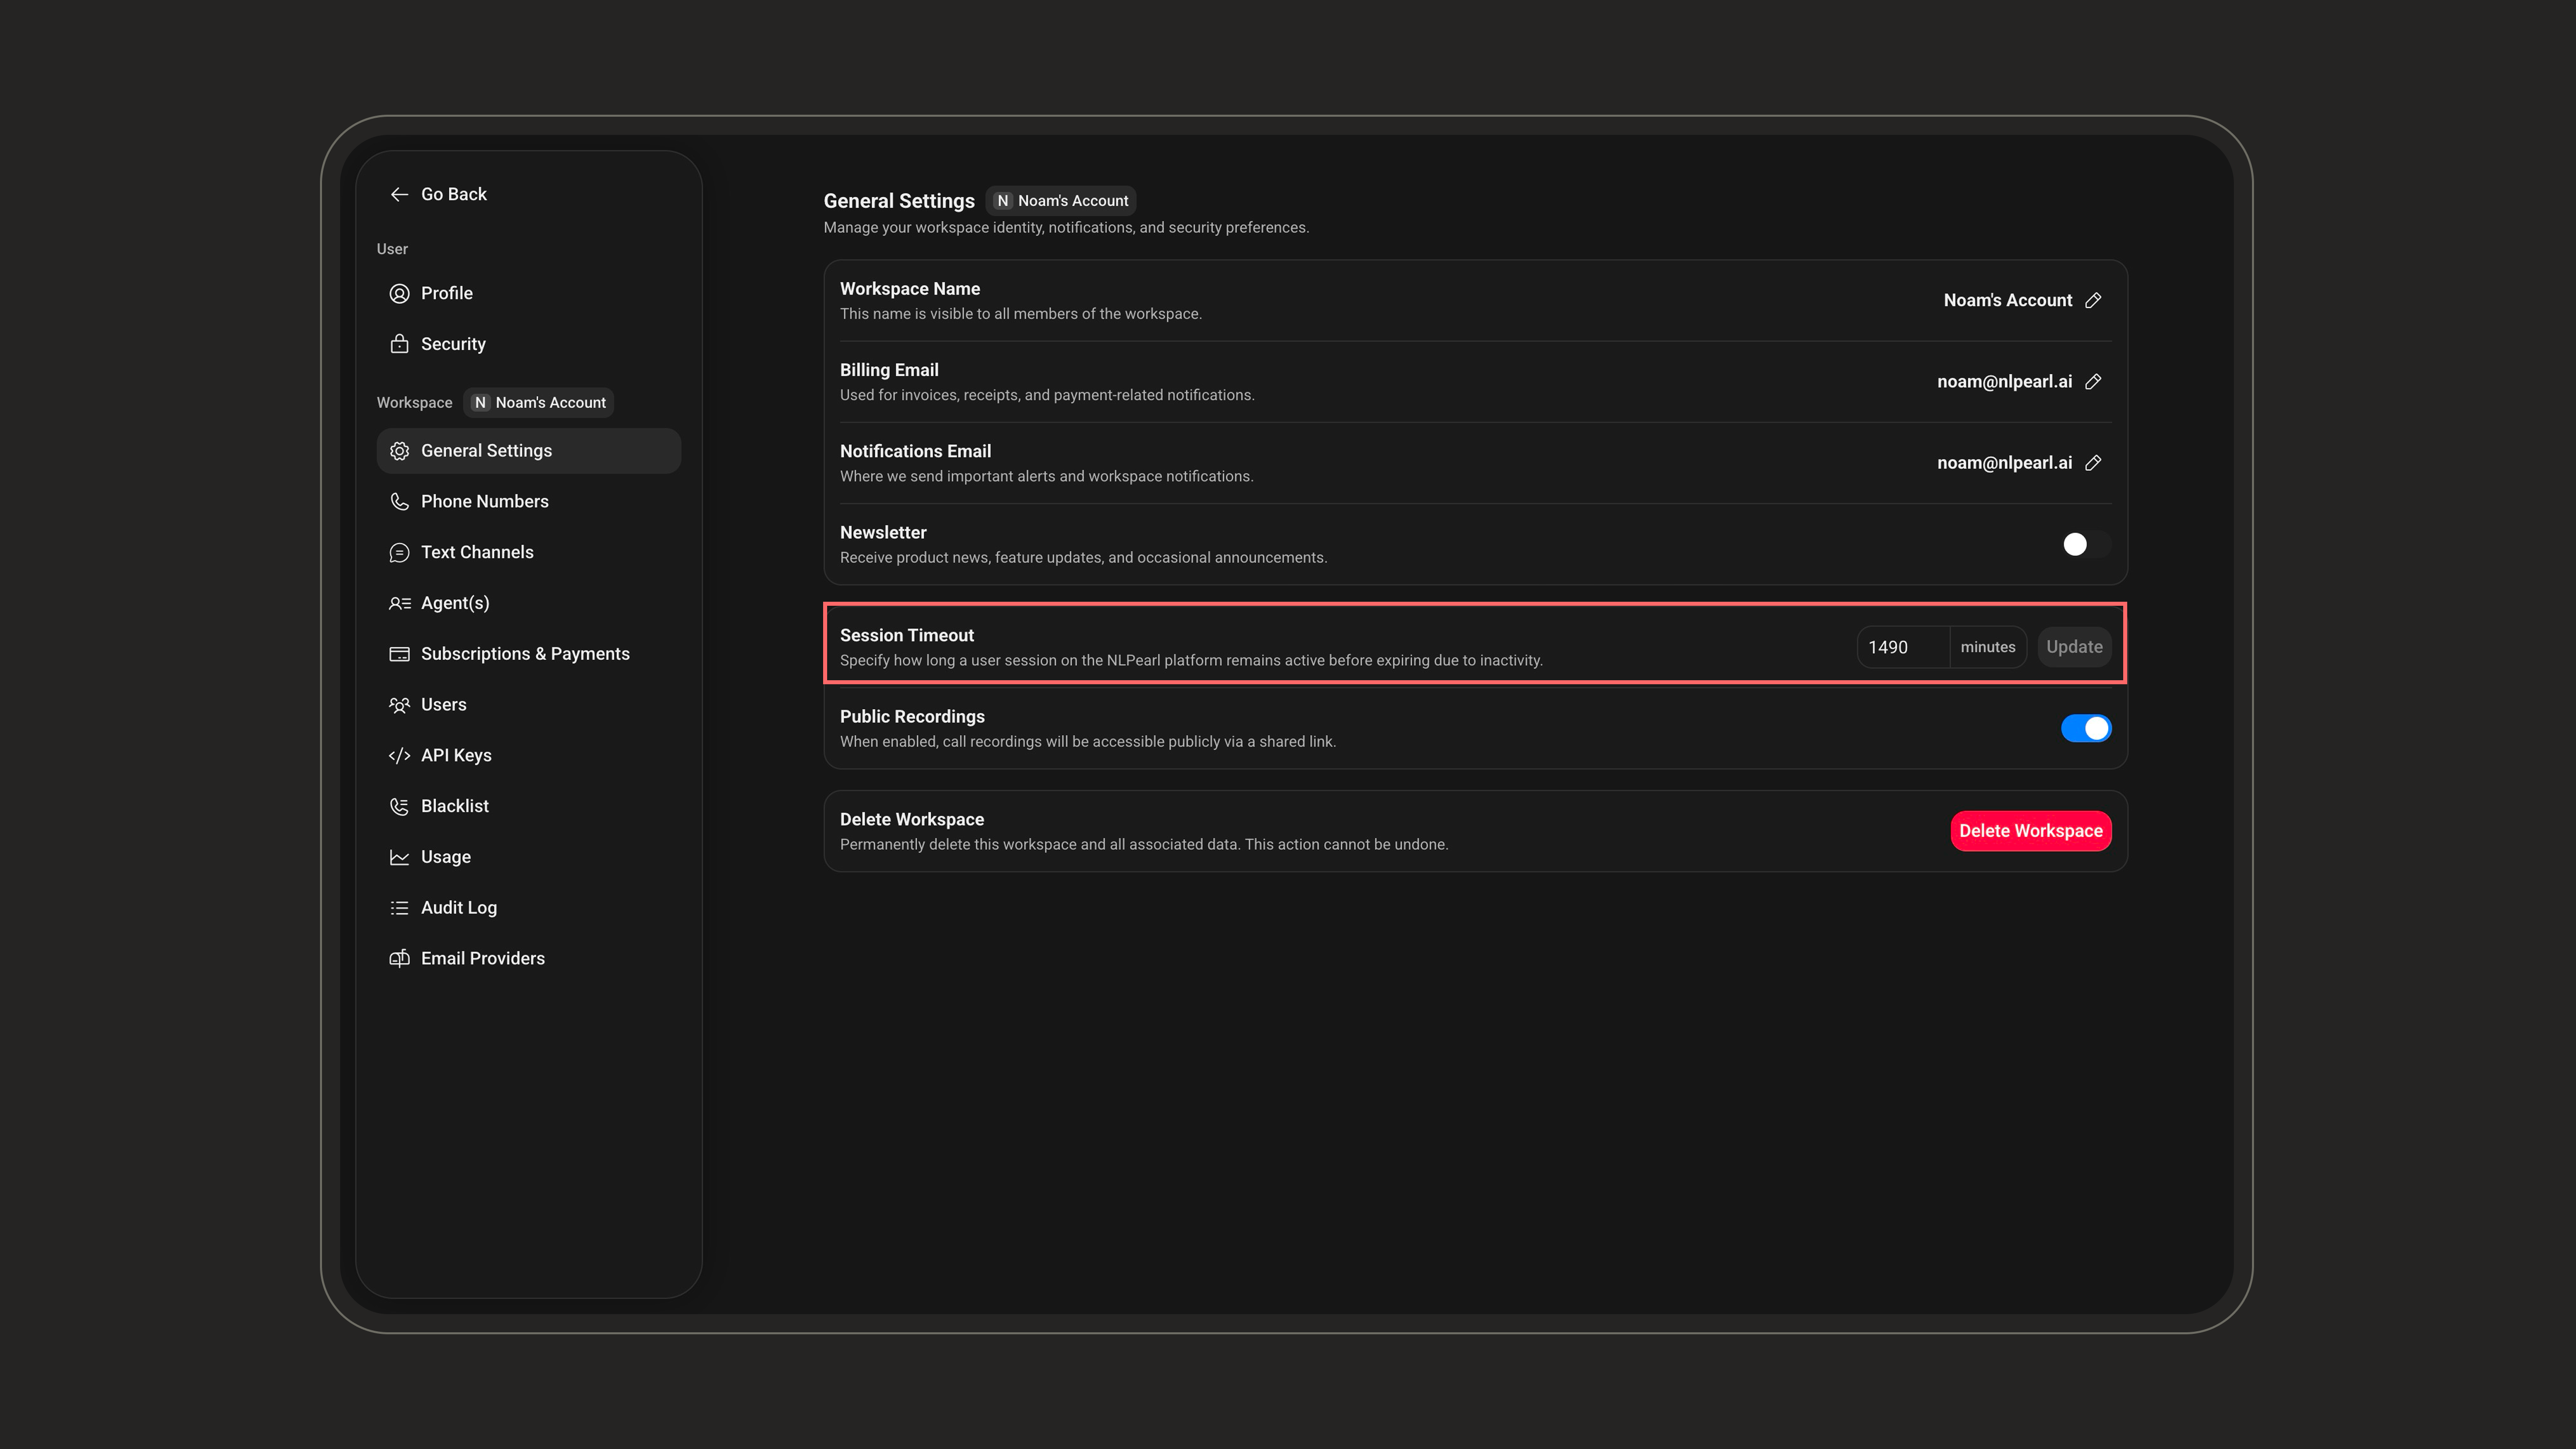
Reviewing Workspace Activity with Audit Logs
The Audit Log helps administrators review important activity and security events in the workspace. It is useful for monitoring sign-ins, configuration changes, published Pearls, and other account-level events. To access it, go to Settings > Audit Log under the Workspace section.
- Timestamp: when the event happened.
- Event Type: the kind of action recorded, such as a successful login or published Pearl.
- User: the workspace member who triggered the event.
- Details: additional context about the action, when available.
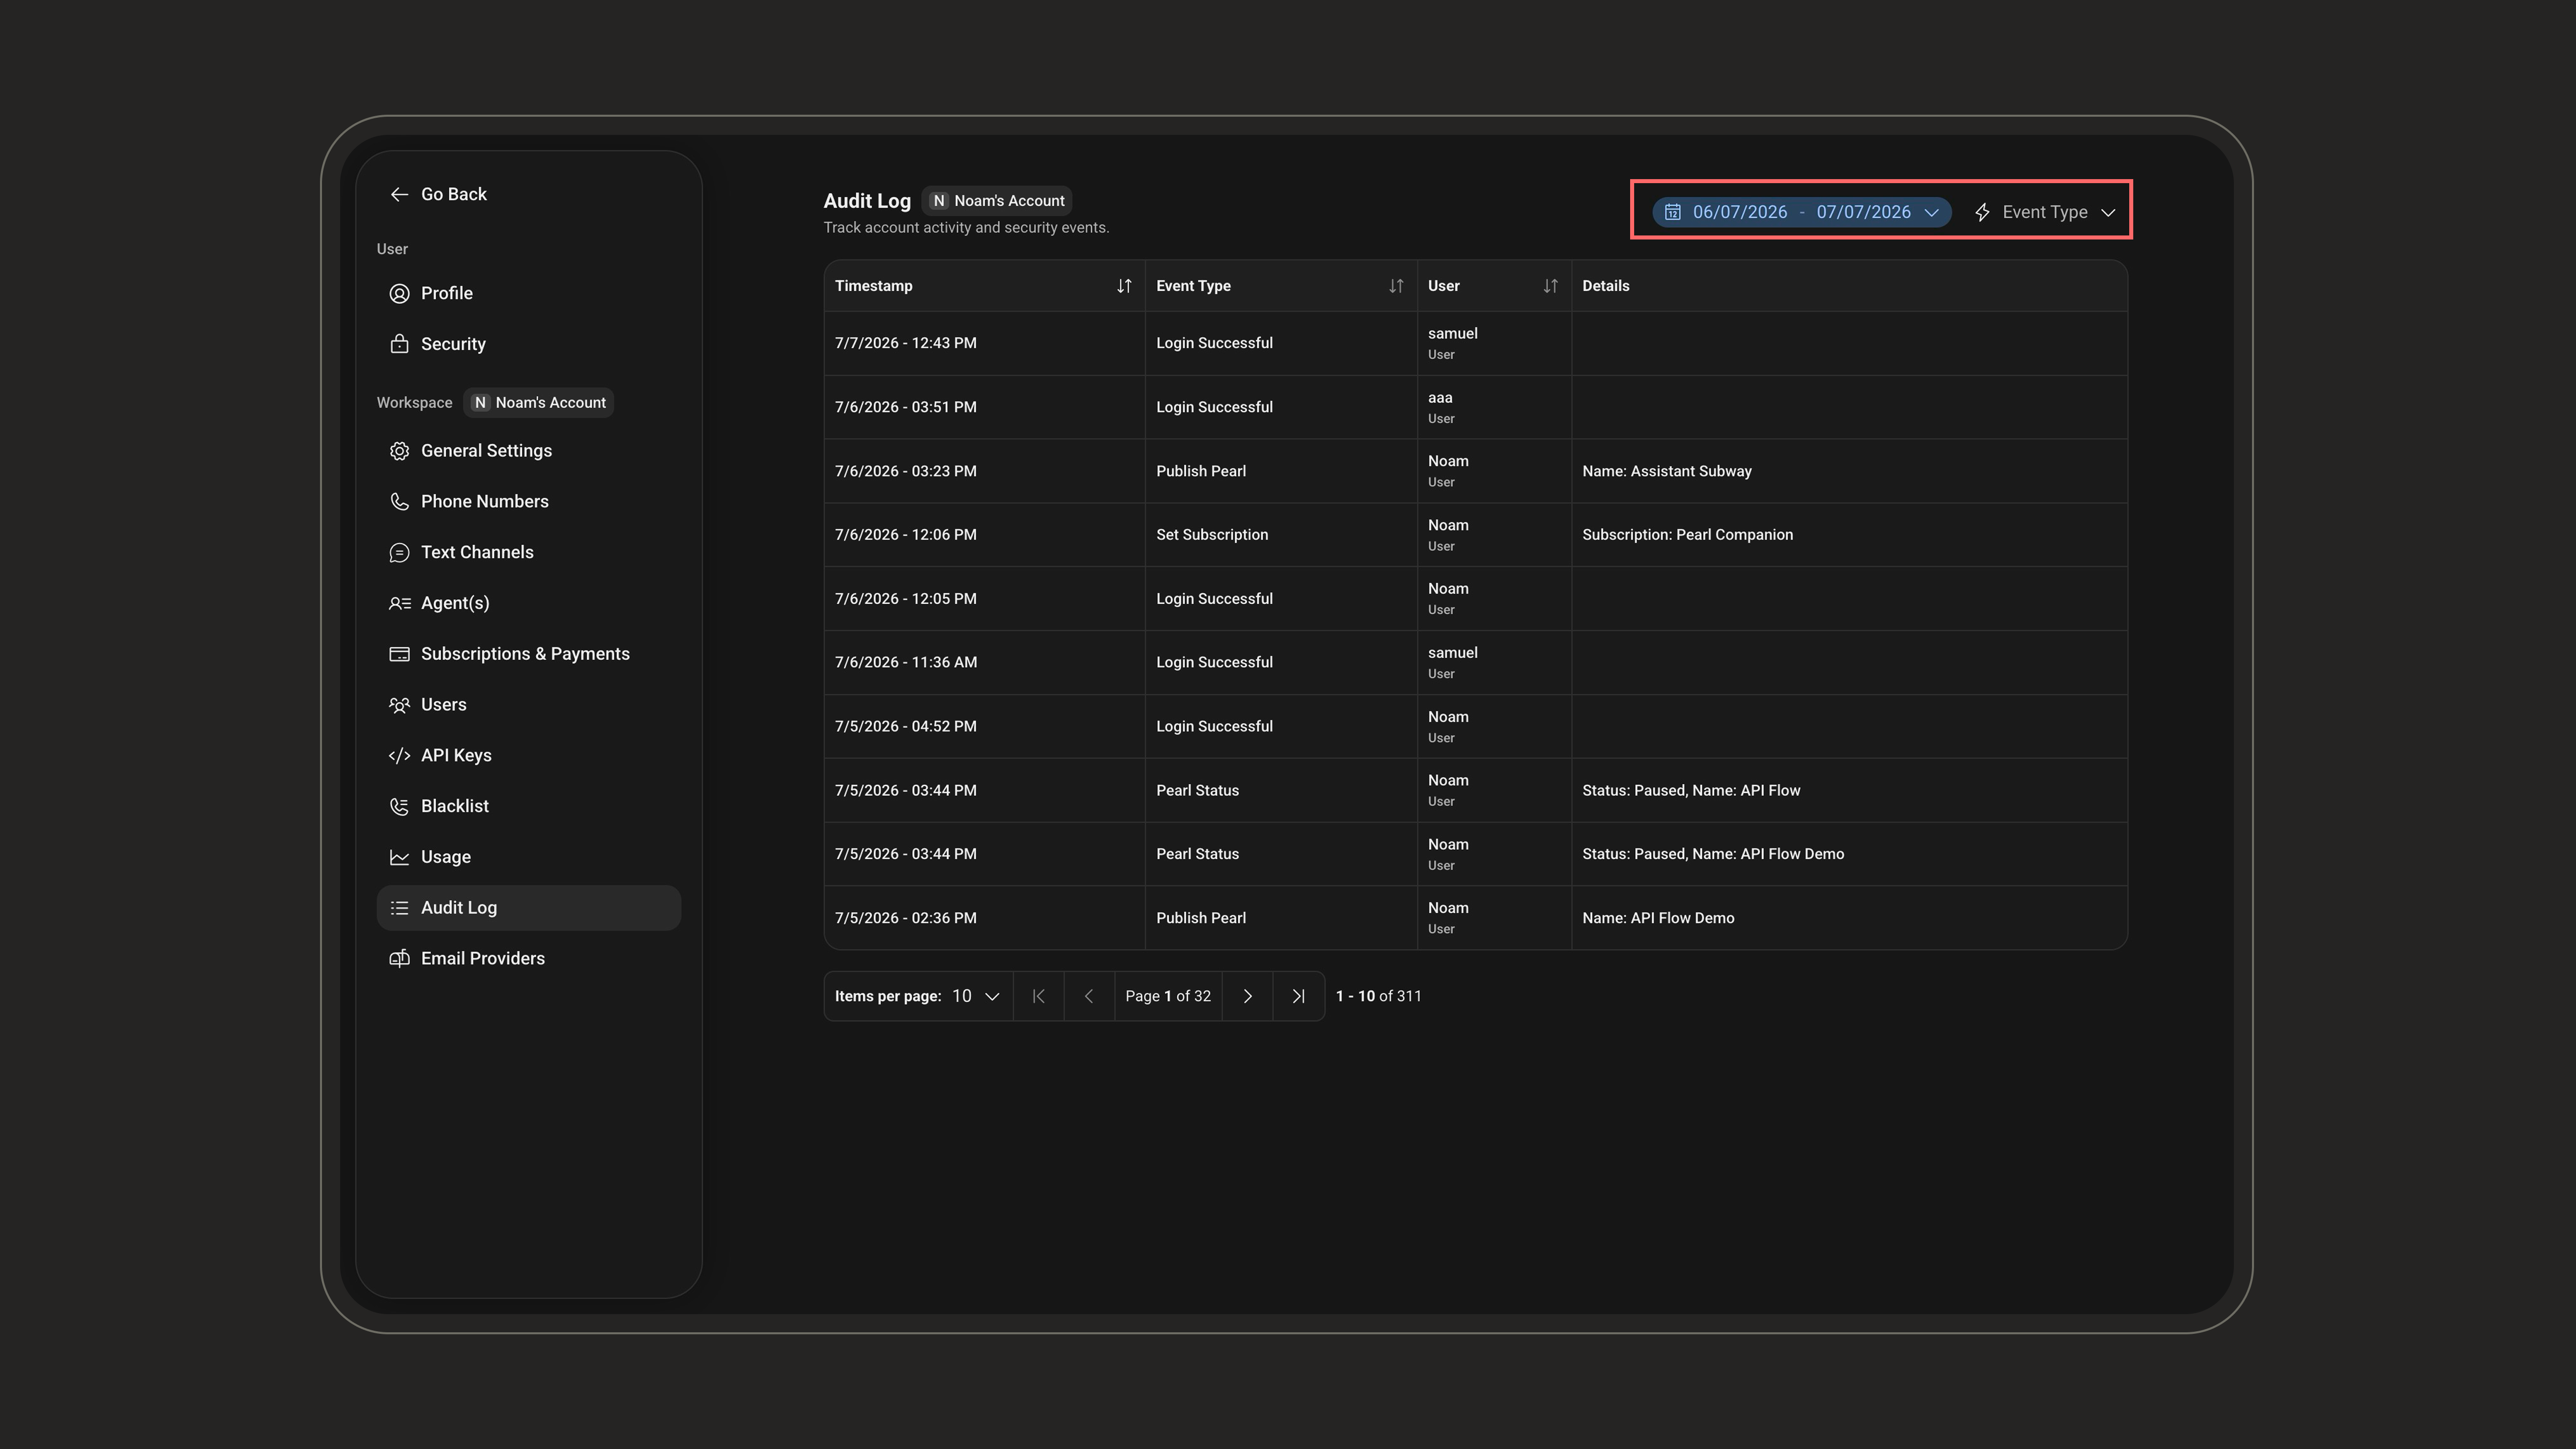
Use the date range and Event Type filters at the top right to narrow the audit log when investigating a specific time period or activity.
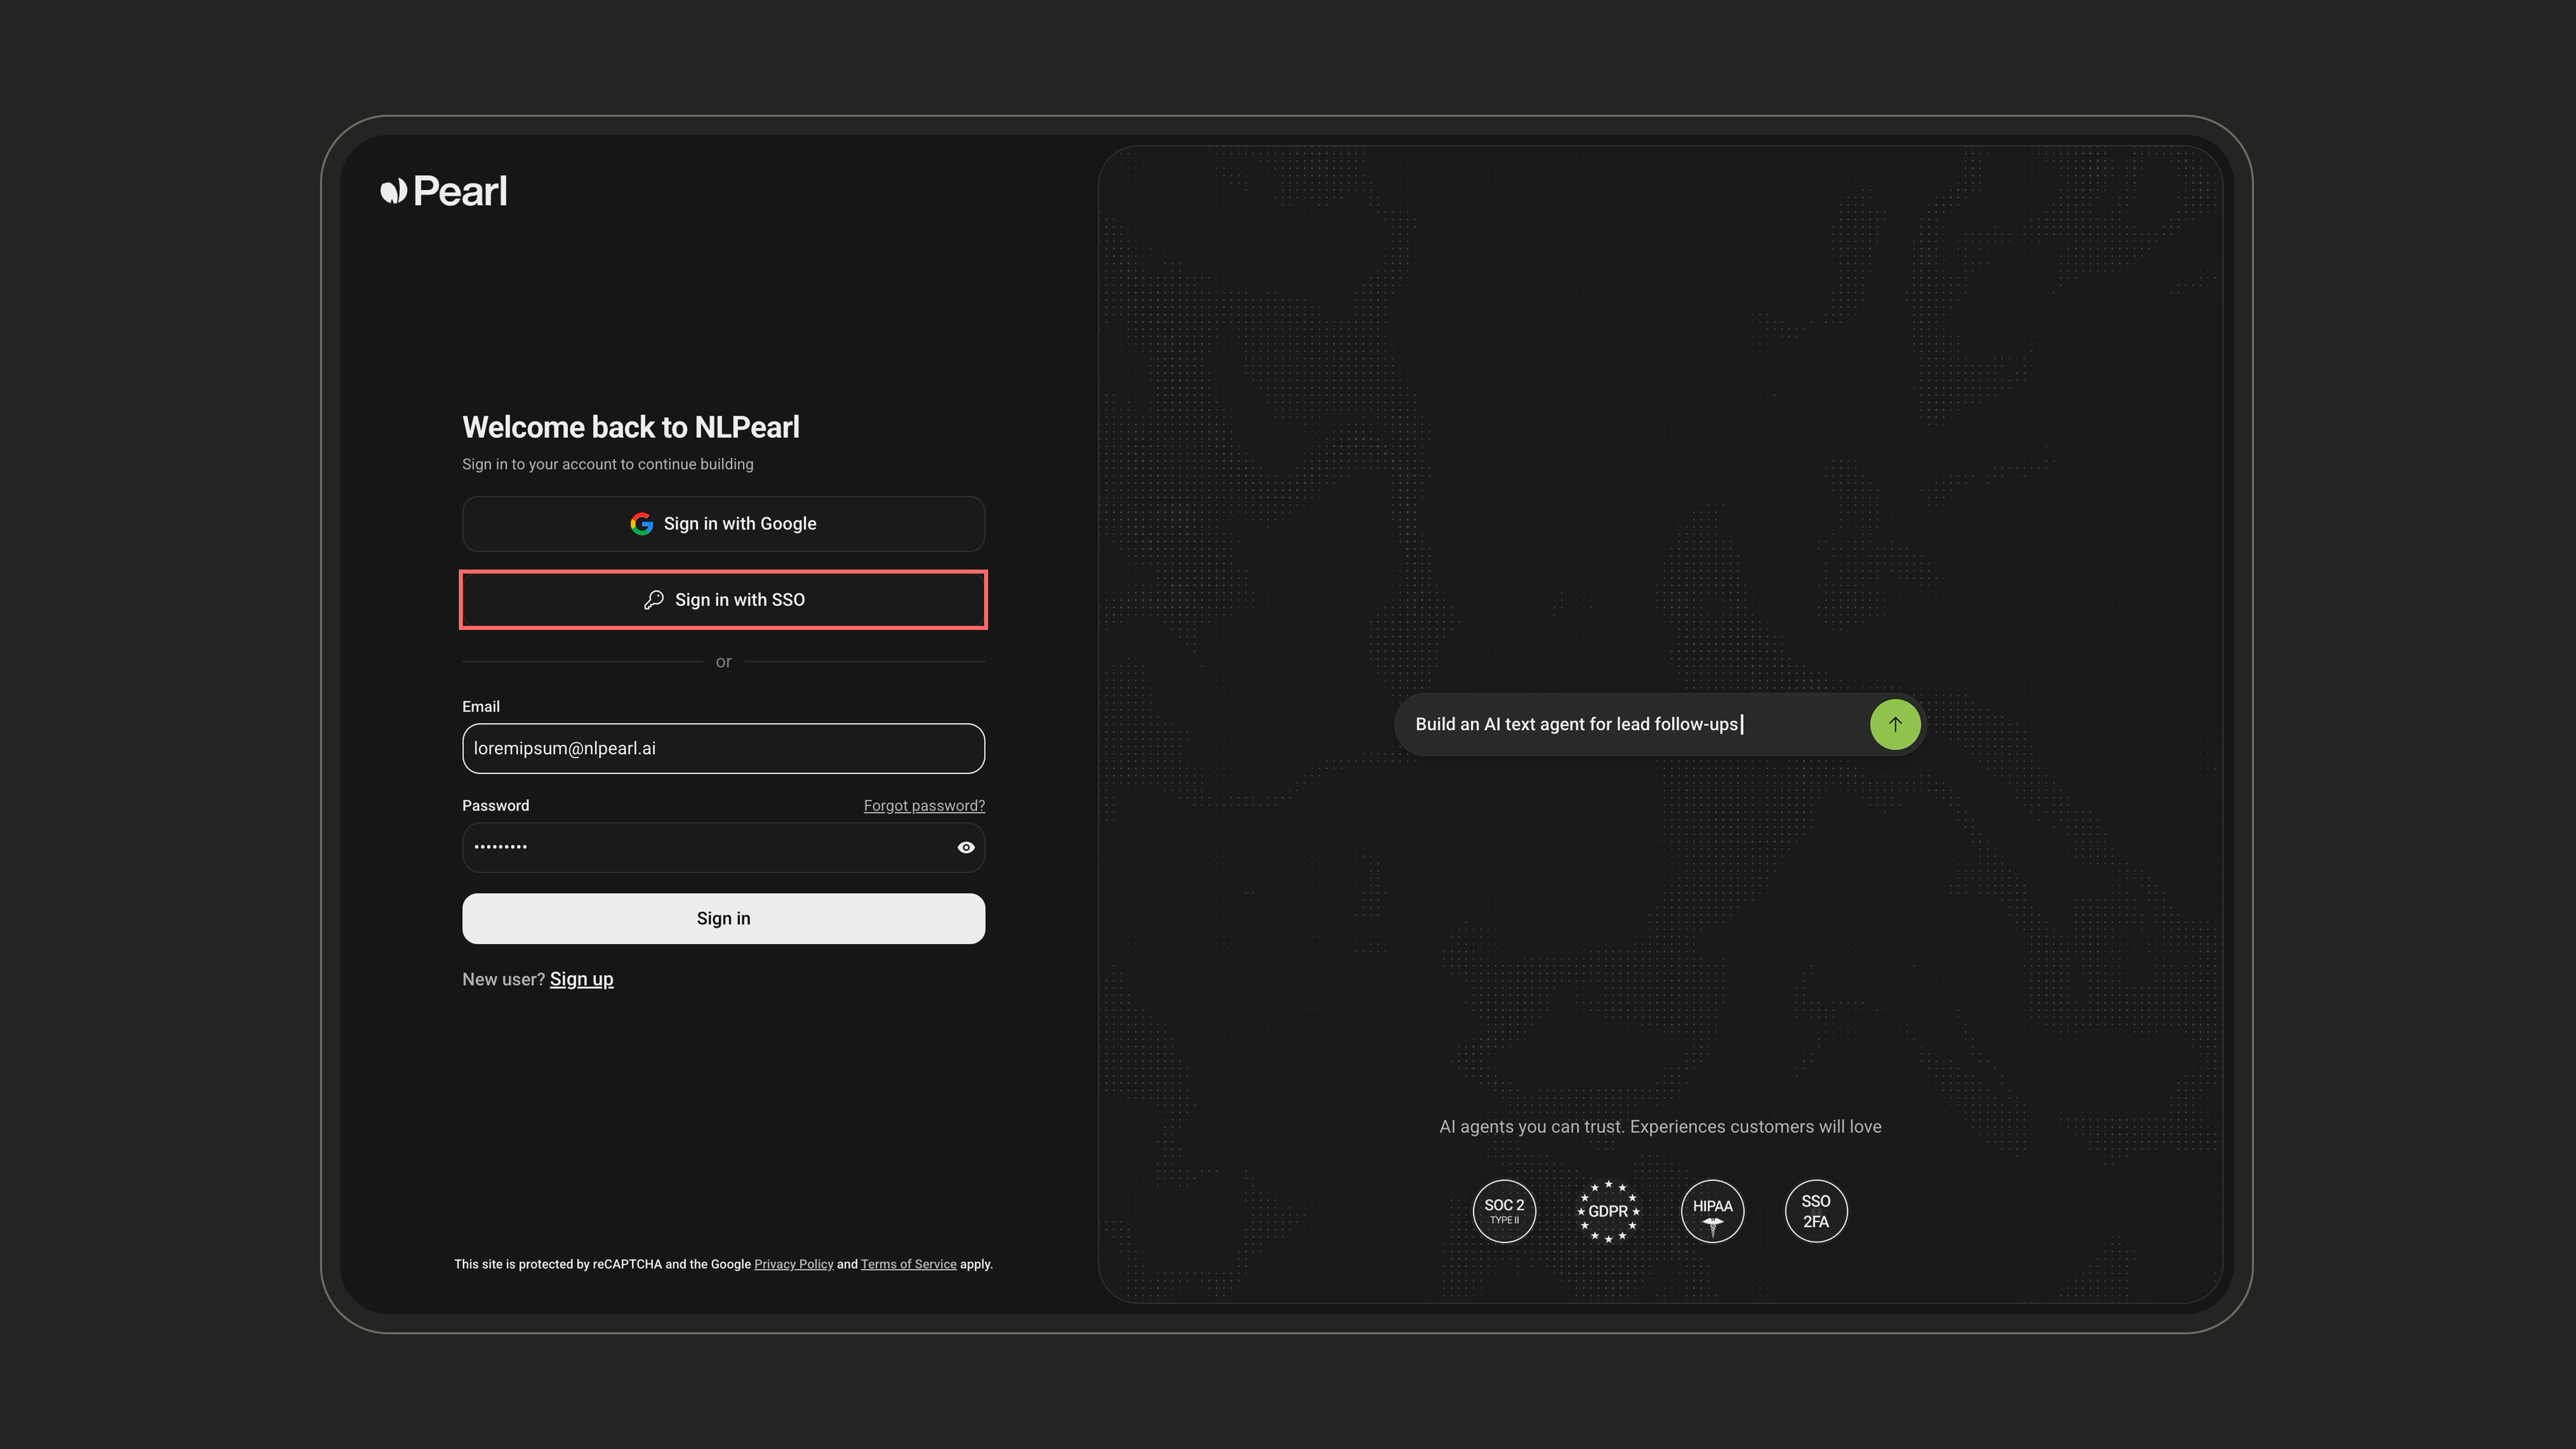
Enterprise Single Sign-On (SSO)
Single Sign-On (SSO) is available for Enterprise workspaces. It allows your team to authenticate through your company identity provider and centralize access management.To enable SSO for your workspace, contact us at support@nlpearl.ai. Please include your workspace name, company domain, and preferred identity provider if available.
Two-Factor Authentication (2FA)
Two-Factor Authentication (2FA) adds an additional step to the login process to strengthen your account’s security. Instead of relying solely on your password, which could be guessed, leaked, or stolen, 2FA requires a second form of verification that only you should have access to. Typically, this second factor is a temporary code generated by a mobile app like Google Authenticator. If you can’t reach your app, you can also receive the code by SMS at login. Even if someone knows your password, they won’t be able to access your account without that second code. That’s why 2FA is a simple and highly effective way to safeguard your data. In this guide, we’ll show you exactly how to activate and use Two-Factor Authentication on our platform.How to Set Up 2FA
1
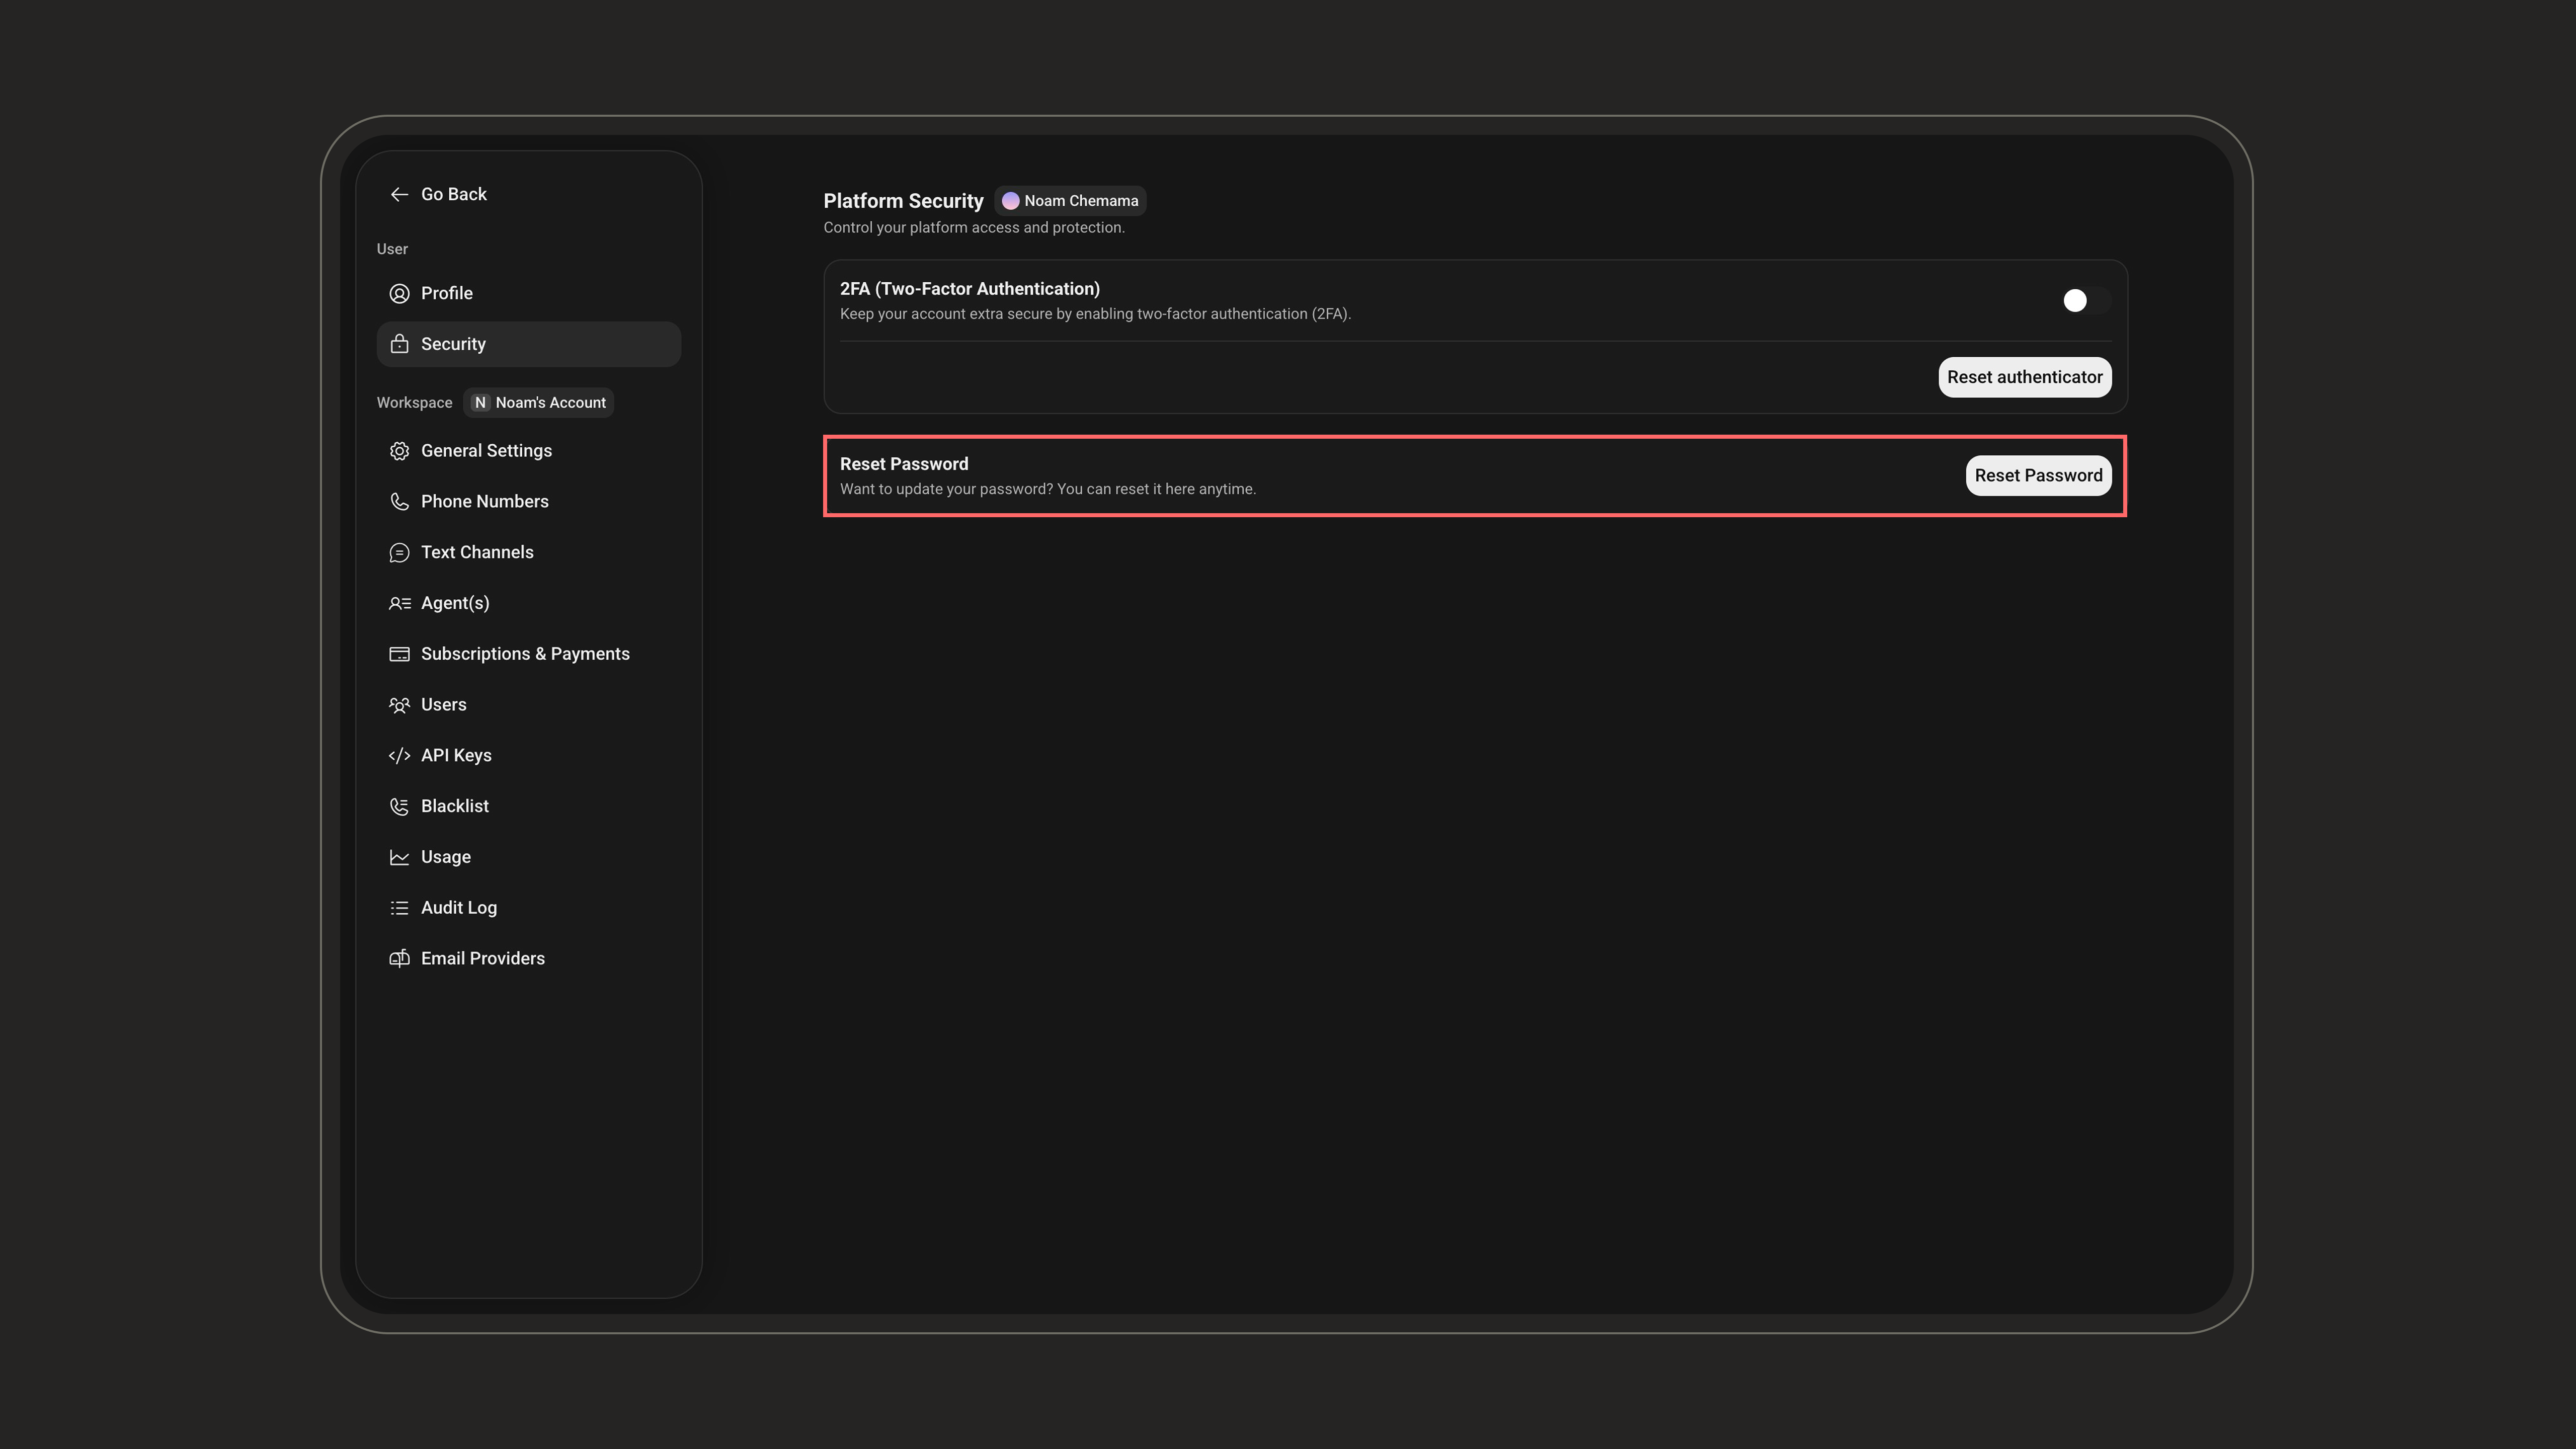
Open the Platform Security page
Click your profile card at the bottom-left corner of the sidebar, open Settings, then select the Security tab under the User section.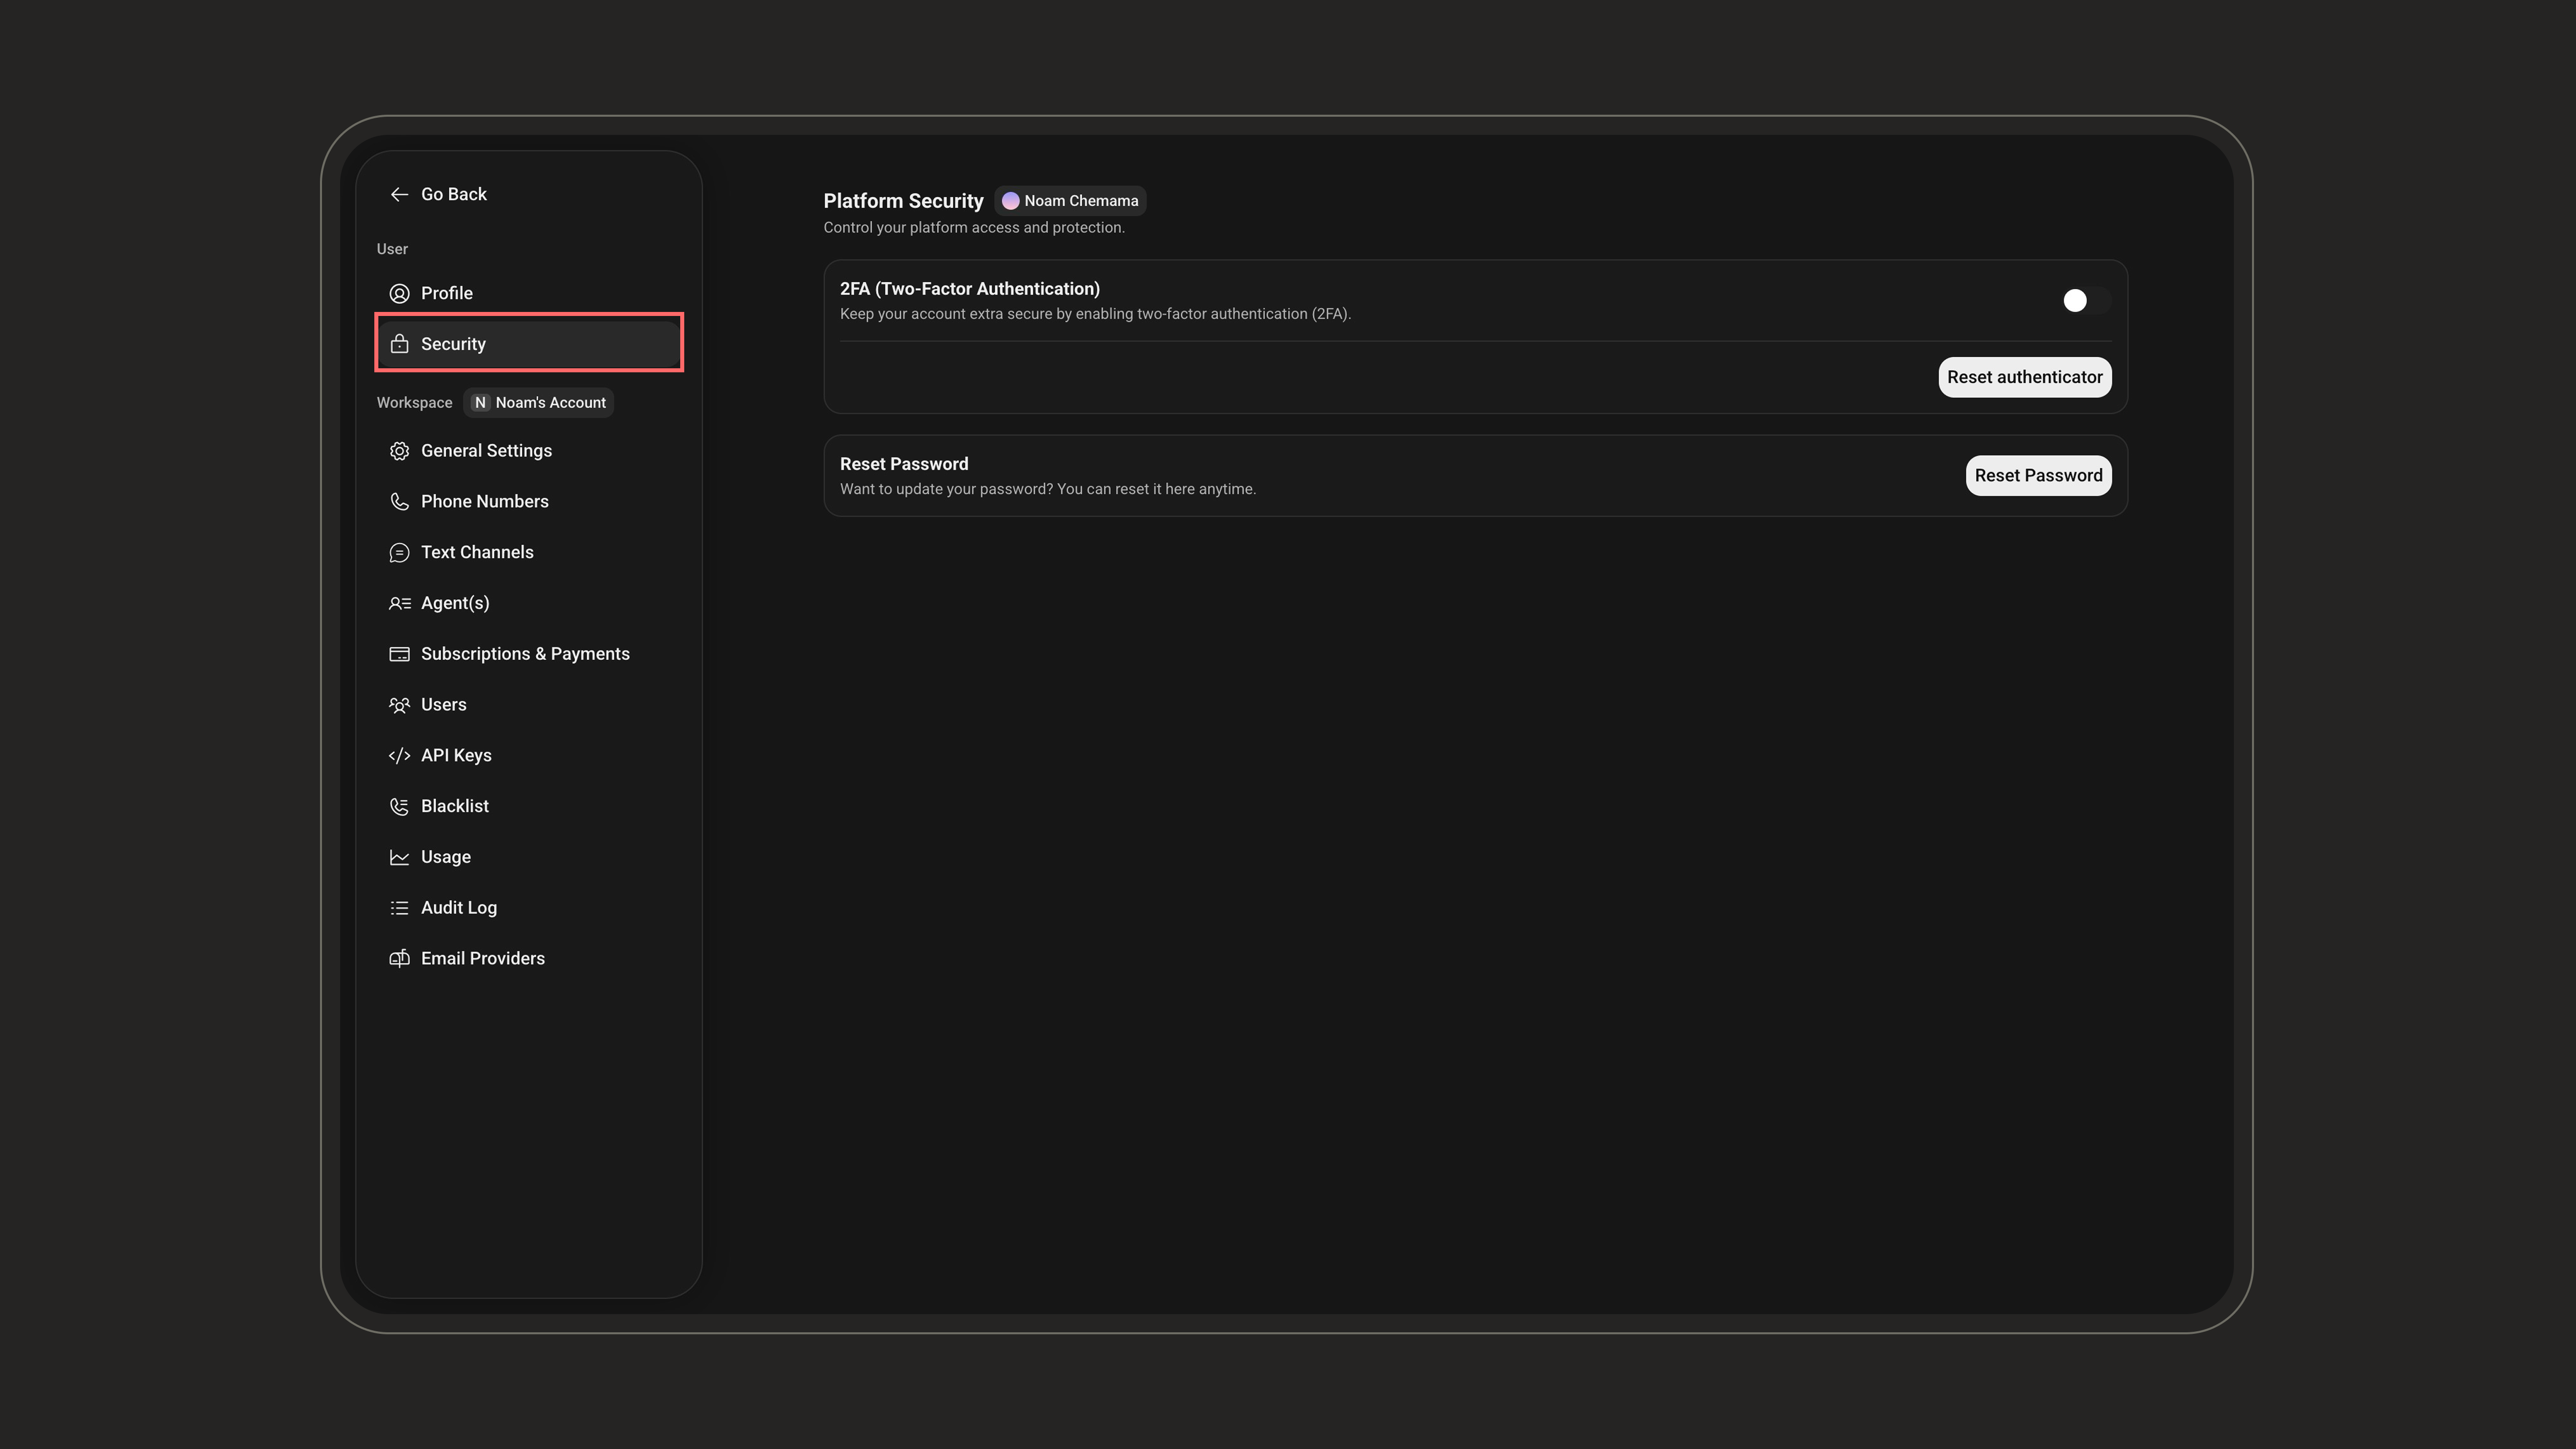
2
Locate the 2FA box
The Platform Security page has two areas: the 2FA (Two-Factor Authentication) box and a Reset Password section.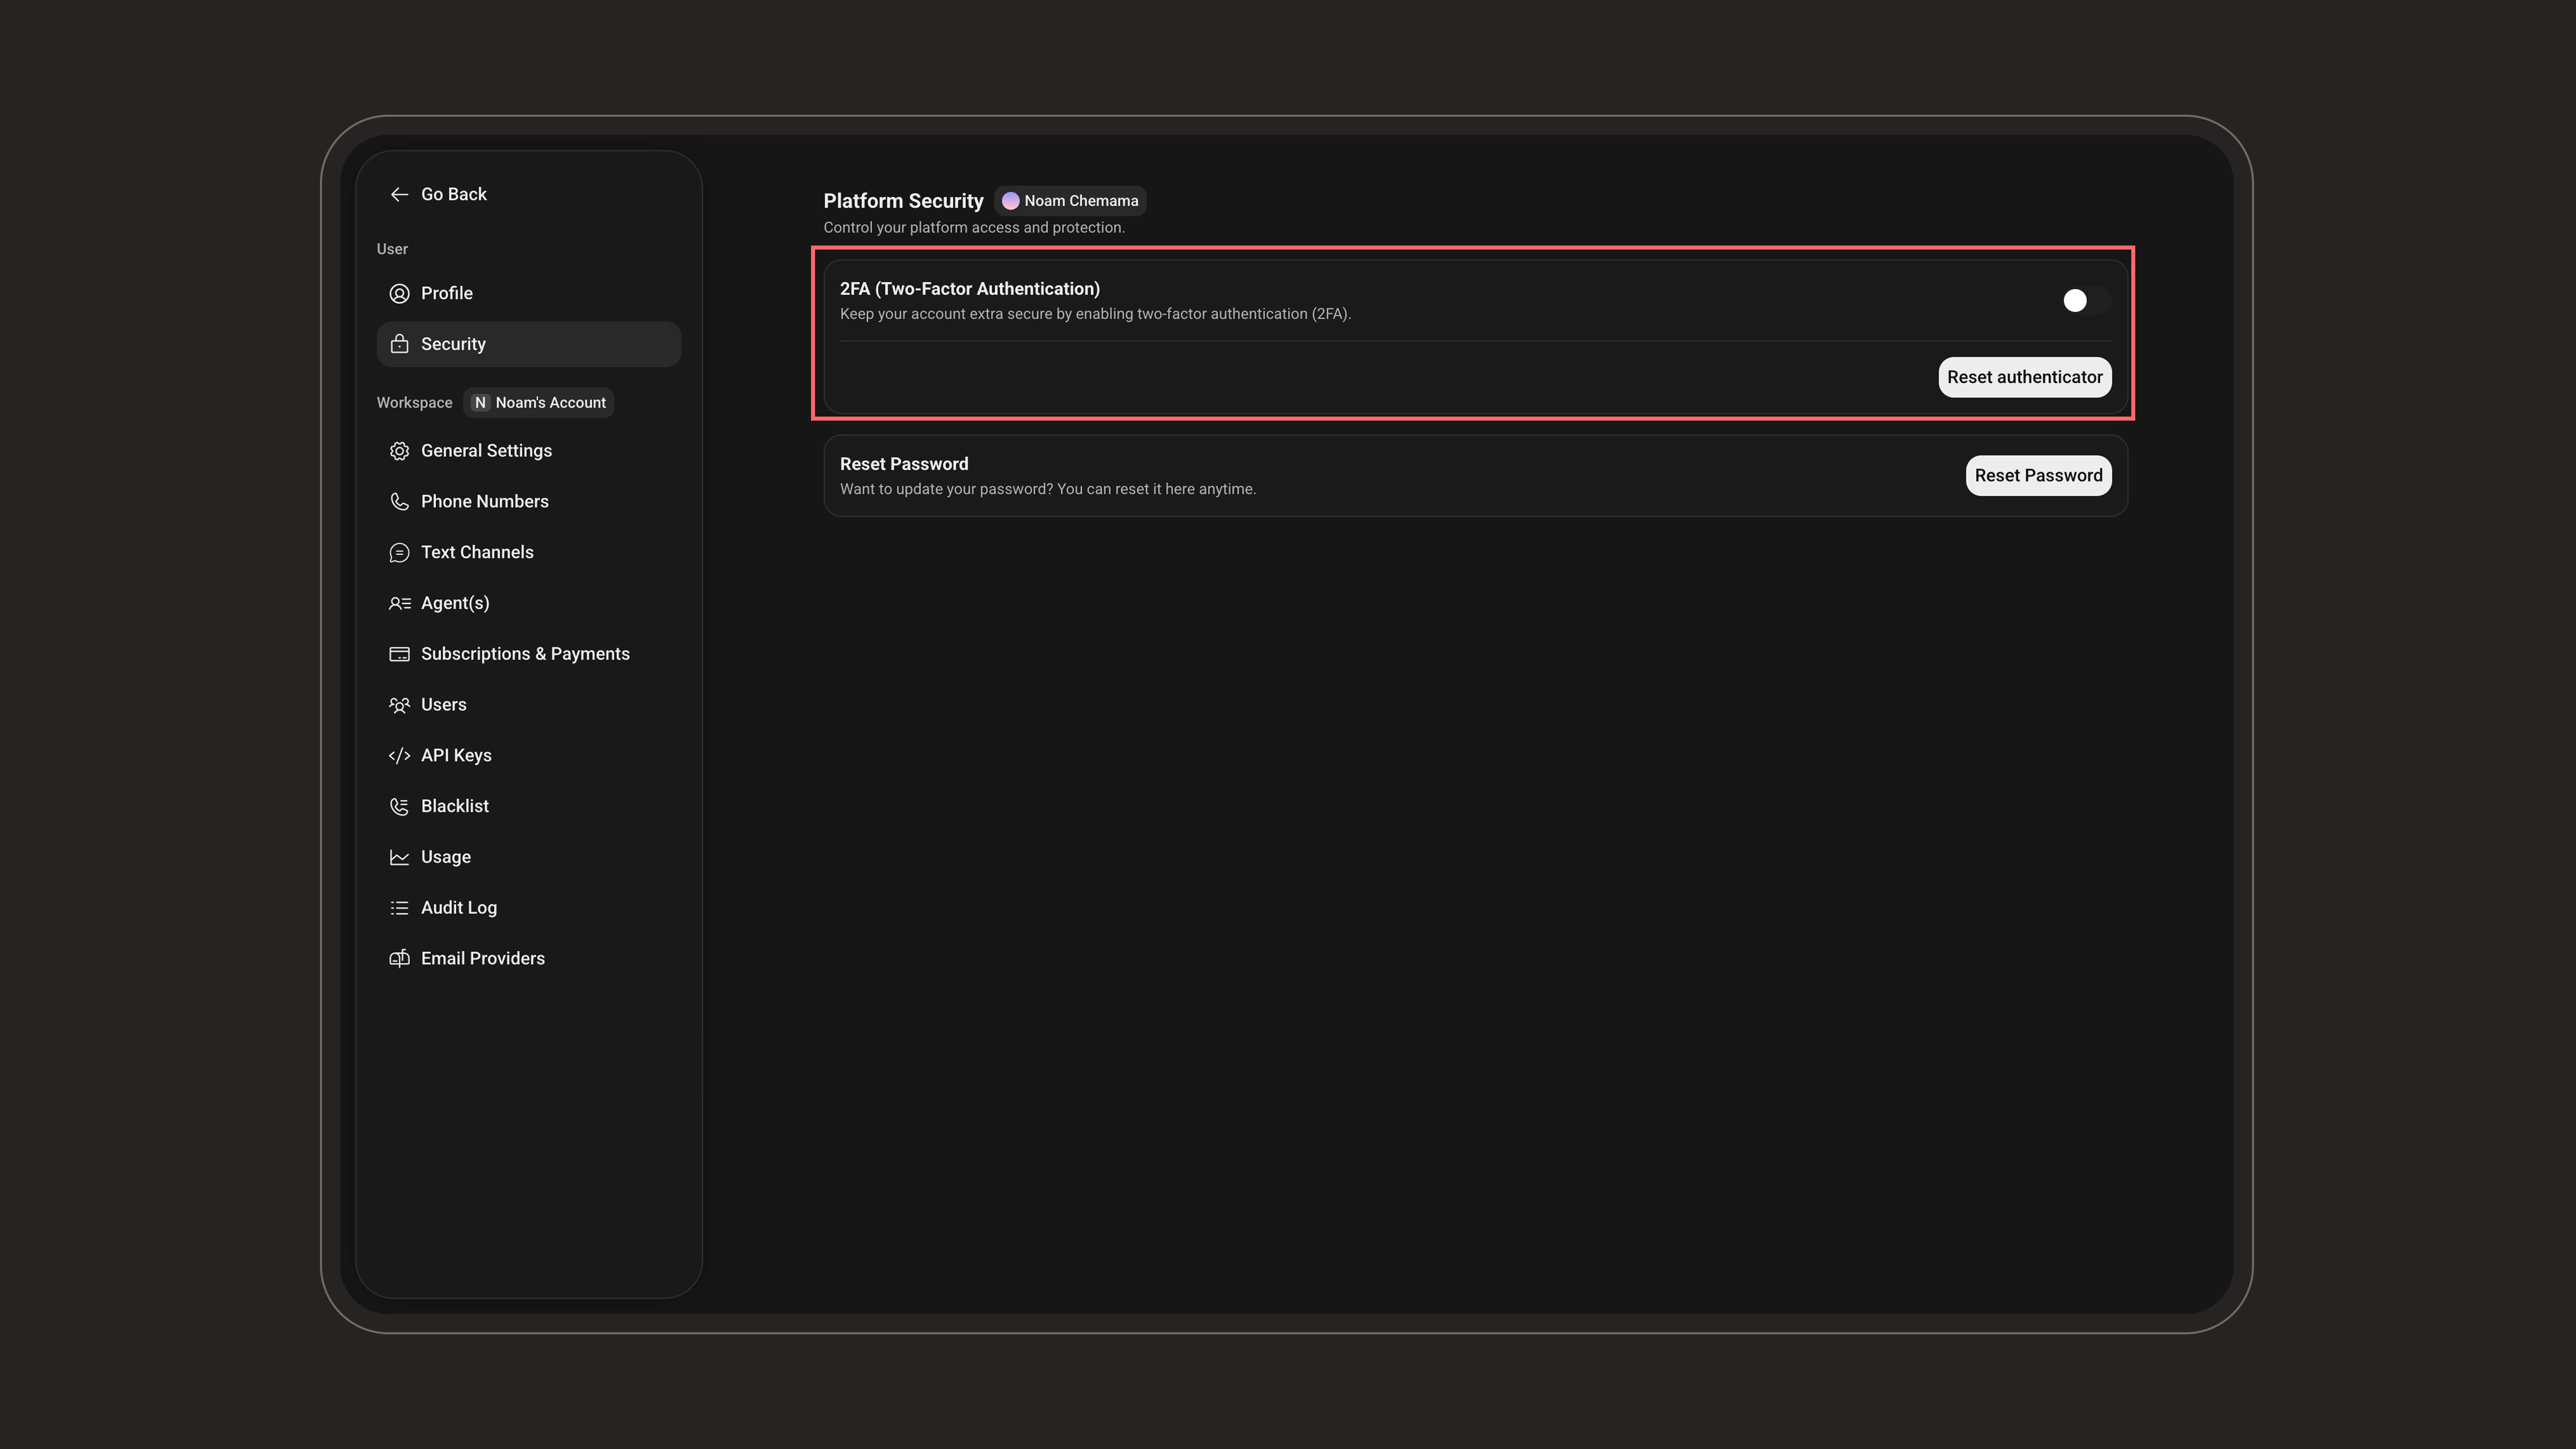
3
Open the setup window
In the 2FA (Two-Factor Authentication) box, click Set up authenticator (labeled Reset authenticator once 2FA is already set up) to open the QR code window.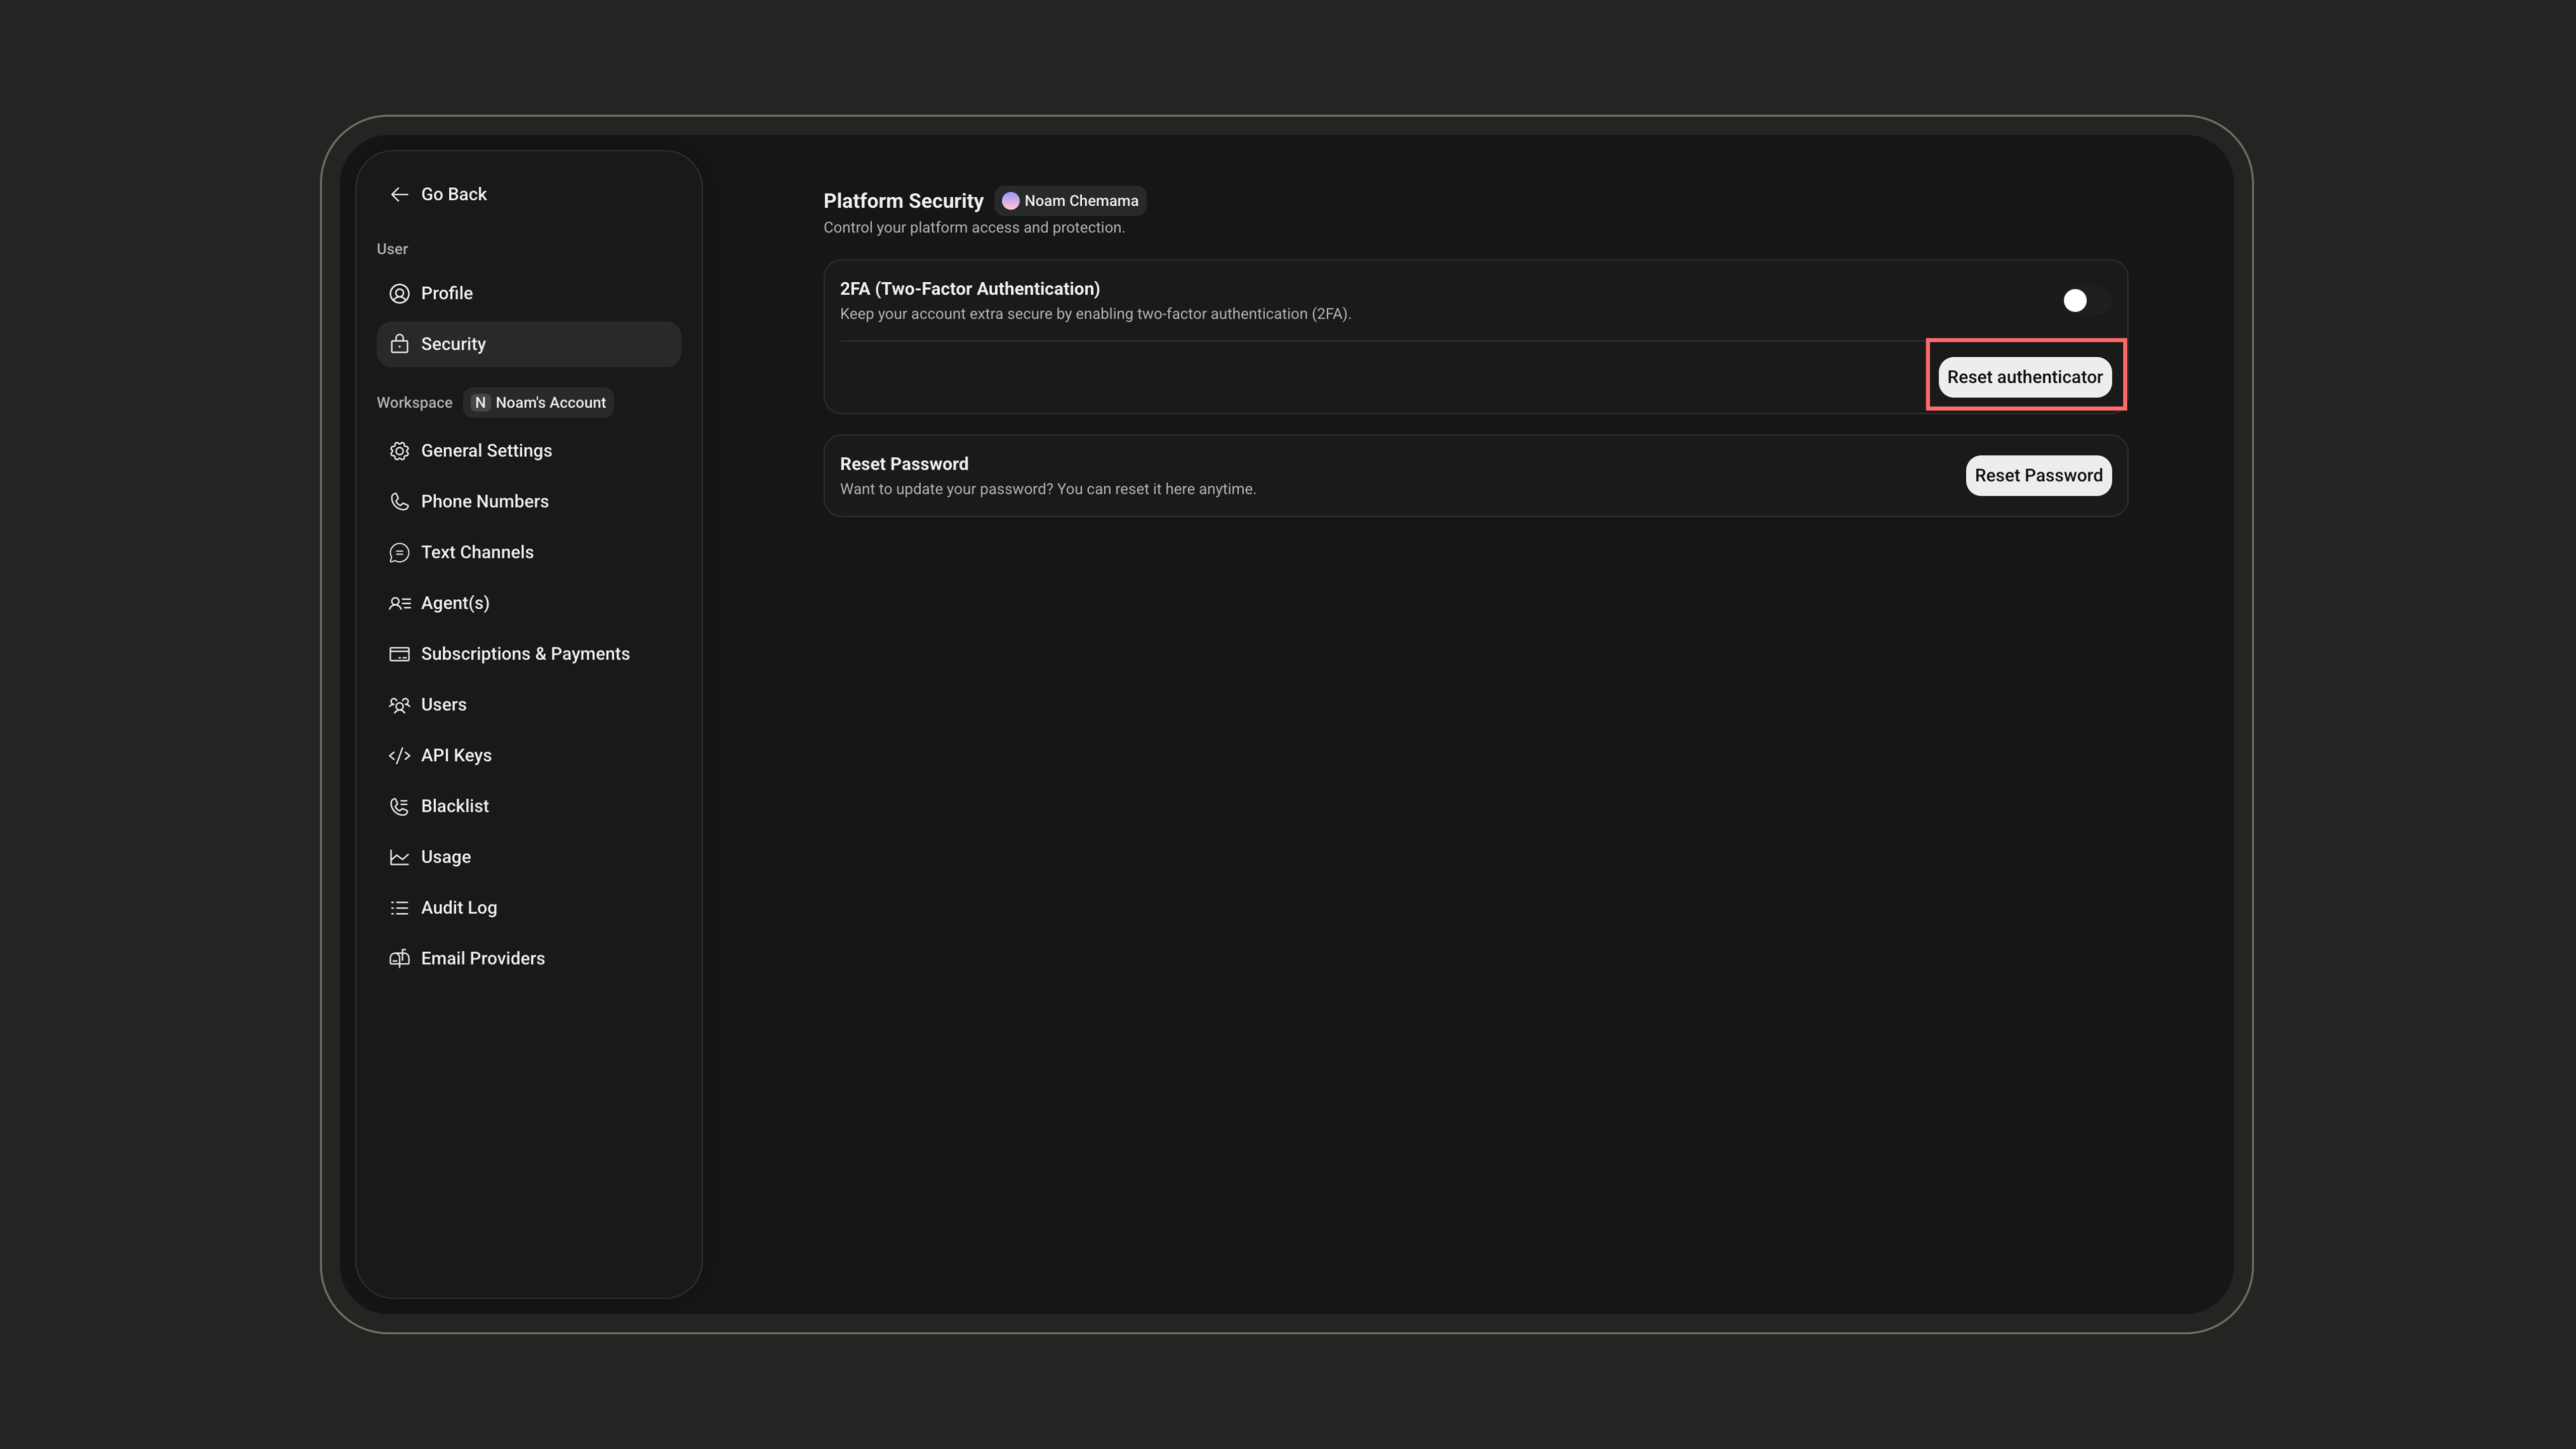
4
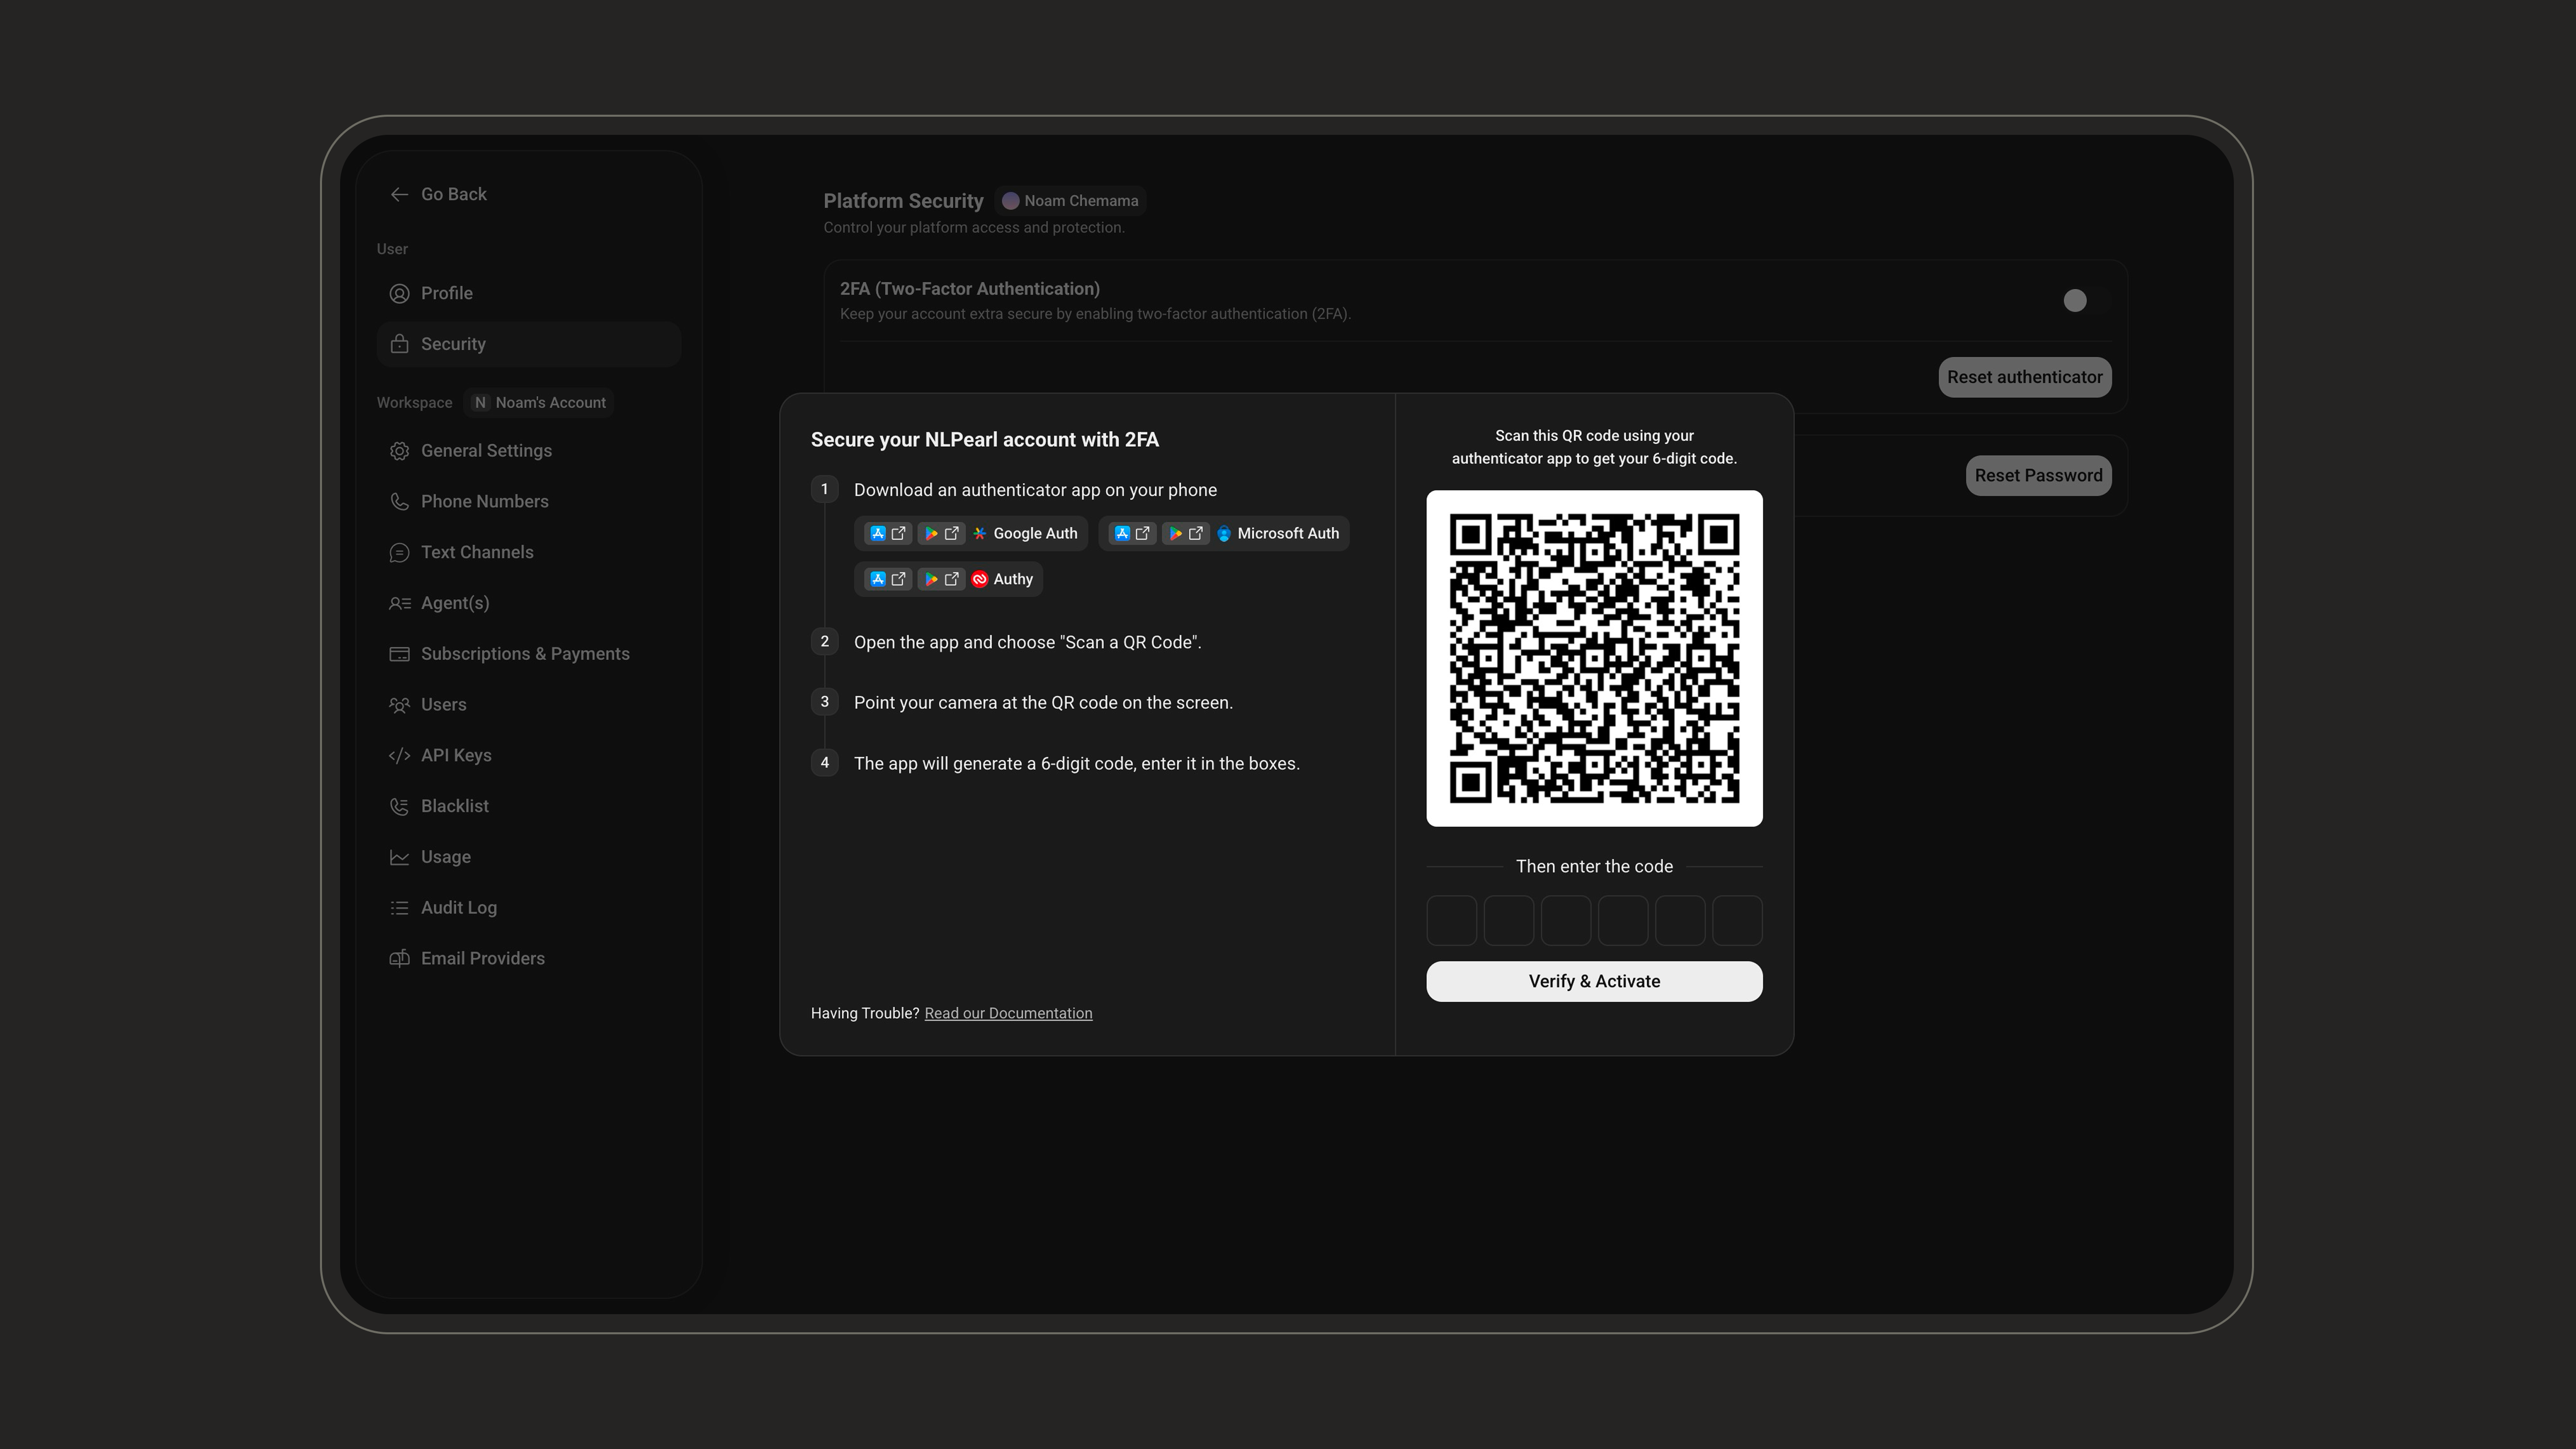
Download an authenticator app
On your phone, install an authenticator app such as Google Authenticator, Microsoft Authenticator, or Authy.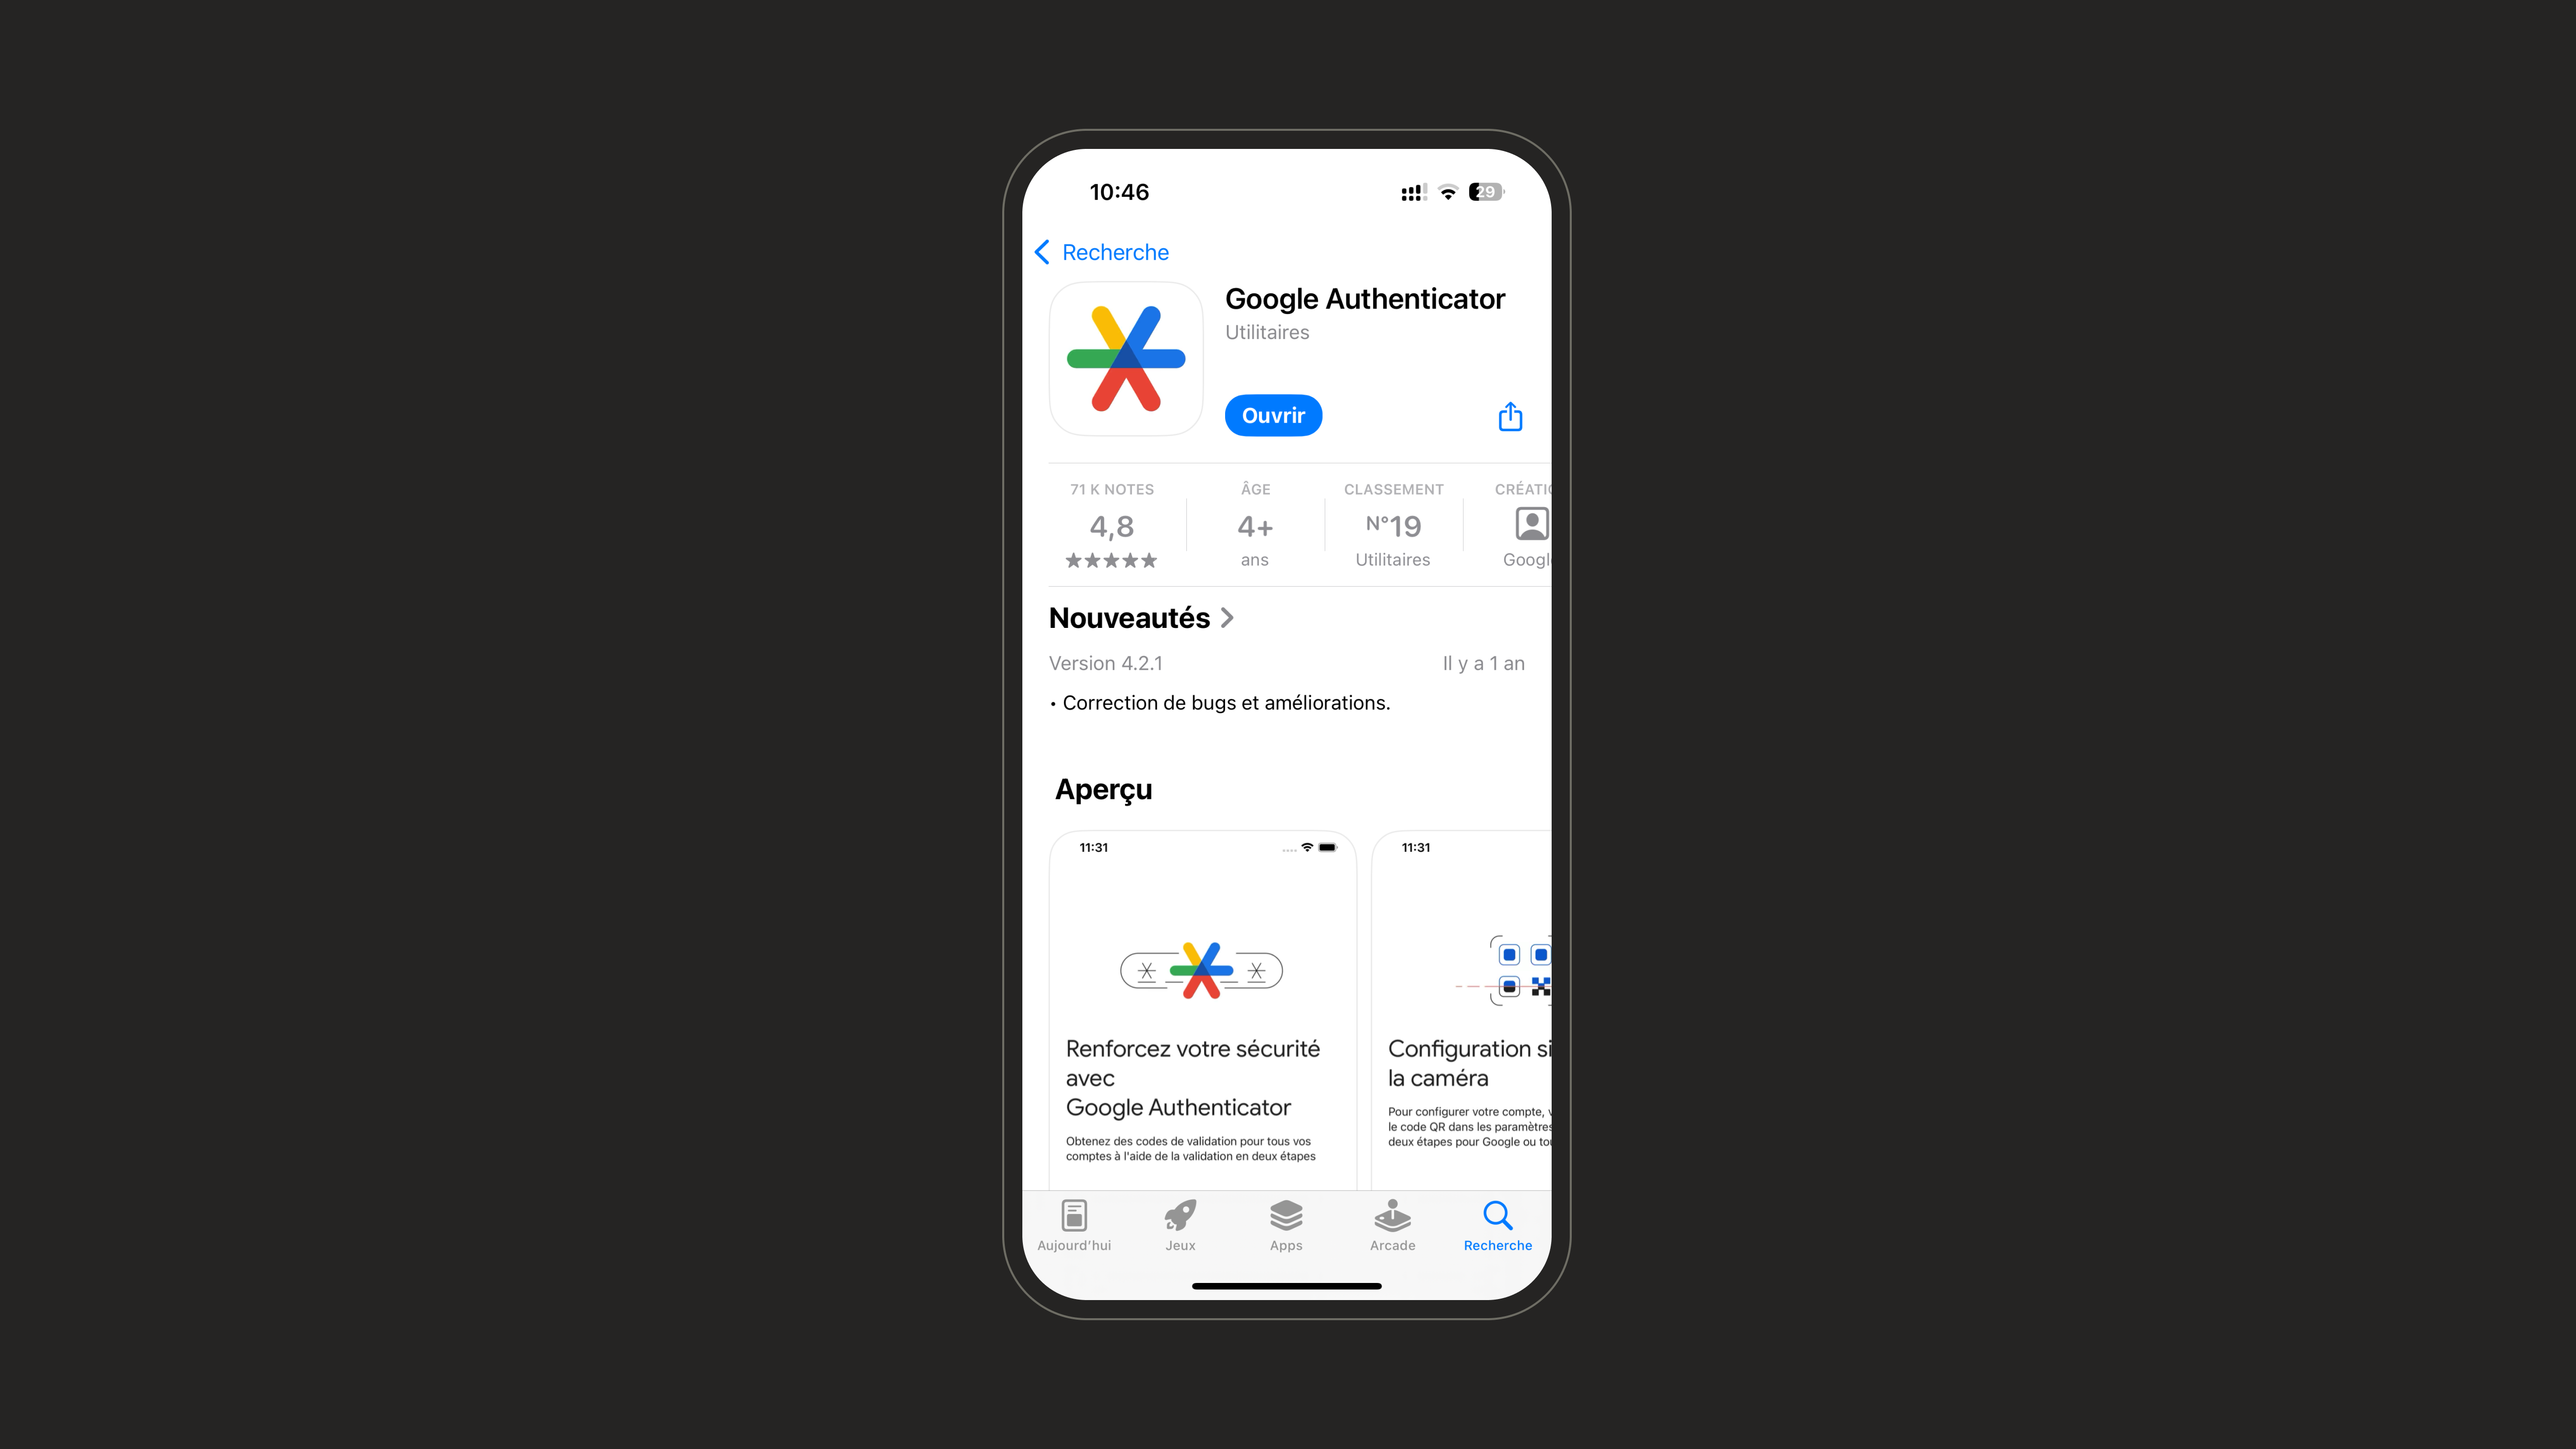
5
Scan the QR code
Open the app, tap the + button, and choose Scan a QR code. Point your camera at the QR code shown in the setup window.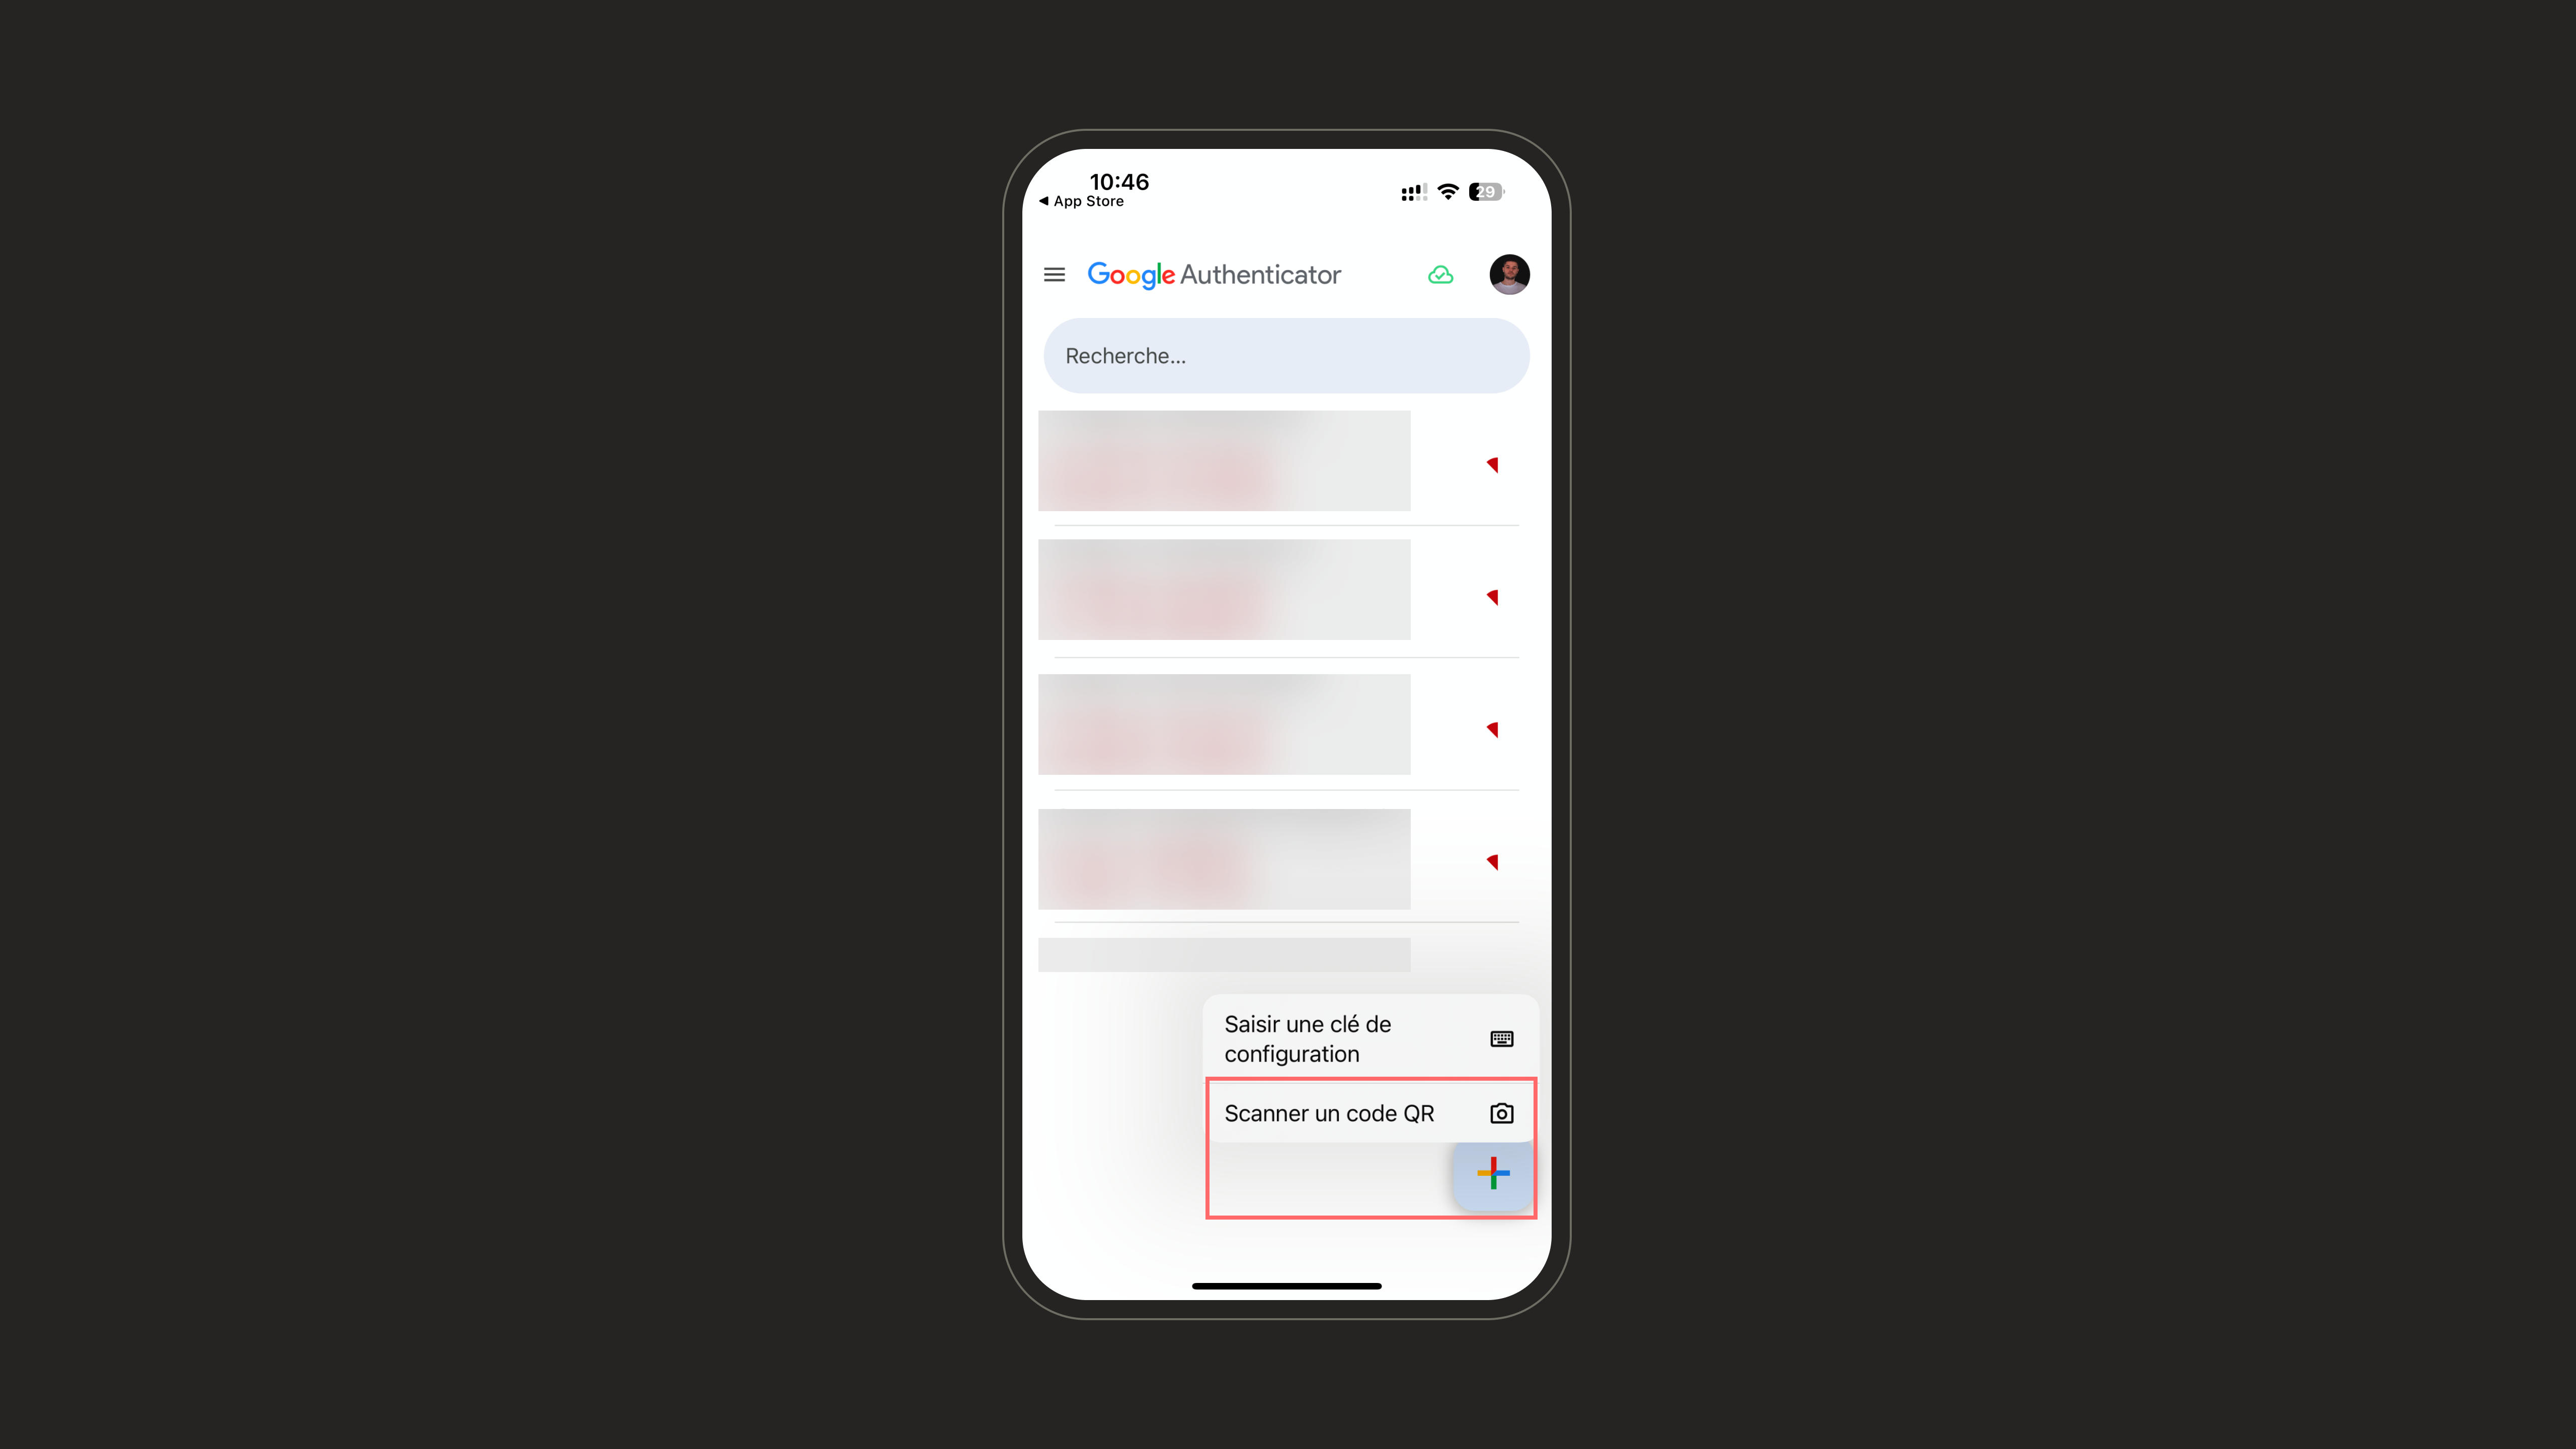
6
Enter the 6-digit code
The app generates a 6-digit code that refreshes every few seconds. Enter it in the setup window and click Verify & Activate.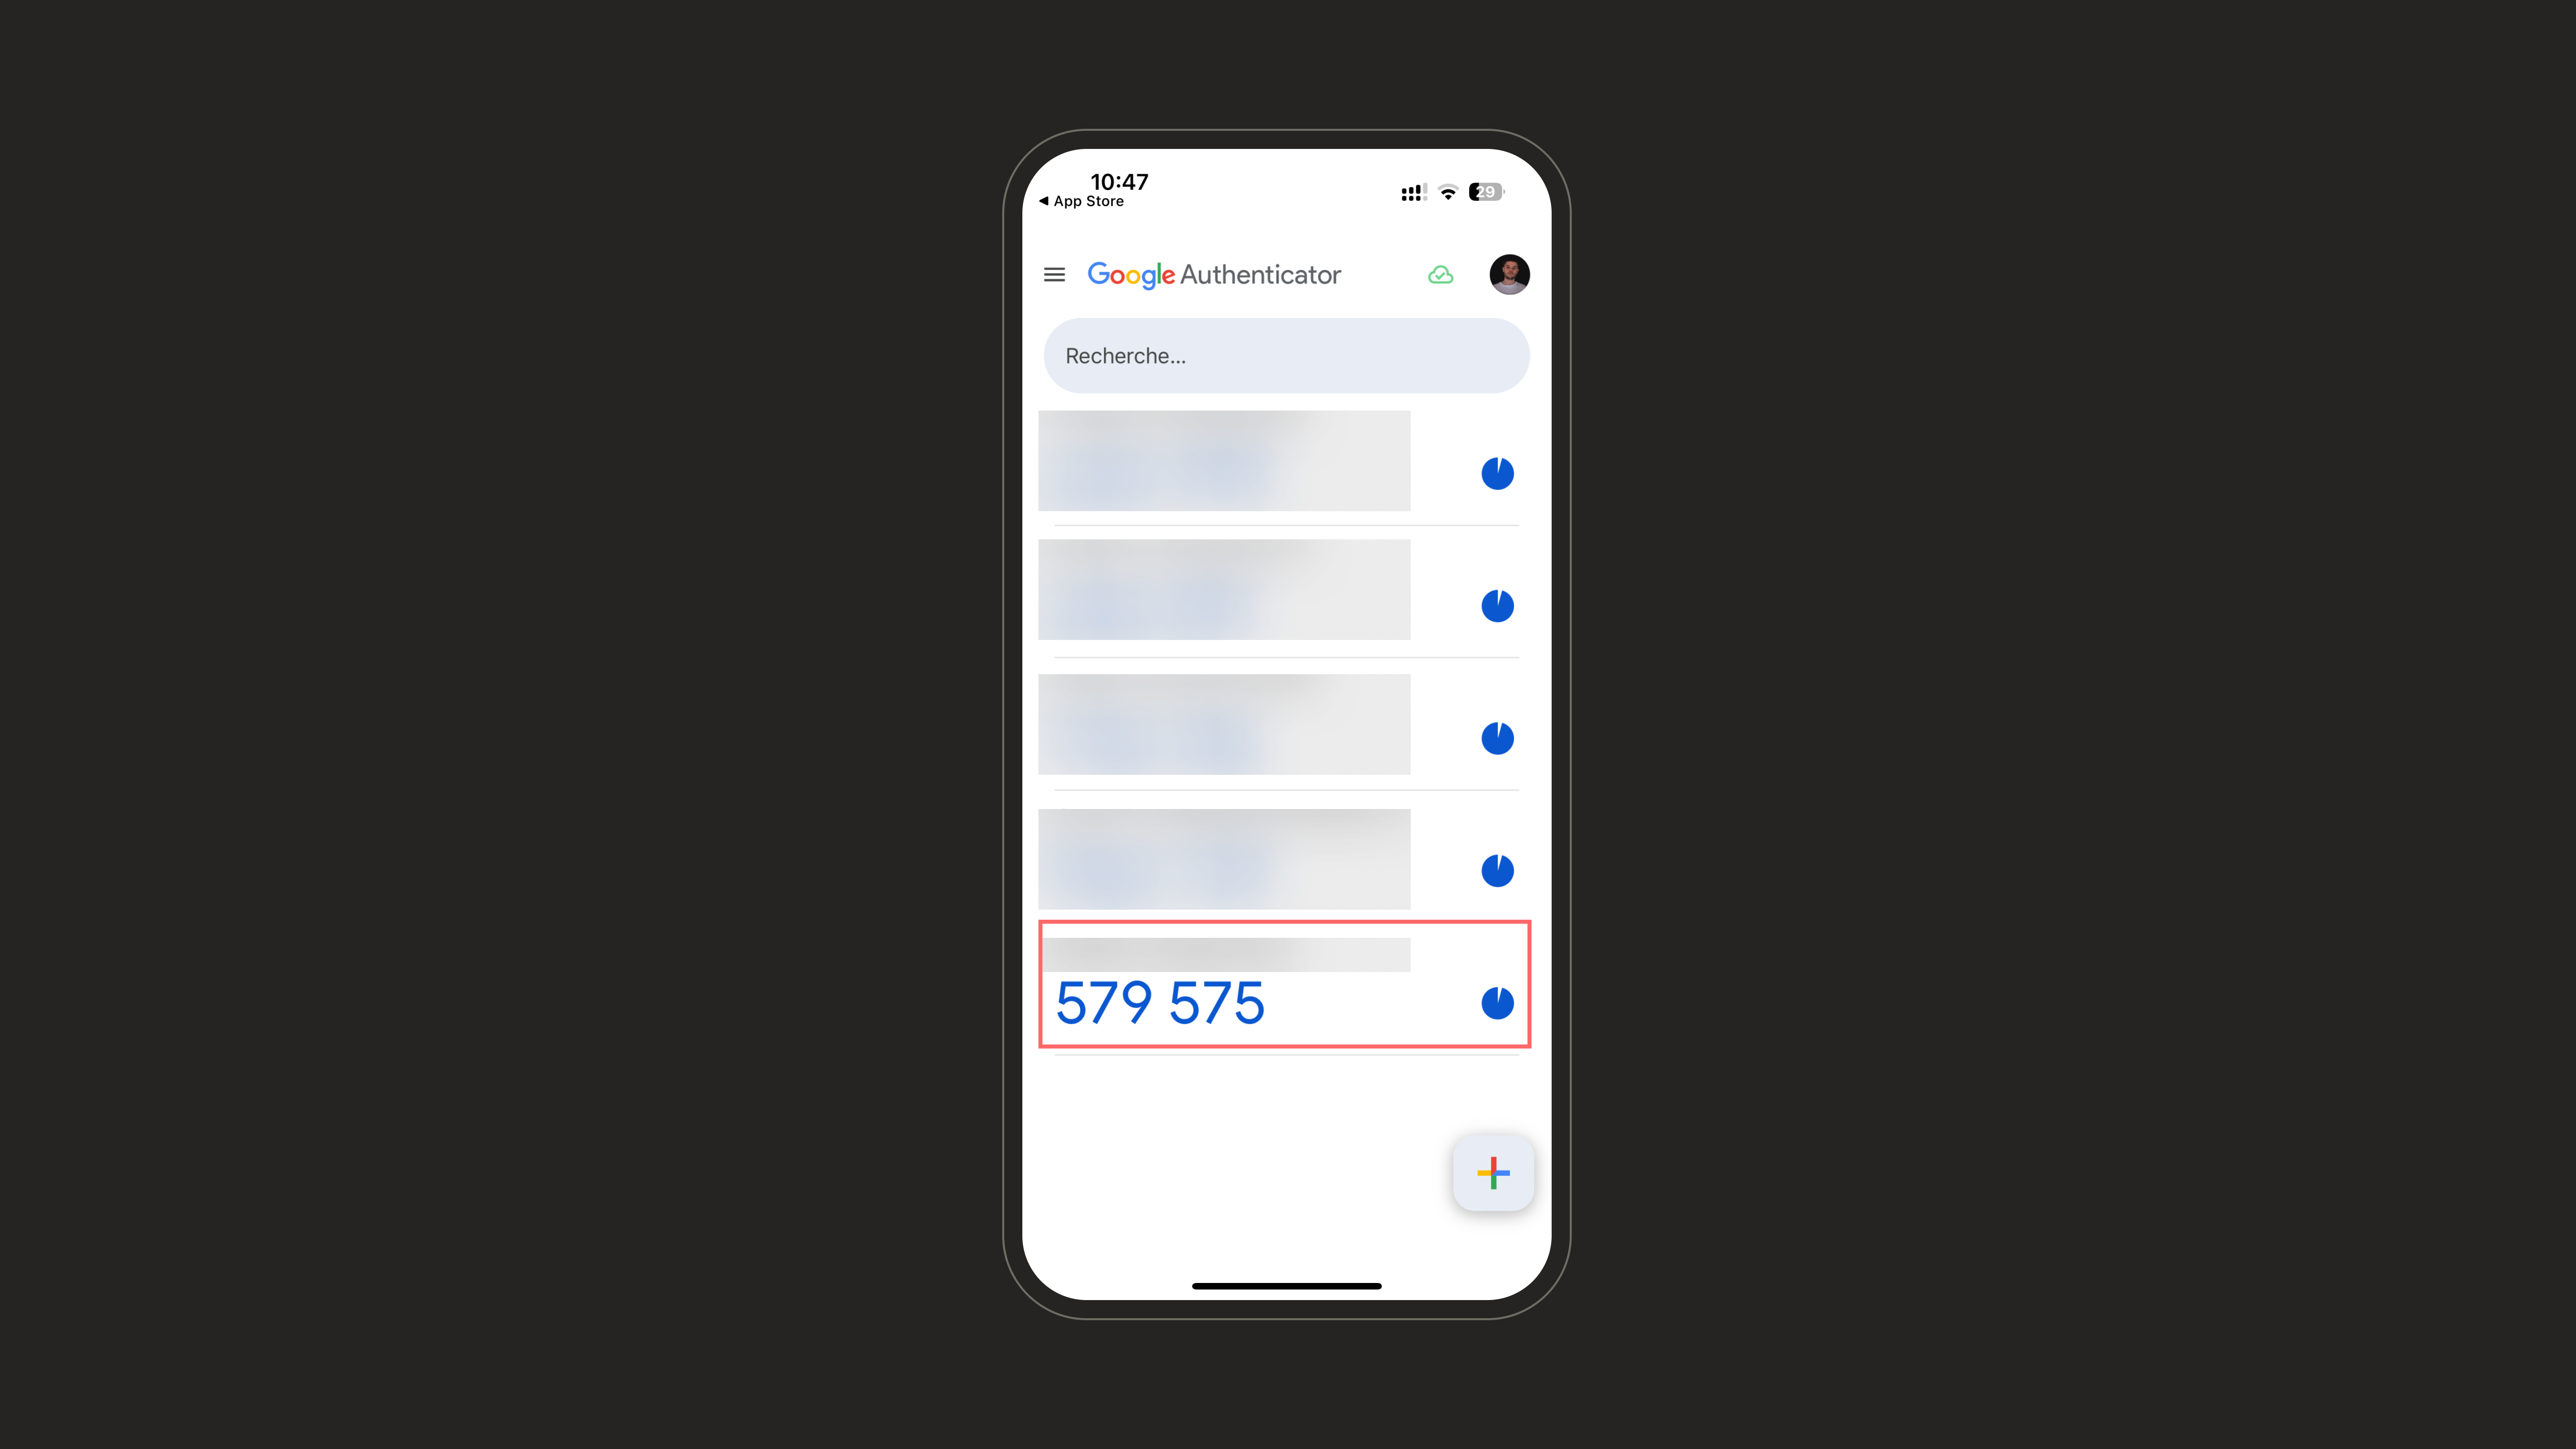
7
Turn 2FA on or off
Once 2FA has been set up, use the toggle in the 2FA box to turn it on or off for your account at any time. When it’s on, you’re asked for a code at every login; when it’s off, 2FA is disabled but your authenticator stays configured.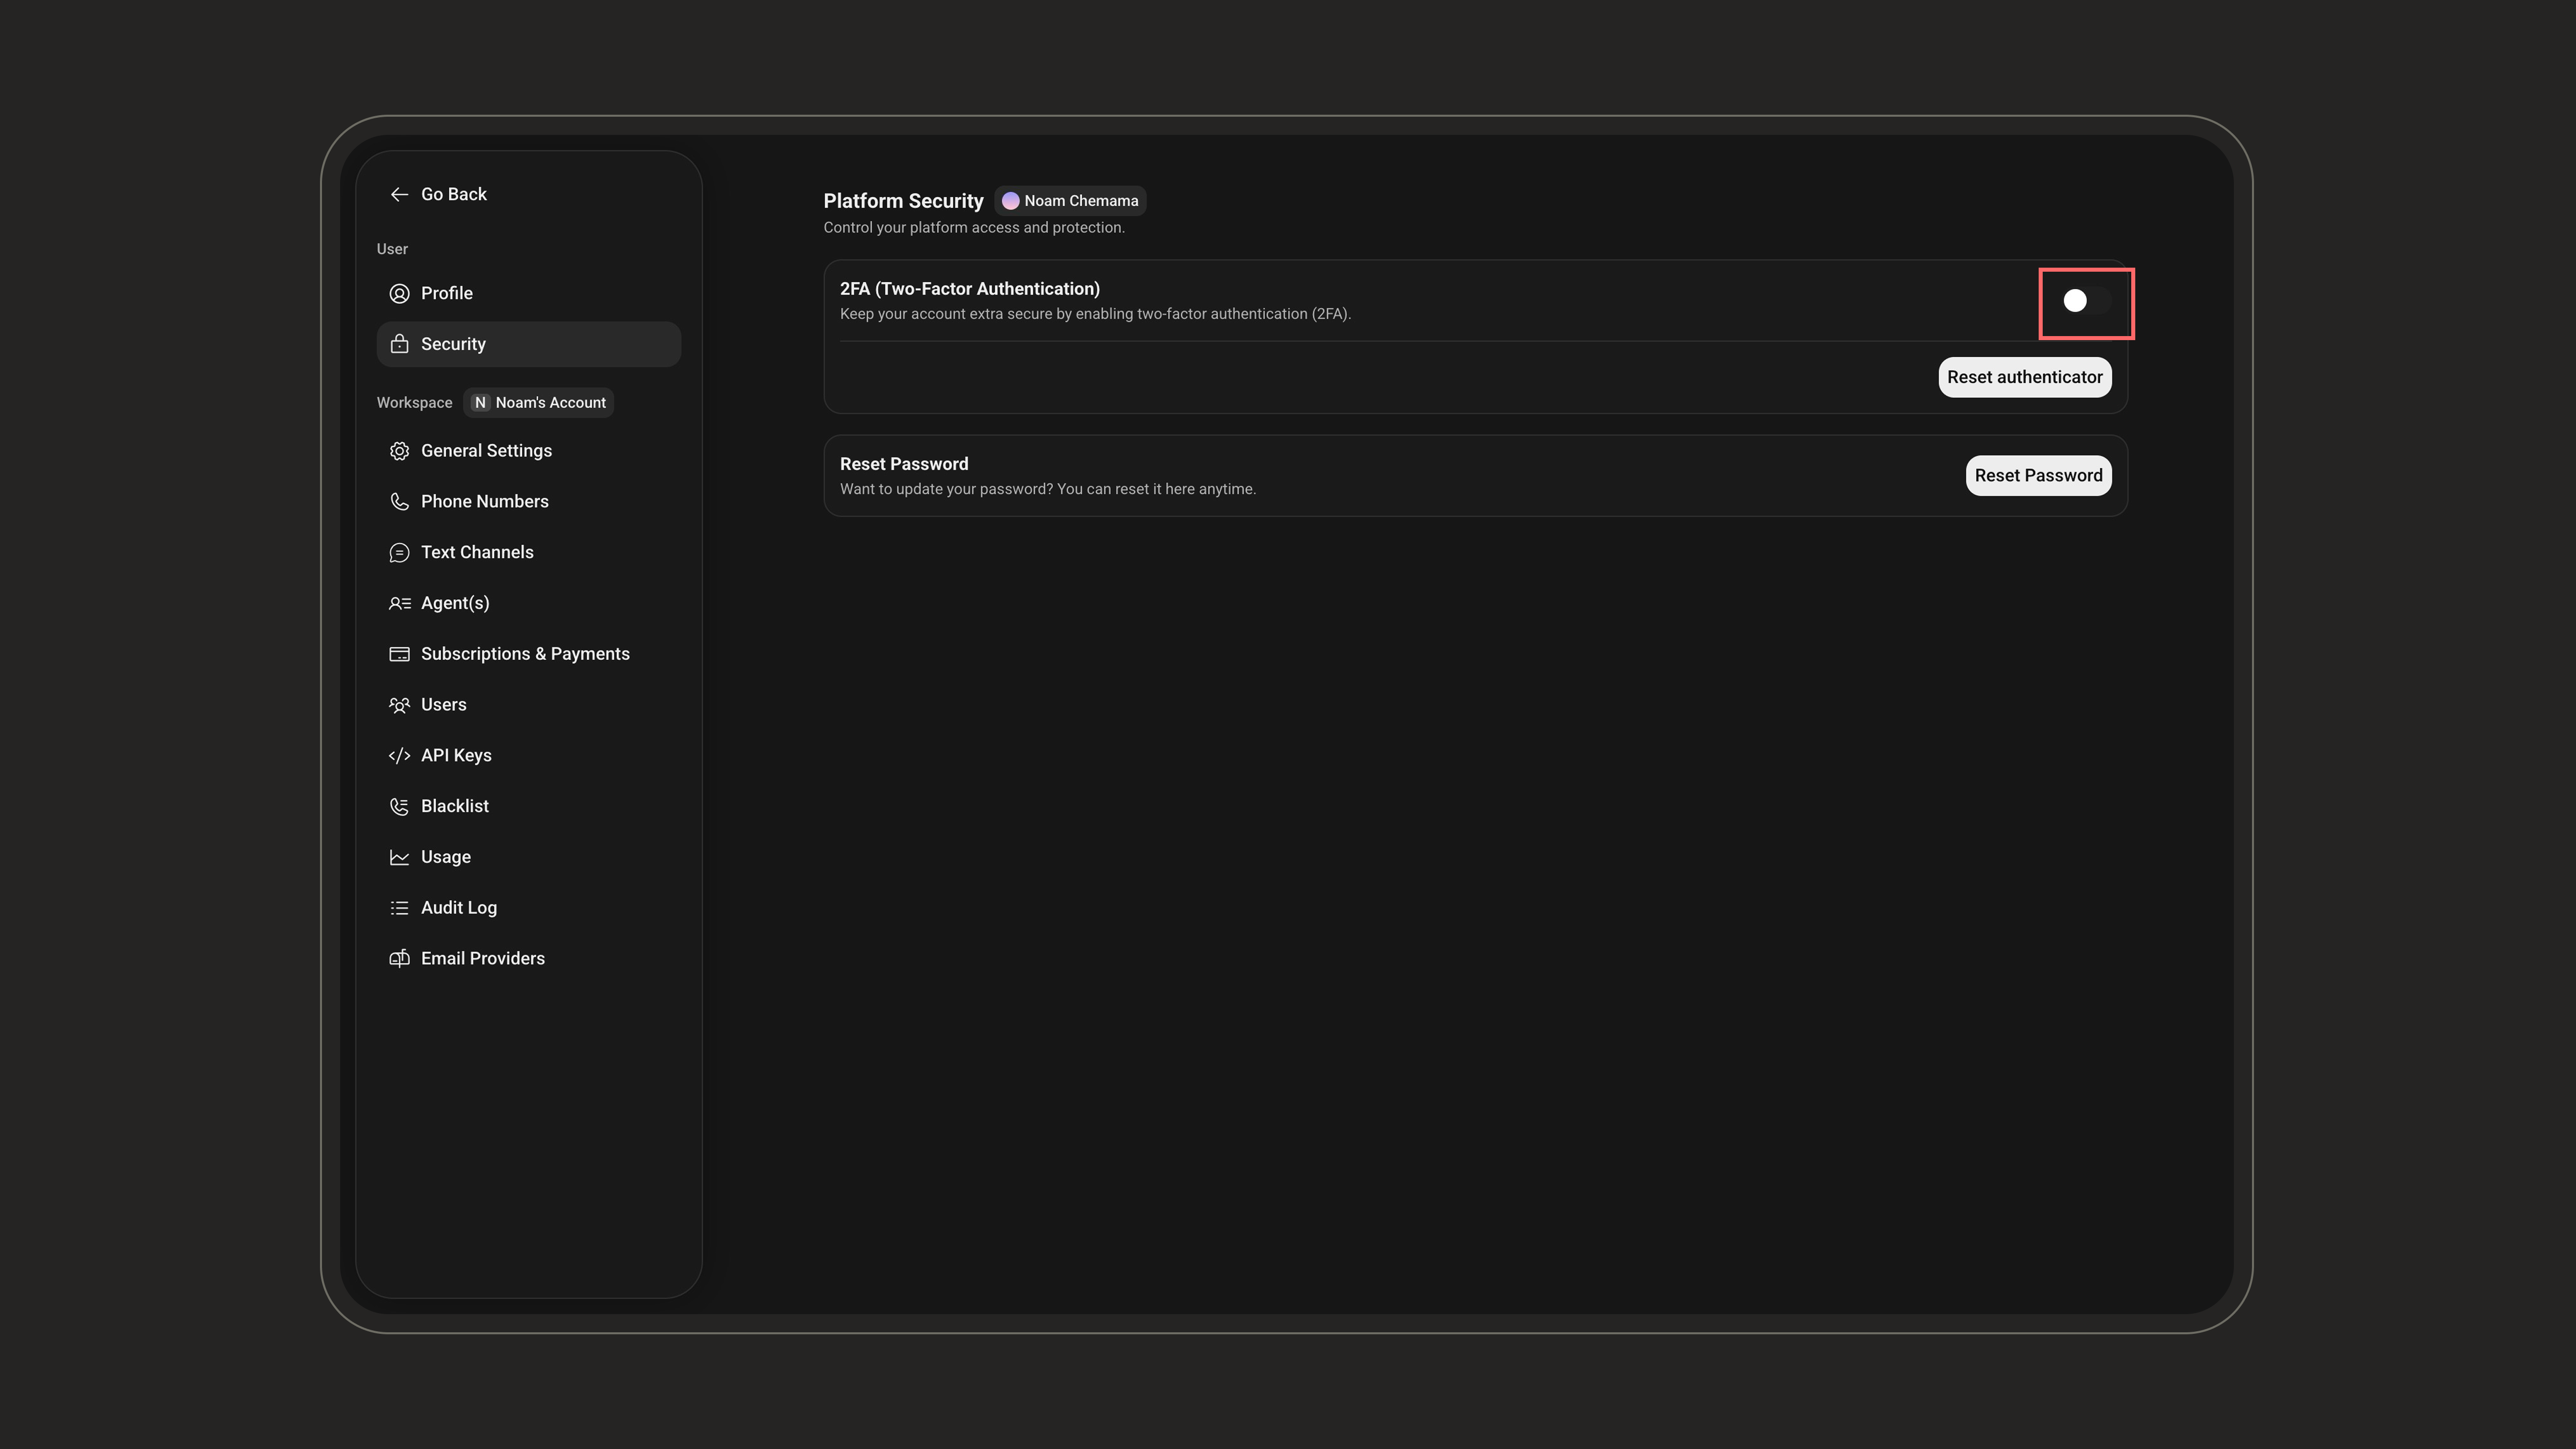
Once the code is verified, 2FA is active on your account. You’ll be asked for a code at every login.
Lost access to your authenticator app or got a new phone? Click Reset authenticator in the 2FA box (the same button used during setup) to unlink the current device and reopen the QR window to set up a new one.
8
How it works at login
Once 2FA is active, every login prompts you for a verification code: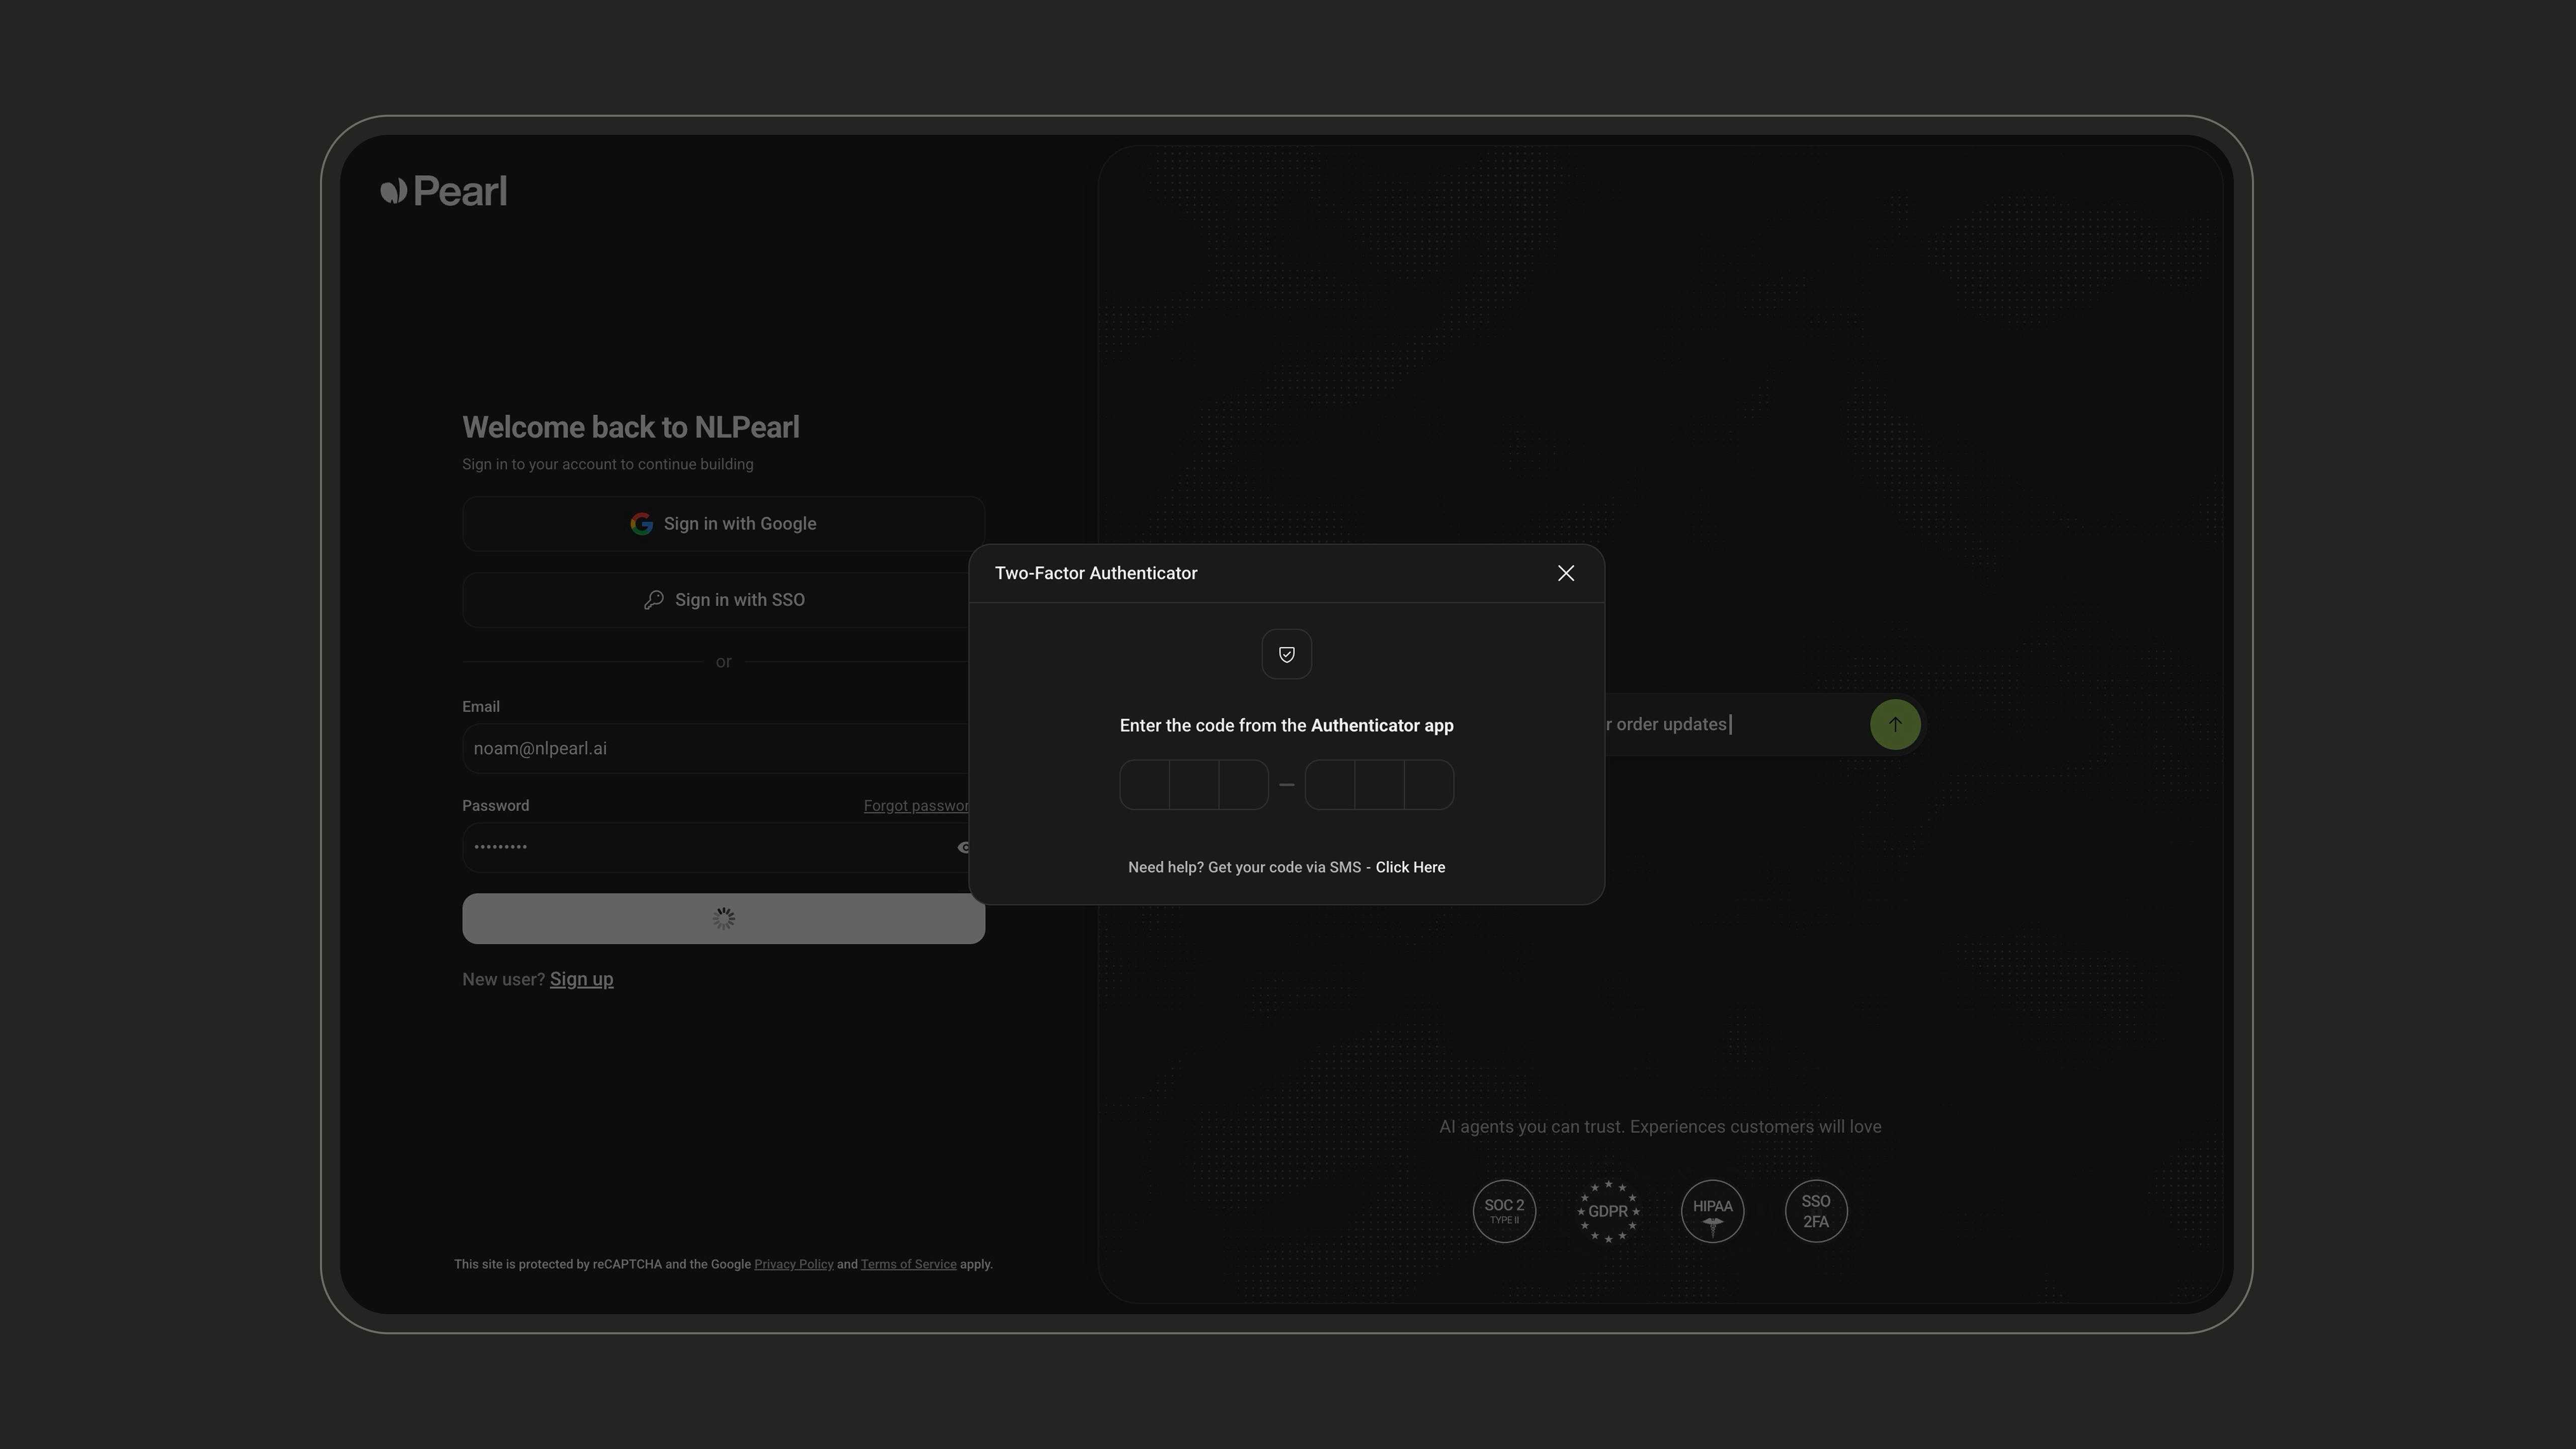
- Enter the current 6-digit code from your authenticator app.
- If you can’t reach your app, click Get your code via SMS in the prompt to receive the code by text instead.
Resetting Your Password
You can update your account password at any time from the Platform Security page. In the Reset Password section, click Reset Password and follow the prompts.