
What is a Pearl?
Creating a Pearl is similar to hiring a new employee. You choose its language, character, and provide a script that explains how it should interact with customers, guiding its actions, knowledge, and responses.Step-by-Step Guide to Creating a Simple Pearl
Select “Simple” Mode and Define the Pearl’s Use Case
When you first land on the platform, you’ll have the option to select a use case to start configuring your Pearl. If you skip this step, you can still create a Pearl at any time by navigating to the Phone Pearls page and clicking the Create button.Choose the type of Pearl that fits your use case below.
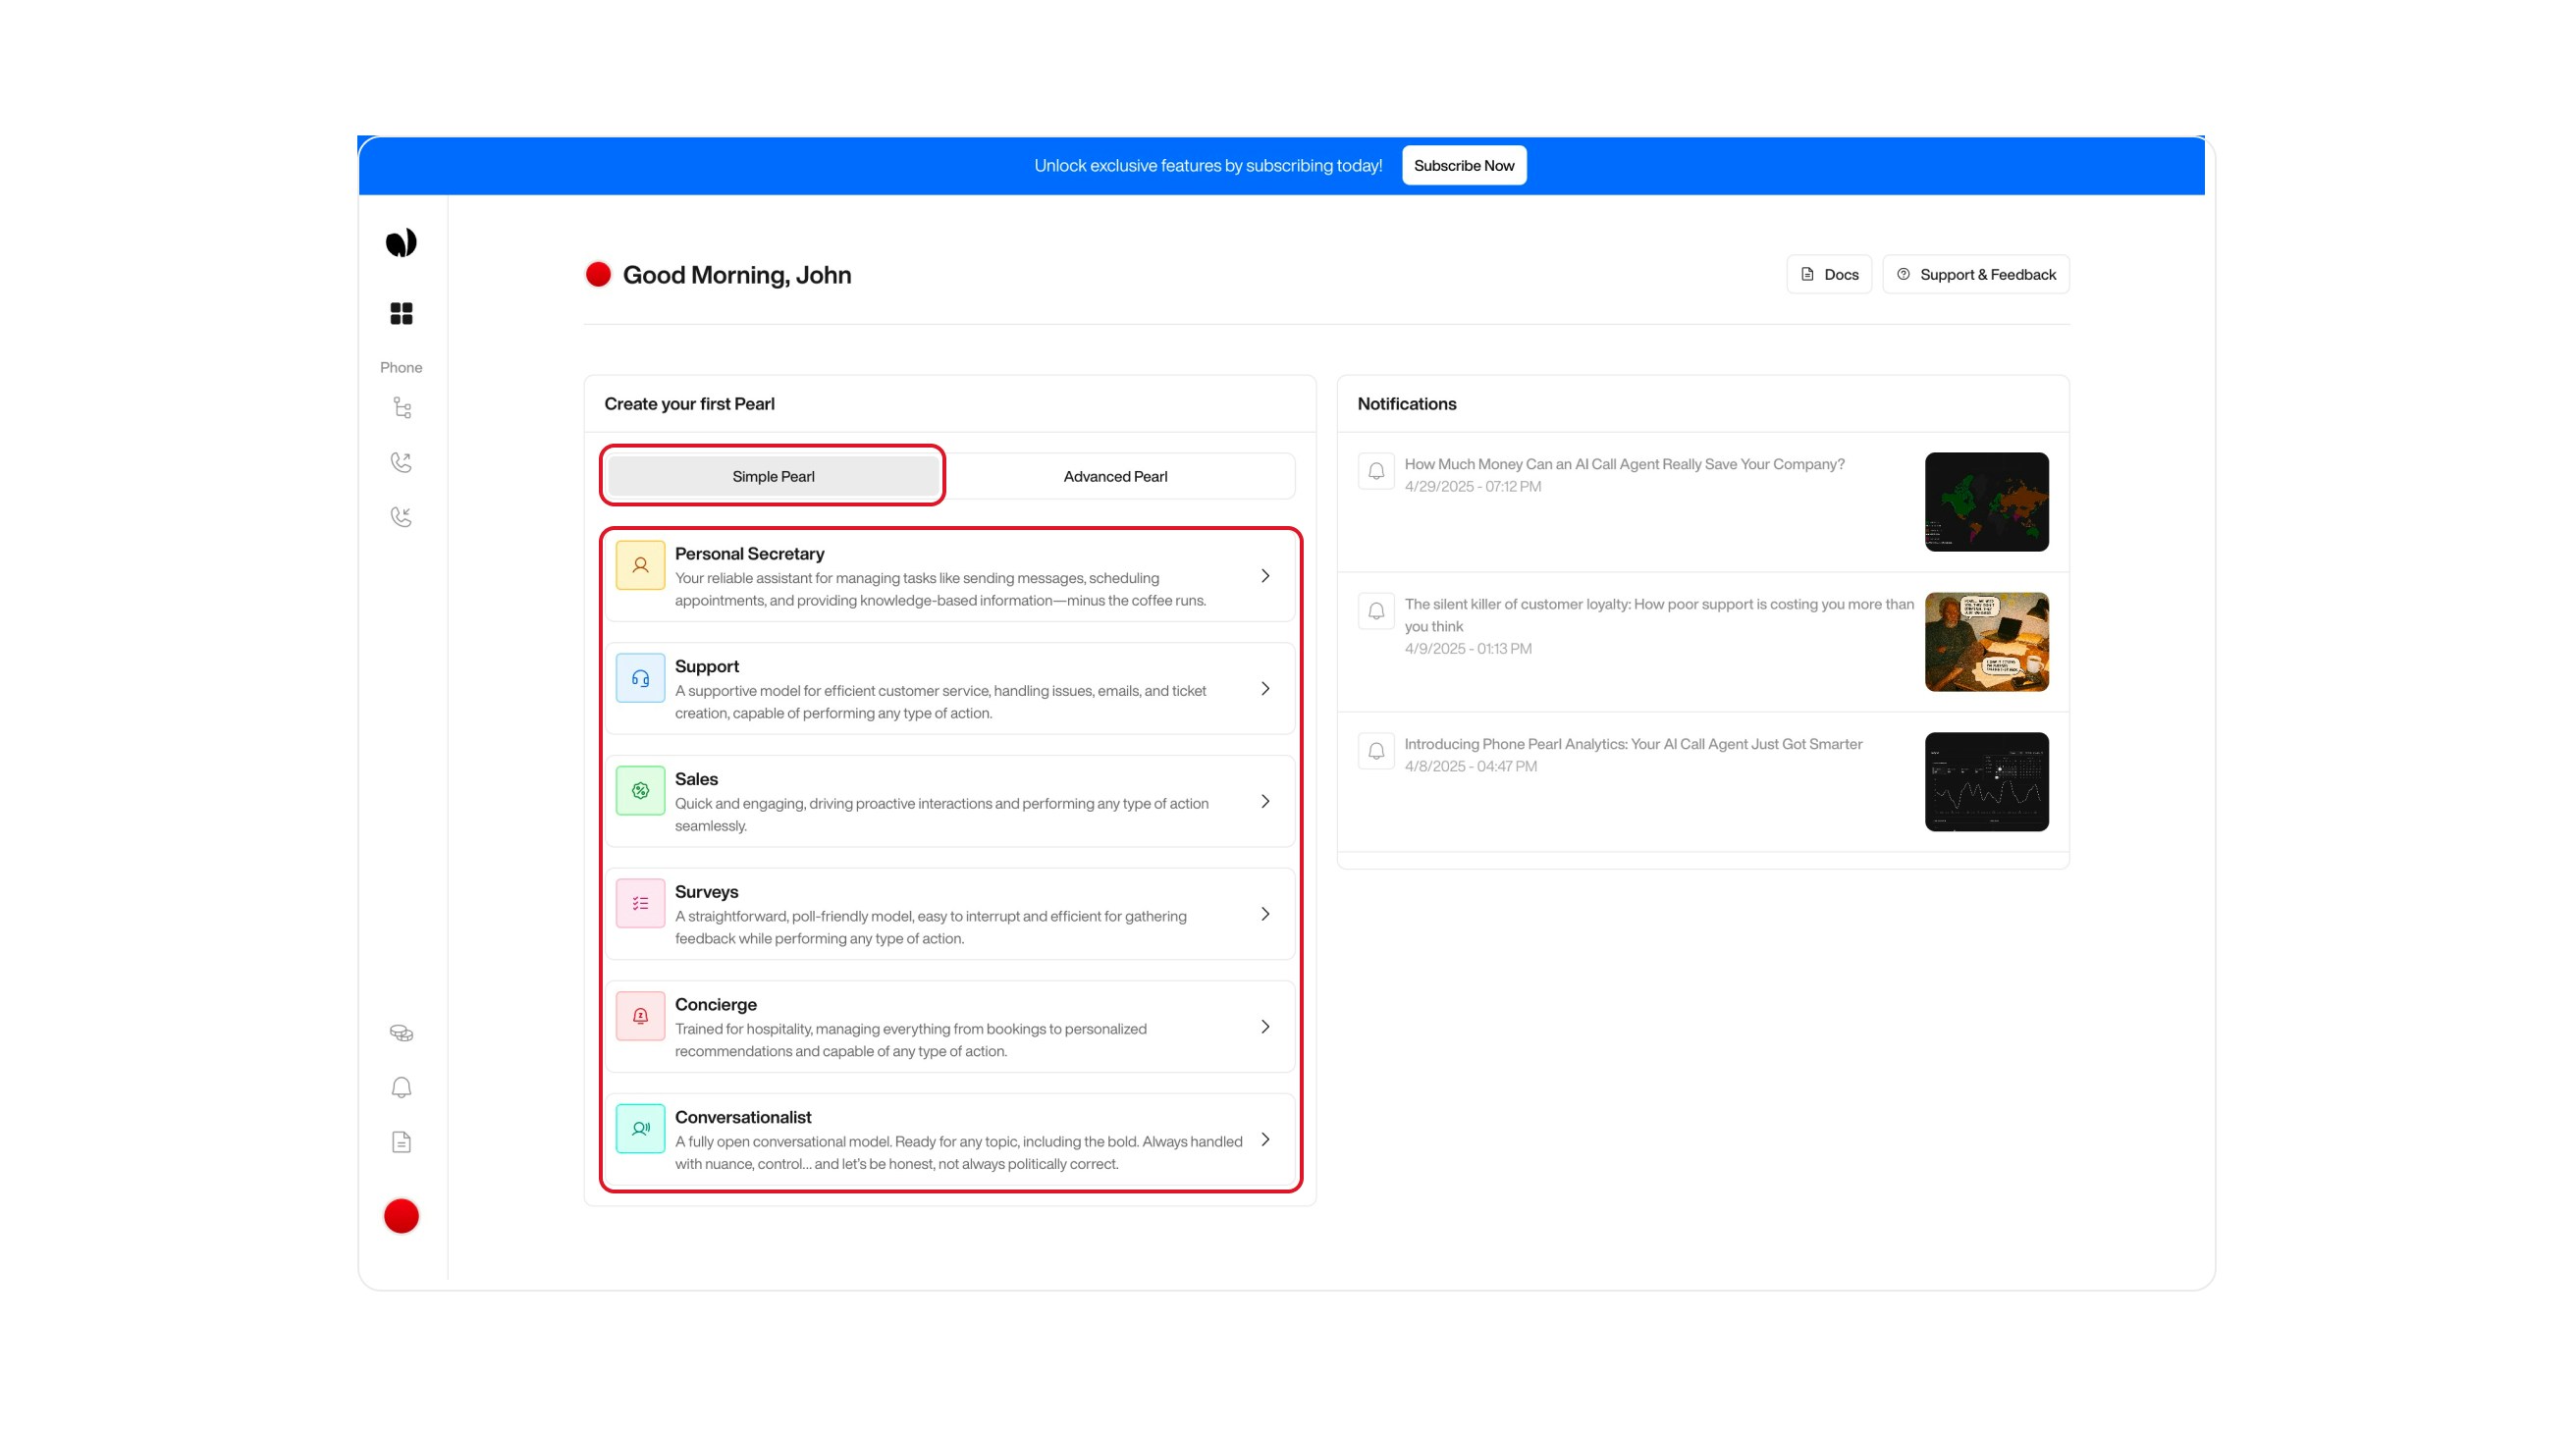
To create a Simple Pearl, make sure to select the Simple tab at the top of the page before proceeding.
| Model | Description |
|---|---|
PersonalSecretary | A reliable assistant for sending messages, scheduling appointments, and delivering knowledge-based responses — minus the coffee runs. |
Support | Efficient for handling customer service, managing issues, sending emails, or creating tickets. Handles any action smoothly. |
Sales | Fast and engaging, ideal for proactive conversations, lead qualification, and seamless sales-related tasks. |
Surveys | Great for collecting feedback. Lightweight and easy to interrupt while remaining effective in any context. |
Concierge | Tailored for hospitality. Can handle bookings, provide recommendations, and perform various service-oriented actions. |
Conversationalist | A fully open conversational model. Great for exploring ideas, casual discussions, or anything that requires nuance — even bold topics. |


Set a Name and Icon for Your Pearl
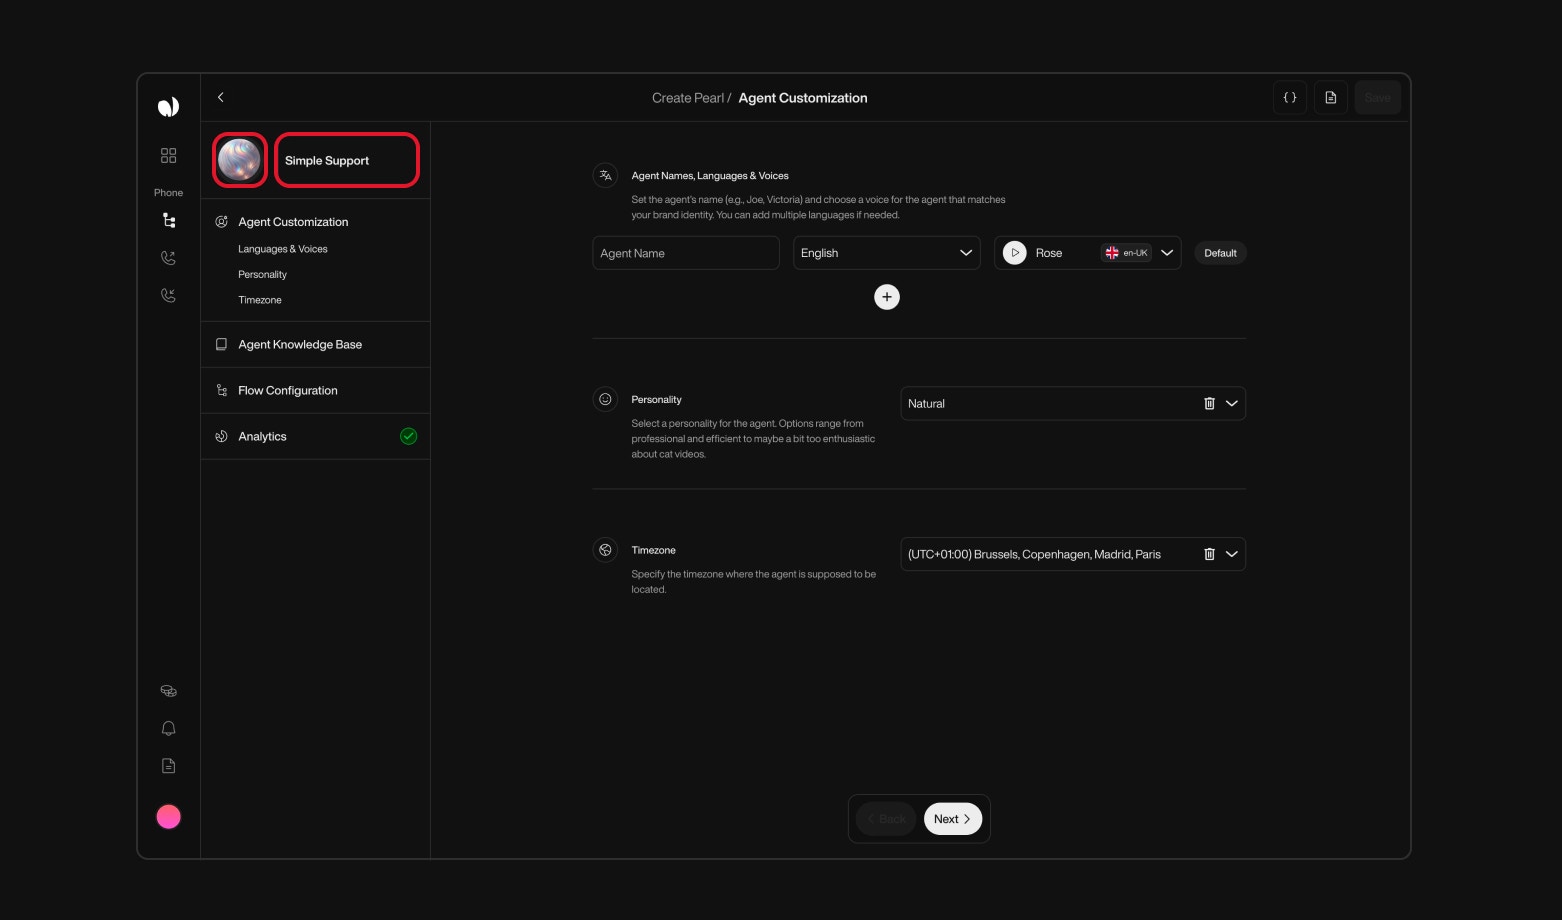
Before diving into the setup of your agent’s features and behaviors, begin by giving your Pearl a name and a face. This simple step helps make your agent feel more personal and easier to identify as you build it out.Start by assigning a clear, friendly name to your Pearl. It should be easy to recognize at a glance — especially if you plan to create multiple Pearls later. A good name helps you keep things organized and find the right agent quickly.Then, choose an icon from the avatar gallery to visually represent your Pearl. This visual identity gives your agent a face and helps you spot it instantly, even in a long list of Pearls.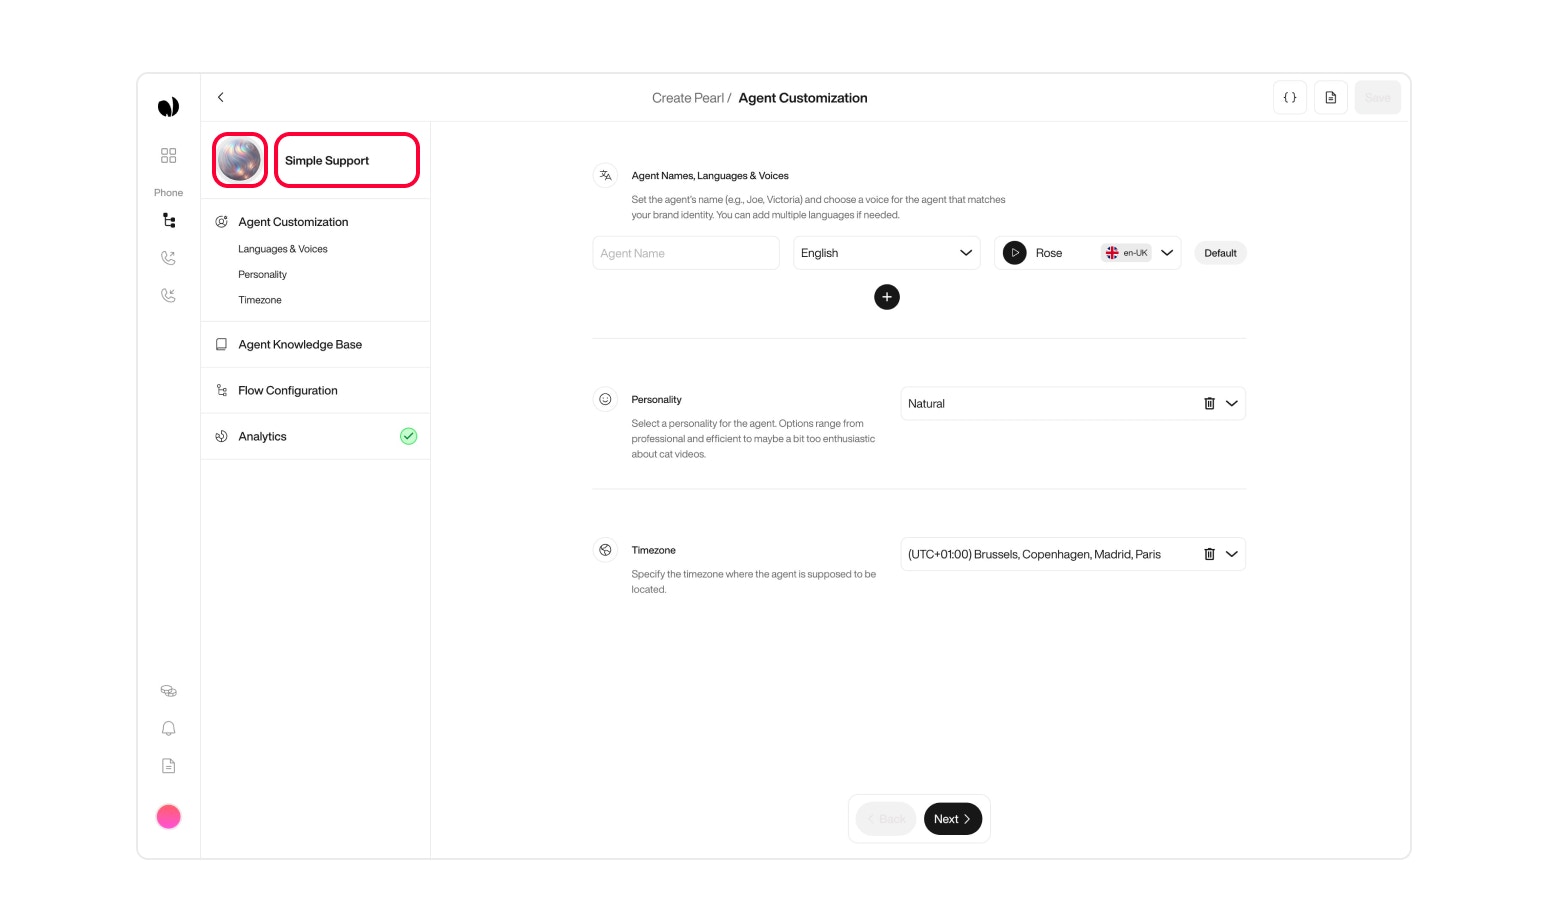


Agent Customization
In this step, you can customize your voice agent’s identity and behavior by setting its name, language, voice, personality, and timezone.
Agent Names, Languages & VoicesTo define your agent’s identity: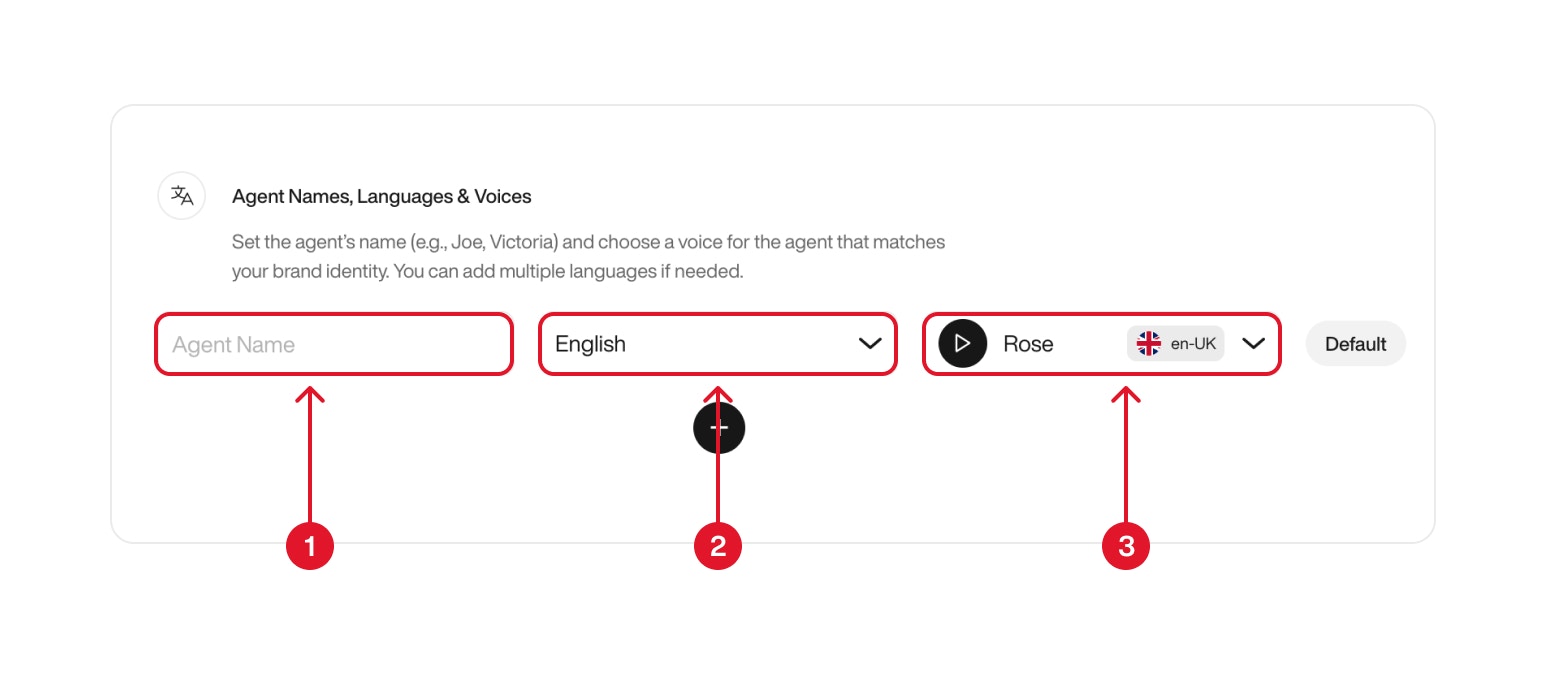
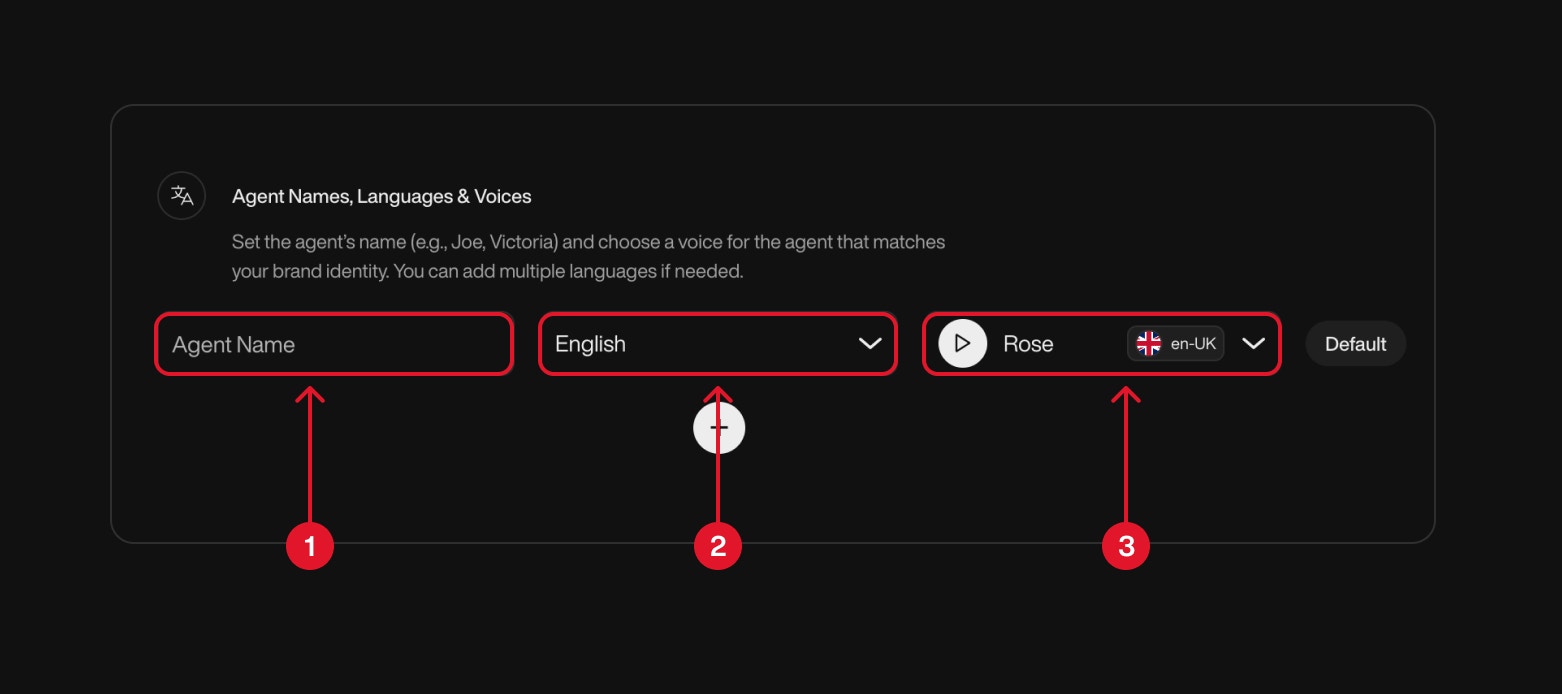
Multilingual Agent Configuration:You can set up your Pearl to support multiple languages by creating several agent configurations — each with a specific name, language, and voice.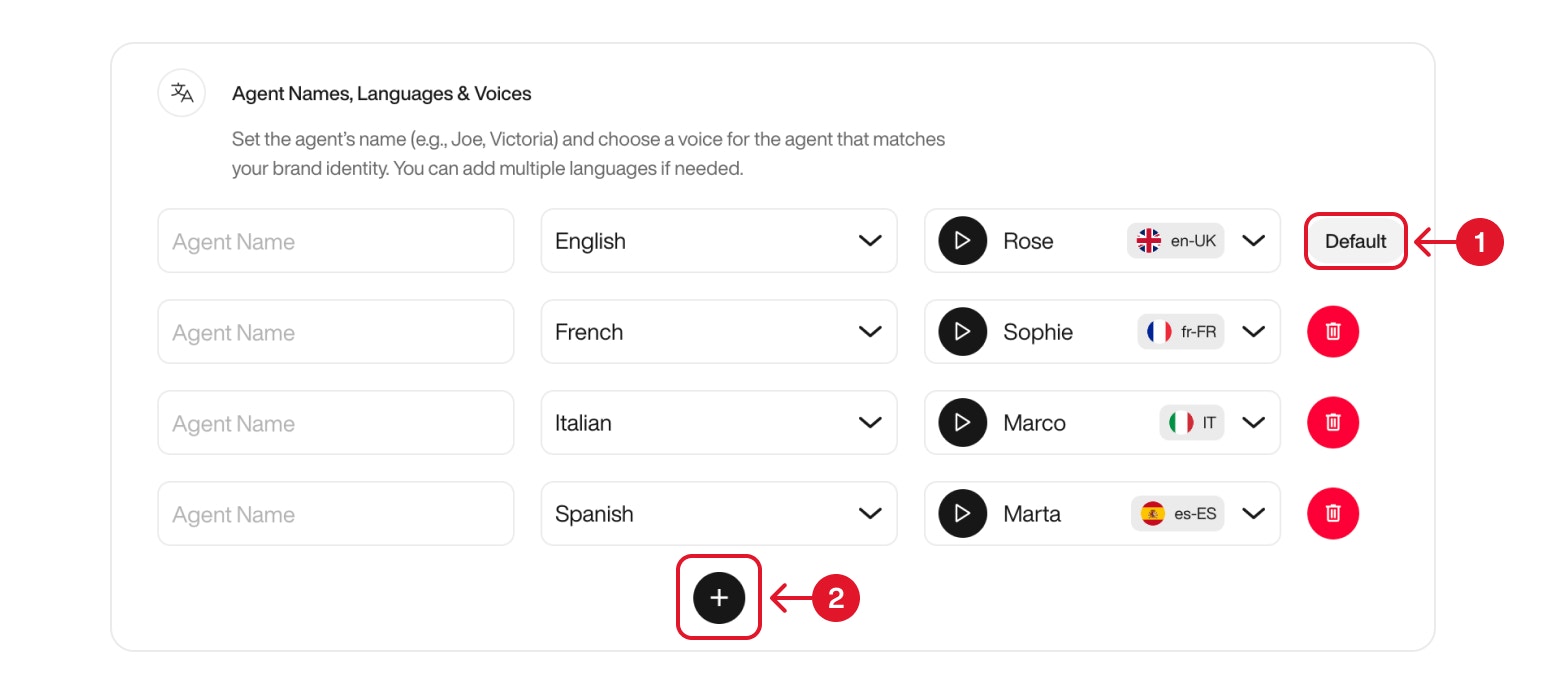
PersonalityYour AI agent can take on a wide range of personalities — from natural and professional to wild, fictional, or downright iconic.
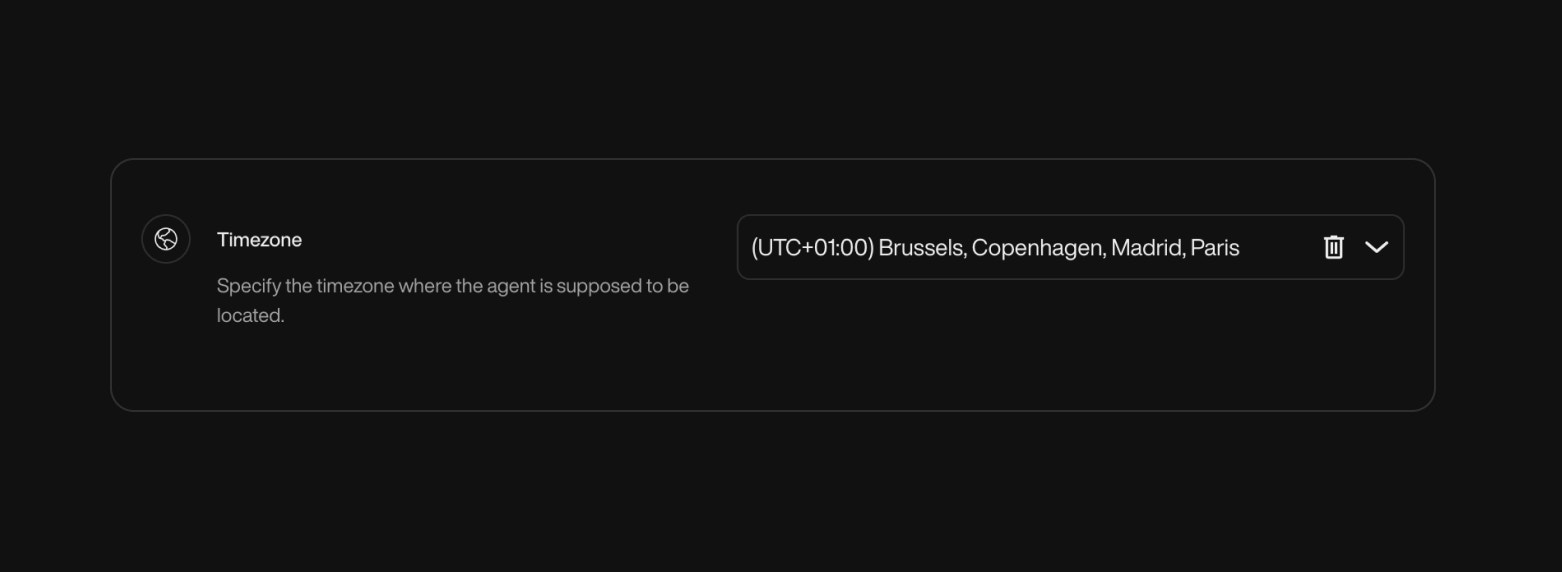
TimezoneDefine the timezone of the agent. This influences time-related actions, such as booking meetings.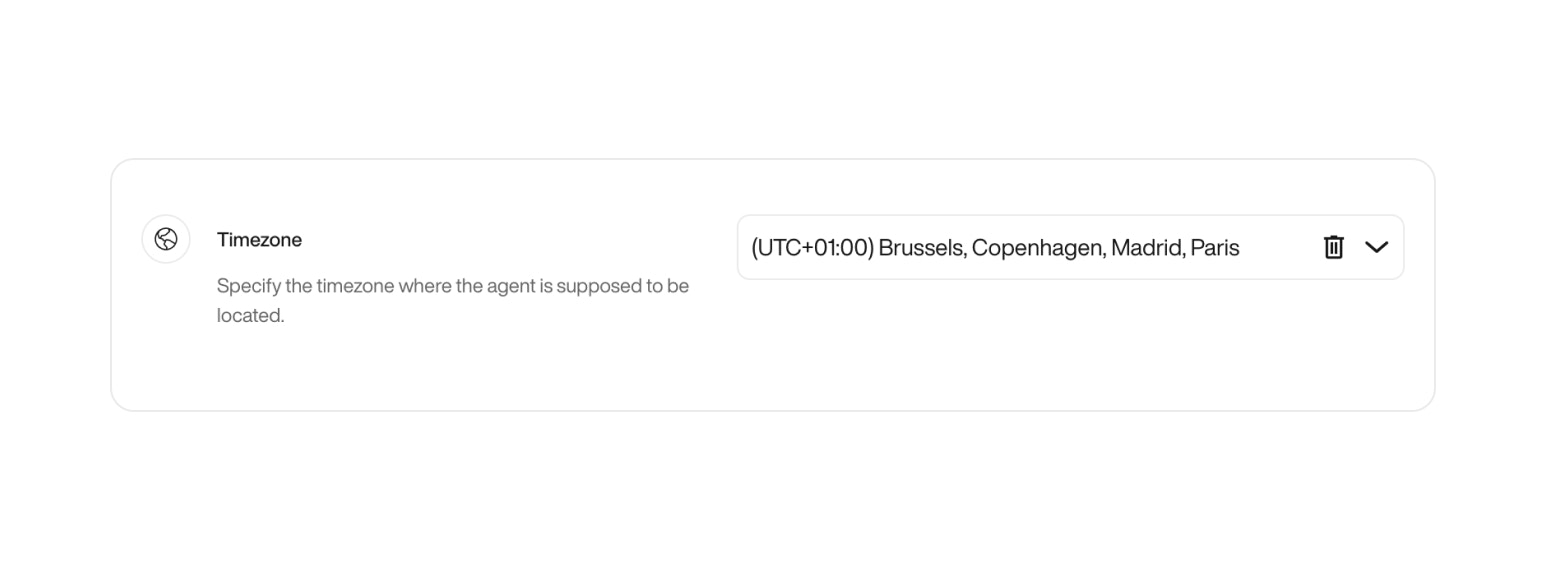
- (1) Agent Name – Give your agent a name (e.g., Joa, Victoria). This name helps humanize the interaction and reflect your brand identity.
- (2) Language – Select the default language your agent will speak. This ensures accurate pronunciation and localized expressions.
- (3) Voice – Choose the voice that will represent your agent. You can preview voices and select the one that fits your tone.


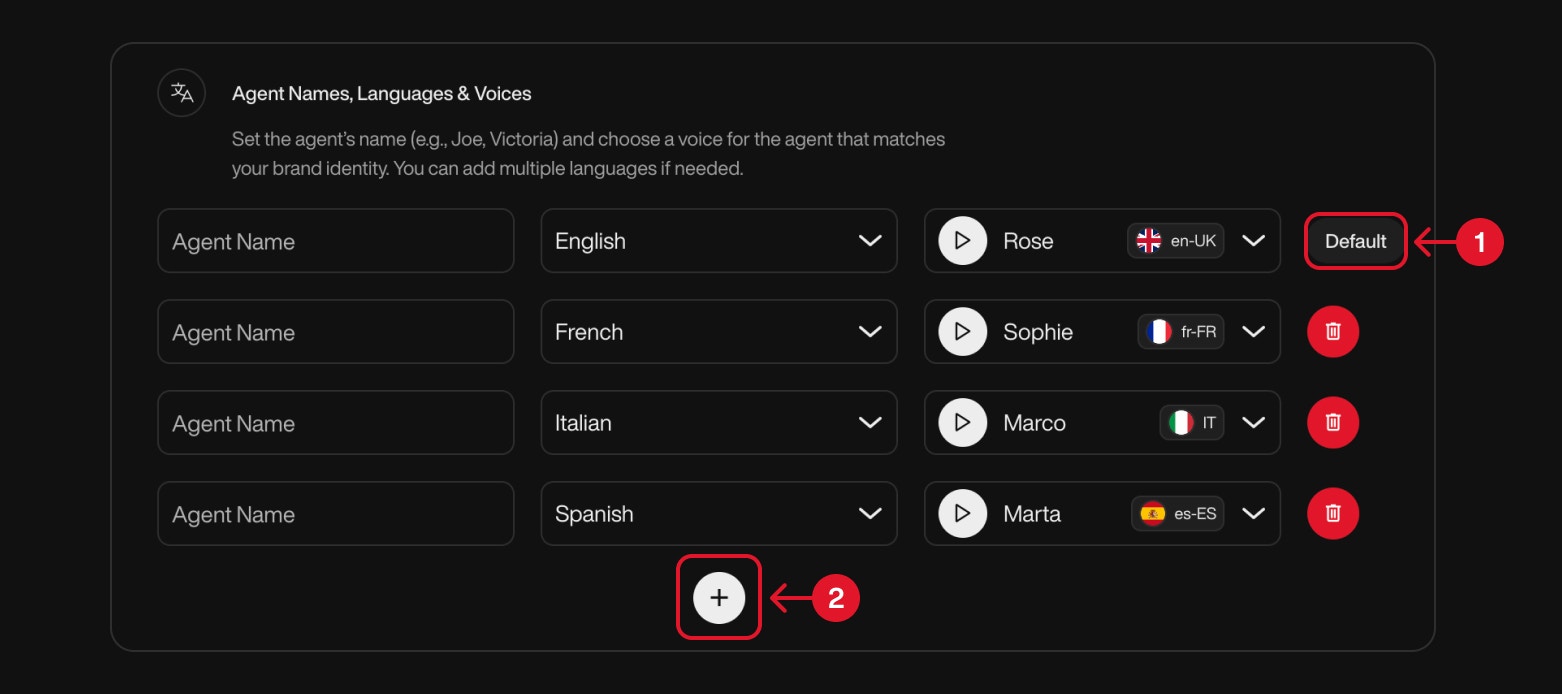
Multilingual Agent Configuration:You can set up your Pearl to support multiple languages by creating several agent configurations — each with a specific name, language, and voice.
- To add a new language configuration, click on the ”+” button (2). This allows you to define additional agents who can handle conversations in other languages.
- Each configuration should include a name (used during calls), a language, and a corresponding voice.
- The first agent you create is automatically marked as the Default Agent (1). This agent will always initiate the conversation when a call begins, unless another language is requested by the caller.
You can define as many language configurations as needed — perfect for global audiences or multilingual teams.


Explore Voice and Language to view all the language options available.
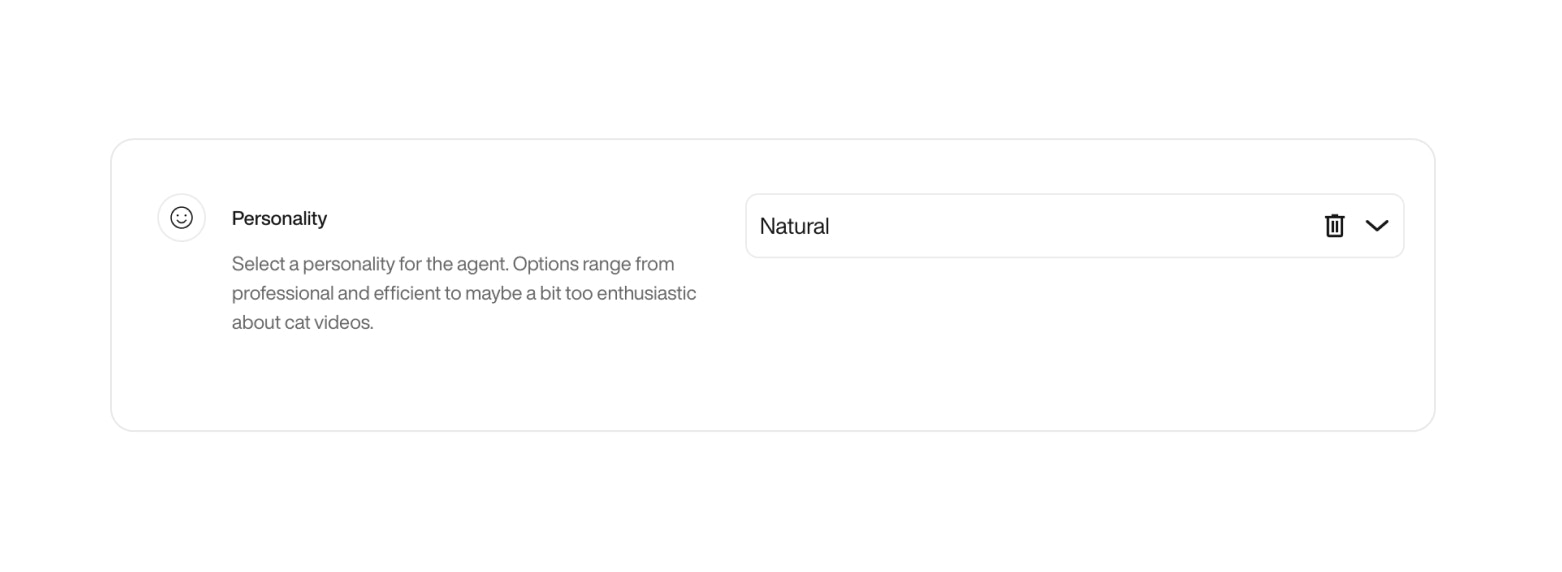
PersonalityYour AI agent can take on a wide range of personalities — from natural and professional to wild, fictional, or downright iconic.
| Personality Name | Description (vibe / reference) |
|---|---|
| Natural | Neutral and balanced — default tone. |
| Friendly Consultant | Warm, helpful, and a touch conversational. |
| Aggressive Closer | Direct, assertive, always aiming for a “yes.” |
| Donald Trump | Bold, confident, and controversial. |
| Joe Biden | Soft-spoken, empathetic, with a hint of grandpa energy. |
| Wolf of Wall Street | Energetic, persuasive, and money-focused. |
| Elon Musk | Visionary, quirky, and matter-of-fact. |
| Kevin Hart | Fast-talking and hilarious. |
| The Rock | Charismatic and full of hype. |
| Jar Jar Binks | Clumsy comic relief with a chaotic syntax. |
| Yoda | Wise, reversed sentence order, it has. |
| Tommy Shelby | Cold, calculated, Peaky Blinders style. |
| Saul Goodman | Slick, legal hustler energy. |
| Heisenberg (Walter White) | Dark, serious, calculated — “I am the danger.” |
| Jesse Pinkman | Street-smart, informal, frequent “yo.” |
| Optimus Prime | Heroic, formal, and noble. |
| Megatron | Villainous and authoritarian. |
| Son Goku | Cheerful and battle-ready. |
| Daenerys Targaryen | Regal, determined, breaker of chains. |
| Hermione Granger | Book-smart, precise, articulate. |
| Mulan | Brave, focused, honorable. |
| Lady Gaga | Glamorous and creatively intense. |
| Tony Stark (Iron Man) | Witty, tech-savvy, and full of sarcasm. |
| Elsa (Frozen) | Calm, regal, with an icy edge. |
| Michael Scott (The Office) | Awkward, unpredictable, tries to be funny. |
| Moana | Adventurous, optimistic, and kind. |
| Frida Kahlo | Artistic, deep, and passionate. |
| Jack Sparrow | Eccentric and unpredictable. |
| Indiana Jones | Adventurous and confident. |
| Beyoncé | Empowered, elegant, and commanding. |
| Sherlock Holmes | Analytical, detached, brilliant. |
| Tiana (The Princess & Frog) | Driven, grounded, and focused. |
| Charlie Chaplin | Silent-era charm with expressive tone. |
| Katniss Everdeen | Stoic, focused, and fiercely independent. |
| Groot | Repetitive but expressive (“I am Groot”). |
| Deadpool | Chaotic, irreverent, 4th-wall-breaking. |
| The Joker | Unhinged, theatrical, and darkly funny. |
| Loki | Mischievous, cunning, and charismatic. |
| Bugs Bunny | Witty, cheeky, and playful. |
| Pee-wee Herman | Eccentric and unpredictable. |
| Dr. Evil | Satirical villain, comically ambitious. |
| Borat Sagdiyev | Naive, awkward, hilariously inappropriate. |
| Albert Einstein | Brilliant, theoretical, with quirky logic. |
| Dorothy Gale | Innocent, curious, with wonder in her tone. |


Choose wisely — your agent’s personality will shape how it sounds and behaves in every interaction.
TimezoneDefine the timezone of the agent. This influences time-related actions, such as booking meetings.


Agent Knowledge Base
Before your Pearl can answer questions accurately, it needs context. This step helps define the essential background information your agent will rely on during conversations.
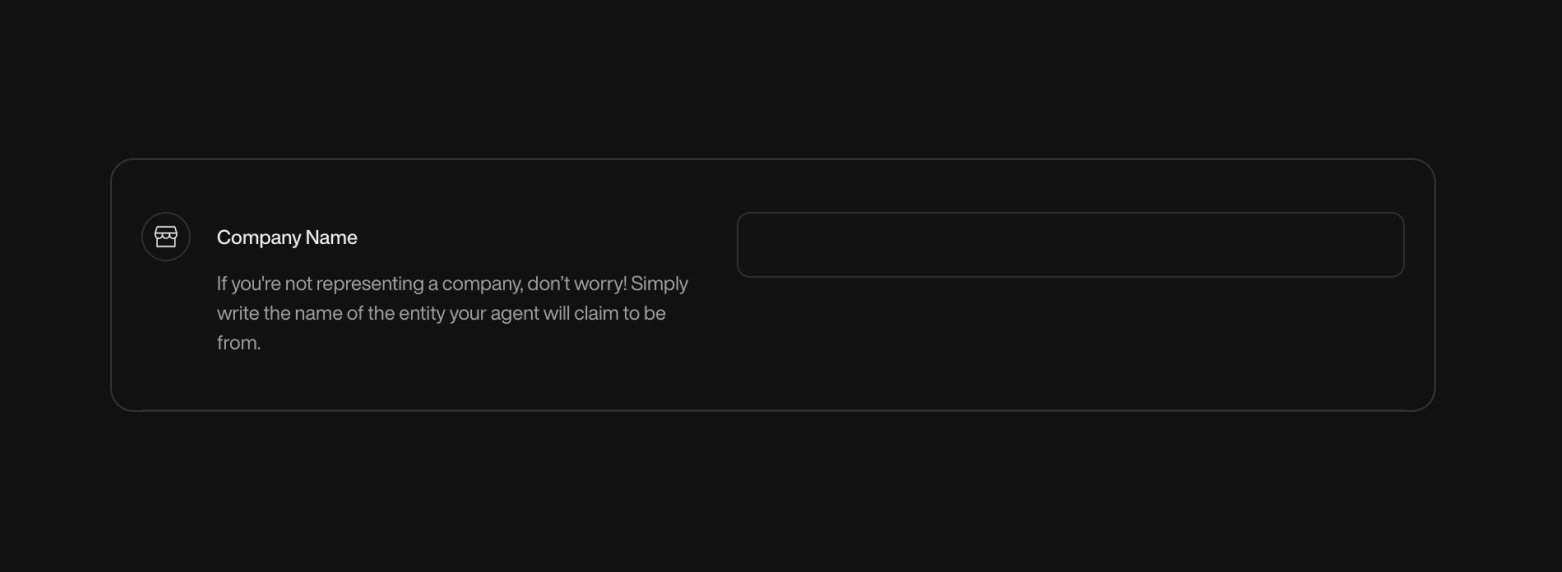
Company NameGive your Pearl the name of the company it represents. This name may be used when Pearl introduces itself or provides company-related information.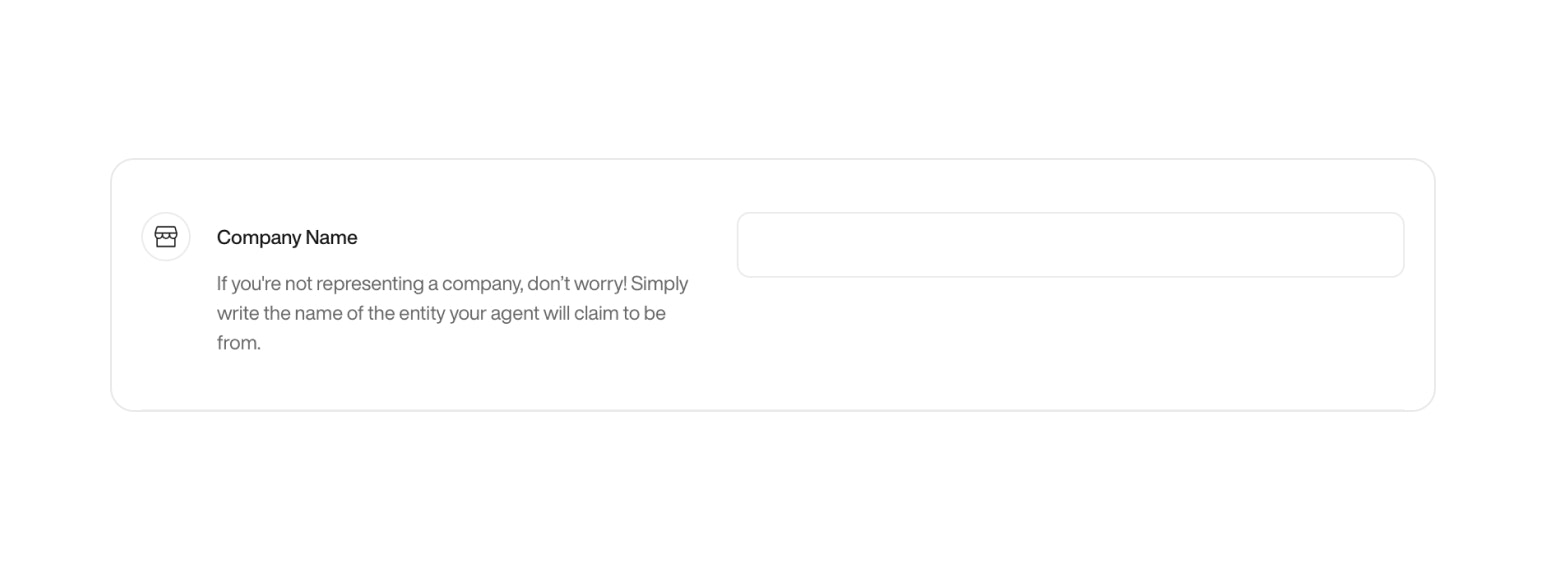
Company DescriptionAdd a brief company description including your industry, mission, or key services. This allows Pearl to answer questions with more contextual relevance.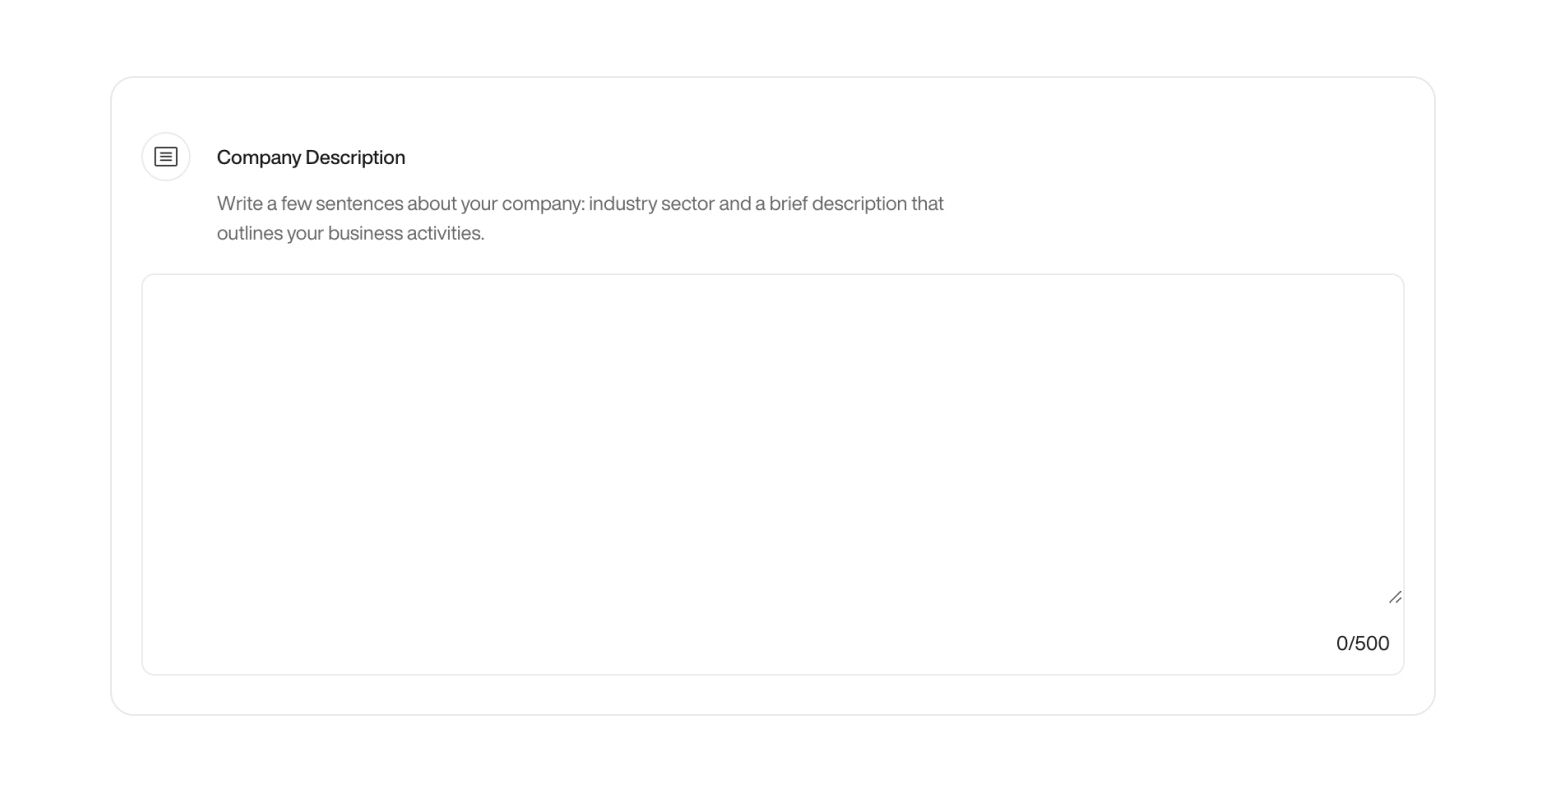
Pearl Knowledge BaseThis is where you teach Pearl what it needs to know to respond with relevance and accuracy. Add detailed information about your services, pricing, opening hours, locations, and any key operational data.Whether you’re describing how your subscription plans work, listing available services, or clarifying your business hours, this section allows Pearl to access structured information that supports more precise answers.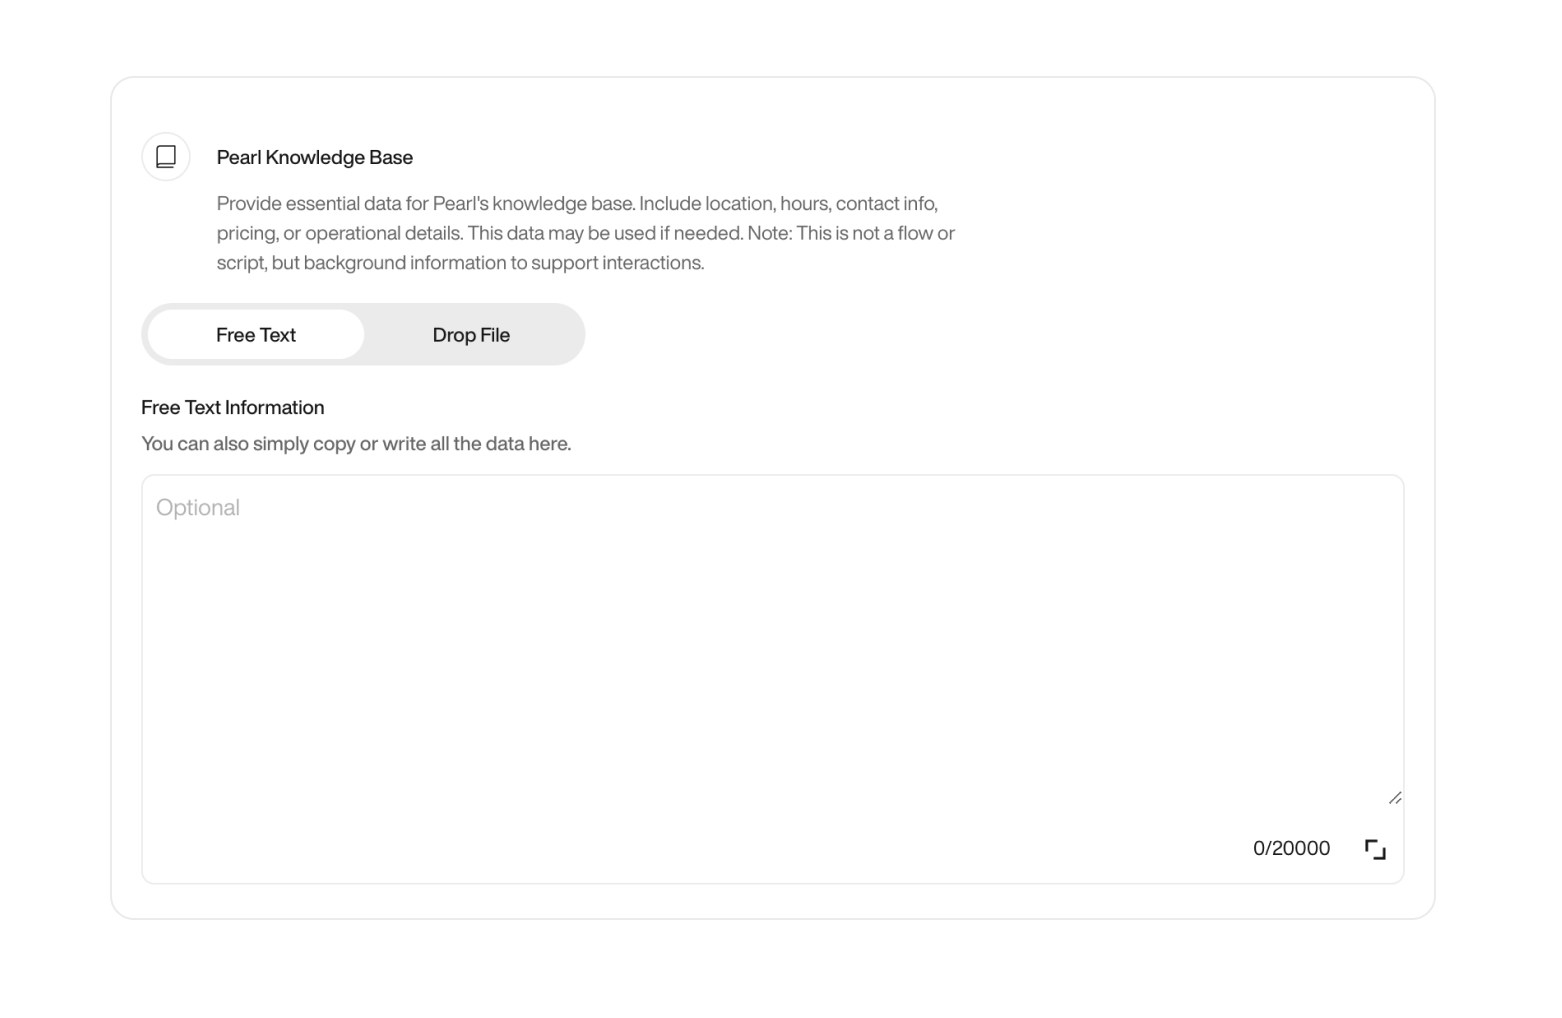
MemoryWhen enabled, Pearl remembers the user or lead, allowing it to seamlessly continue conversations from where they left off.

Speech Recognition KeywordsSome words are just… not in the dictionary. Whether you’re using brand-specific terms, creative product names, or industry jargon, teaching Pearl how to recognize them makes all the difference.Use this feature to define: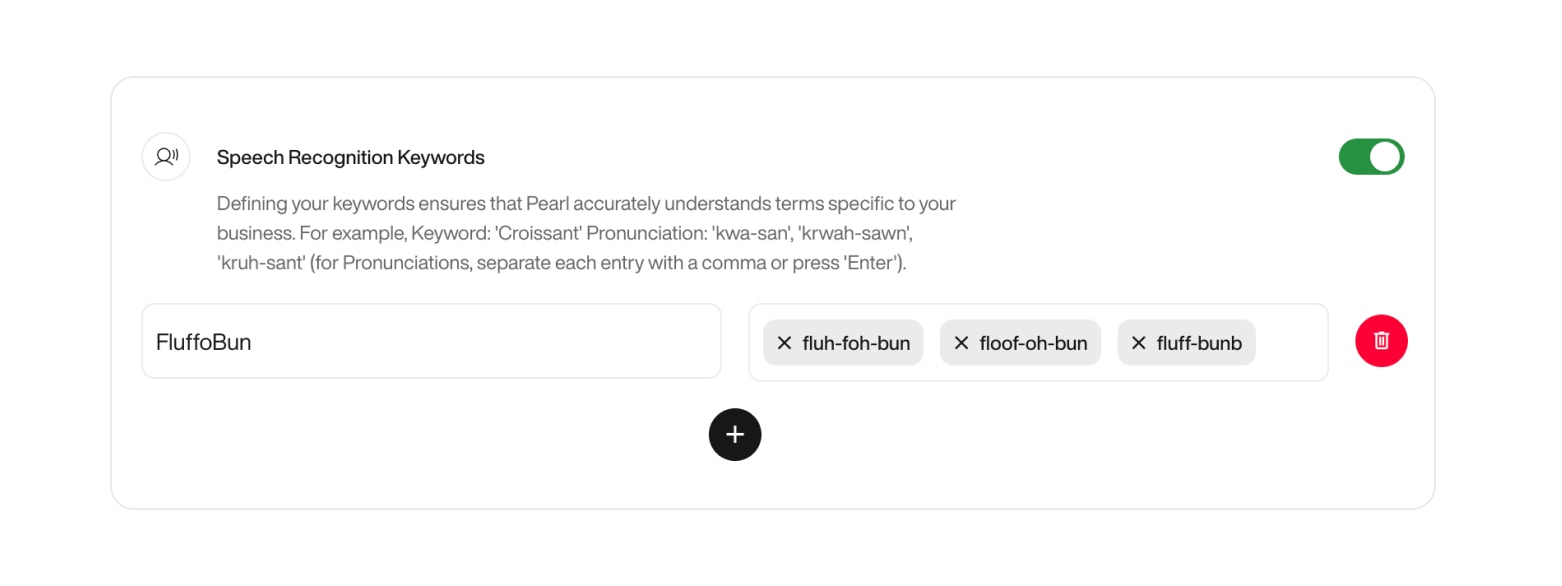


Company DescriptionAdd a brief company description including your industry, mission, or key services. This allows Pearl to answer questions with more contextual relevance.


Pearl Knowledge BaseThis is where you teach Pearl what it needs to know to respond with relevance and accuracy. Add detailed information about your services, pricing, opening hours, locations, and any key operational data.
You can either write this content manually or upload a reference file.
Multiple documents can be added if needed — supported formats:
Multiple documents can be added if needed — supported formats:
.doc, .docx, .txt.

MemoryWhen enabled, Pearl remembers the user or lead, allowing it to seamlessly continue conversations from where they left off.
Example use case: Hospitality
Let’s say a guest checks into a hotel. Pearl can:- Remember their room number
- Greet them by name
- Recall their preferences (like “extra towels” or “no wake-up call”)
- Offer a smooth, personalized experience every time they call
Resetting MemoryNeed a fresh start? Pearl’s memory can be reset via API.This is especially important in contexts like hospitality, where once a guest checks out, Pearl clears the slate — ensuring the next visitor starts with a clean experience.


Speech Recognition KeywordsSome words are just… not in the dictionary. Whether you’re using brand-specific terms, creative product names, or industry jargon, teaching Pearl how to recognize them makes all the difference.Use this feature to define:
- Keywords: The unique word or name you want Pearl to catch
- Pronunciations: Variations of how users might say it (spoken form)
Example
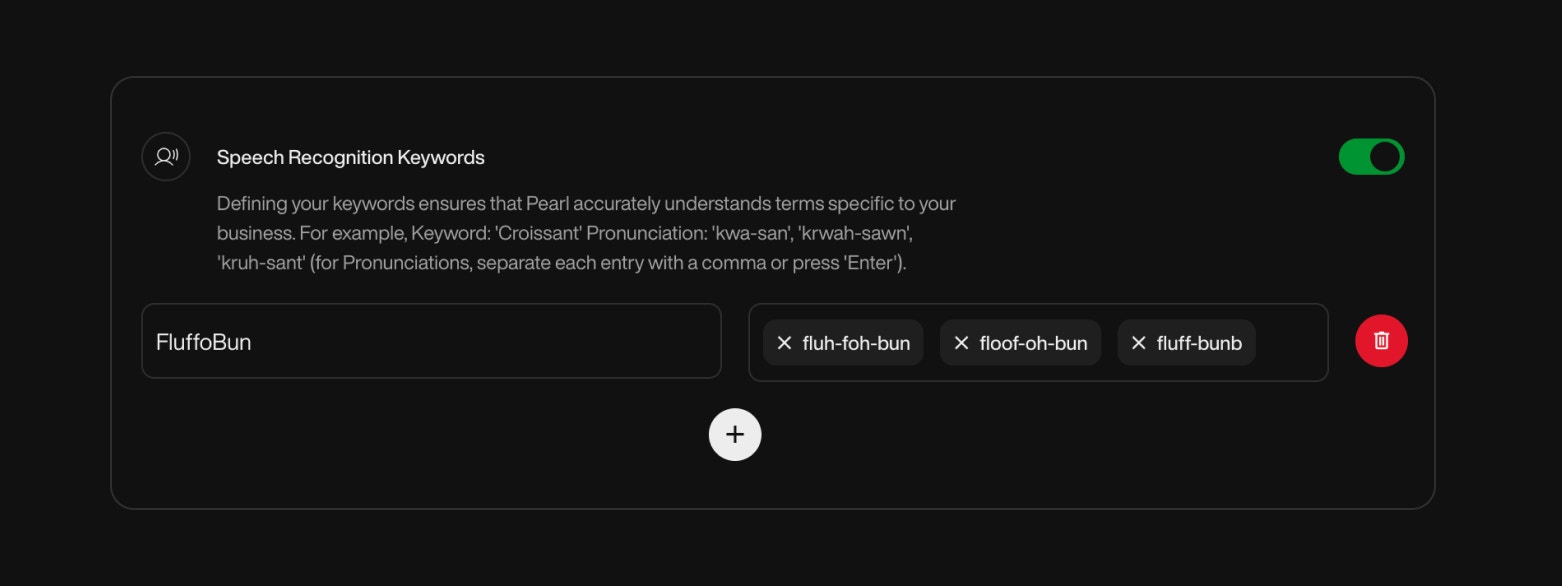
Let’s say your bakery sells a pastry calledFluffoBun.Here’s how you’d define it:- Keyword: FluffoBun
- Pronunciations: fluh-foh-bun, floof-oh-bun, fluff-bunb
(Separate each pronunciation with a comma)


Flow Configuration
Design how Pearl interacts with callers, from the very first sentence to the full script and in-call actions. This step allows you to craft a smooth, human-like call experience.
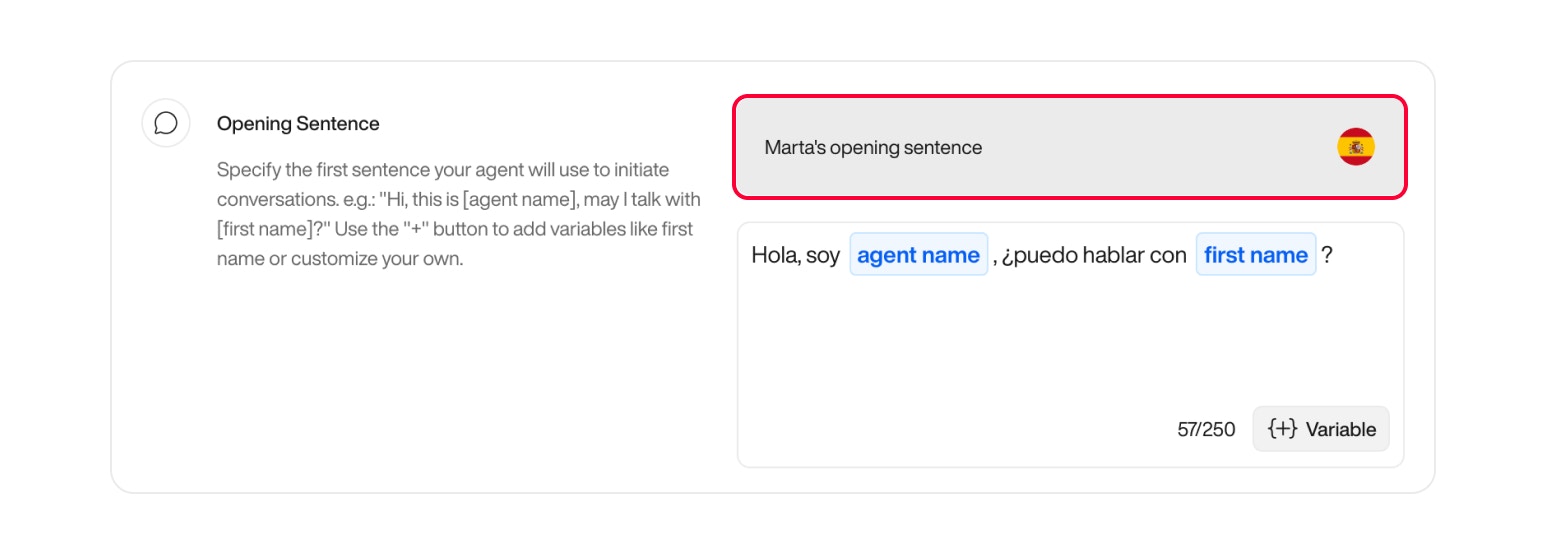
Opening SentenceSet the first sentence Pearl will say when answering a call. This is your agent’s opening line — keep it simple, clear, and aligned with your brand.

Flow ScriptThe flow script defines how Pearl will handle a conversation from start to finish — much like what you’d give a human agent. It guides the dialogue, handles objections, answers key questions, and helps your caller reach the right outcome.To make it dynamic and personalized, we strongly recommend using Variables.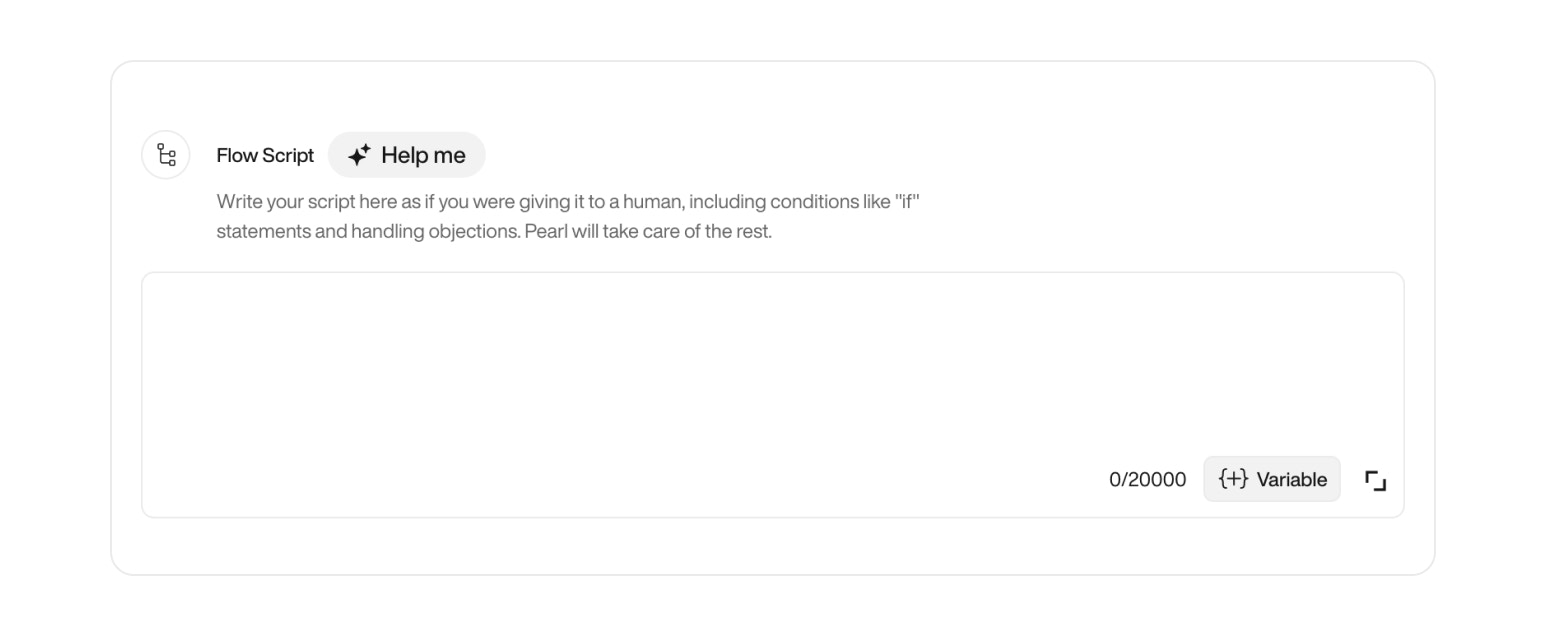
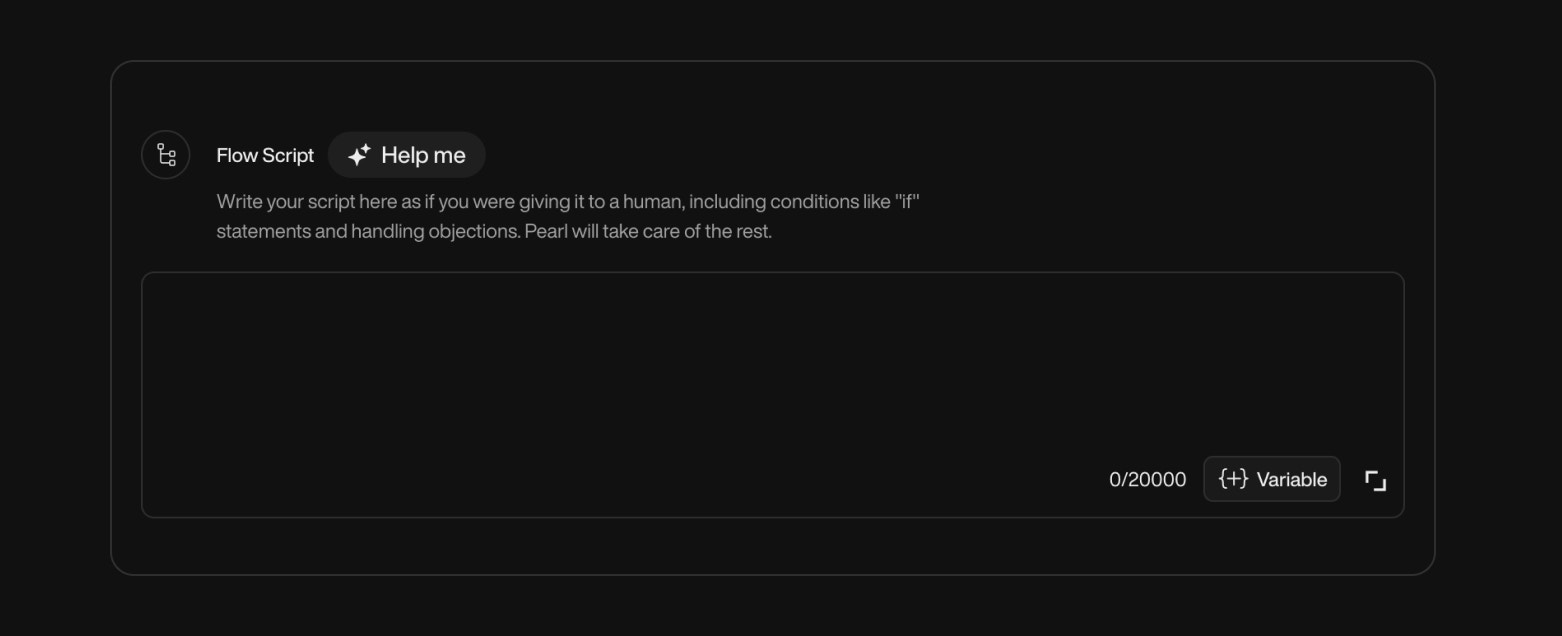
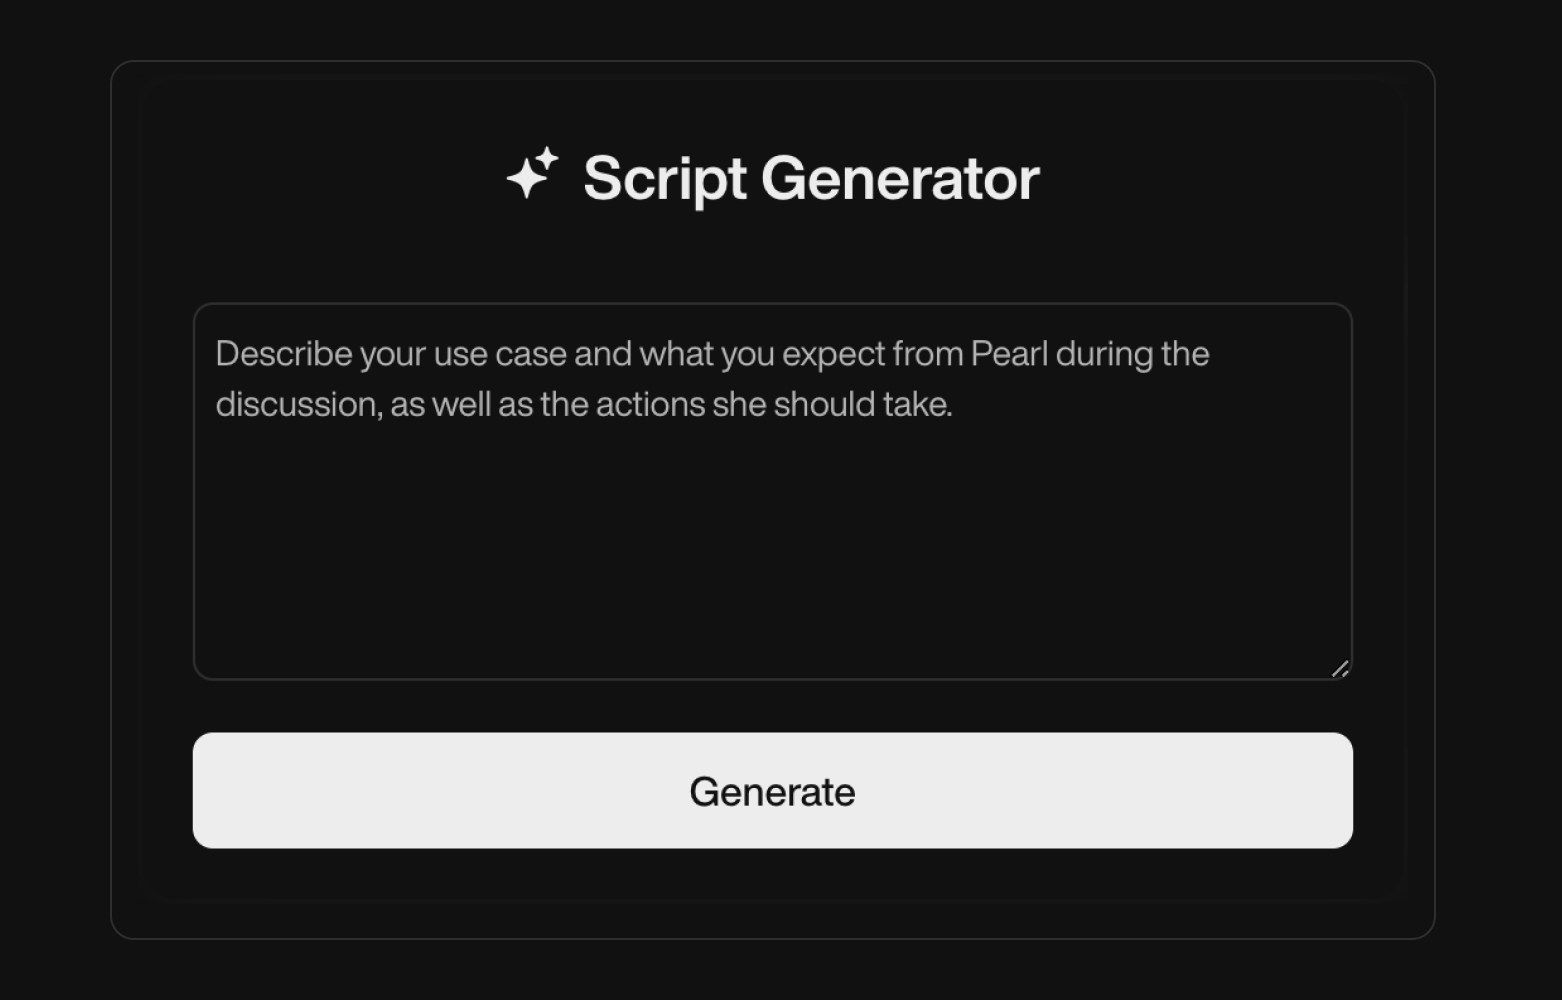
Not sure where to start? Click Help me to launch the script generator.Just describe your use case (e.g. “I want Pearl to handle delivery issues and send tracking links”), and it’ll generate a ready-to-edit flow tailored to that context.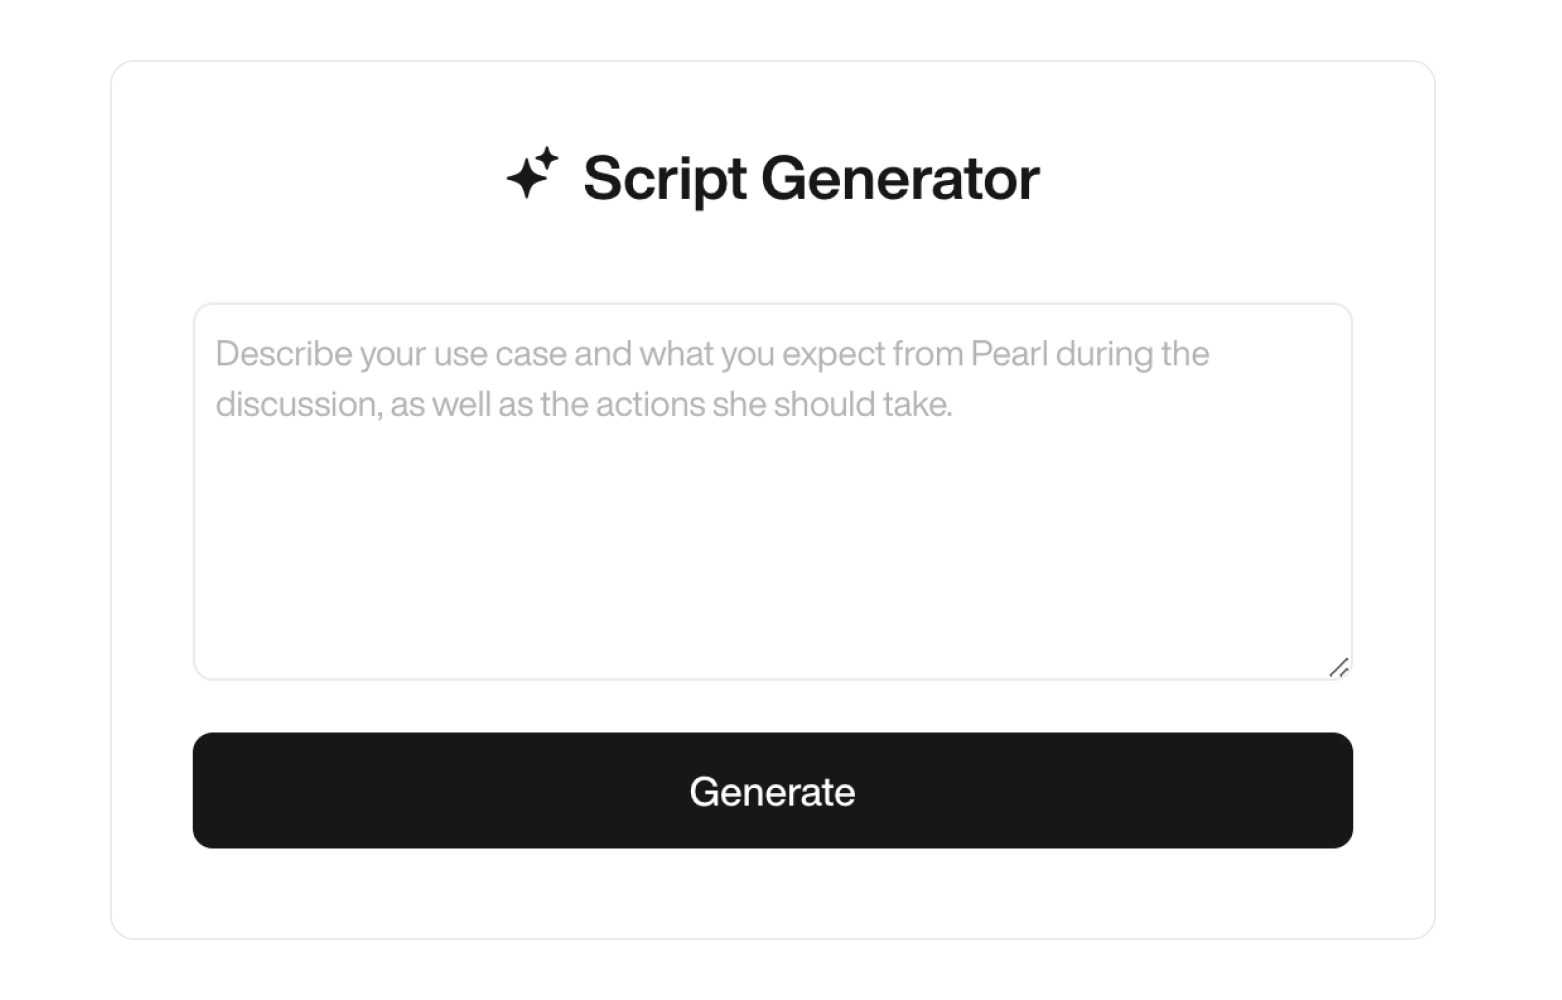
Call Actions Specify actions that Pearl can perform during the call, such as booking meetings, transferring calls, or sending emails and SMS messages.For more details on actions, refer to the Actions page.


Flow ScriptThe flow script defines how Pearl will handle a conversation from start to finish — much like what you’d give a human agent. It guides the dialogue, handles objections, answers key questions, and helps your caller reach the right outcome.To make it dynamic and personalized, we strongly recommend using Variables.
The flow script is not required for the Personal Secretary use case. In that scenario, Pearl operates without a predefined script.


Not sure where to start? Click Help me to launch the script generator.Just describe your use case (e.g. “I want Pearl to handle delivery issues and send tracking links”), and it’ll generate a ready-to-edit flow tailored to that context.


Call Actions Specify actions that Pearl can perform during the call, such as booking meetings, transferring calls, or sending emails and SMS messages.For more details on actions, refer to the Actions page.
Book a Meeting
Pearl can automatically schedule a meeting with the prospect and add it to your calendar.
Transfer a Call
Pearl can transfer the call to another agent or department.
Send an SMS
Pearl can send an SMS to the prospect during the call.
Send an Email
Pearl can send an email to the prospect during the call.
API Integration
Seamlessly connect your agent with any API to retrieve information or perform actions through any available API.
Take a Message
If the prospect wants to leave a message, Pearl can take the message and send it to your email.


Analytics
Use this section to track, evaluate, and act on your Pearl’s performance. Define what success looks like, apply custom tags to key conversation moments, and set up notifications to stay on top of important calls.
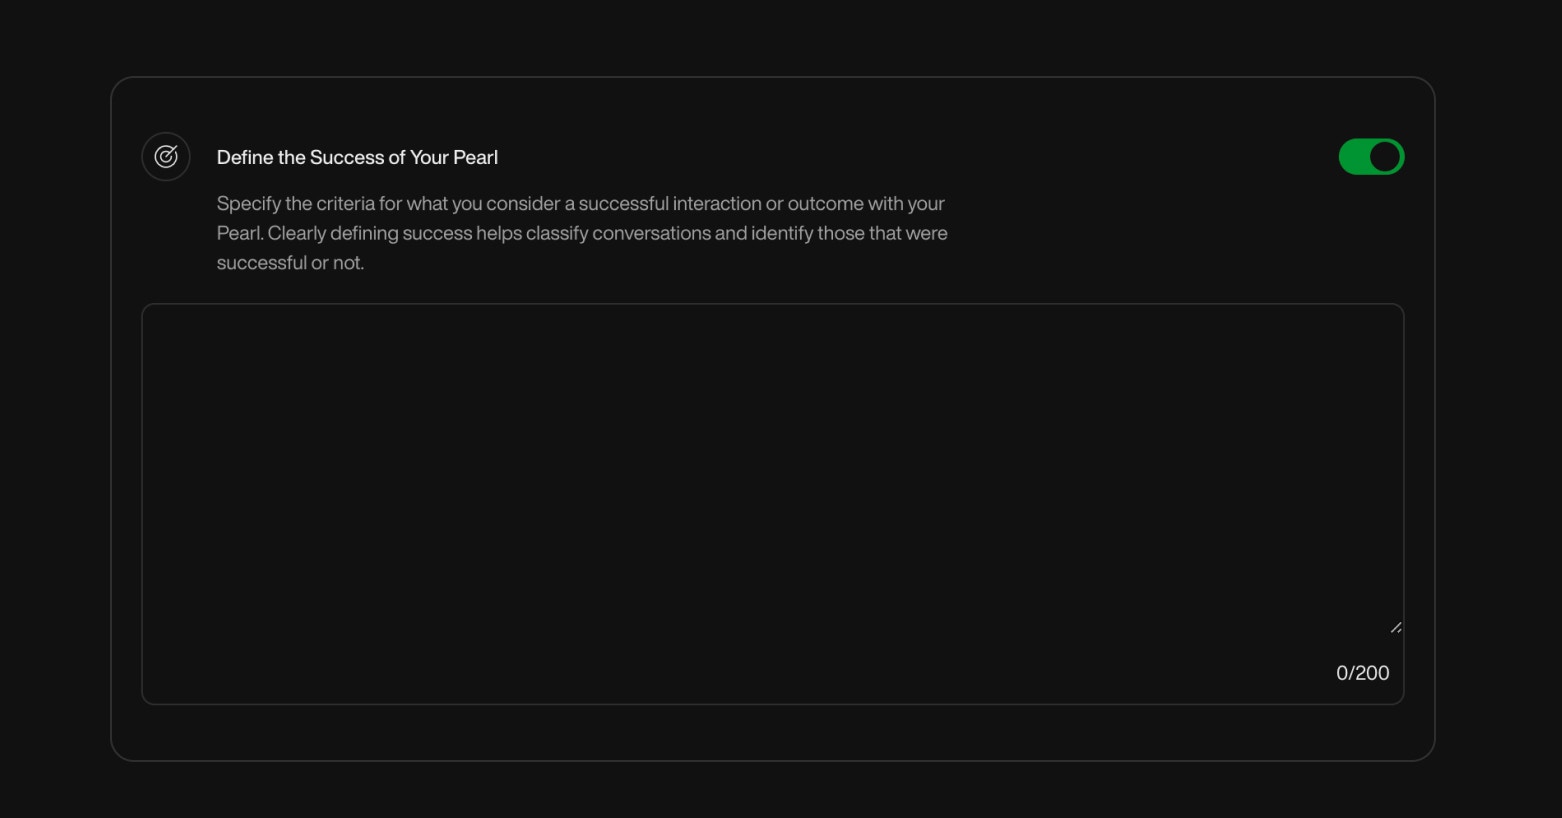
Define the Success of Your PearlSpecify what constitutes a successful call for your Pearl — such as booking a meeting, confirming interest, or qualifying a lead. This success definition will be reflected in your campaign analytics and lead statuses, helping you sort and follow up efficiently.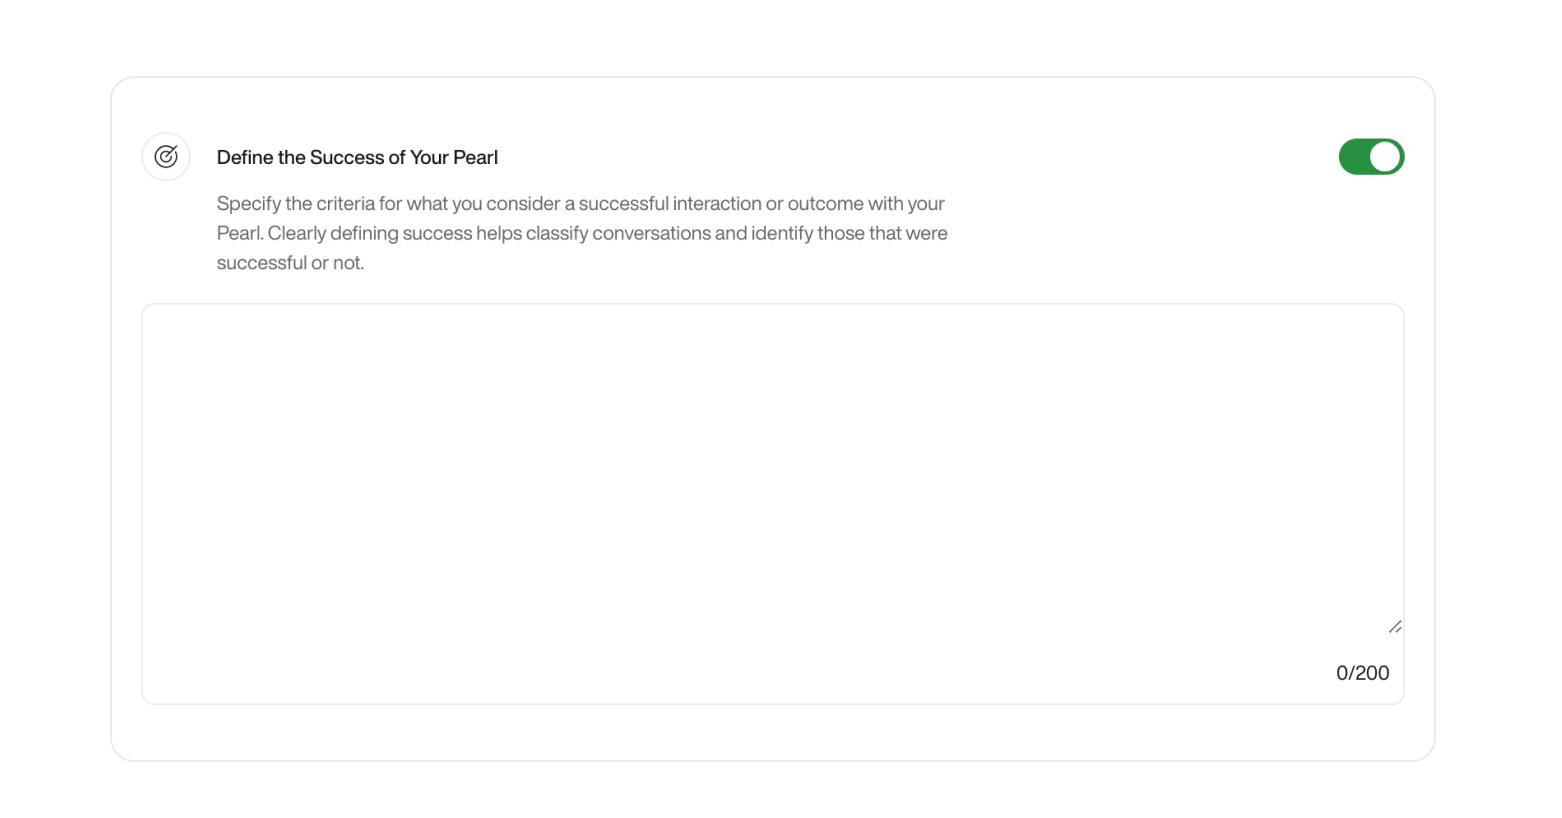
Indicator TagsUse Indicator Tags to label and categorize key moments in a conversation.
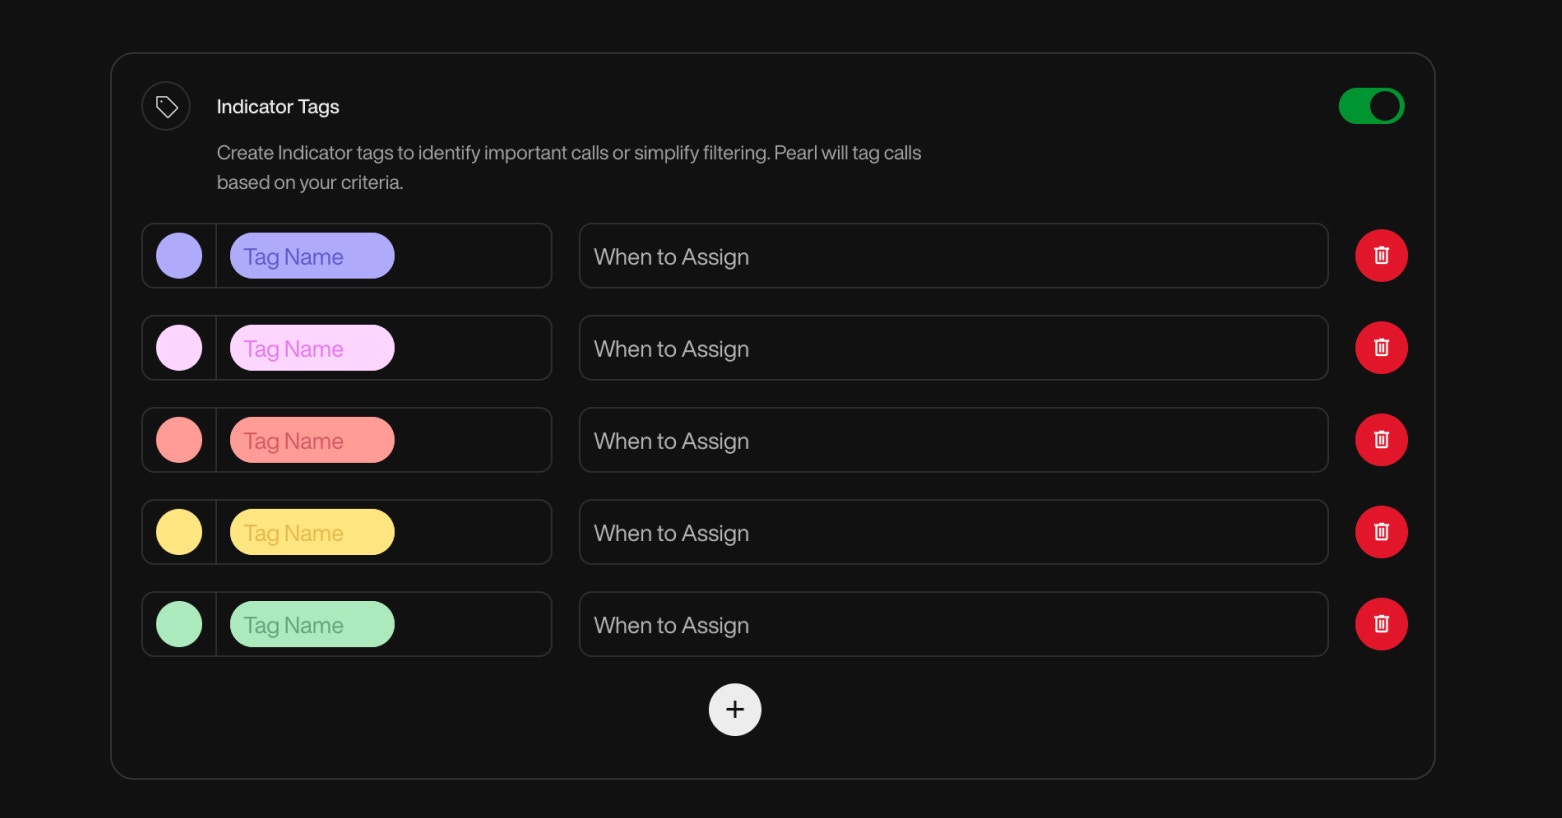
They help you structure your data, identify important insights, and filter your leads with precision.Each tag includes: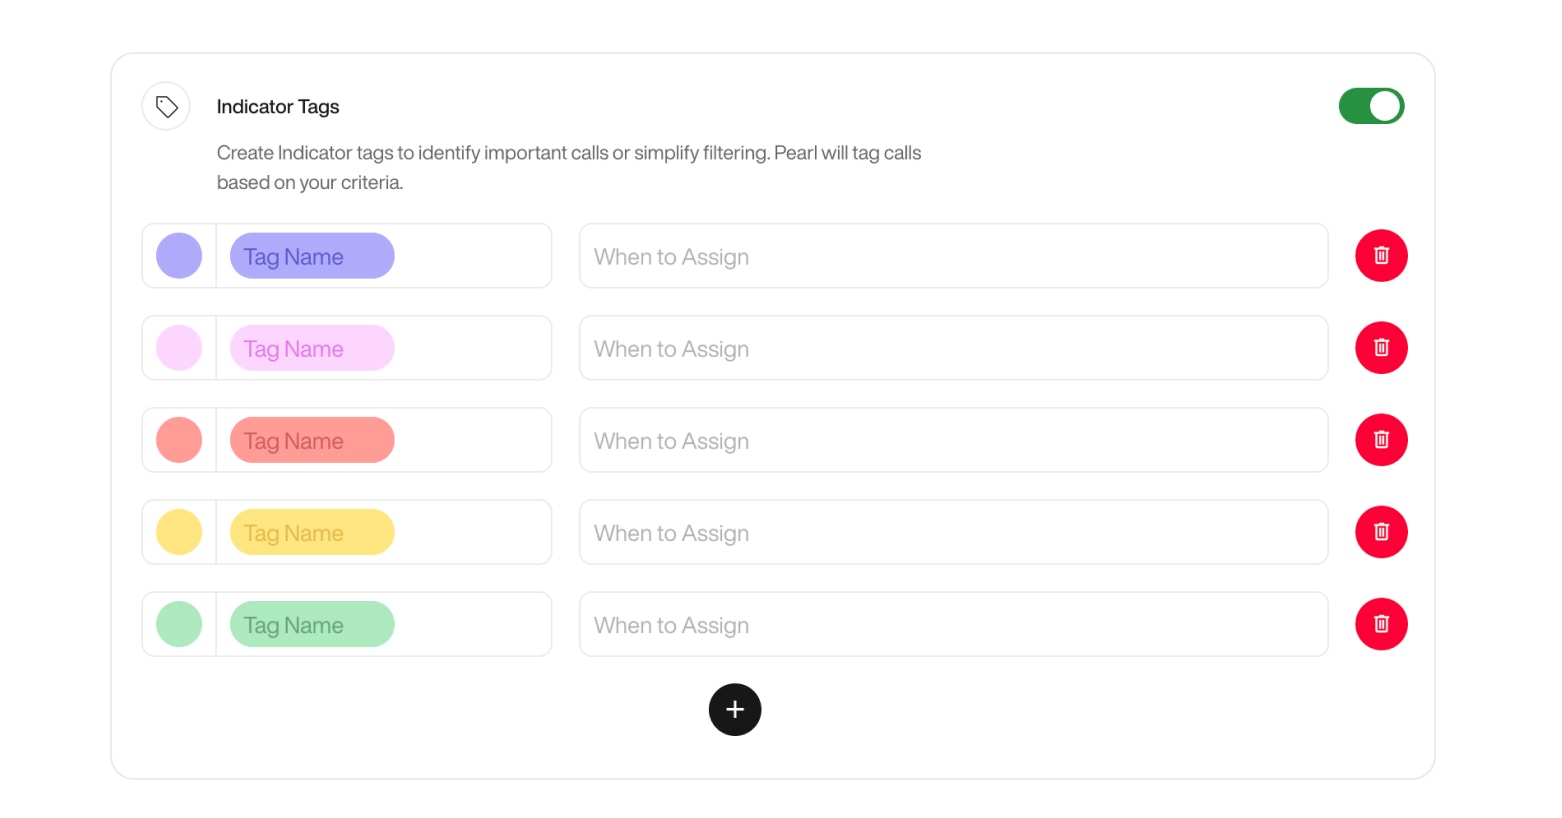
NotificationsNotifications allow you to receive updates about Pearl’s calls through the channel of your choice.You can be alerted when specific conditions are met — ensuring you focus only on what matters most.Configuration Options
When to Trigger Notifications


If you don’t define success for your Pearl, all answered calls will be marked as Completed by default.
By using this feature, you’ll unlock two possible outcomes instead: Call Successful and Call Unsuccessful, giving you more control over lead qualification.
By using this feature, you’ll unlock two possible outcomes instead: Call Successful and Call Unsuccessful, giving you more control over lead qualification.


Indicator TagsUse Indicator Tags to label and categorize key moments in a conversation.
They help you structure your data, identify important insights, and filter your leads with precision.Each tag includes:
- Name — A clear label (e.g.
"Interested","Mentioned Competitor") - Color — Used for visual sorting in your interface
- Assignment rule — A short description of when the tag should be applied
Example
You’re asking leads what they usually drink in the morning. You might define:-
Tag:
Coffee- Color: Brown
- When to assign: If the lead mentions drinking coffee
-
Tag:
Tea- Color: Green
- When to assign: If the lead mentions drinking tea
Indicator Tags are not just for display — they’re functional. You can filter campaigns by tag, trigger notifications, or use them to define success in analytics.


NotificationsNotifications allow you to receive updates about Pearl’s calls through the channel of your choice.You can be alerted when specific conditions are met — ensuring you focus only on what matters most.Configuration Options
| Channel | Description |
|---|---|
| Enter one or more email addresses to receive call summaries. Make sure each address is valid to ensure proper delivery. | |
| Slack | Connect your Slack workspace and select the channel where notifications should be posted. This is done via OAuth integration. |
| API | Define a webhook URL where Pearl will POST call notification data in real time. Useful for CRM or custom workflow integrations. |
| Trigger Type | Description |
|---|---|
| Always | Get notified after every call, regardless of outcome. |
| Based on Tags | Notify only when specific Indicator Tags are assigned. |
| Based on Success | Notify when the call is marked as Successful or Unsuccessful, based on your Define Success setup. |
| Based on Actions | Notify when specific Actions are triggered during the call — such as booking a meeting, sending an email or SMS, or transferring the call. |
Notifications and Indicator Tags are closely connected. Tags act as filters for when a notification should be triggered.For example, you might define a tag like
"High Priority" or "Follow-up Needed" — and configure notifications to trigger only when those tags are present.This ensures you’re alerted only for meaningful, action-worthy calls.Example: Getting notified for urgent calls only
-
Create a Tag:
Urgent
Condition: Applied when a customer reports a critical issue. -
Configure Notifications:
Enable notifications only for calls tagged asUrgent. -
Result:
You receive real-time alerts only for critical calls that need immediate attention.
Available Variables for End Call NotificationsWhen configuring your notification messages (email, Slack, or API), a dedicated set of end-of-call variables is available — including call duration, summary, recording…


Try your Pearl with a Test Call
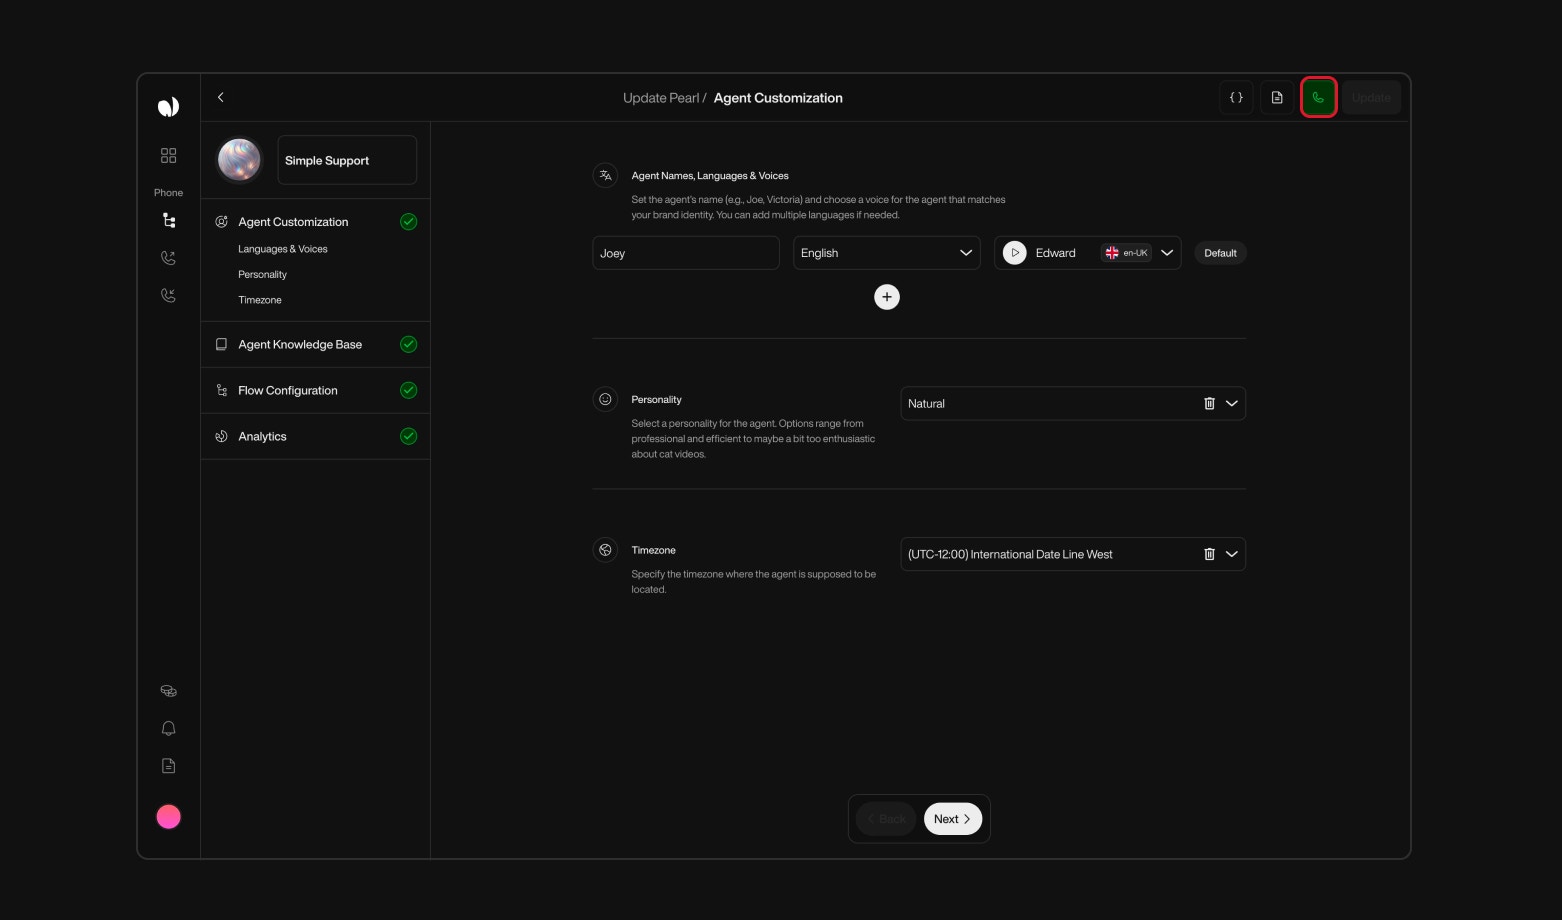
Before launching your Pearl in production, test it live with a simple trial call. This lets you validate the agent’s behavior, voice settings, and how it handles variables.
How to run a test call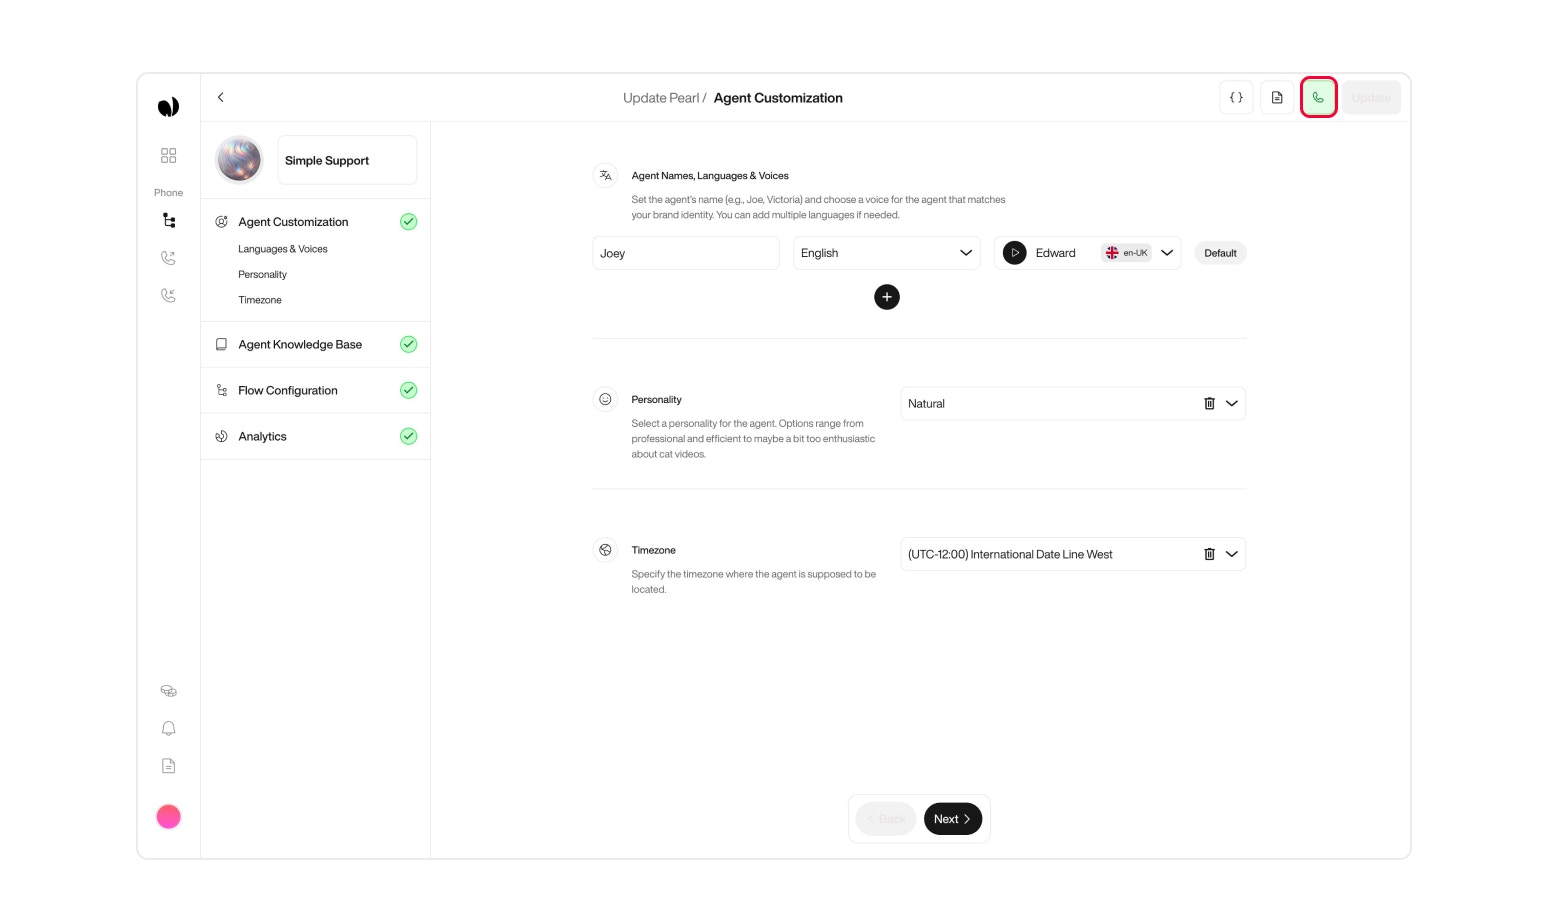
How to run a test call
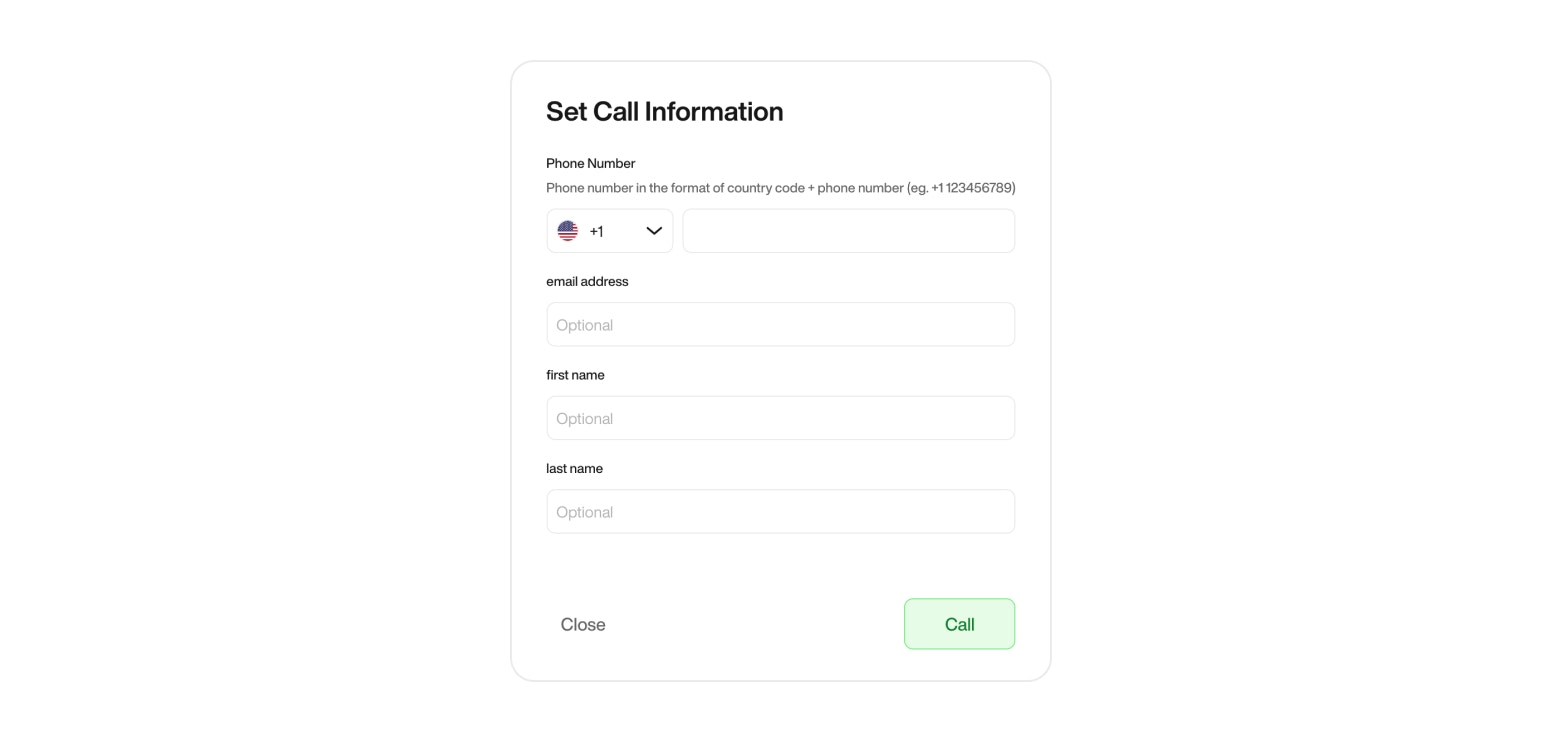
- Go to the test call panel


- Enter a valid phone number (in international format)
- Optionally, fill in additional test variables like email, first name, or other dynamic fields
- Launch the call and observe the interaction


Once the call is complete, you can review the result in the Post-Call view, including:
- Transcript of the call
- Variable values filled during the conversation
- Actions triggered by Pearl
- Final status (e.g. success, no answer, fallback)
Post Call
Explore the Post Call Capabilities.
Connect your Pearl to an Inbound or Outbound Campaign
Your Pearl is now fully configured — it’s time to put it to work.Depending on your use case, you can connect Pearl to an Inbound or Outbound campaign.Choose the appropriate setup and follow the dedicated documentation to go live.
Deleting or Updating a Pearl
If you no longer need a Pearl, you can either delete it or edit it directly from your settings.Delete a Pearl:
To edit a Pearl, simply click into it and select the Edit button to make your changes.
- Go to the Pearl page
- Locate the Pearl you want to remove
- Click the Delete button next to it
To edit a Pearl, simply click into it and select the Edit button to make your changes.


