The Blacklist feature enables you to restrict specific phone numbers or entire prefixes from engaging in inbound or outbound calls with your AI agent campaigns. Utilizing this feature helps enhance campaign efficiency and ensures communication efforts remain focused and relevant.
Accessing the Blacklist
The Blacklist lives in your Settings. Click your profile card at the bottom-left corner of the sidebar, then select Settings.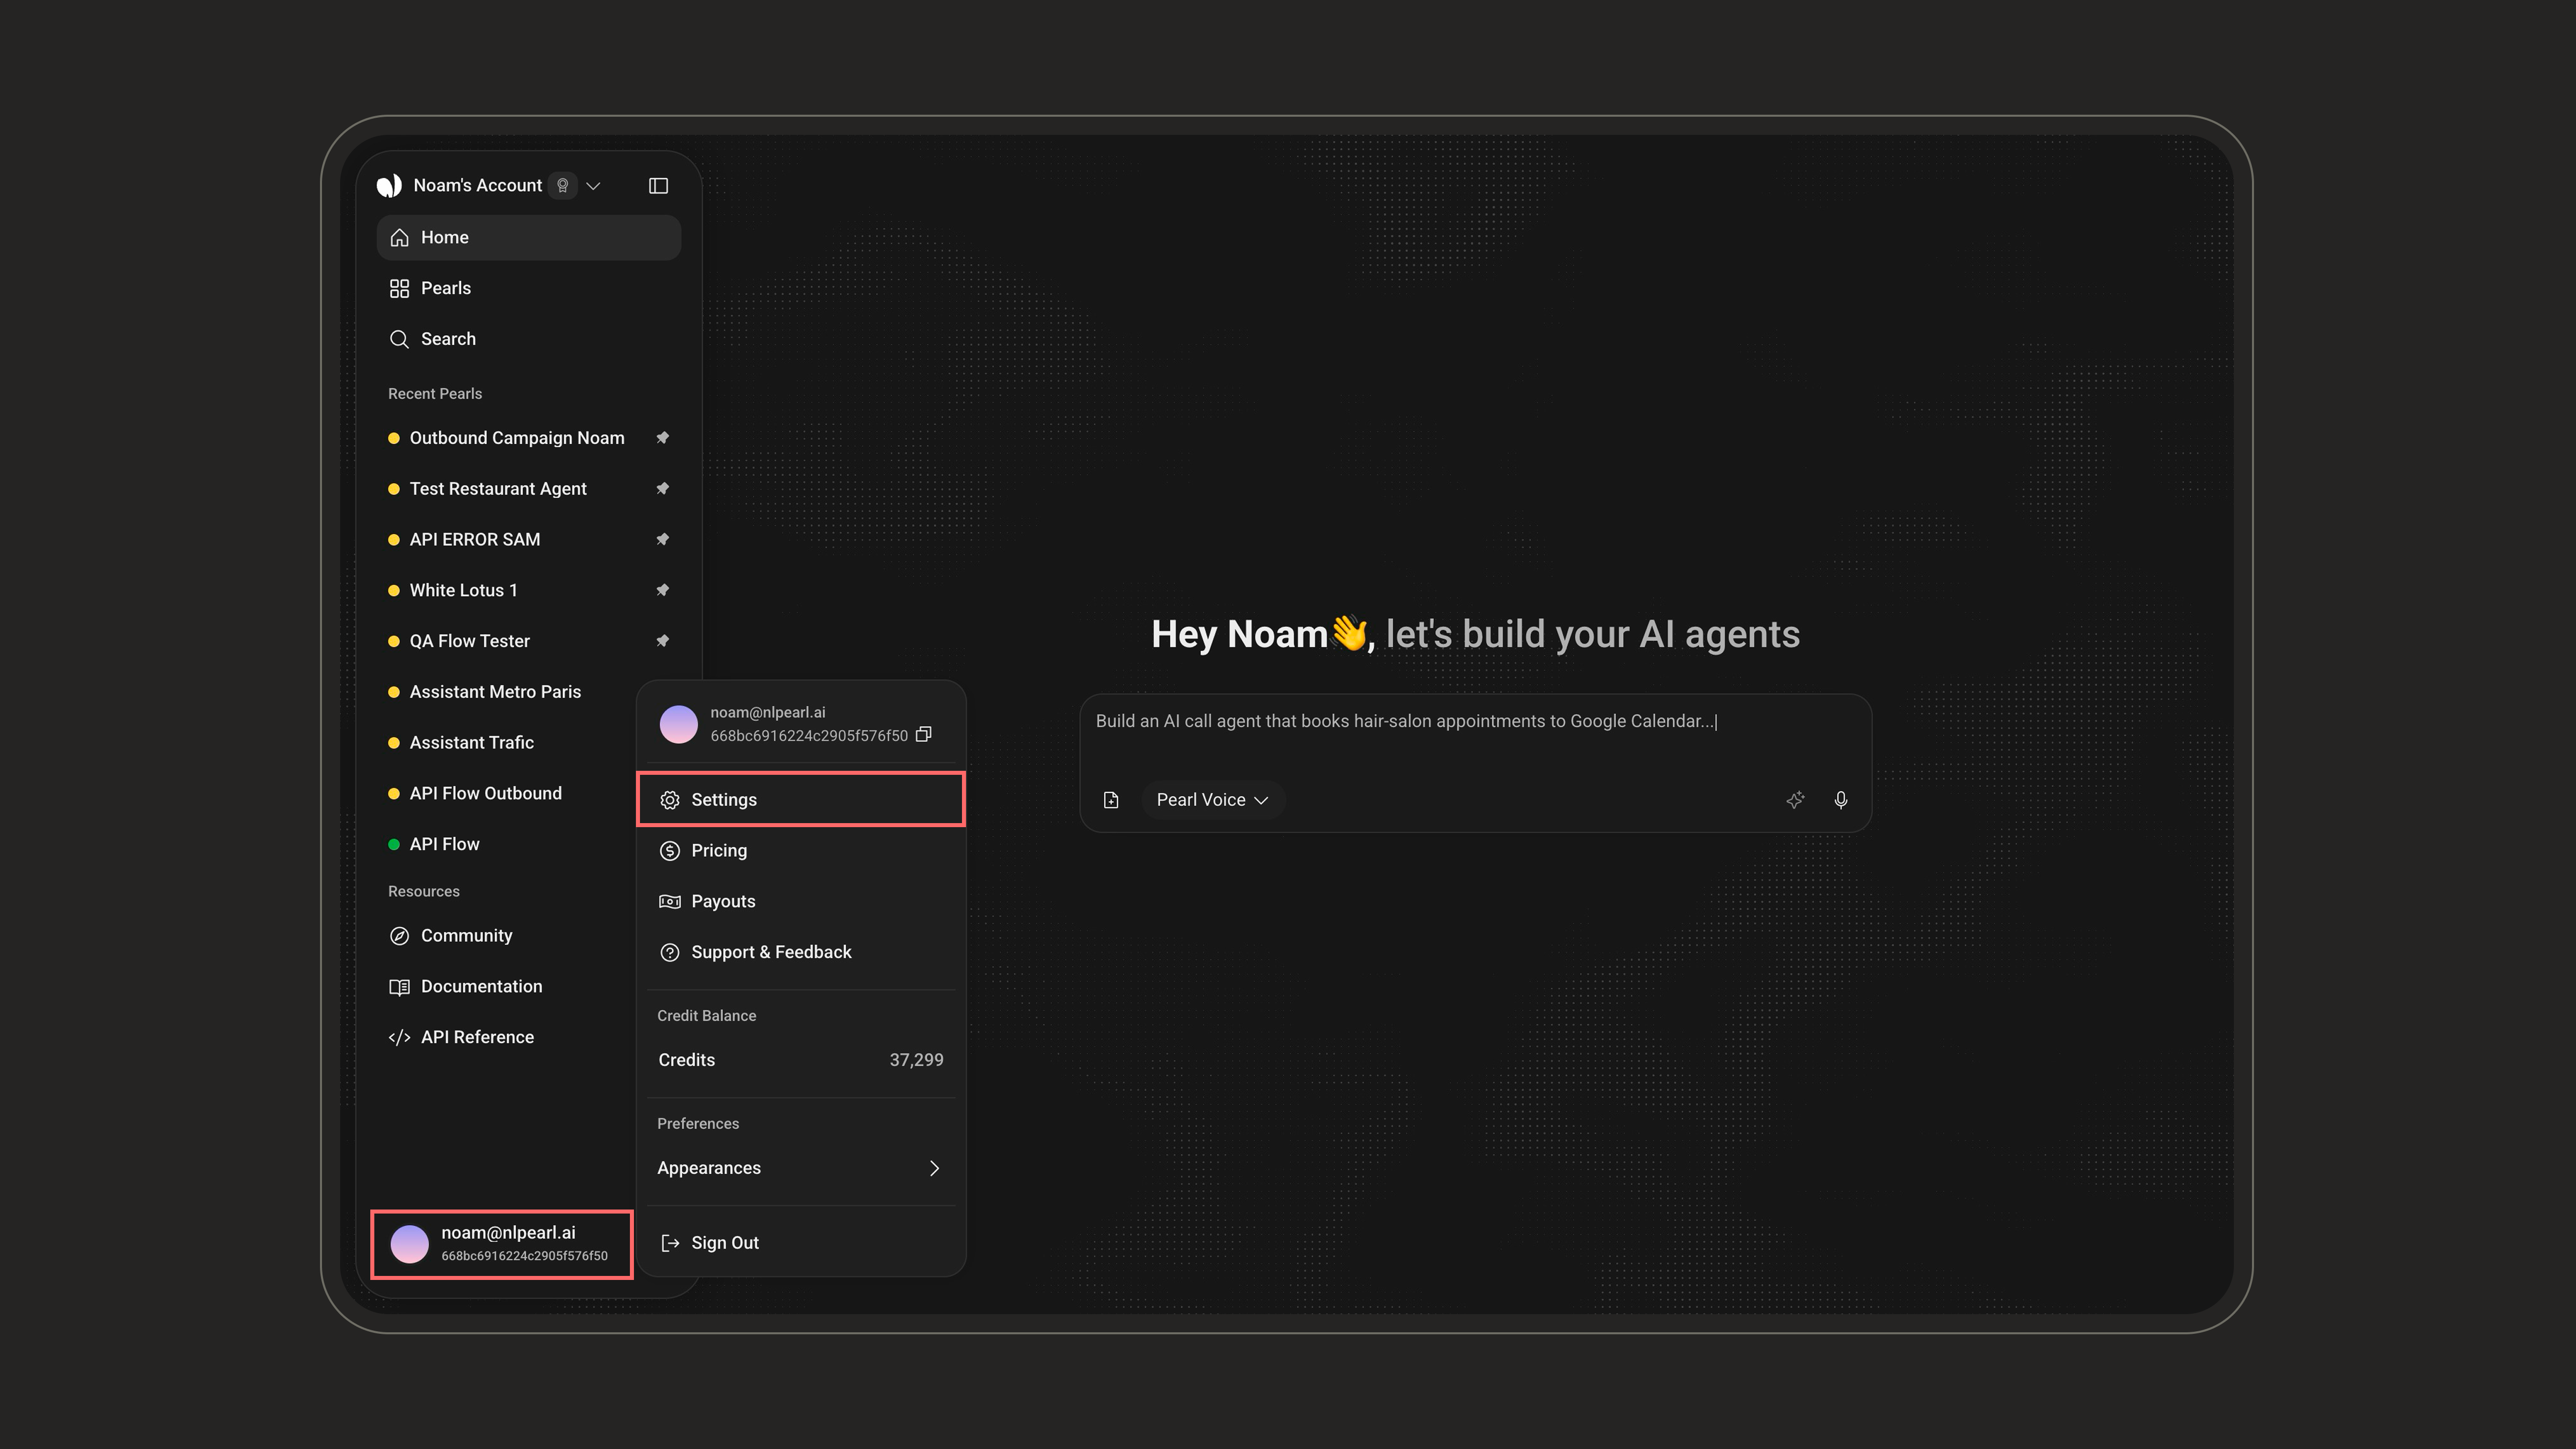

Adding a Number to the Blacklist
1
Open the Add dialog
In the Add Blacklisted Phone Number bar at the top, click Add Phone Number.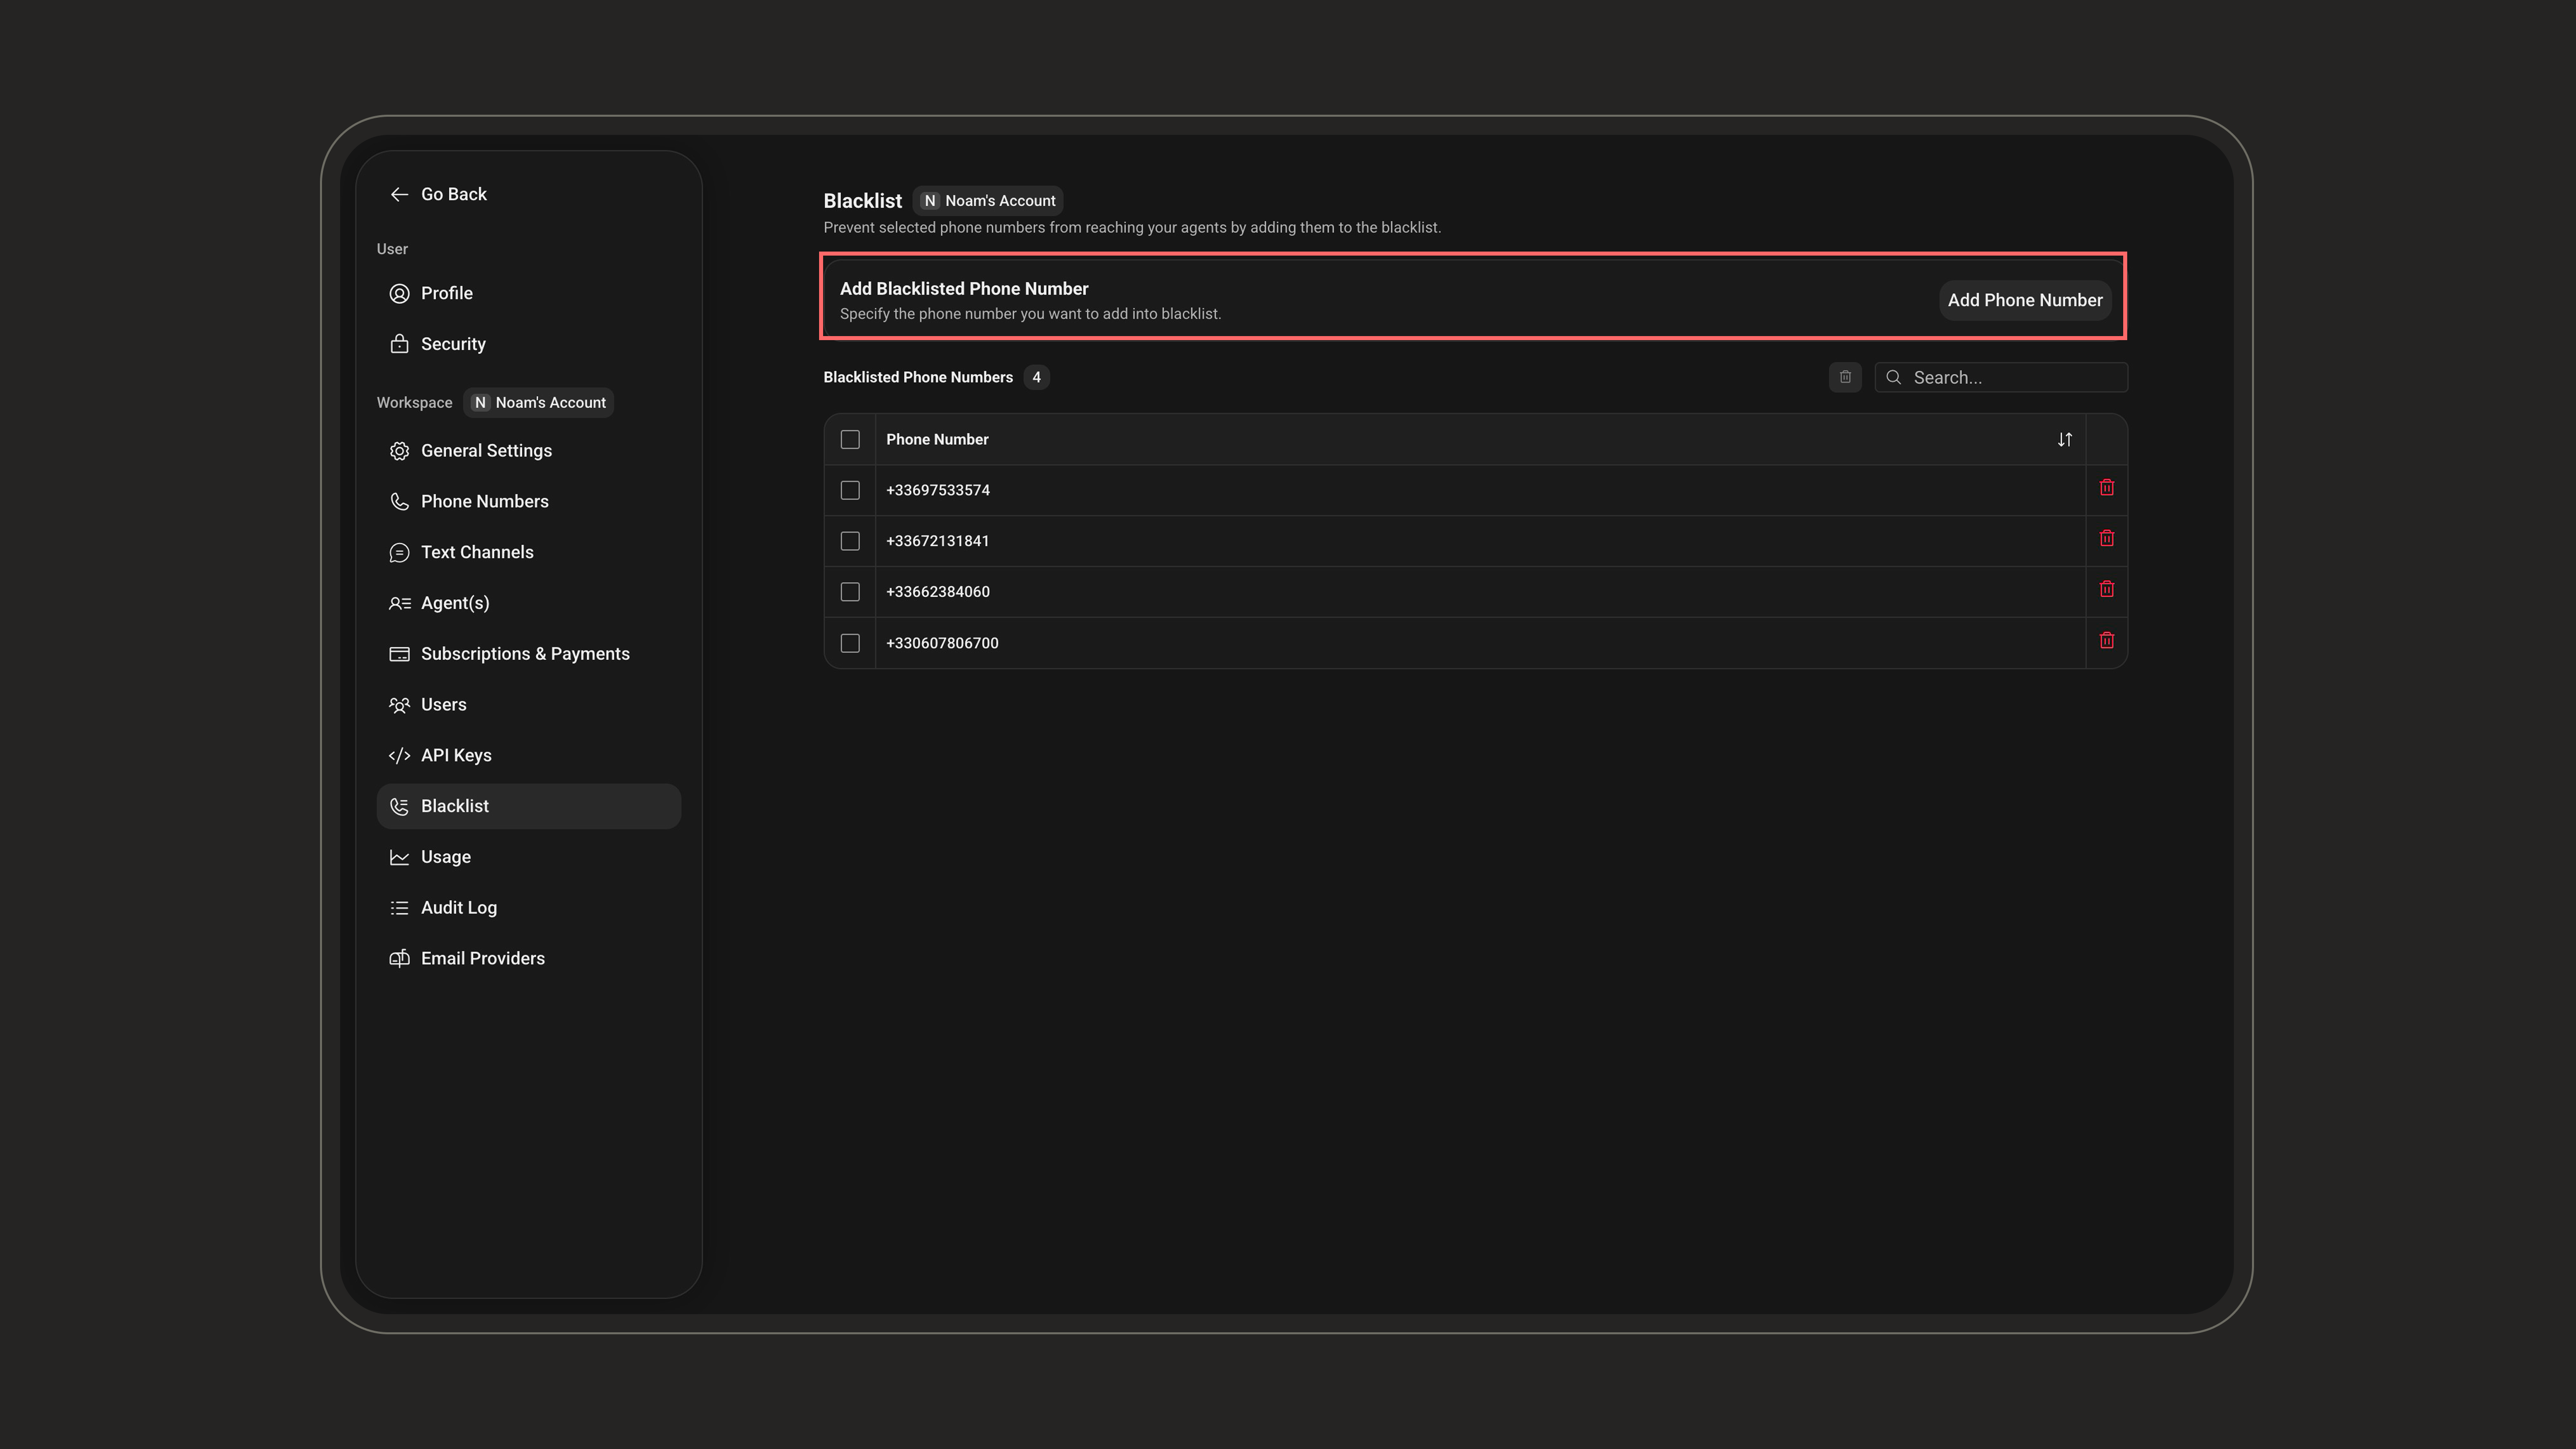
2
Enter the number and confirm
In the Phone Number Blacklist dialog, type the phone number you want to block (e.g., 
+1 408 XXX XXXX), then click Add Phone Number.You can also block an entire prefix (e.g.,
+33). Every number beginning with that prefix (+33123456789, +33456789012, etc.) is then blocked from both receiving and making calls.Managing Blacklisted Numbers
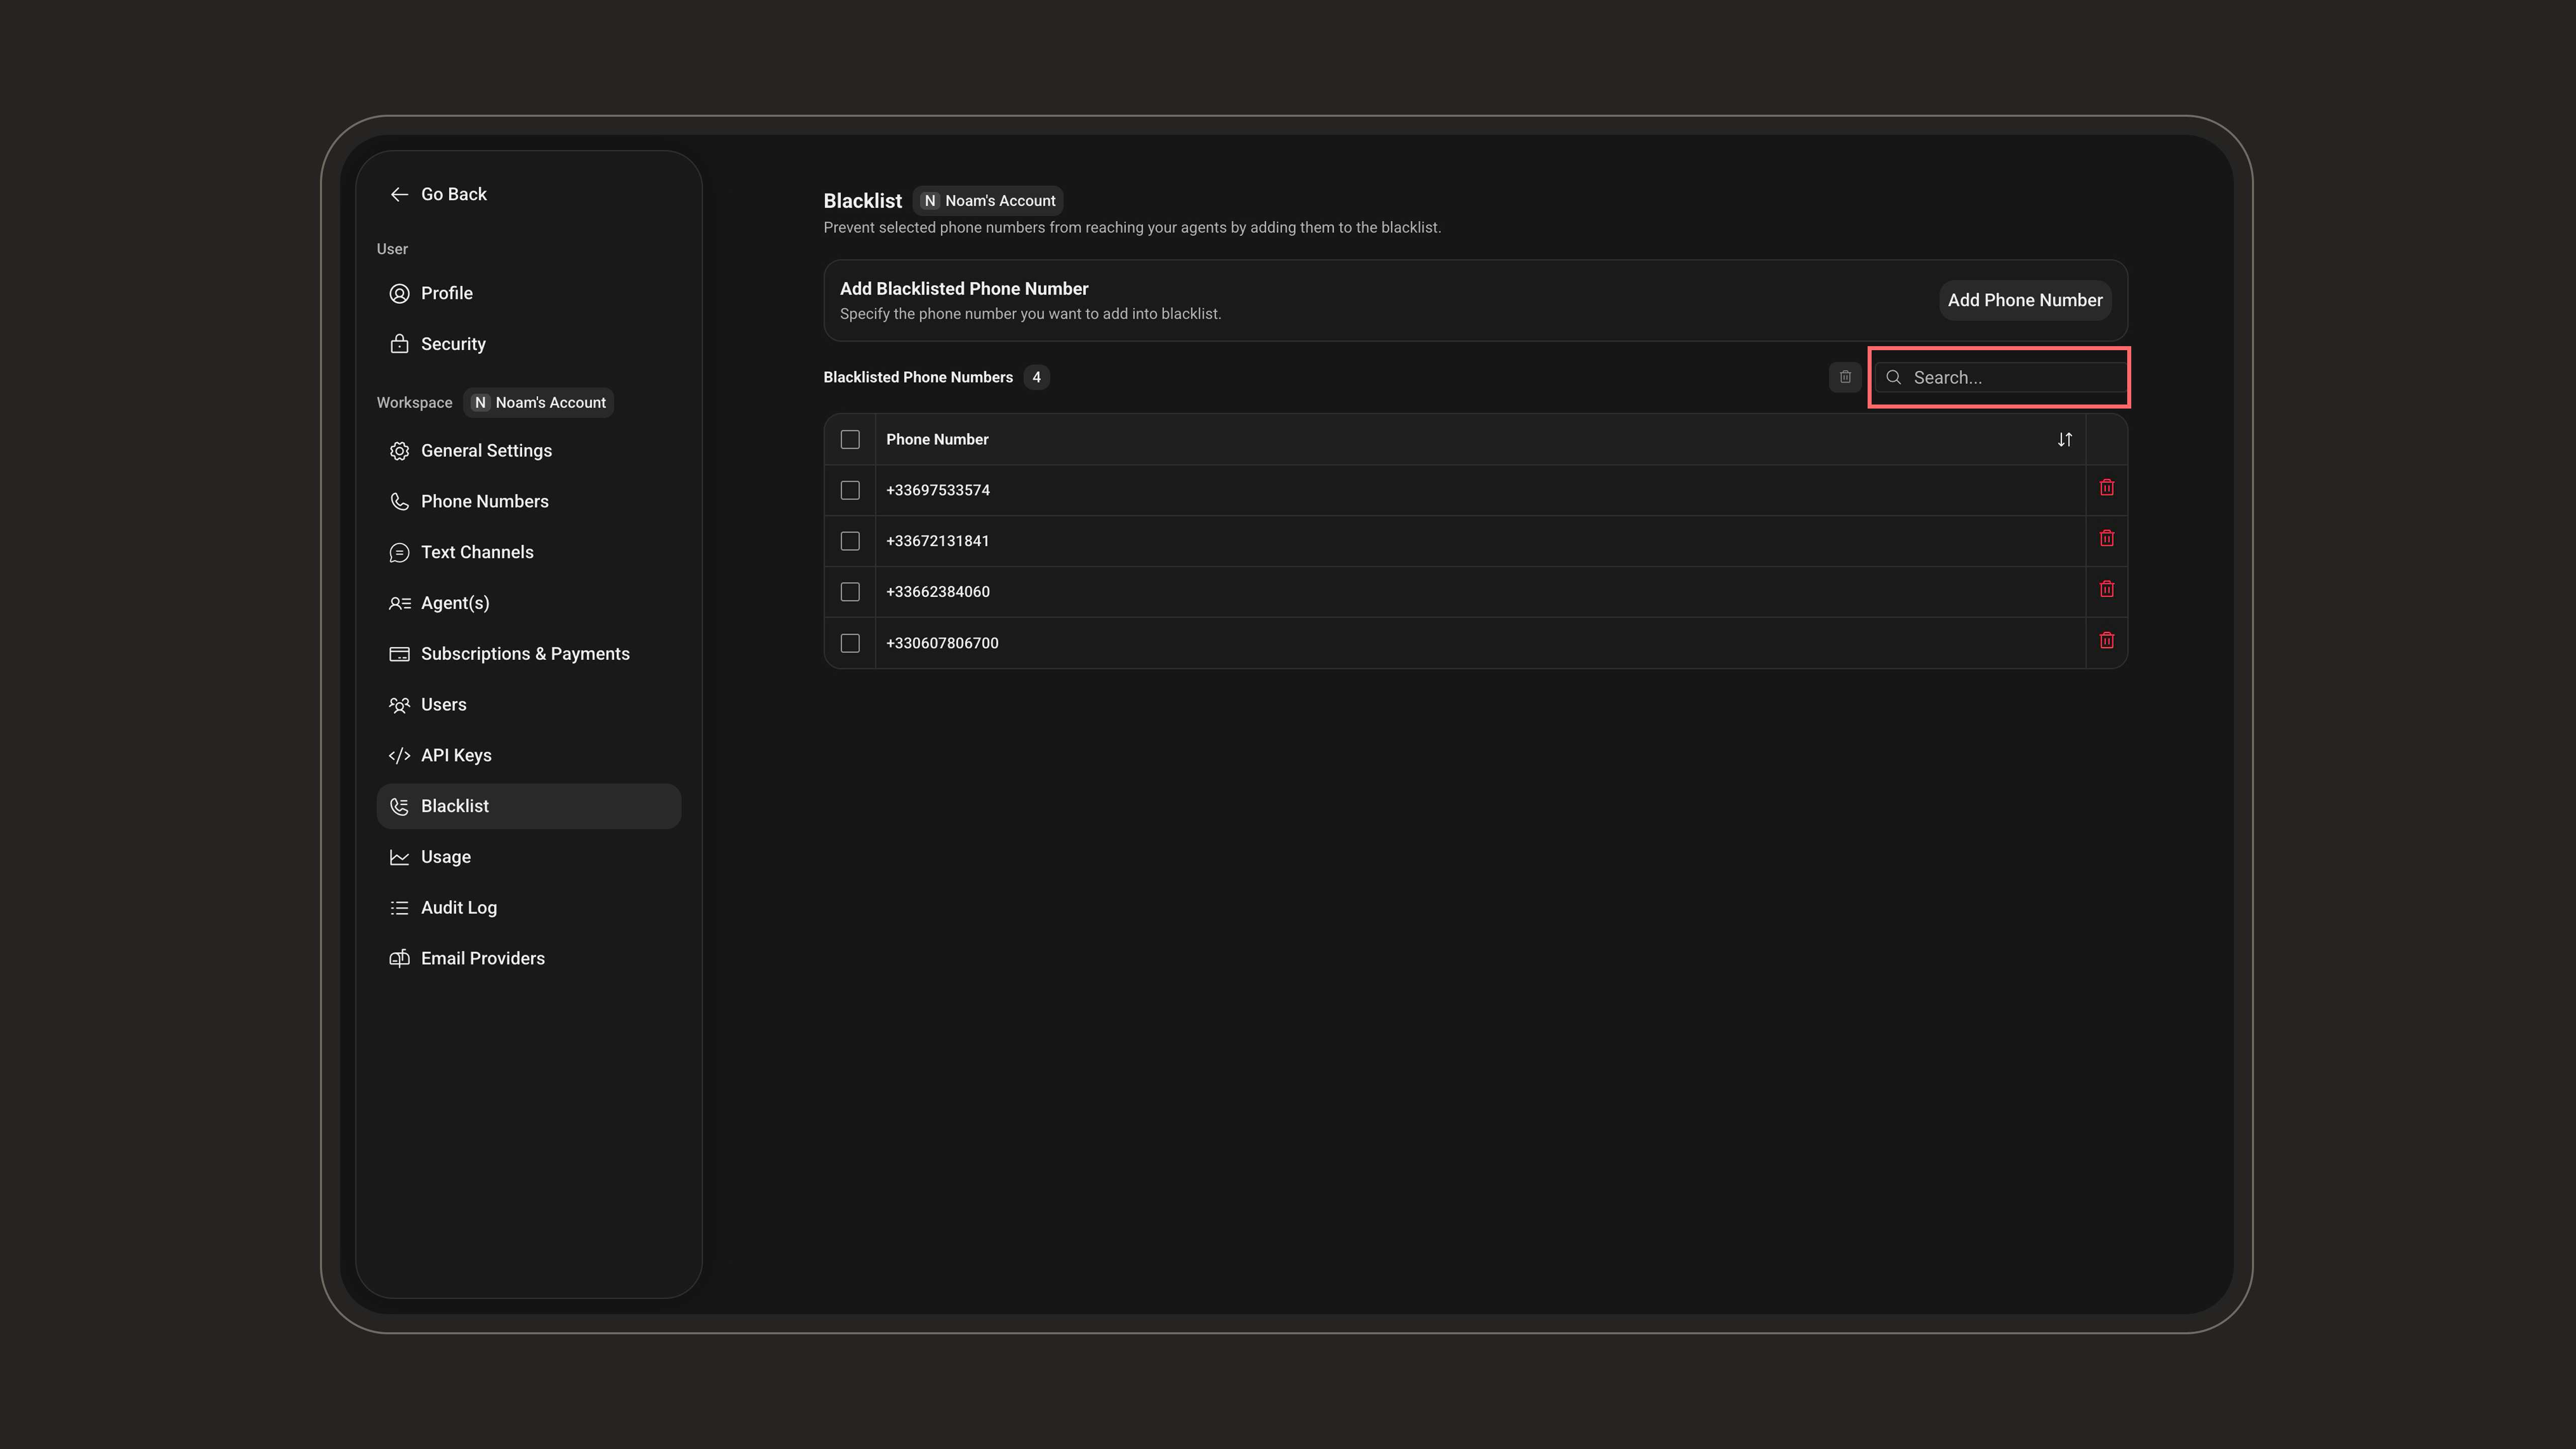
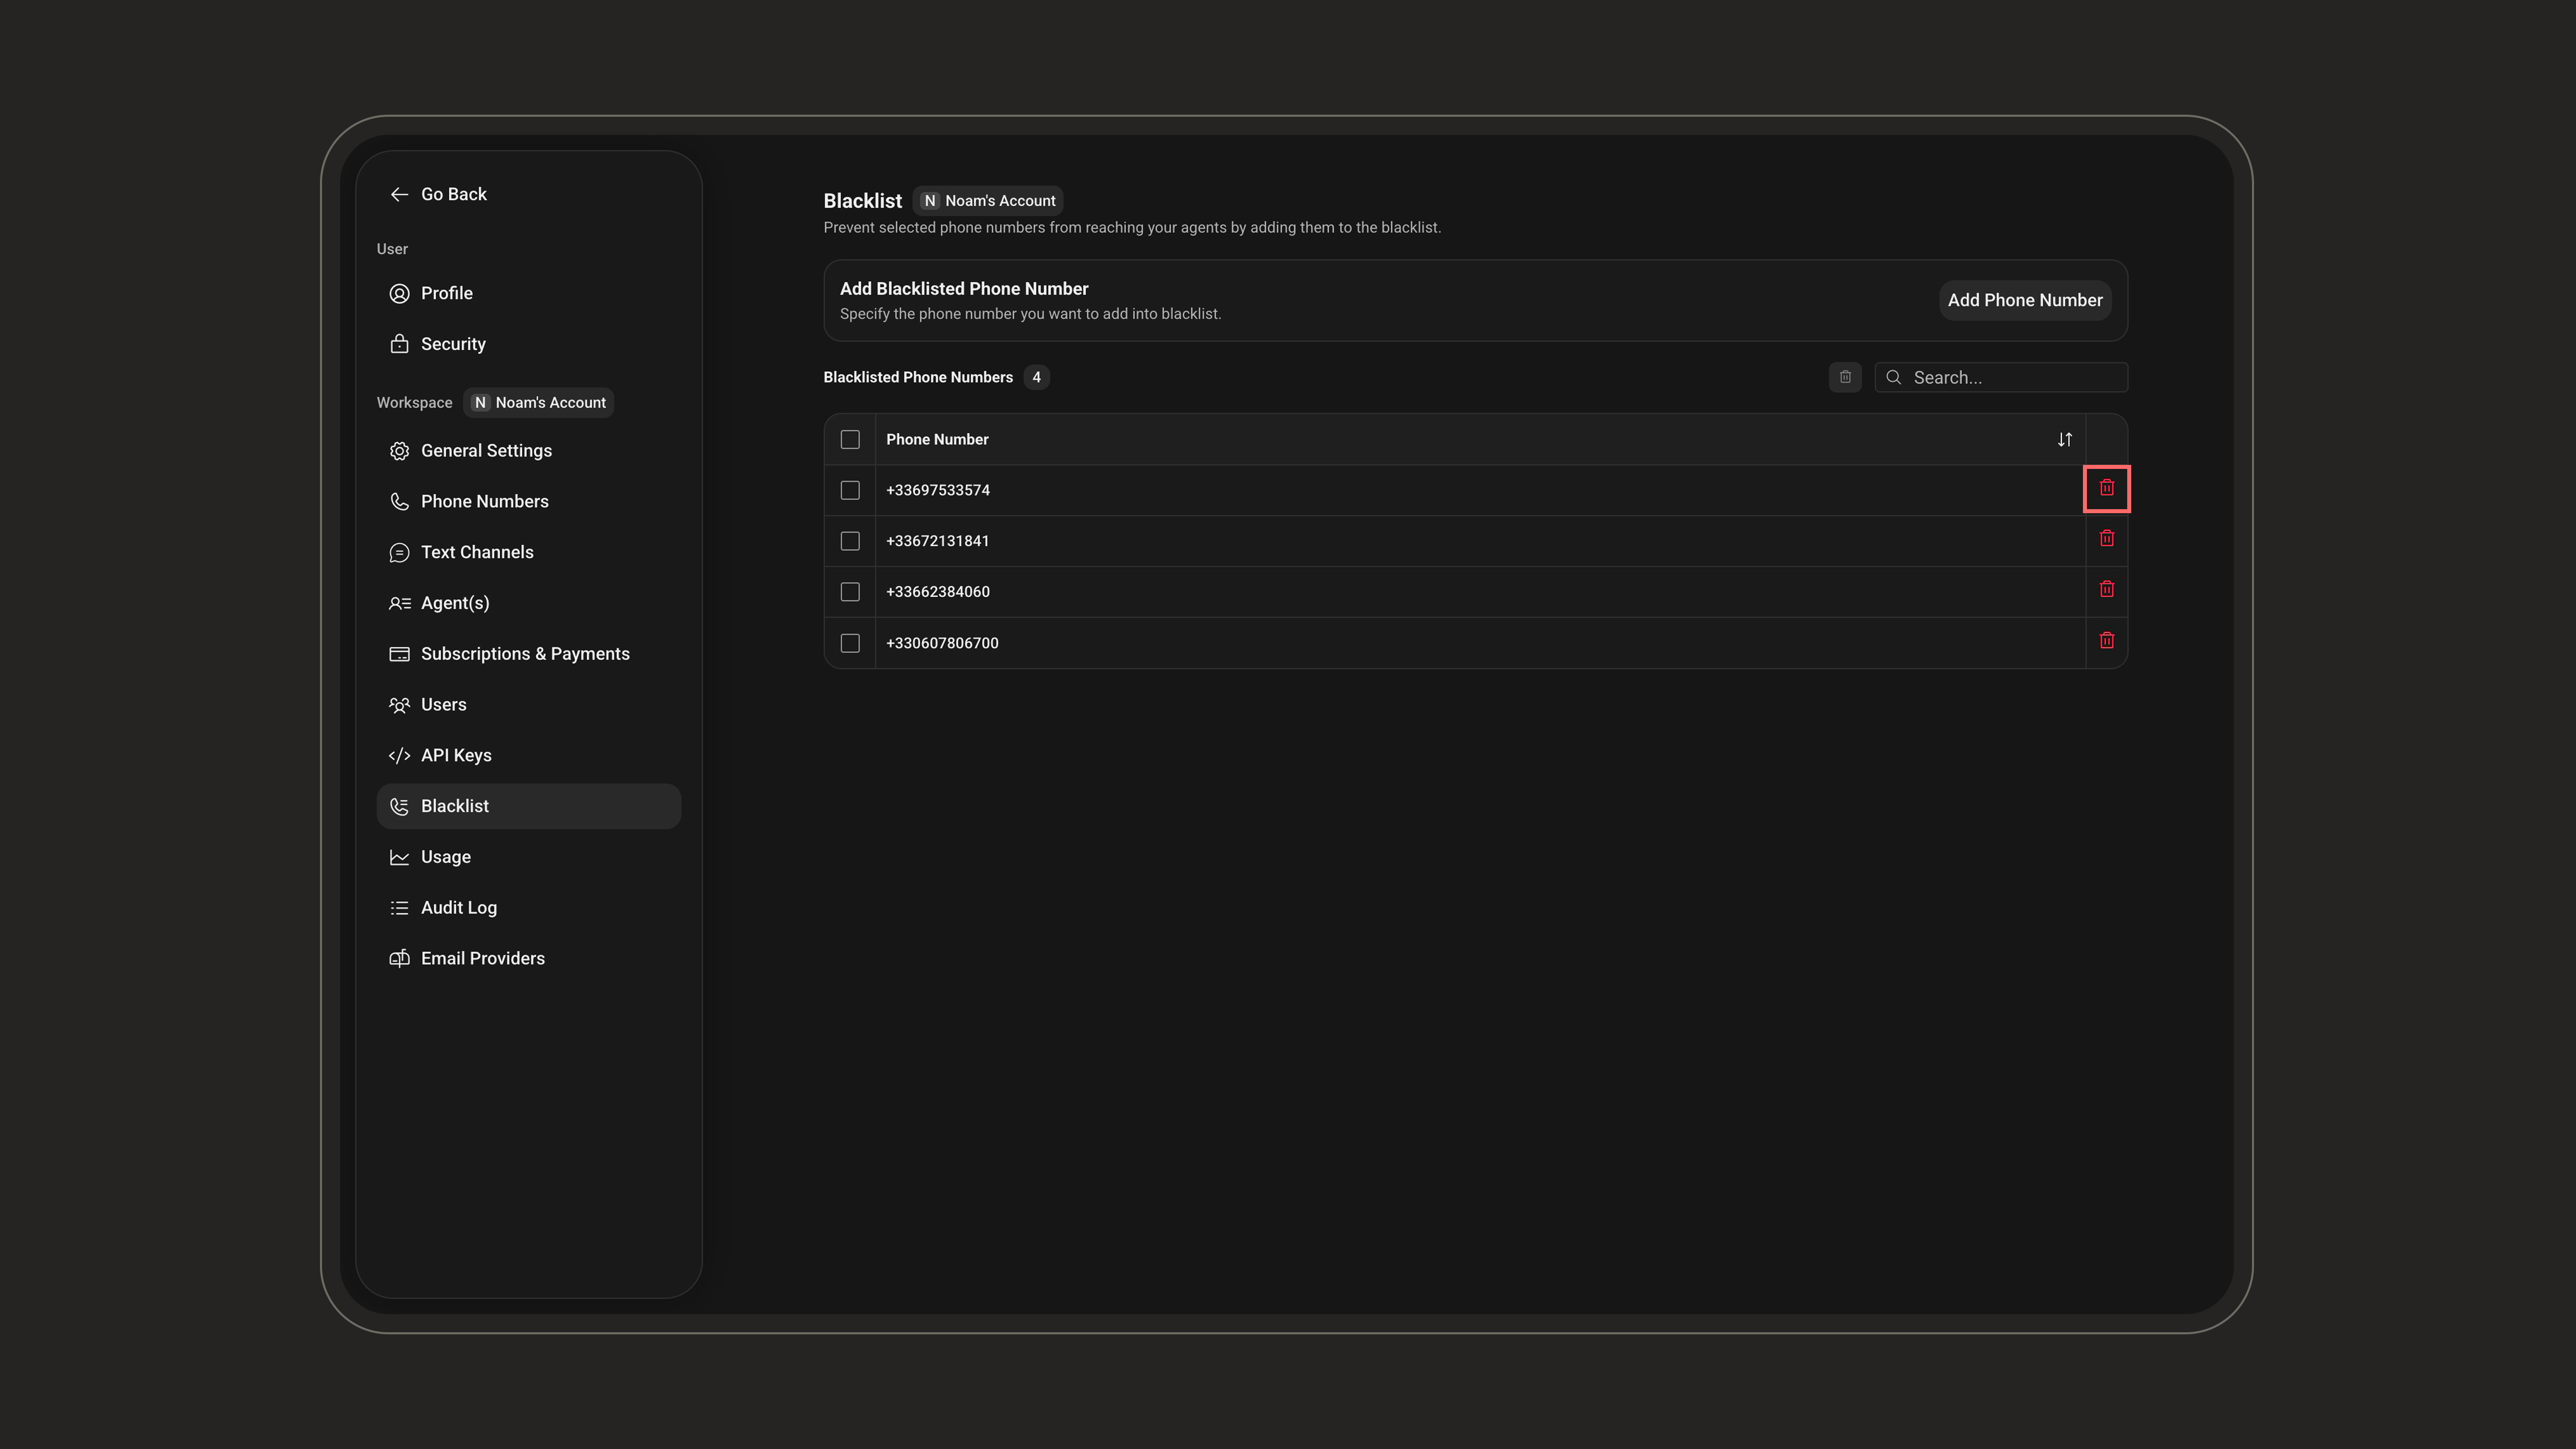
All blocked numbers appear under Blacklisted Phone Numbers, with a counter showing how many are stored.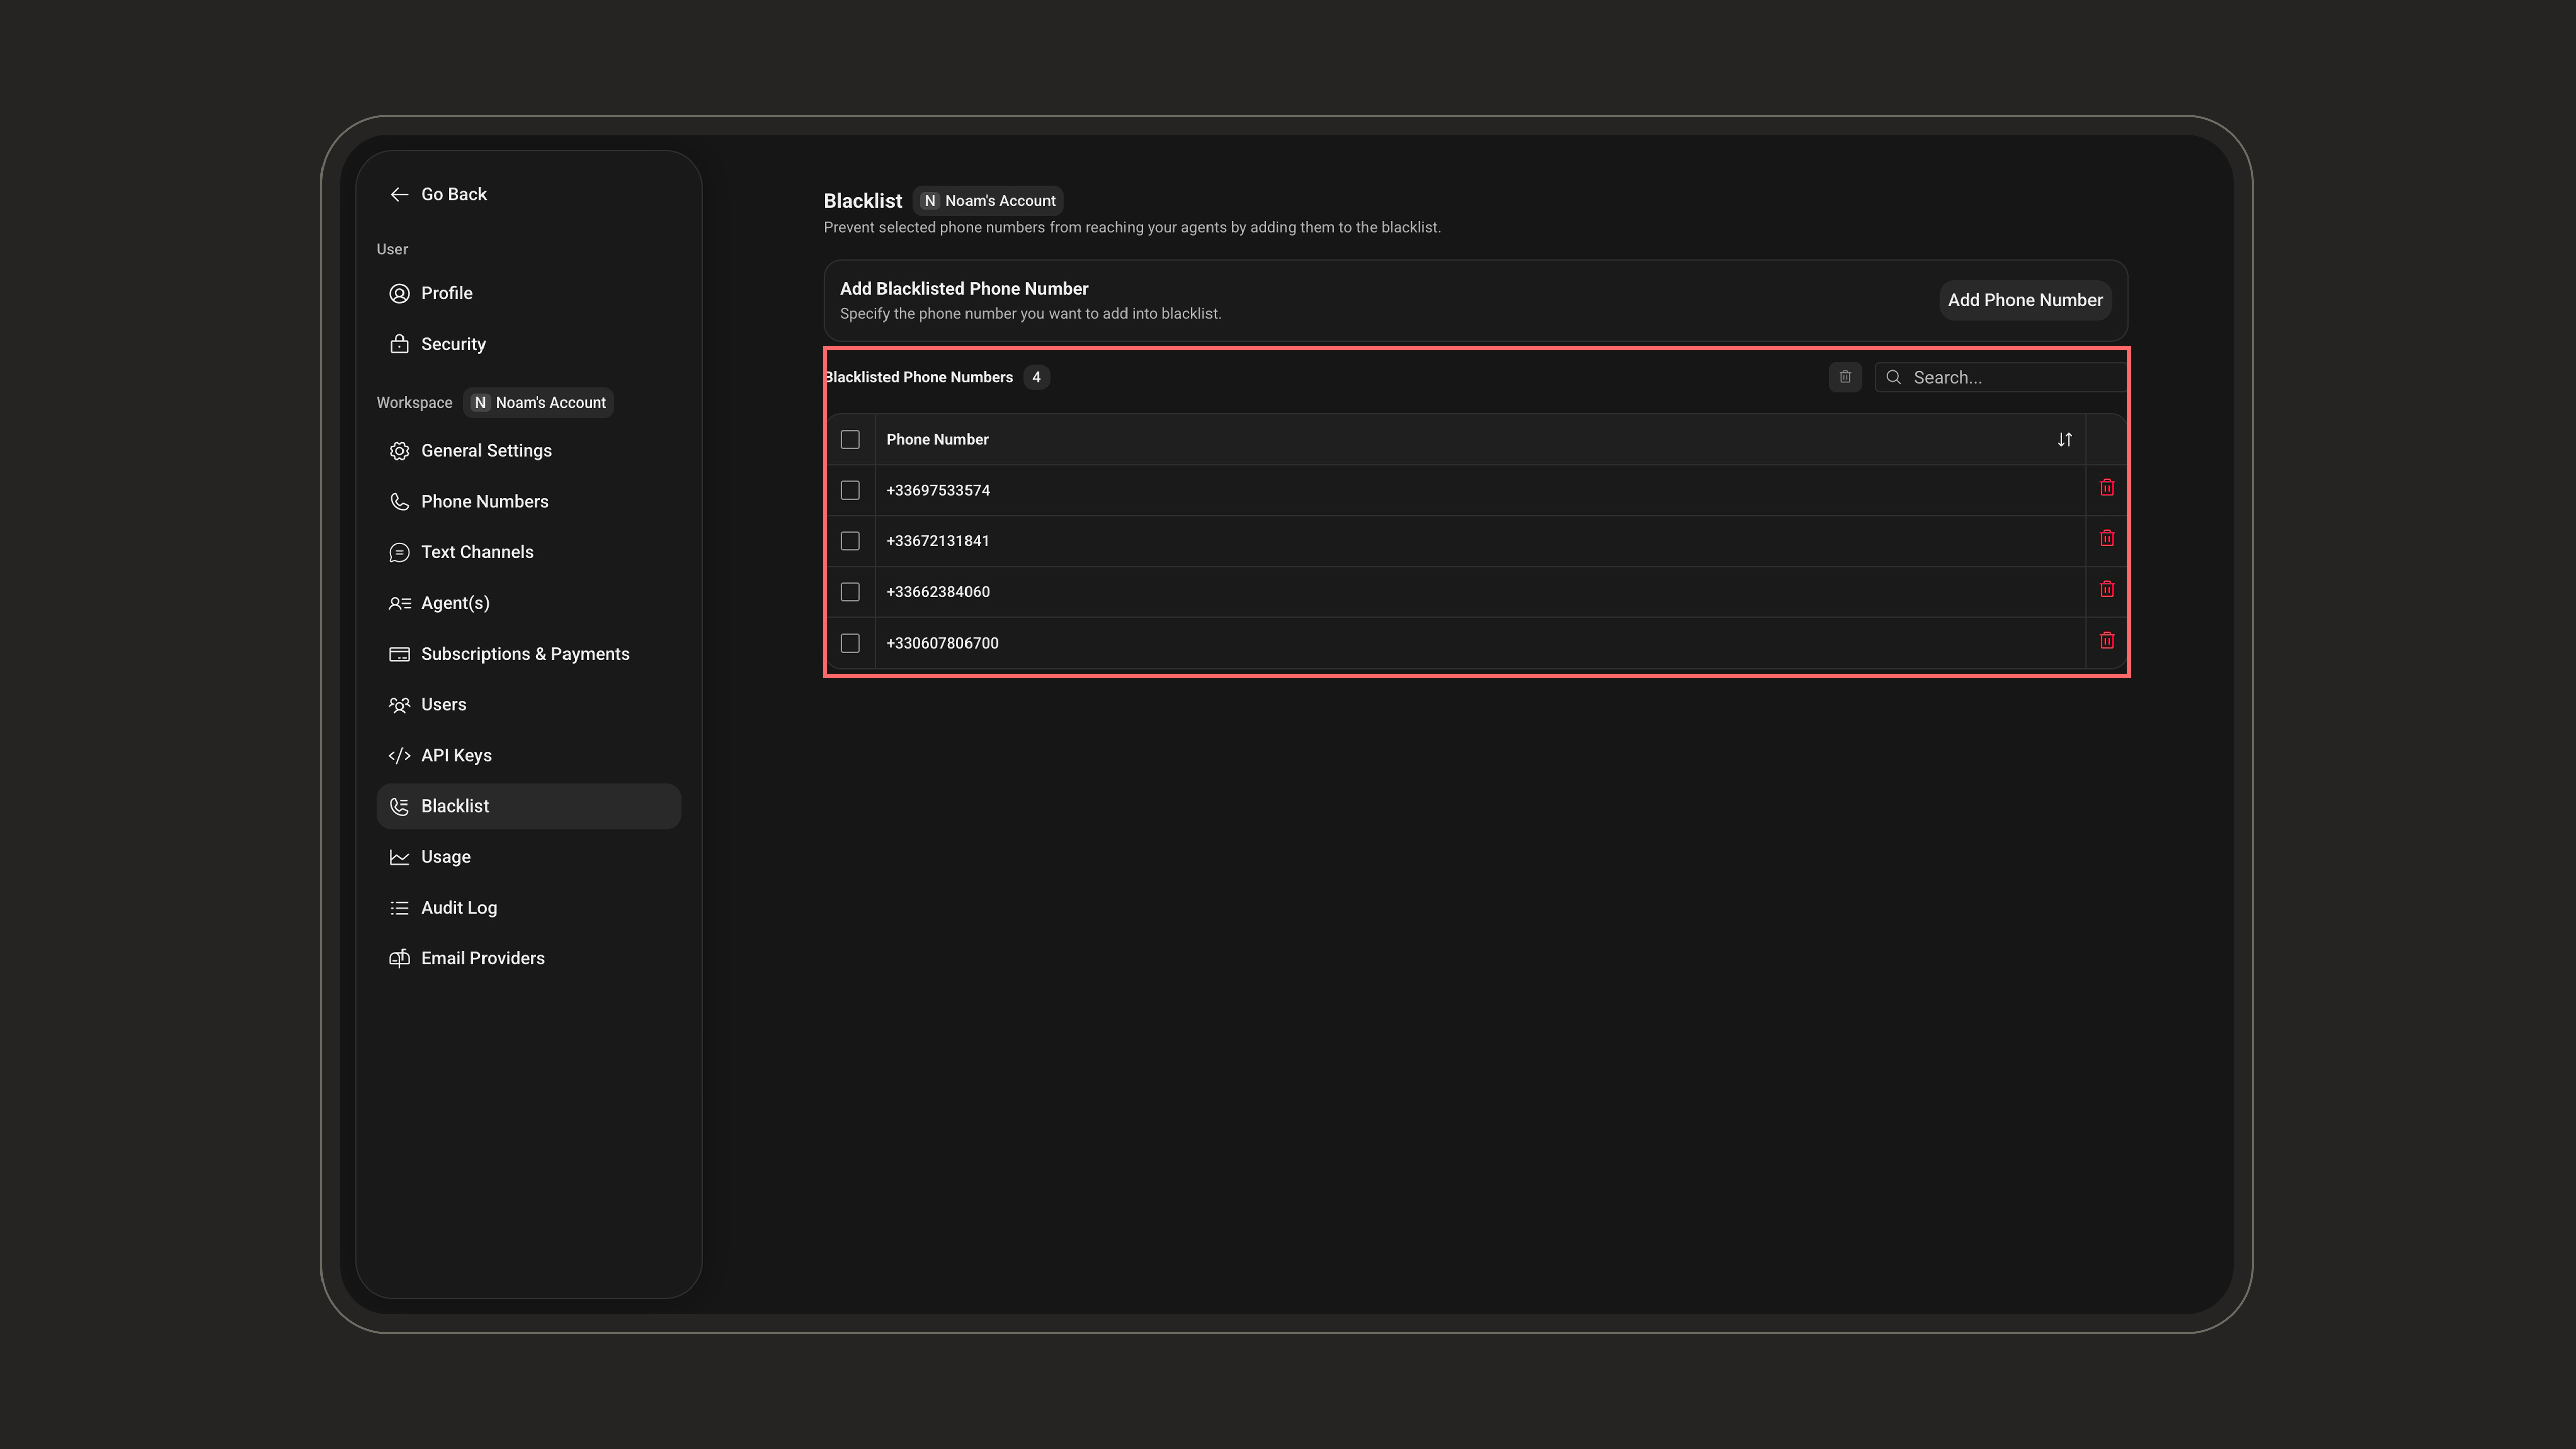
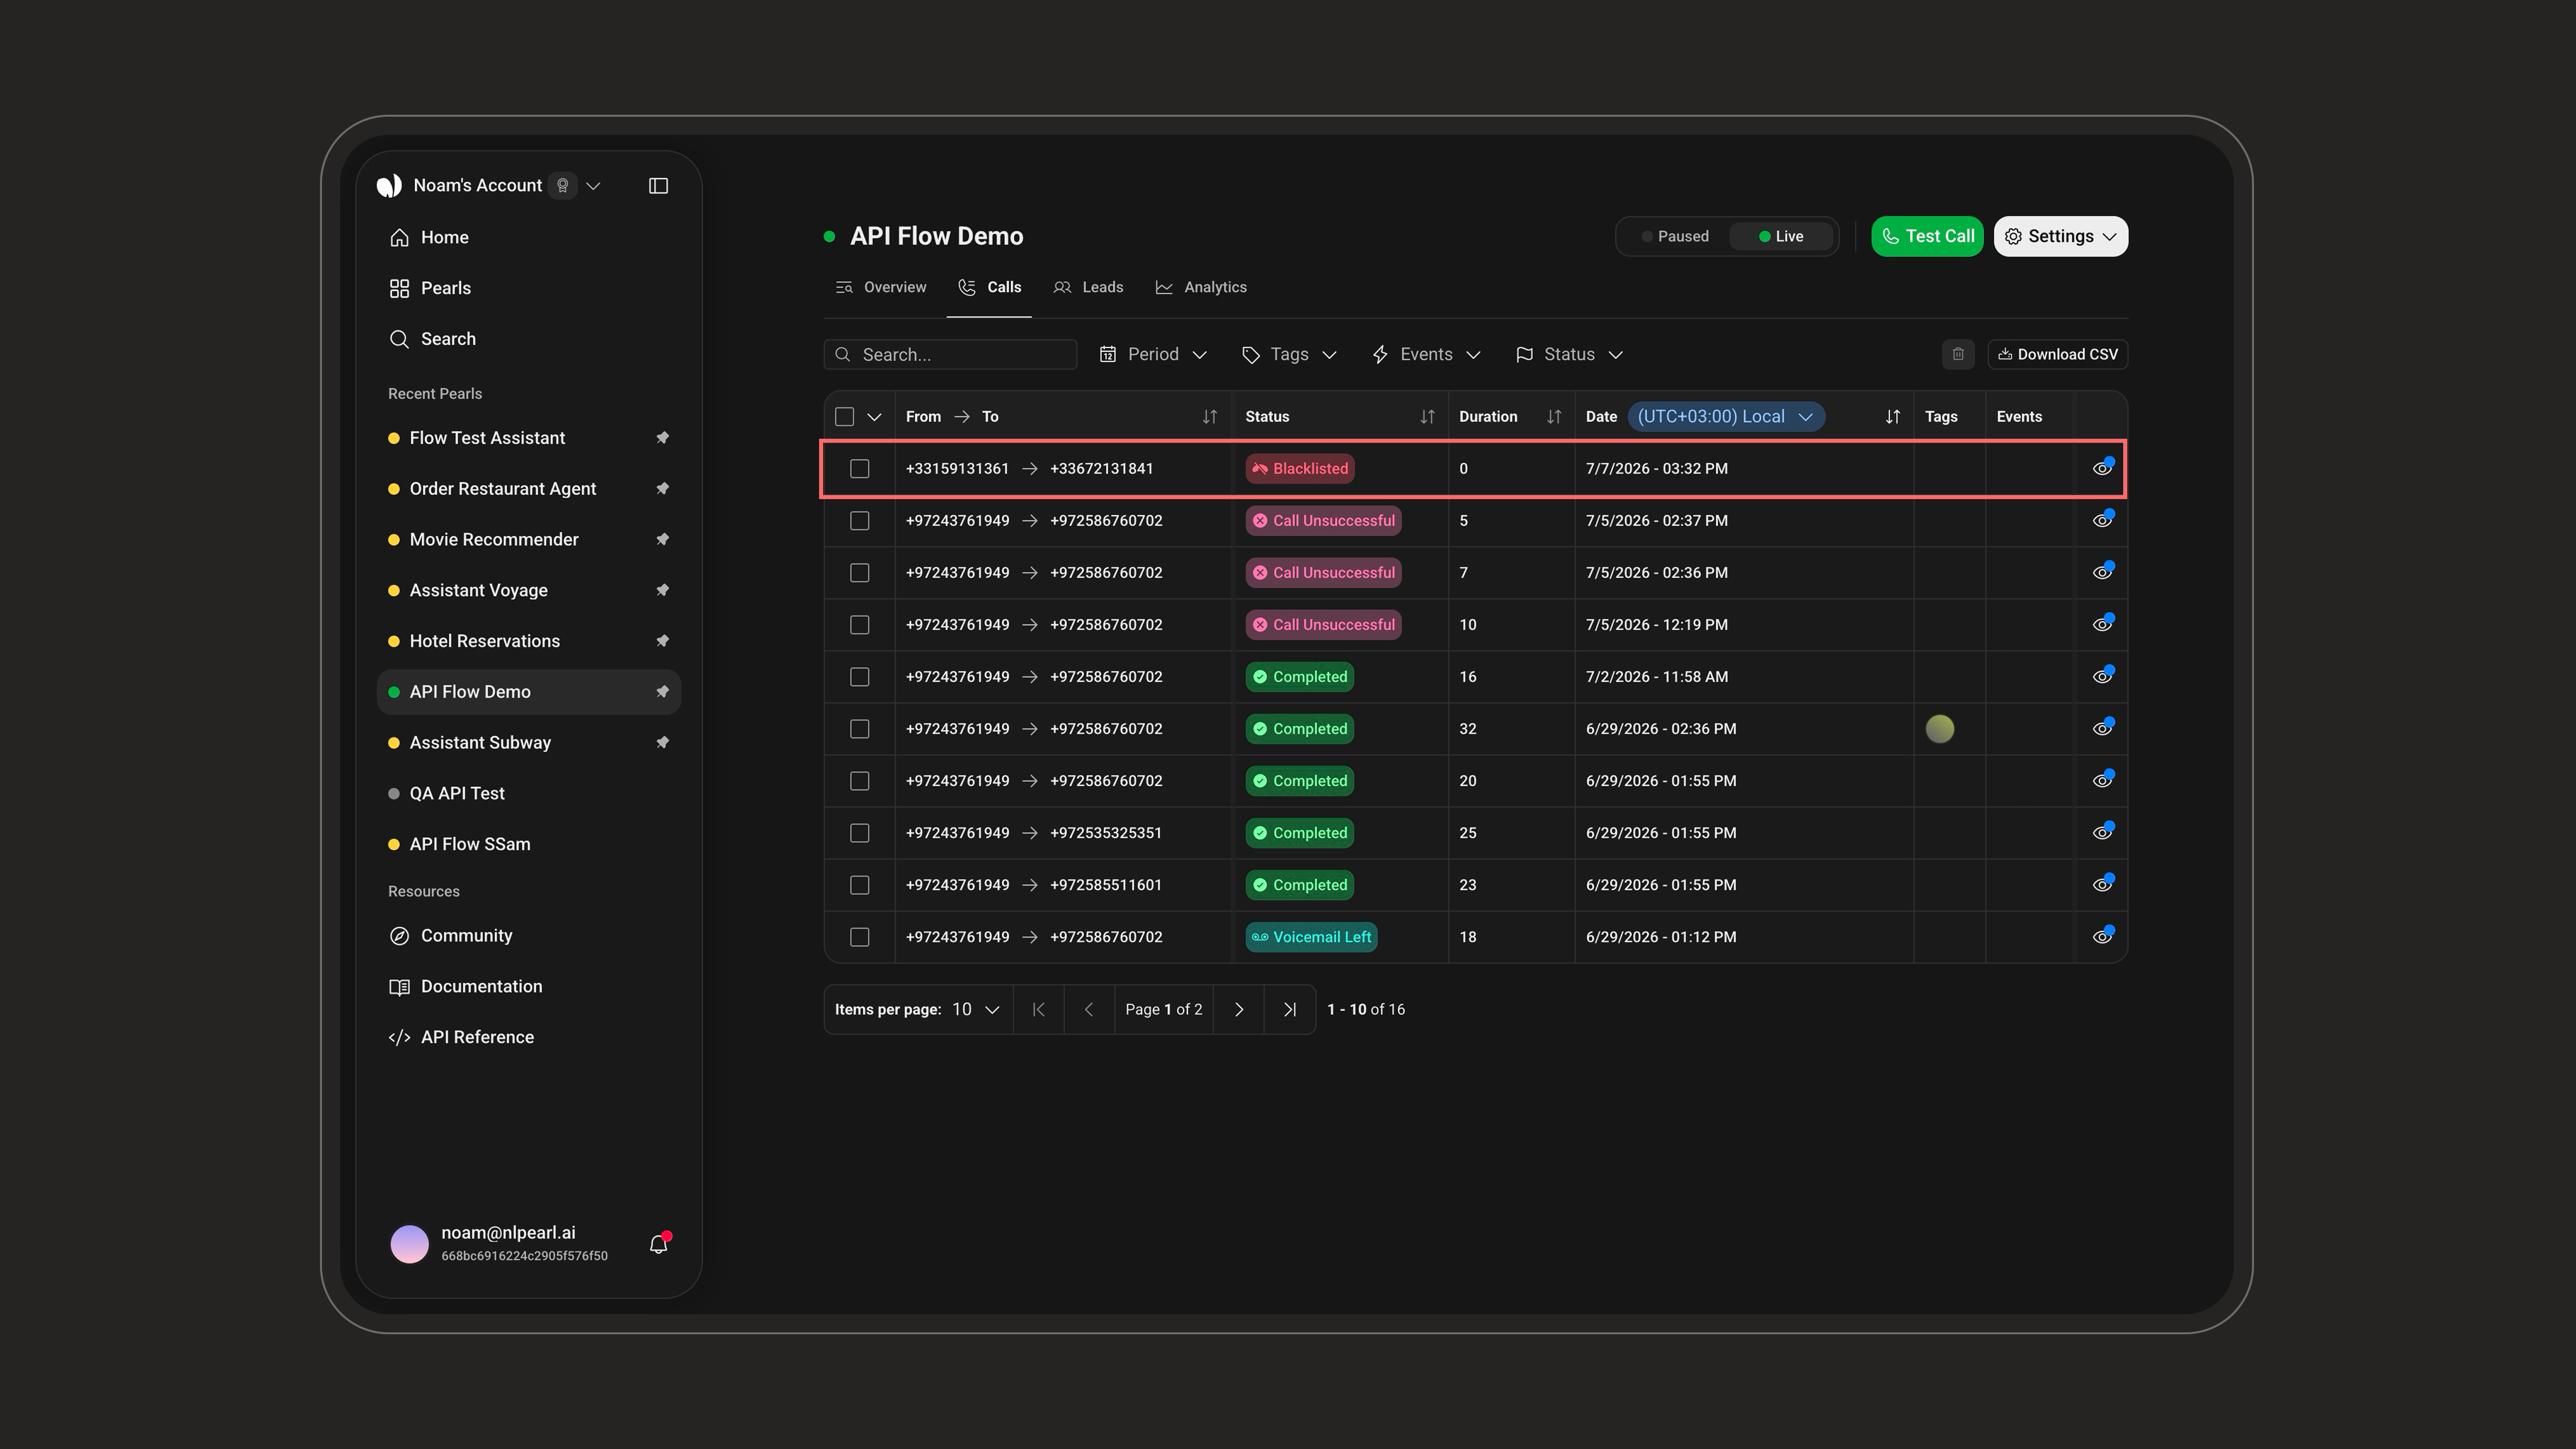
Monitoring Blacklisted Numbers in Campaigns
- Blacklisted numbers will appear with a
Blacklistedlabel in your campaign interface. - Track attempted interactions involving blacklisted numbers, whether inbound calls to your campaigns or outbound calls initiated by your AI agent.