
- Pre-Call API: runs once, before the conversation starts.
- In-Call API: runs during the conversation, when the flow reaches the node.
- Post-Call API: runs after the conversation ends, as a post-call action.
Adding an API Node
Configuring the Request
1
Description
Explain what this API does and what data it returns (e.g. “Fetches customer order history”). Maximum 150 characters. This helps Pearl understand when and how to use the action.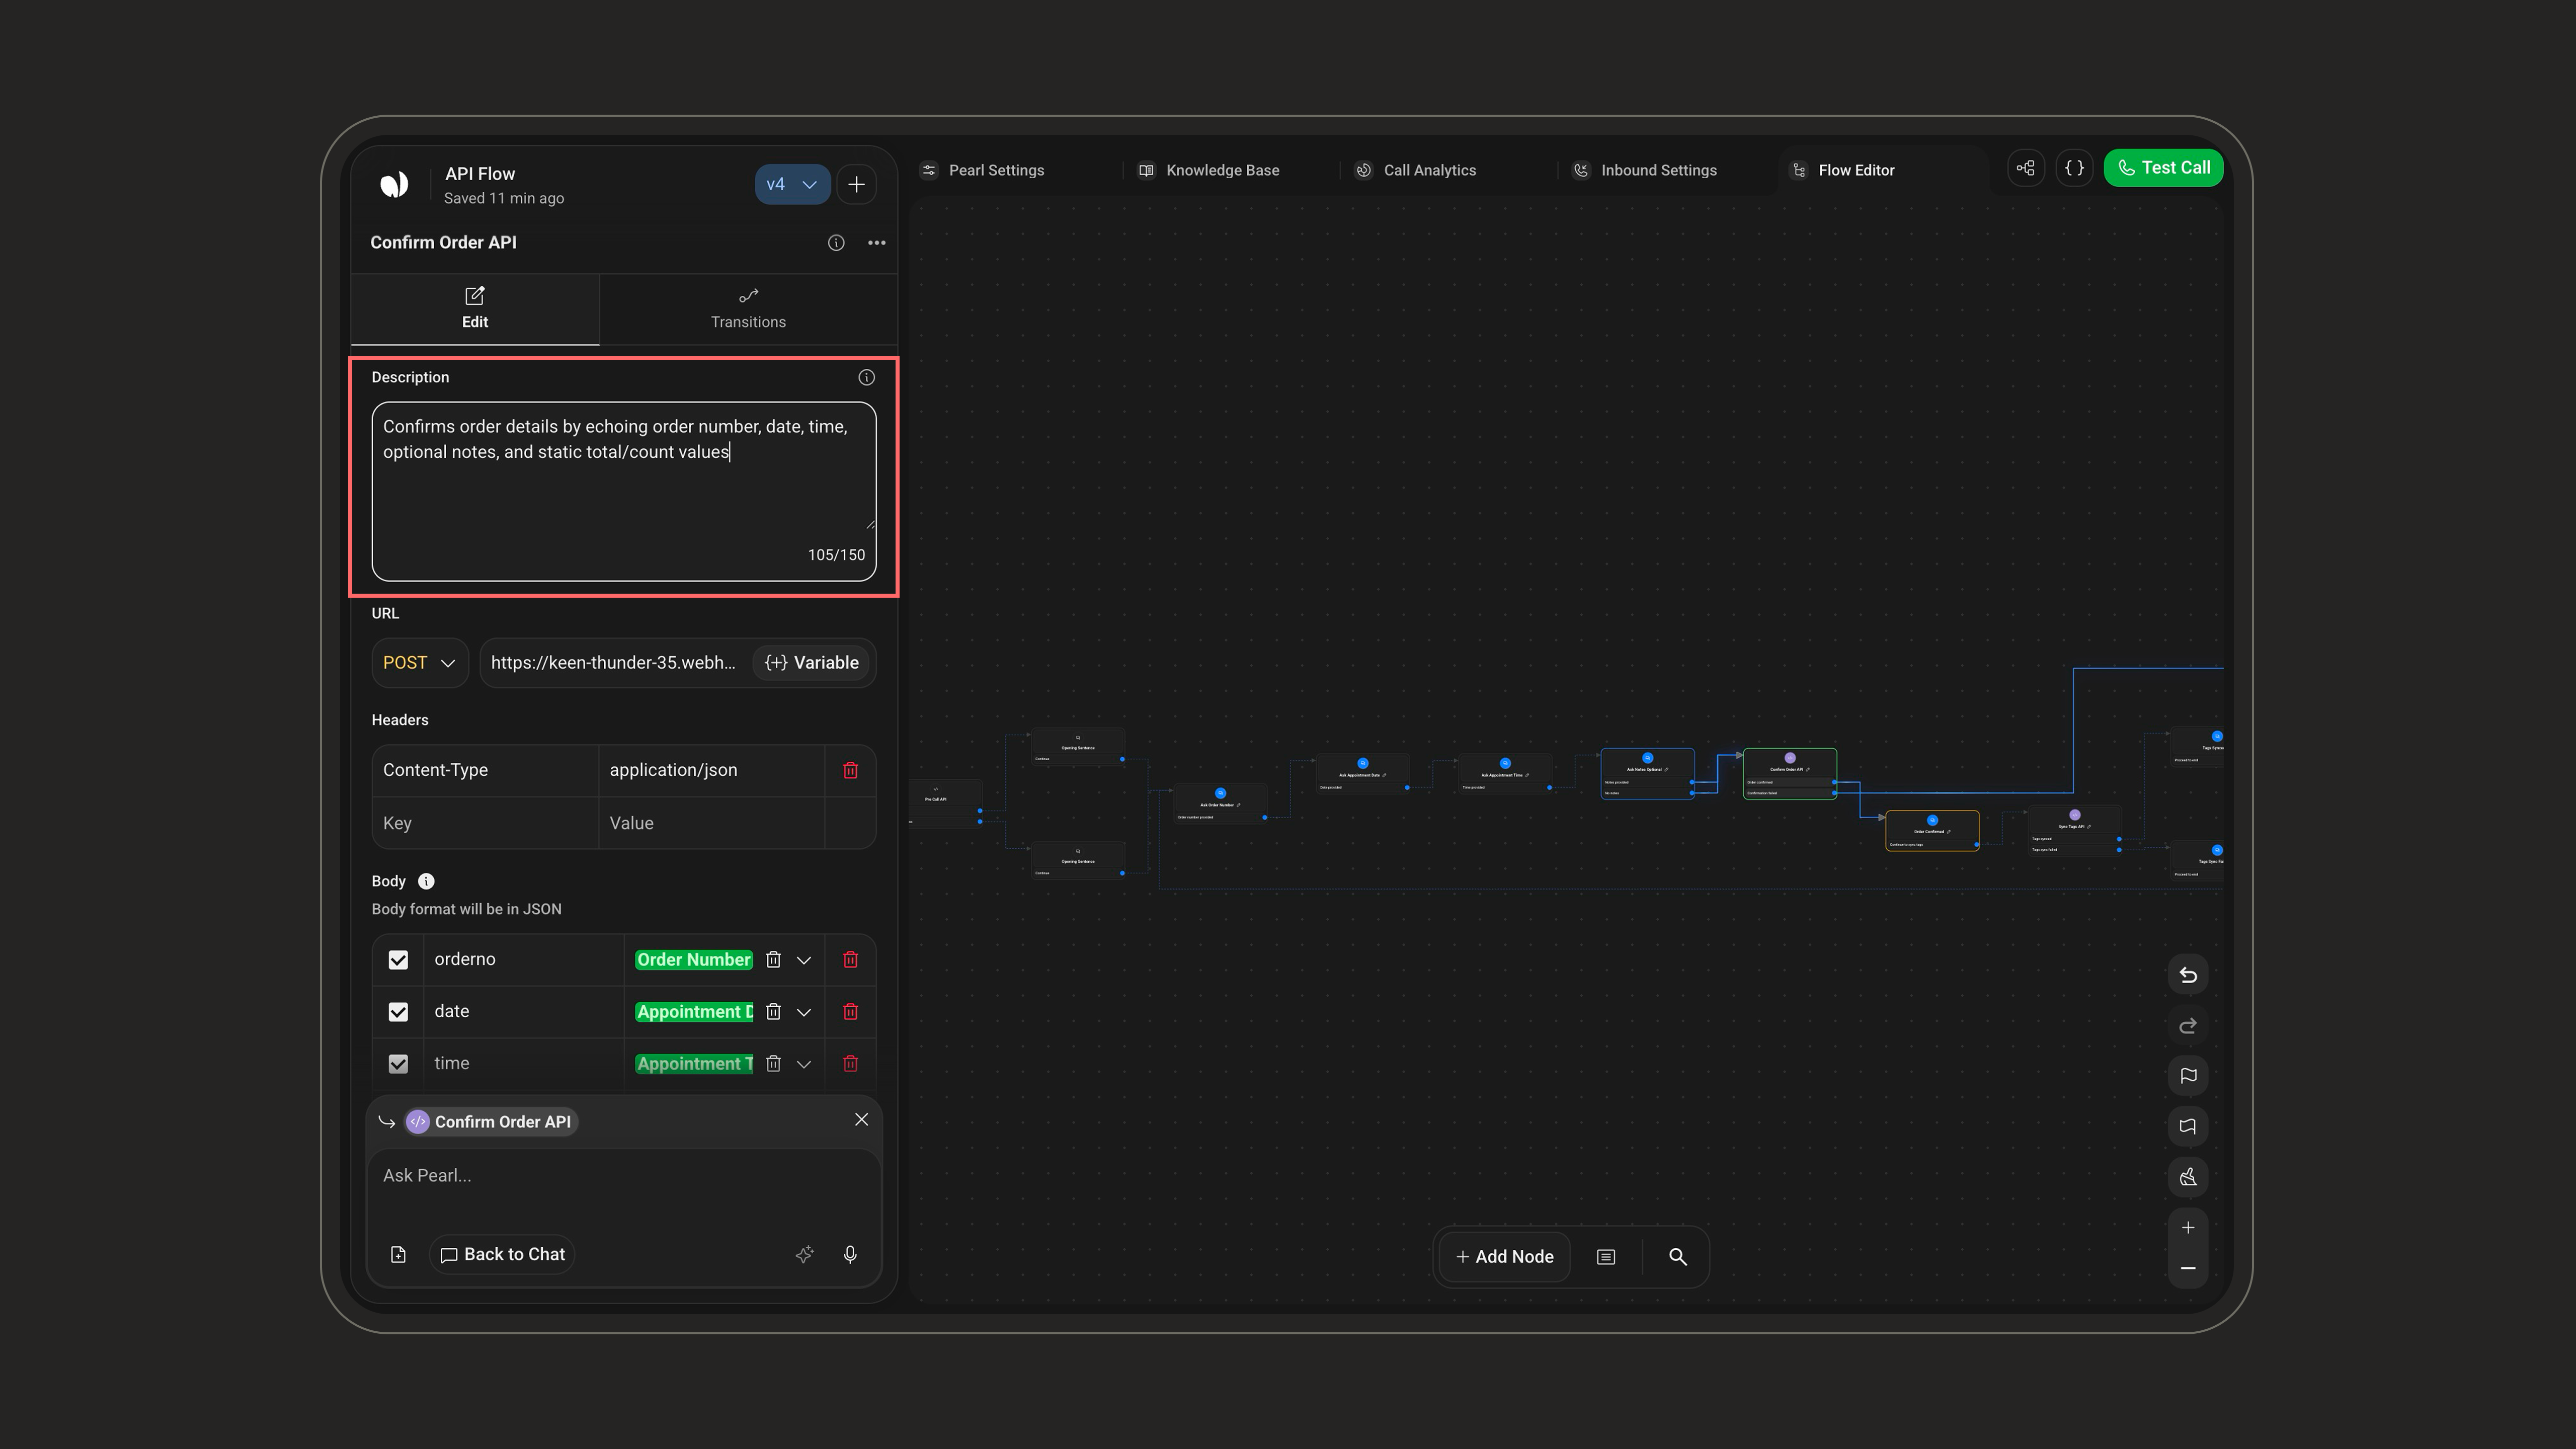
2
URL & Method
Type the API endpoint URL and choose the HTTP Method (GET, POST, PUT, DELETE, or PATCH) depending on the API’s requirements. Click + to insert a variable into the URL, limited to the variables available in the node’s context (see Context Differences).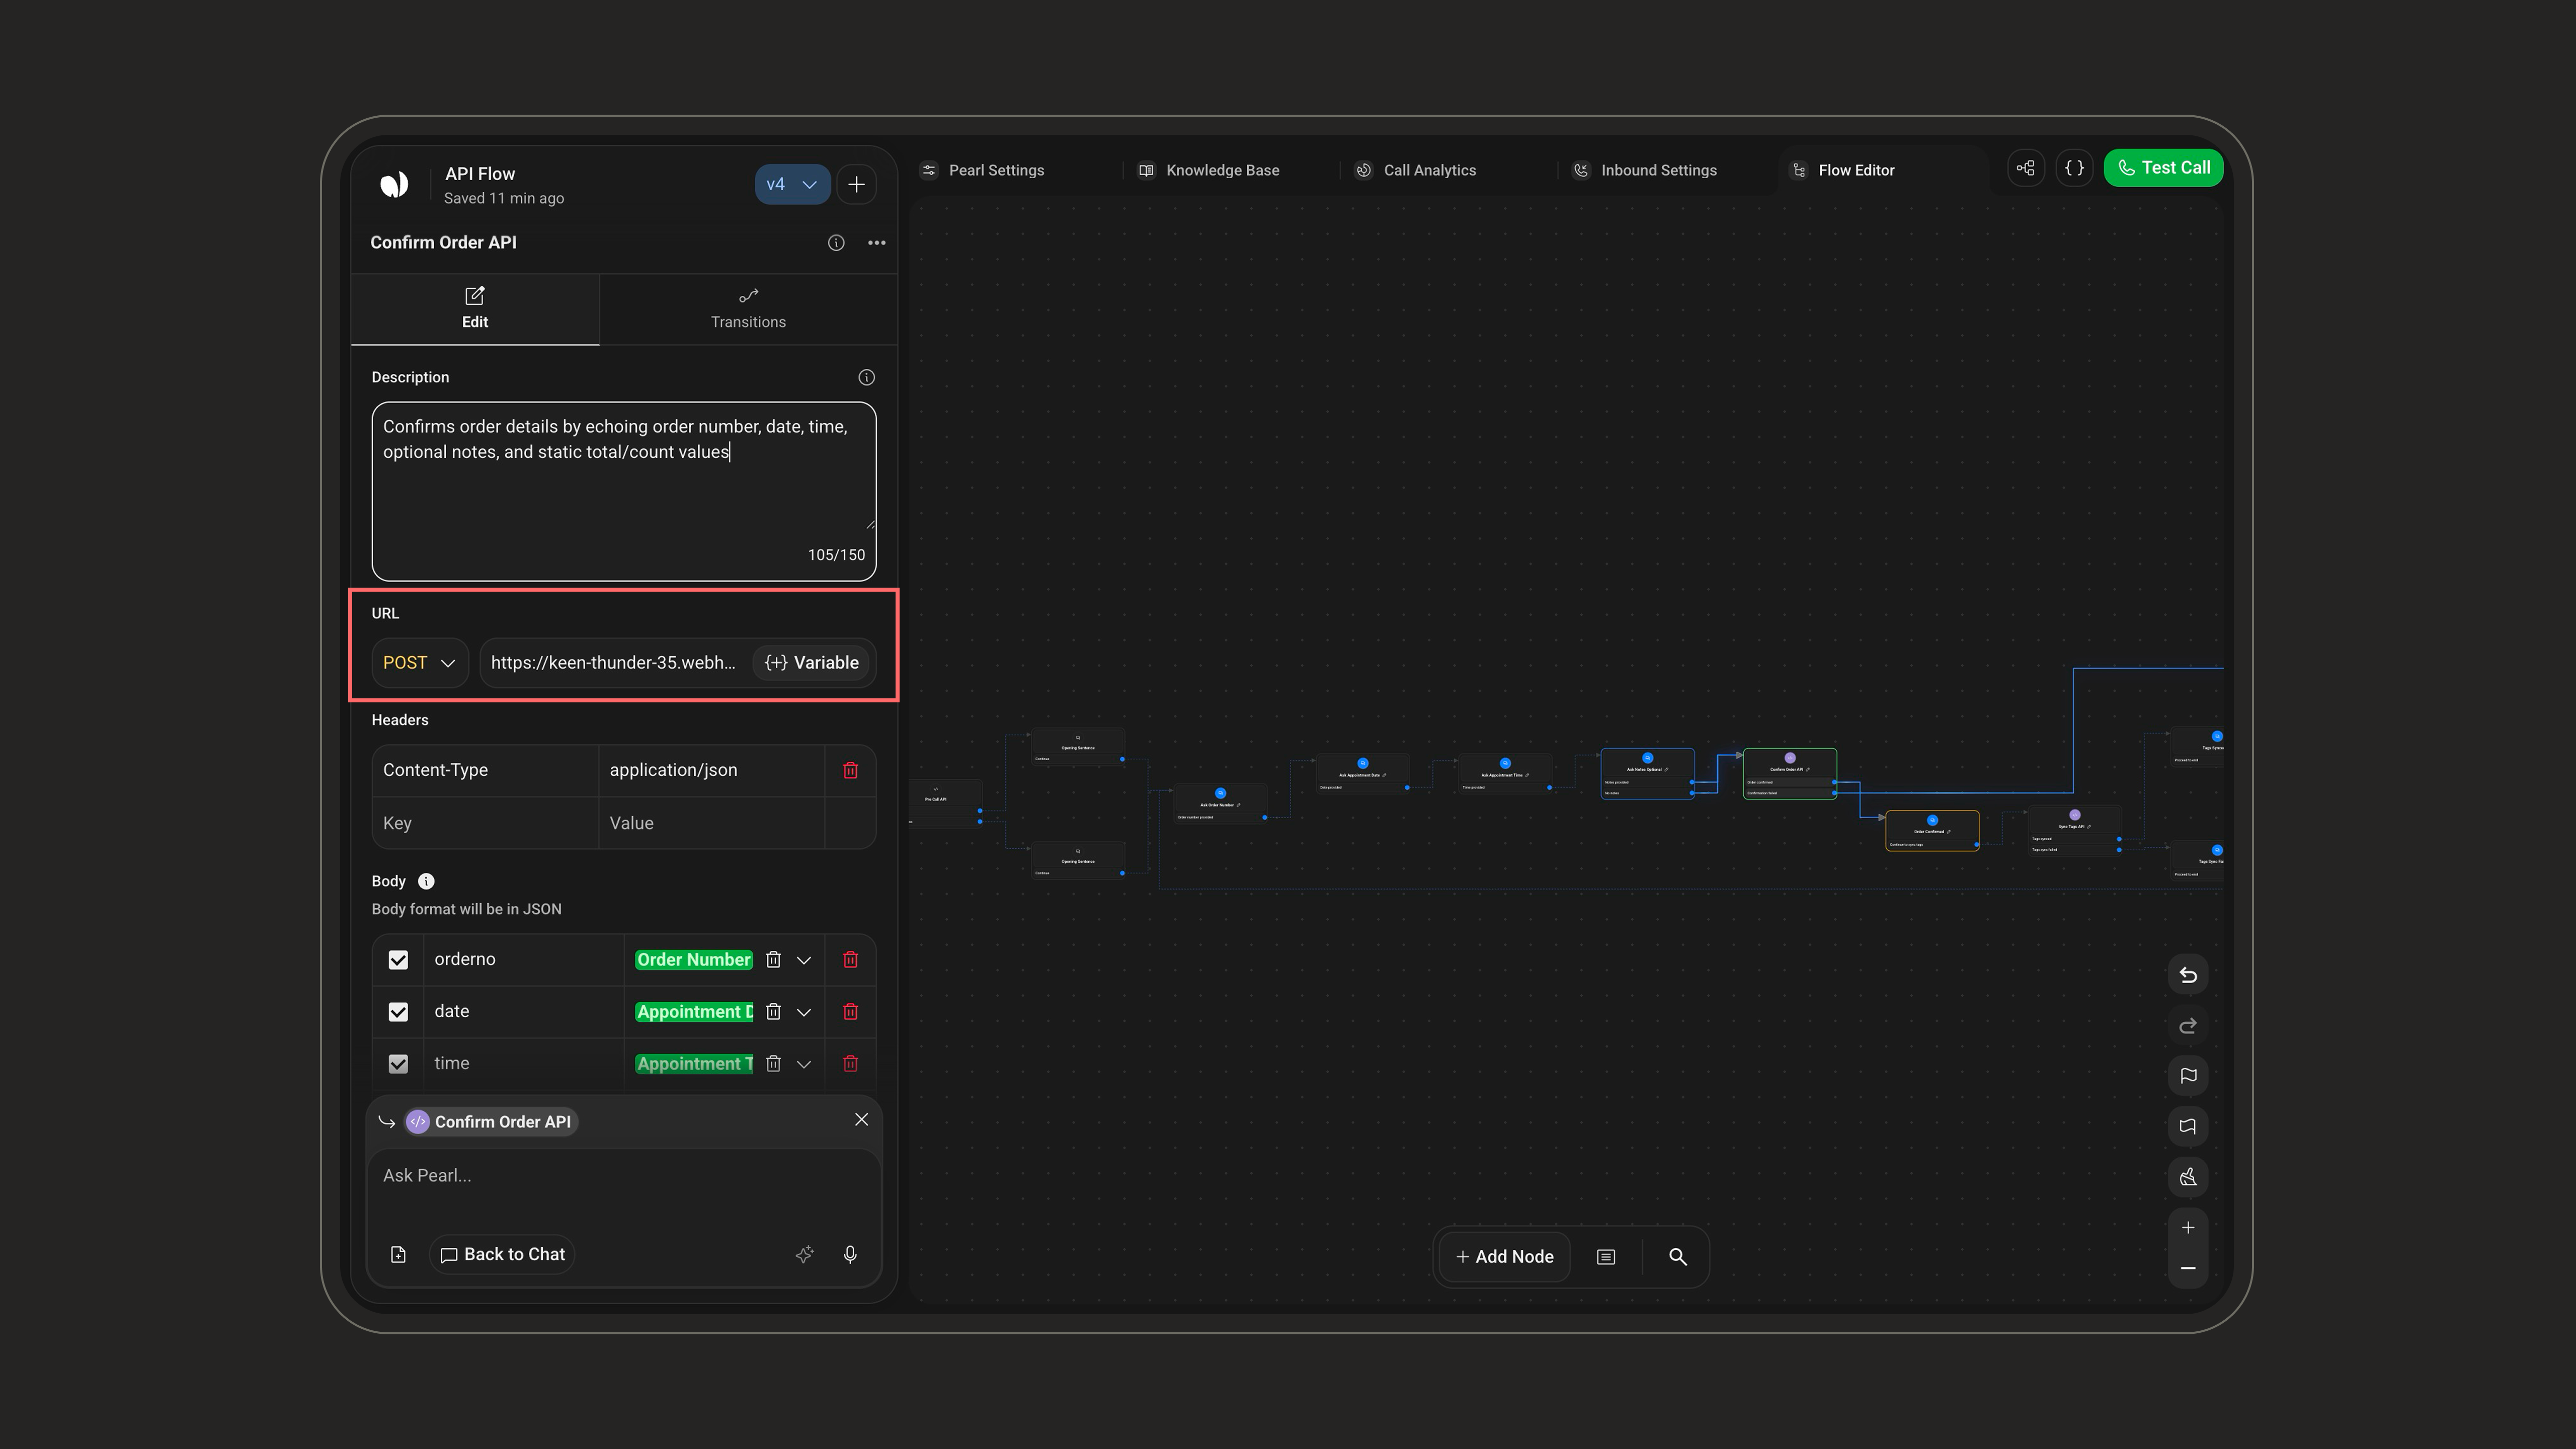
The available fields depend on the method:
- The Body section is shown only for POST, PUT, and PATCH (hidden for GET and DELETE).
- The Response Output Schema is available for every method except DELETE.
3
Headers
Add any header required by the API, such as 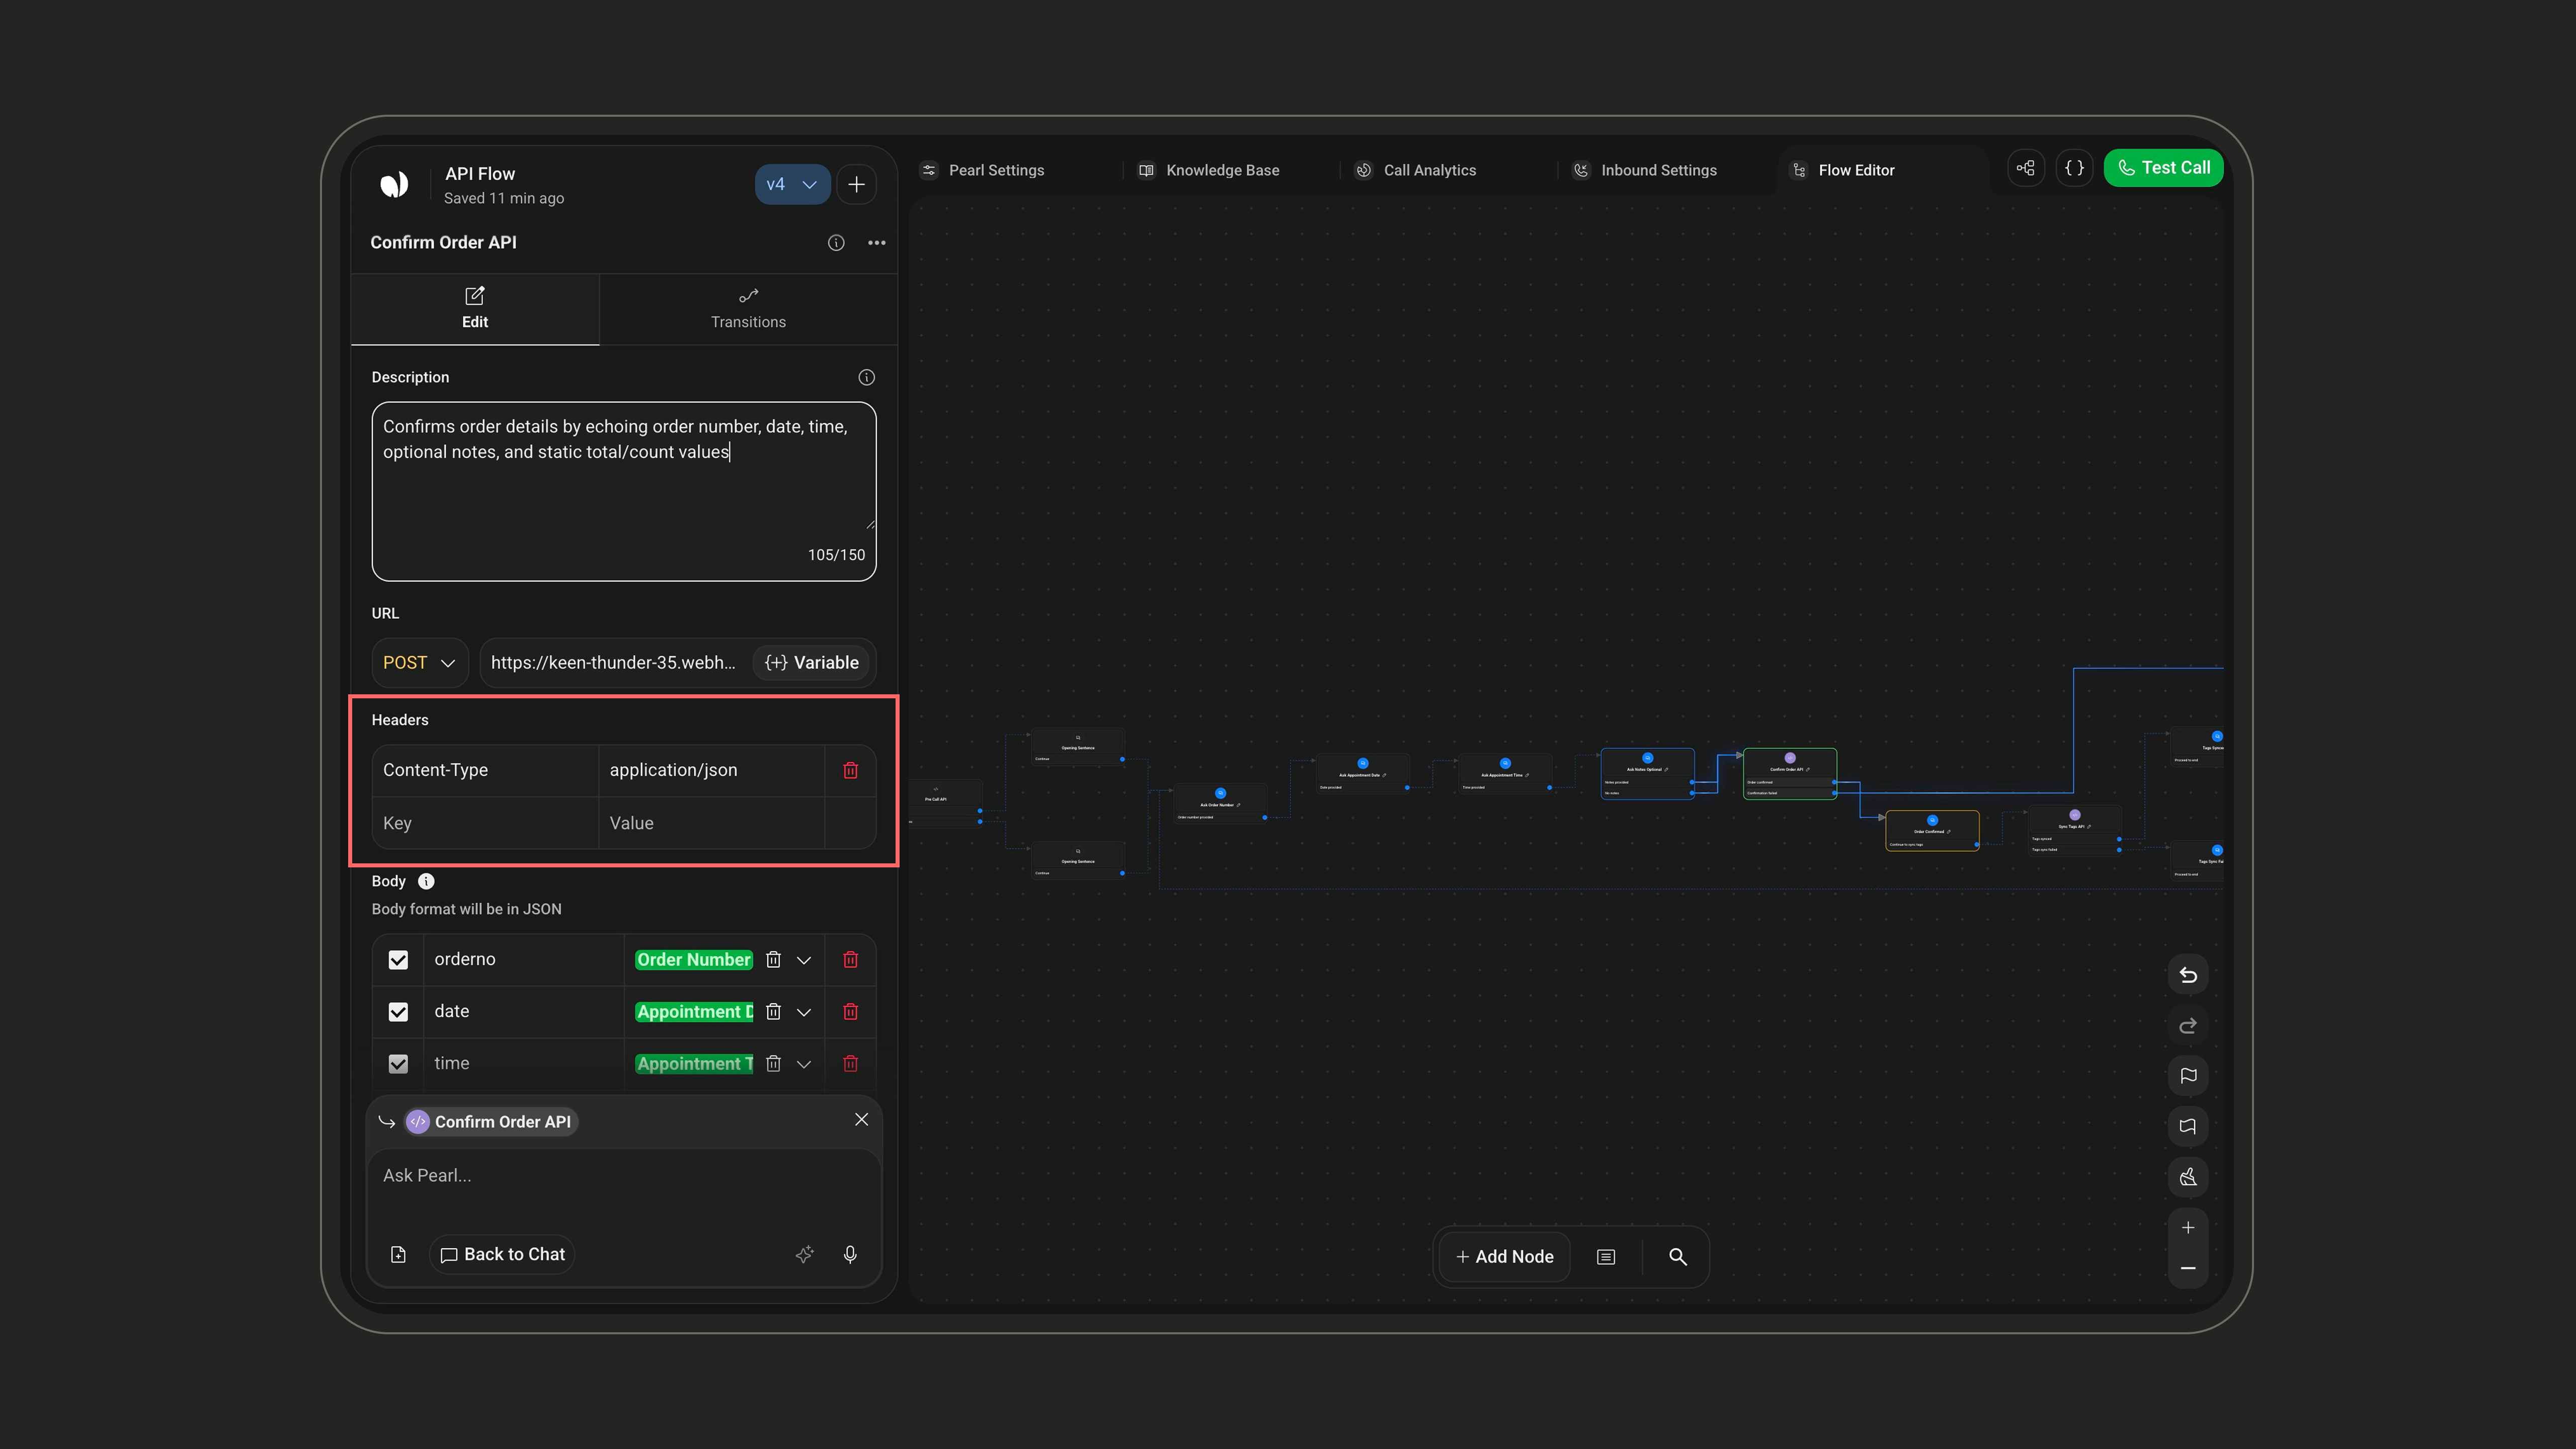
Content-Type or Authorization. Header values are static.For a dynamic authorization token, use a Credential instead of a static header.
4
Body (POST / PUT / PATCH)
Provide Key / Value pairs, sent as JSON.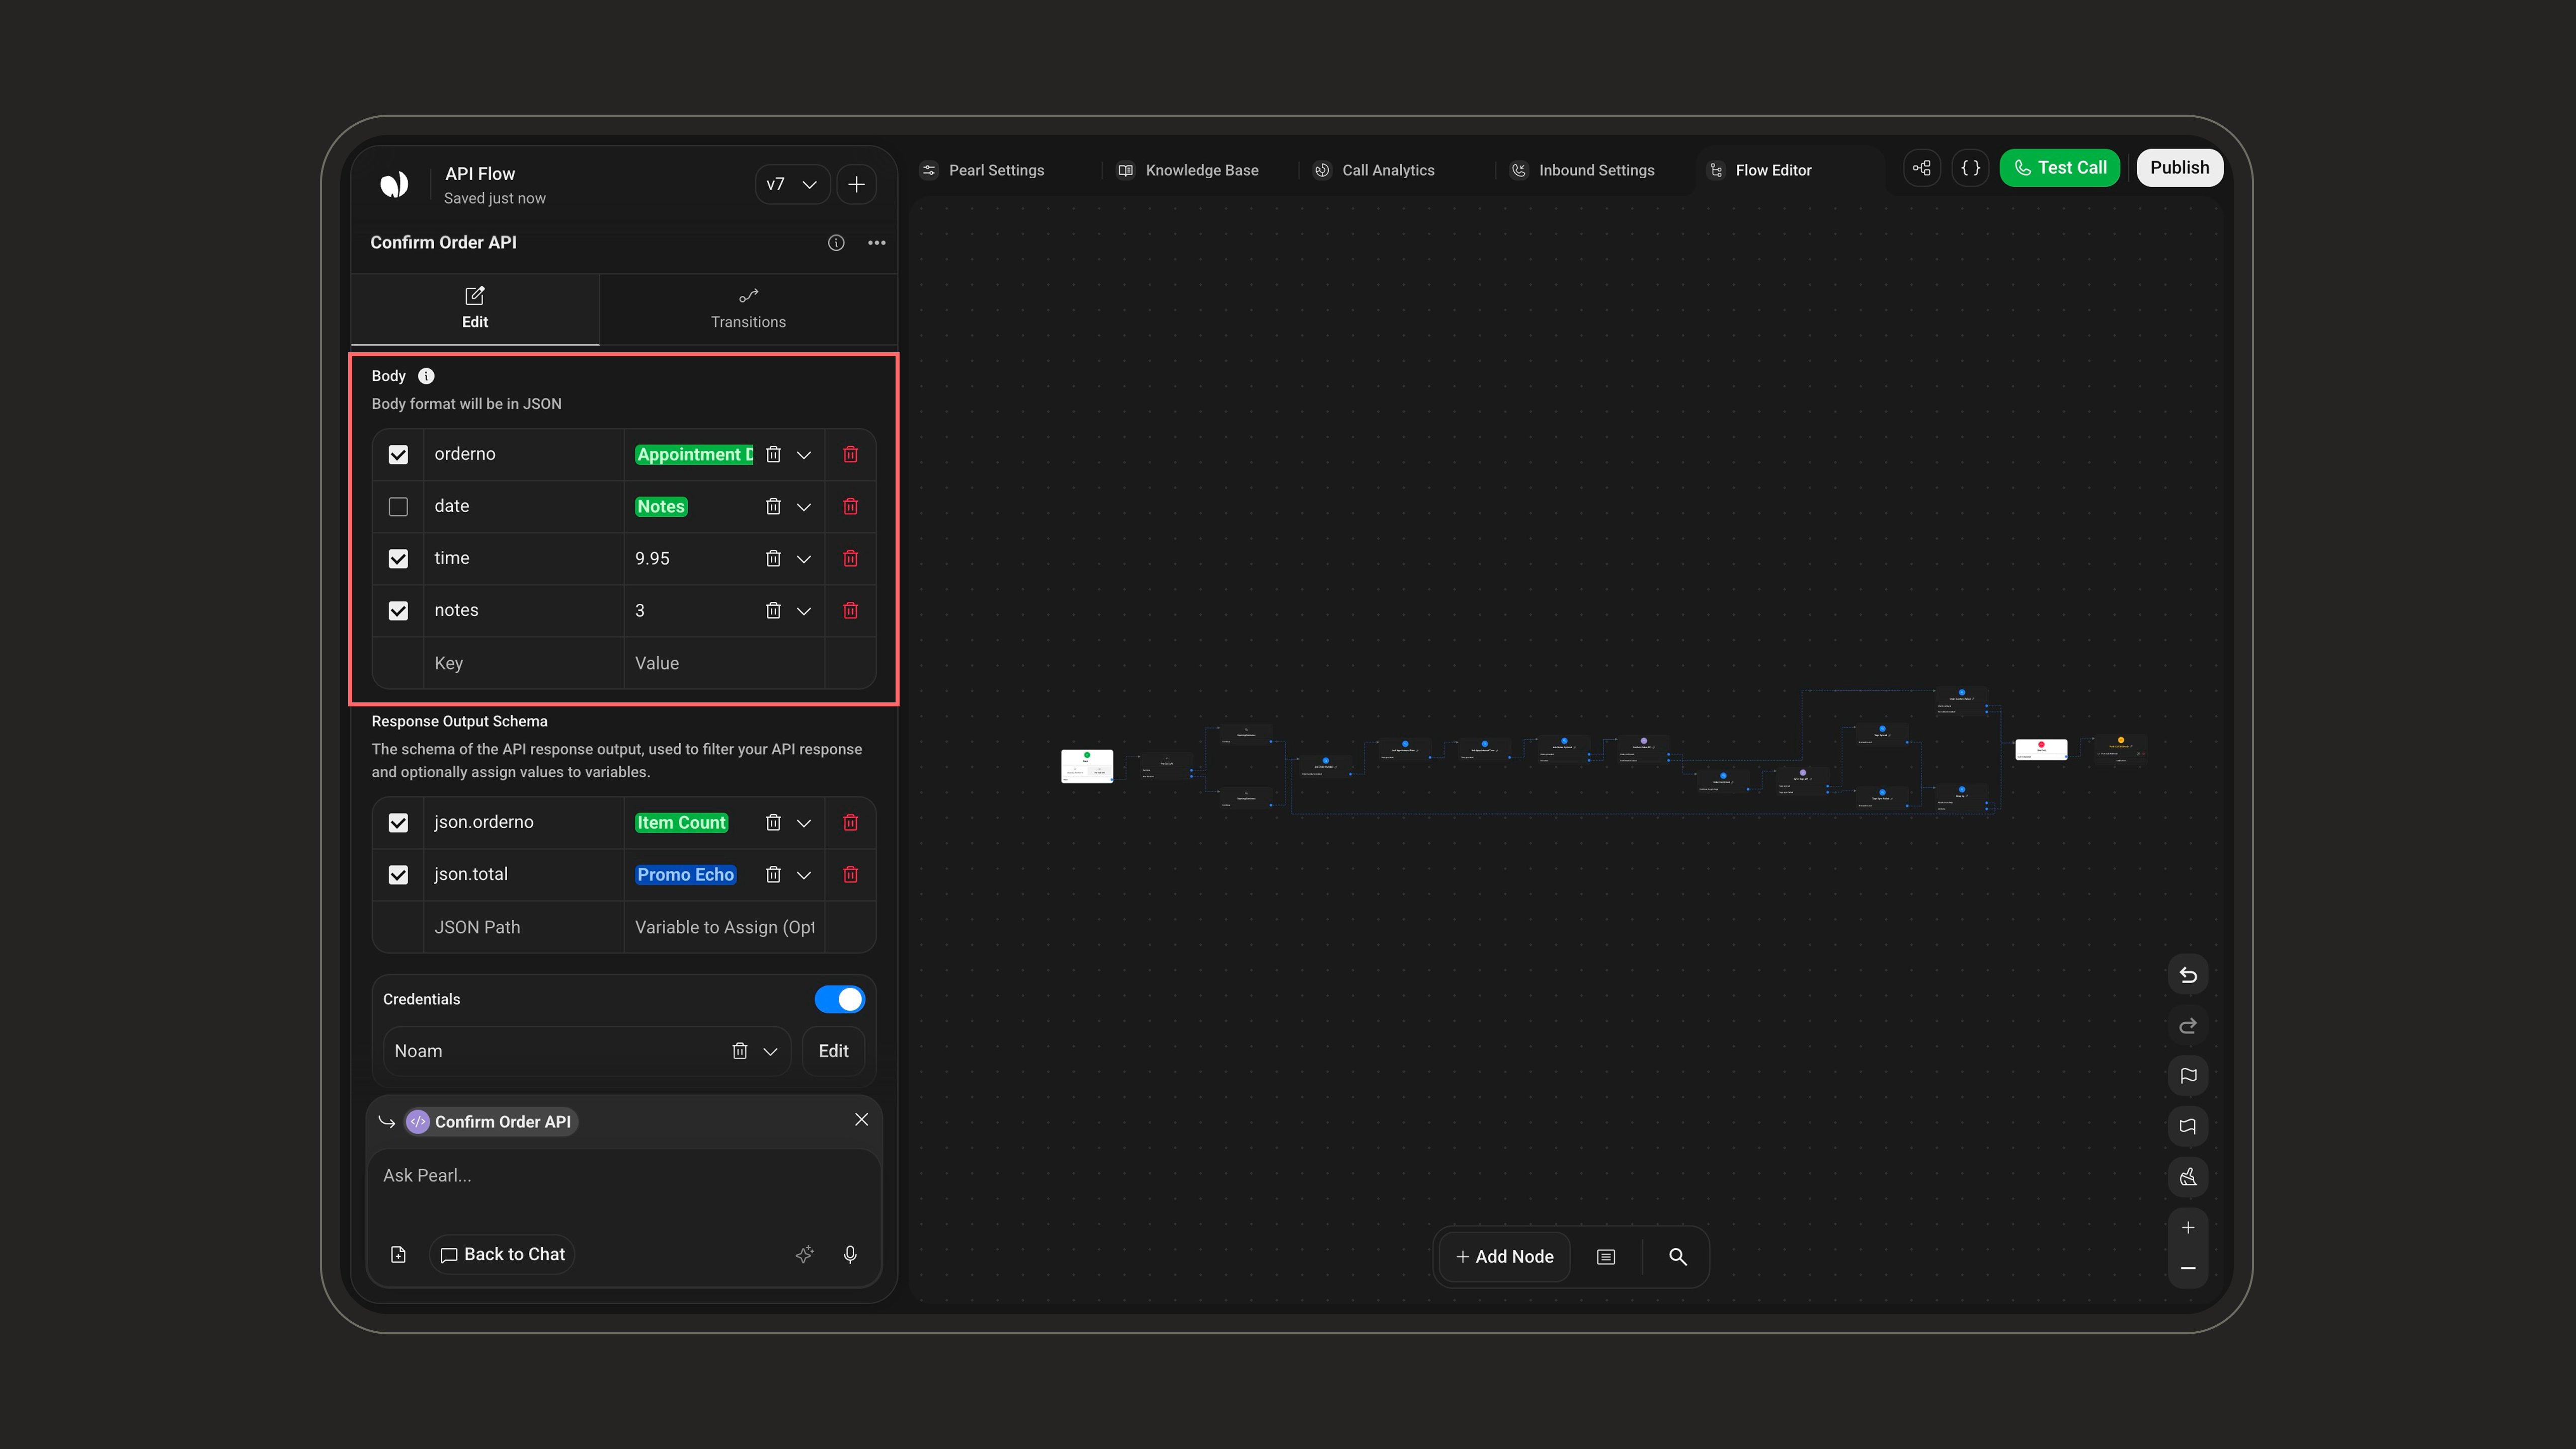
For each row you can toggle a Required checkbox:
- Checked: Pearl prompts the customer for the value before sending the request if it hasn’t been collected yet.
- Unchecked: the request is sent even if the value is missing; the key is simply omitted.
- The platform casts each variable to its configured data type (e.g. Whole Number becomes an integer, Text is quoted as a string). A type mismatch may cause the API to reject the request.
- You can mix static values and variables in the same body.
- For nested JSON, use dot notation in the Key (
customer.address.street) and square brackets for array indices (order.items[0].productId). See Using Nested Objects below.
Using Nested Objects
Many APIs expect a nested JSON structure in their request body. Use dot notation and array indices in the Key column to build nested payloads while keeping them organised and readable.How to define nested keys
- Use dot notation for properties (
customer.address.street) - Use square brackets for array indices (
order.items[0].productId)
You can pair nested paths with any variable type: Text, Number, Boolean, etc.
Resulting body:
body.json
Response Output Schema & Variable Assignment
Available for every method except DELETE. The Response Output Schema lets you filter the API response so only the relevant data flows back into the conversation. Without filtering, the entire JSON is returned, which can reduce precision because the AI receives too much unrelated information. Even for small responses, setting a schema is strongly recommended to keep Pearl focused. Each row of the schema has three parts: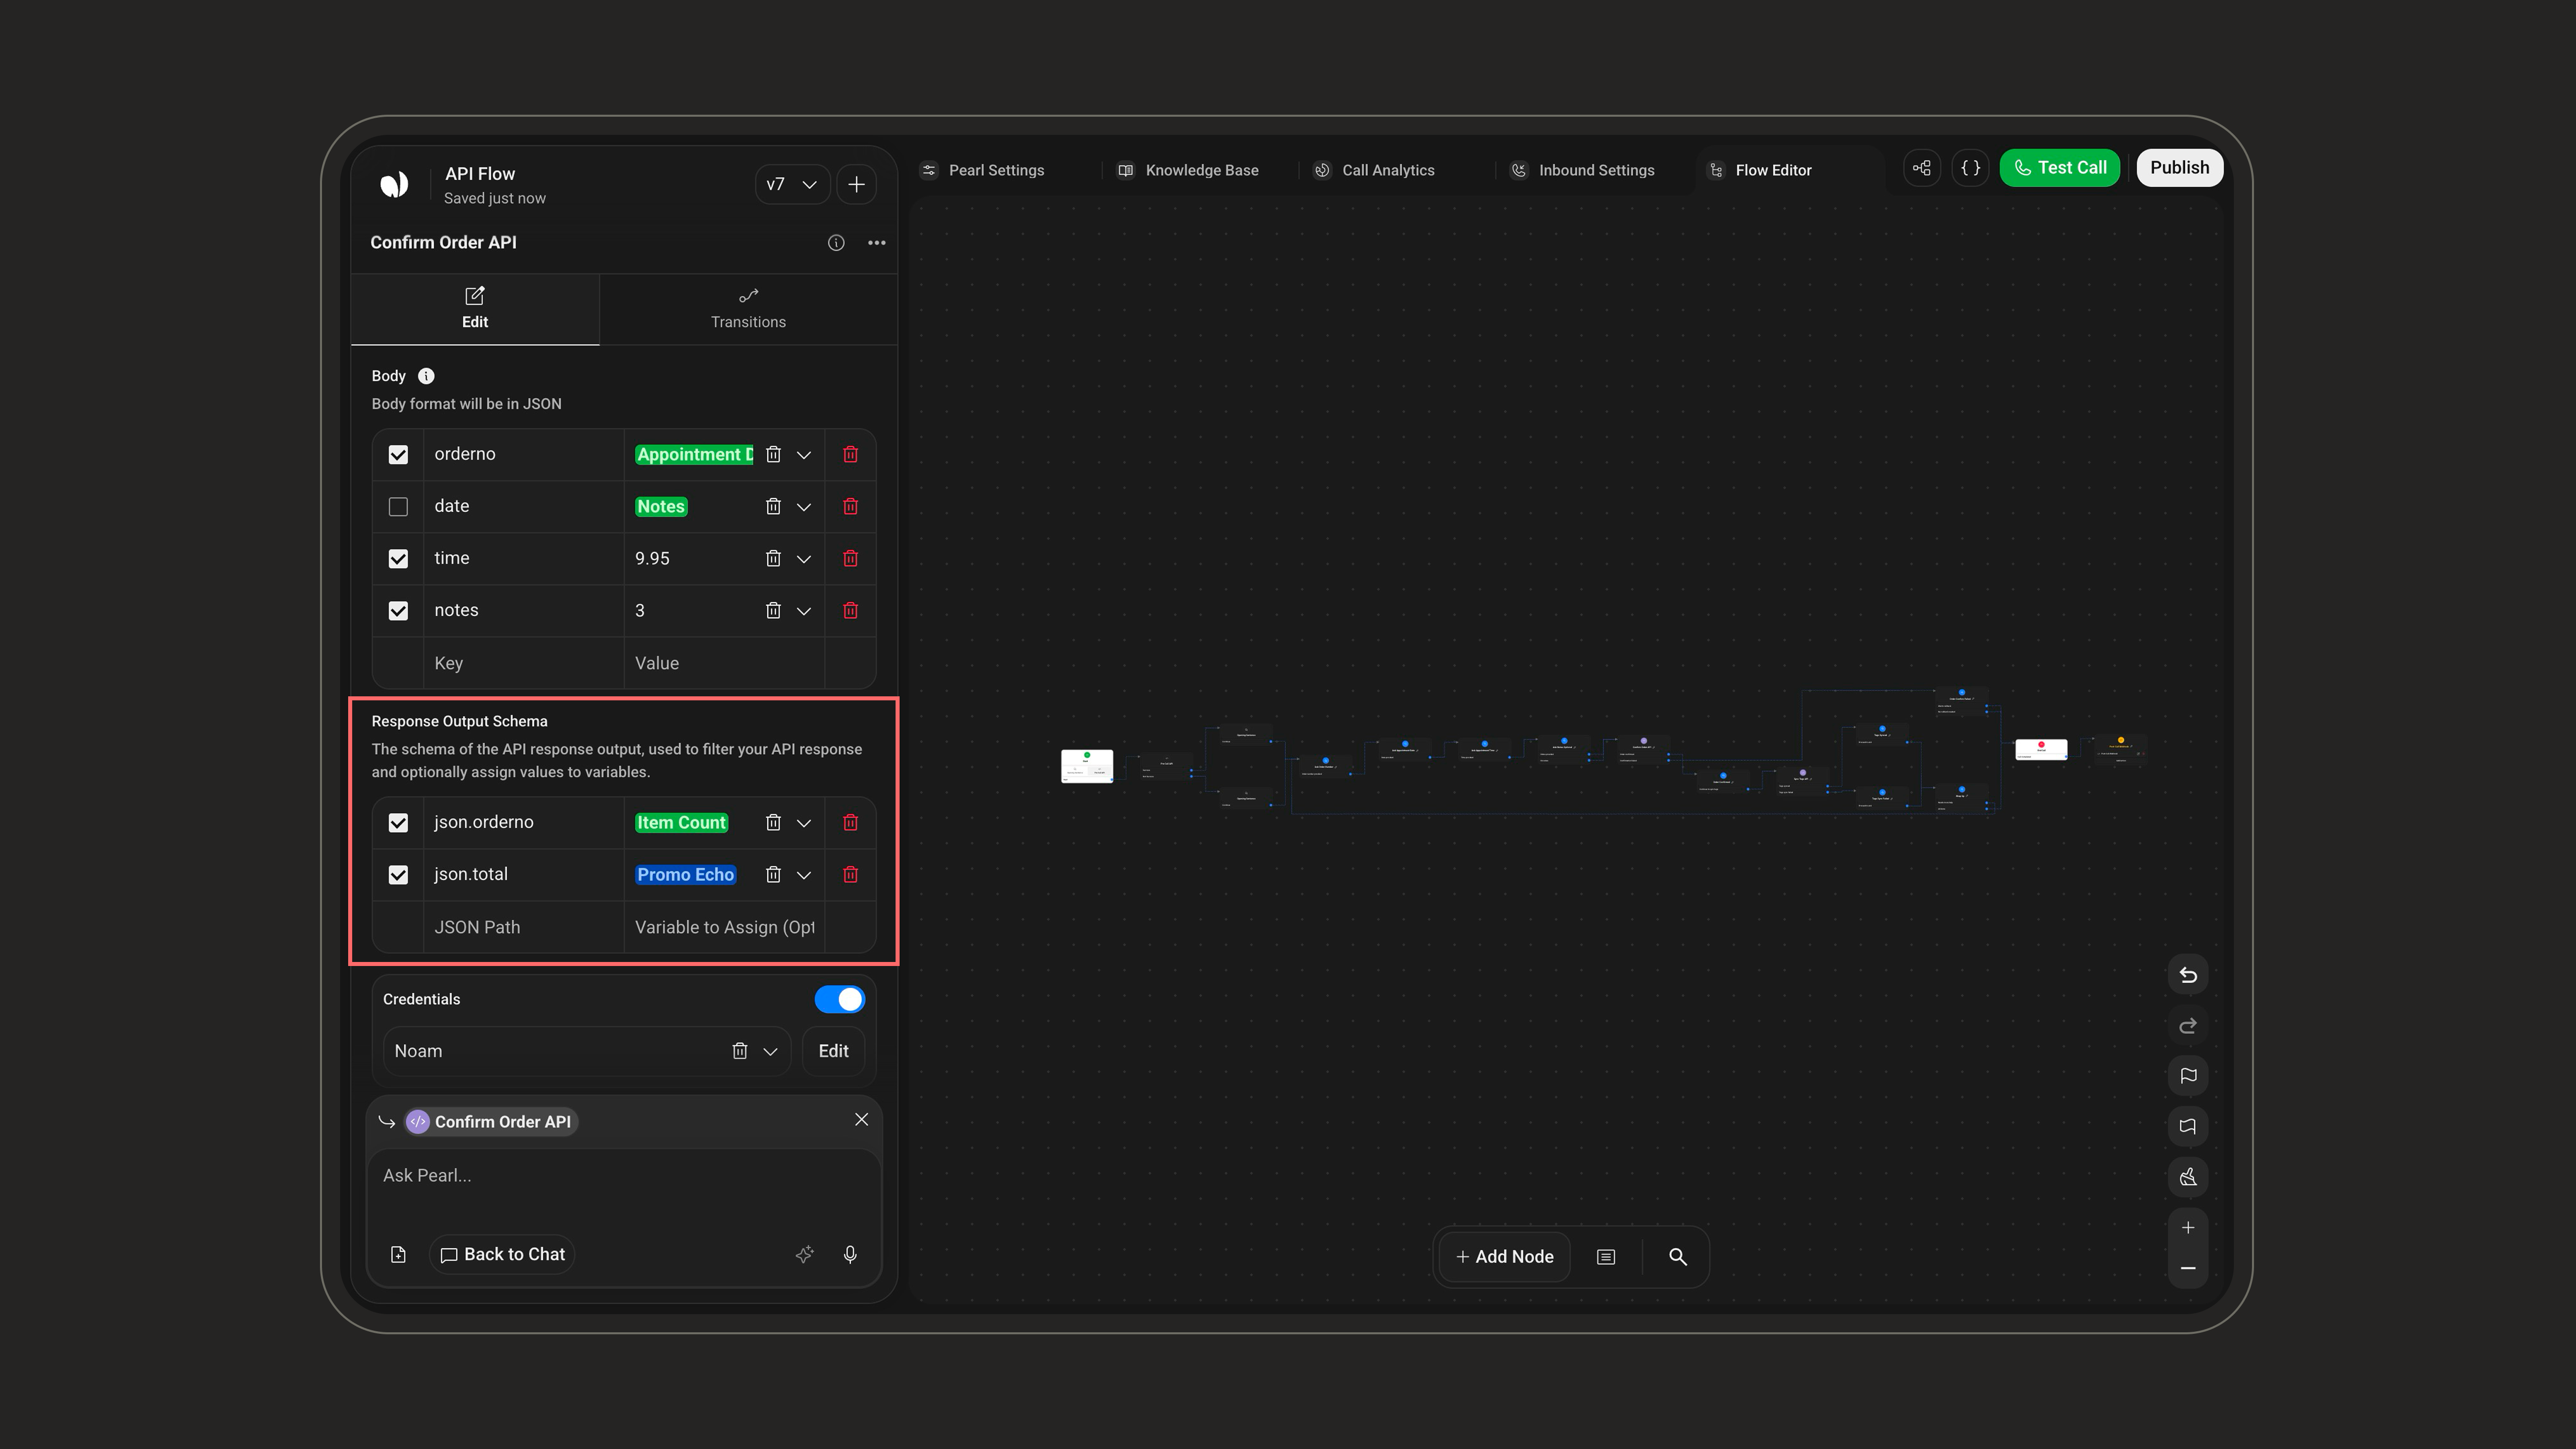
How it works
- Provide a list of JSON Path strings.
- The system extracts only those paths from the API response; everything else is discarded.
Benefits:
- Keeps the response size small
- Improves the quality and relevance of AI outputs
- Prevents hitting the 10,000-character truncation limit
- Ensures only the necessary fields are carried into the next steps of the conversation
Assigning to a variable
Key things to know:- The variable’s type must match the data type returned by the API at that path.
- If the value returned is a list, make sure the variable is configured to allow multiple values.
- A variable can store up to 600 characters. Any data beyond this limit is truncated.
Outside of Pre-Call APIs, assigning a variable is optional. If you don’t assign one, the filtered JSON is still available for the conversation’s internal logic, but it won’t be stored for later reuse.
Credentials (Authentication)
If your API requires authentication, create a Credential on the platform, then enable the Credentials toggle in the API node and select it from the Token dropdown (use Add New to create one, Edit to update it). Leave the toggle off if no authentication is needed.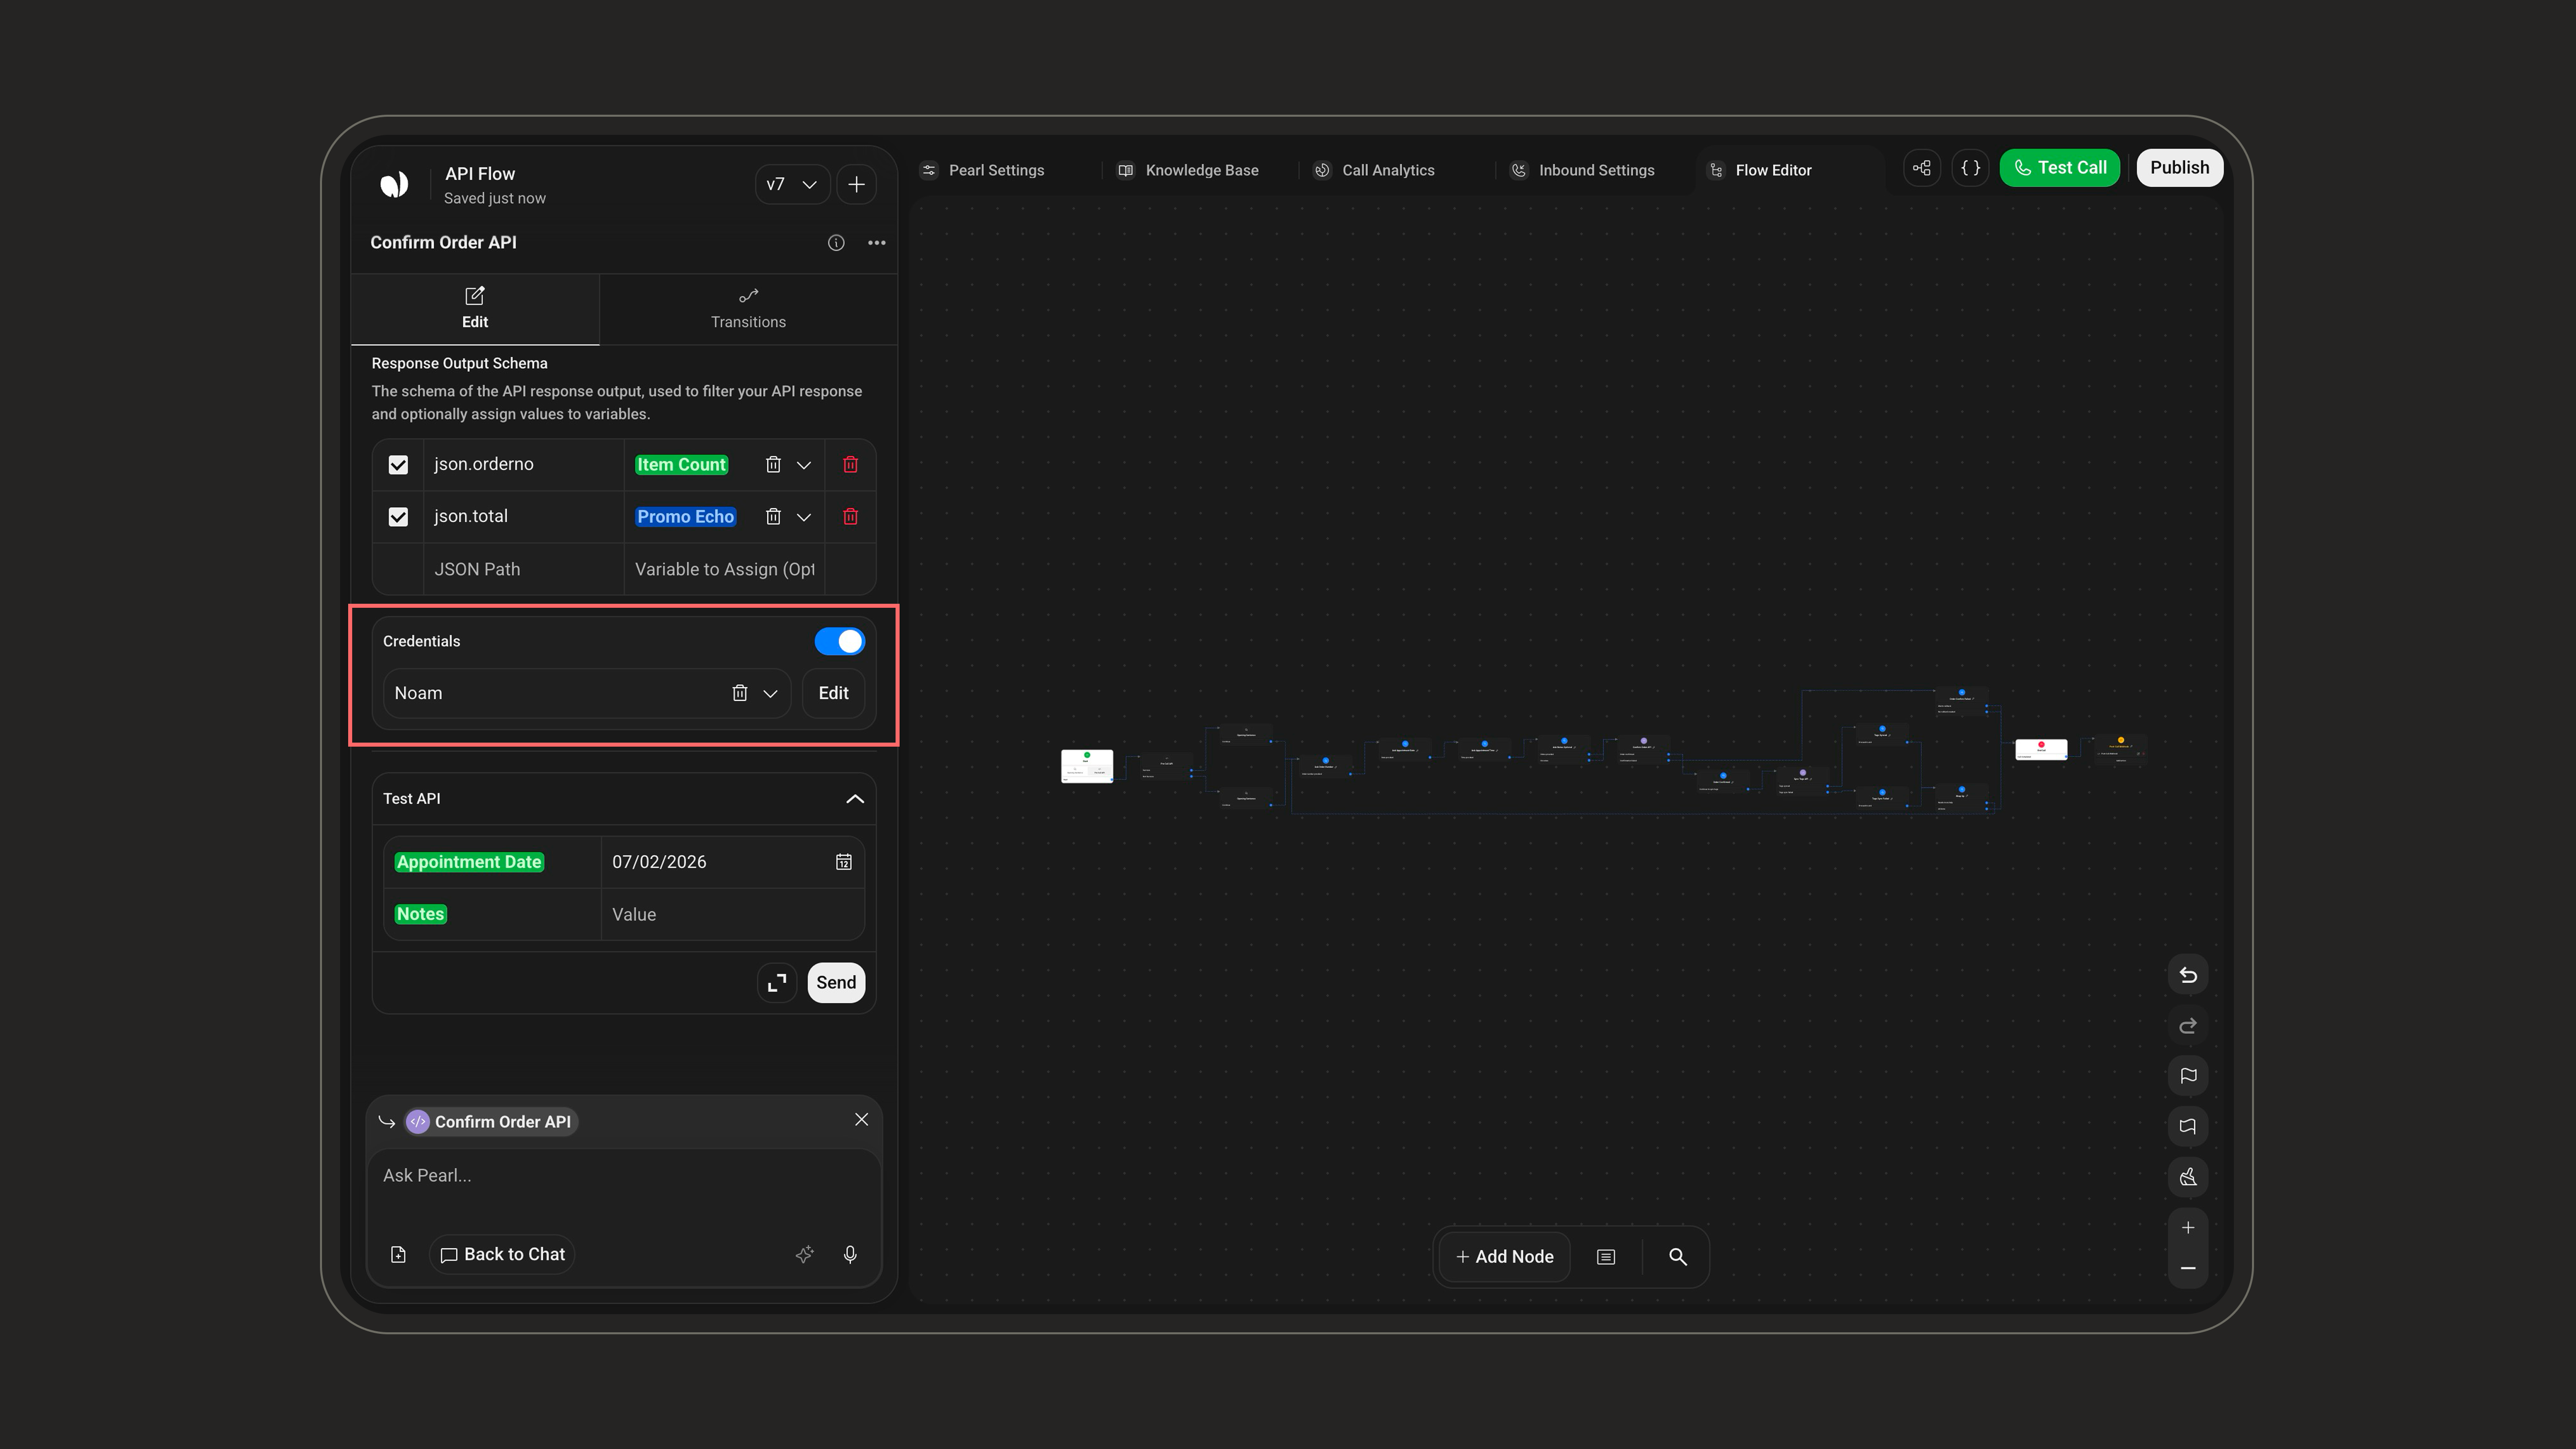
OAuth2 providers are connected through Integrations, not created manually in this form.
Configuring a Refresh Token credential
1
Open the Credential Manager
Open the Credential Manager from the icon at the top of the Flow Editor header.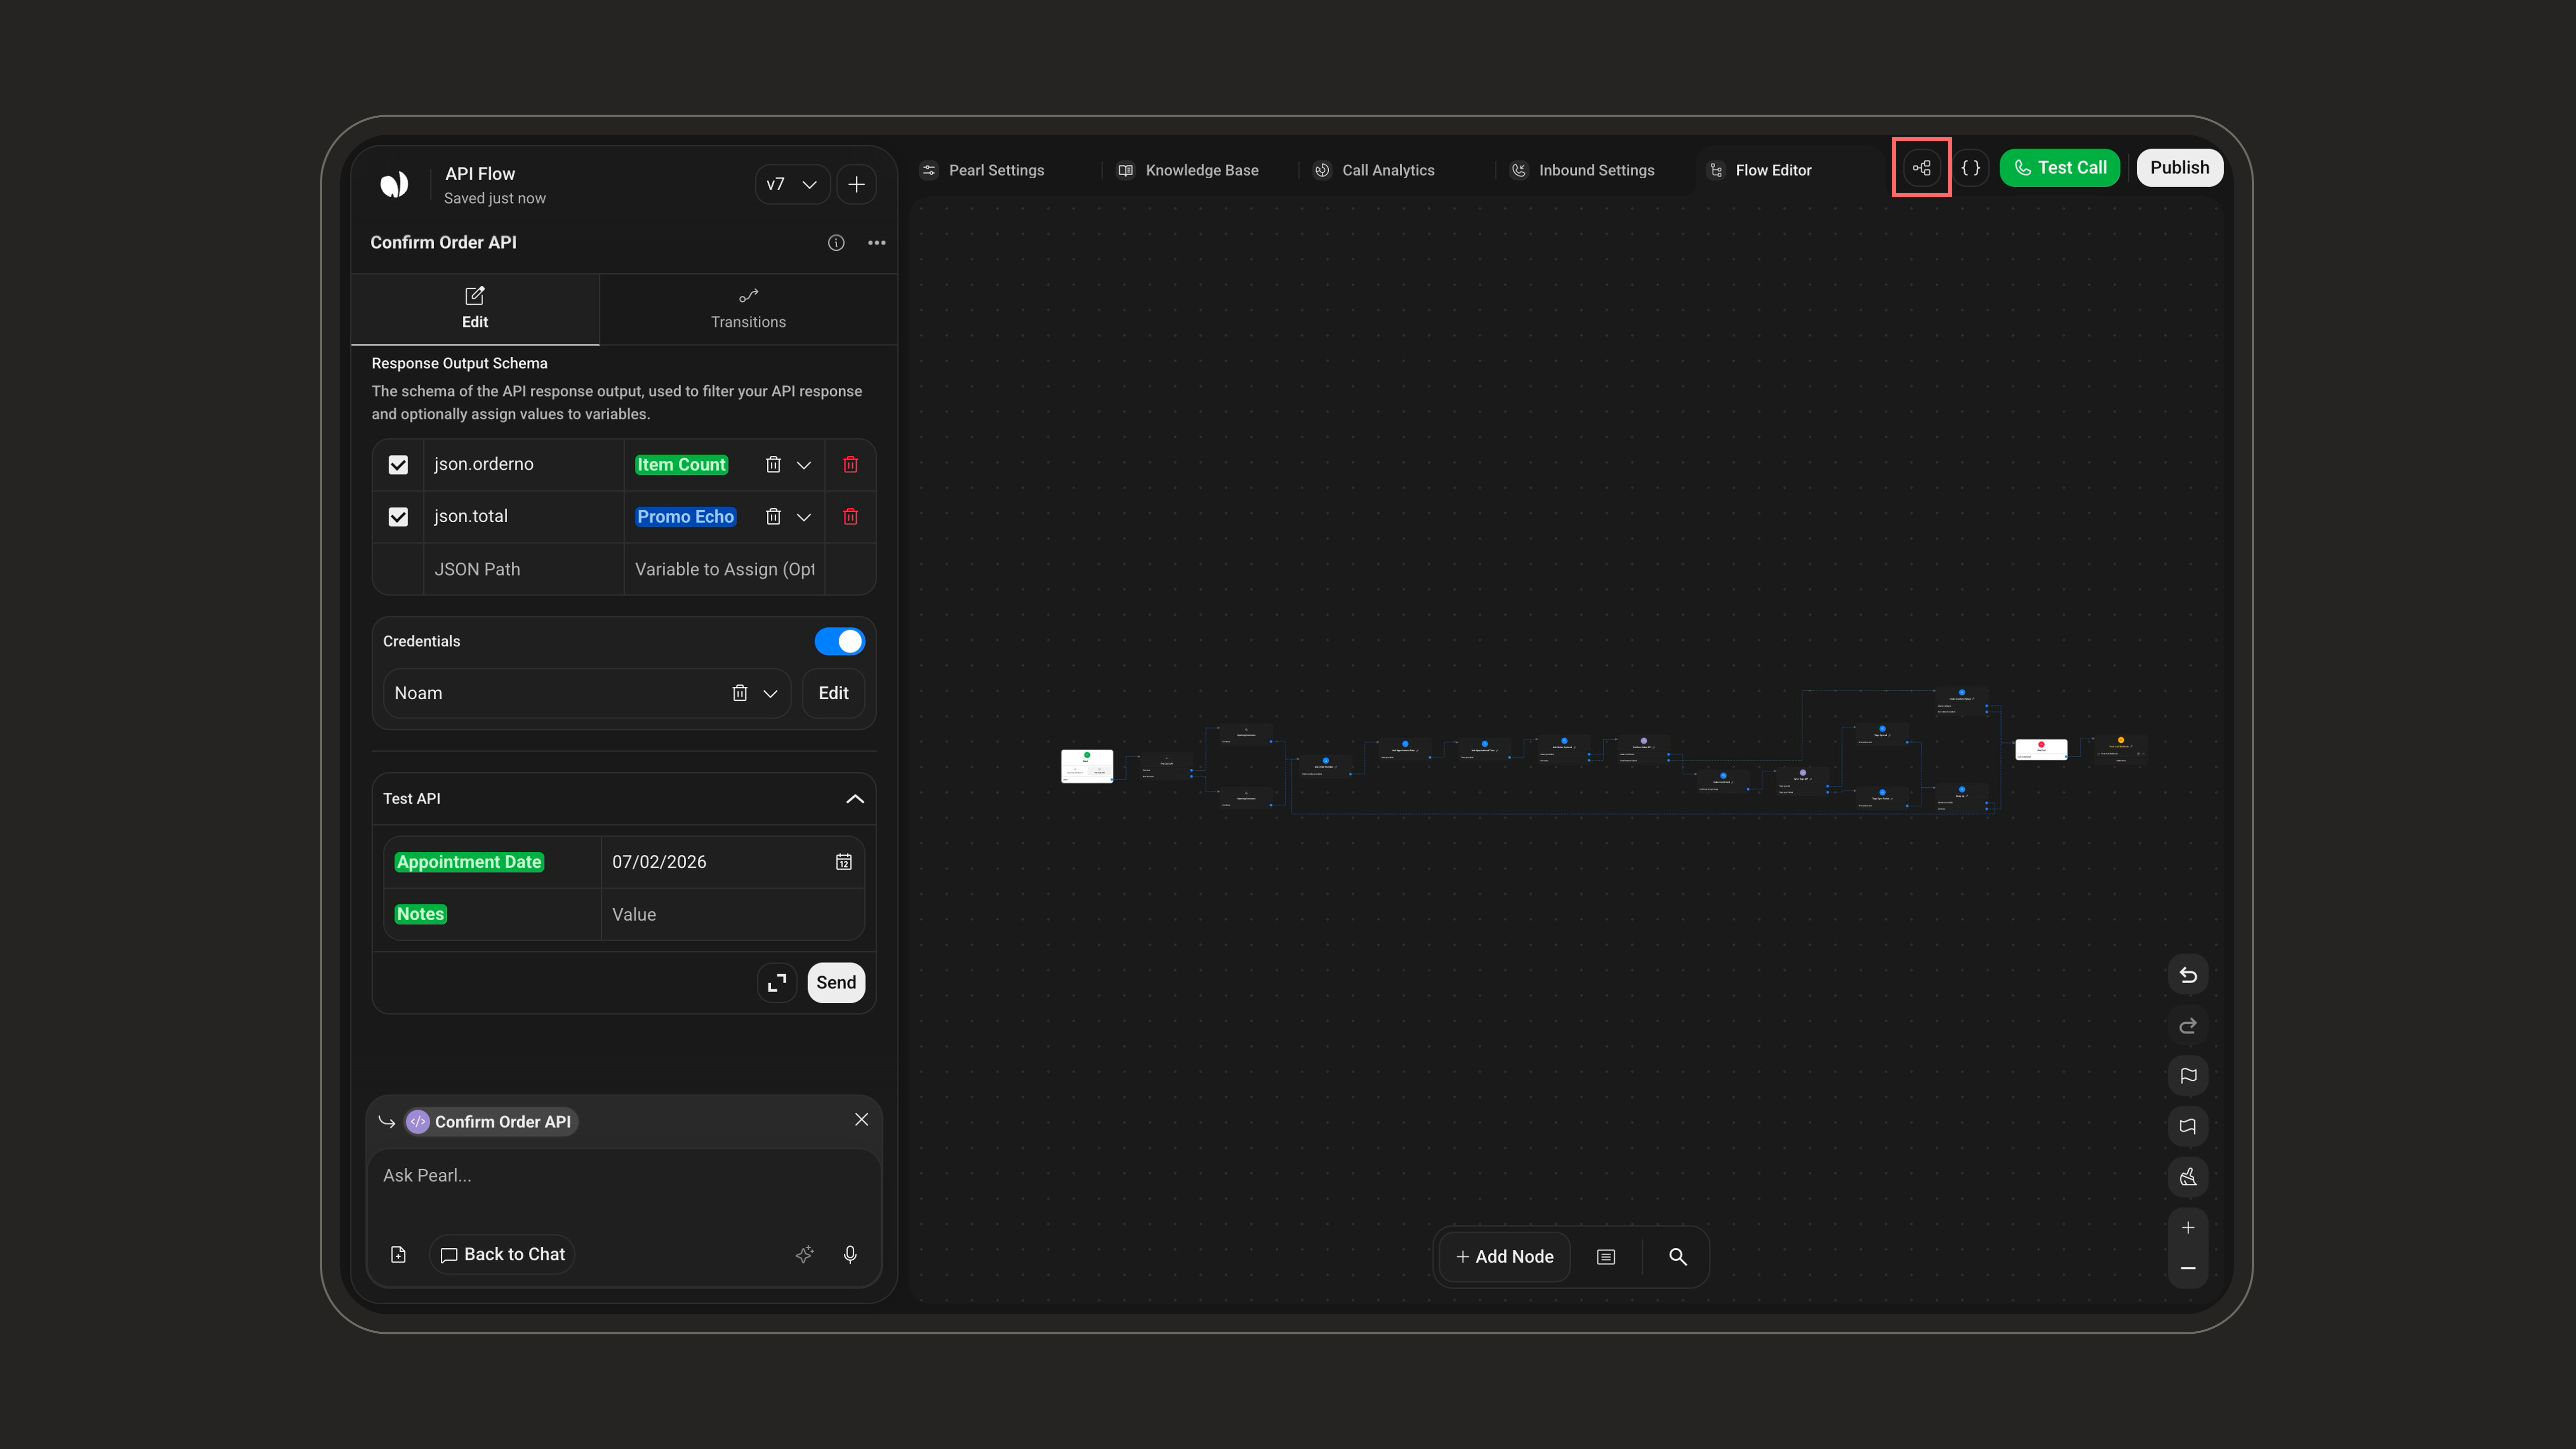
2
Add a new credential
In the Credentials Manager, click + Add to create a new credential.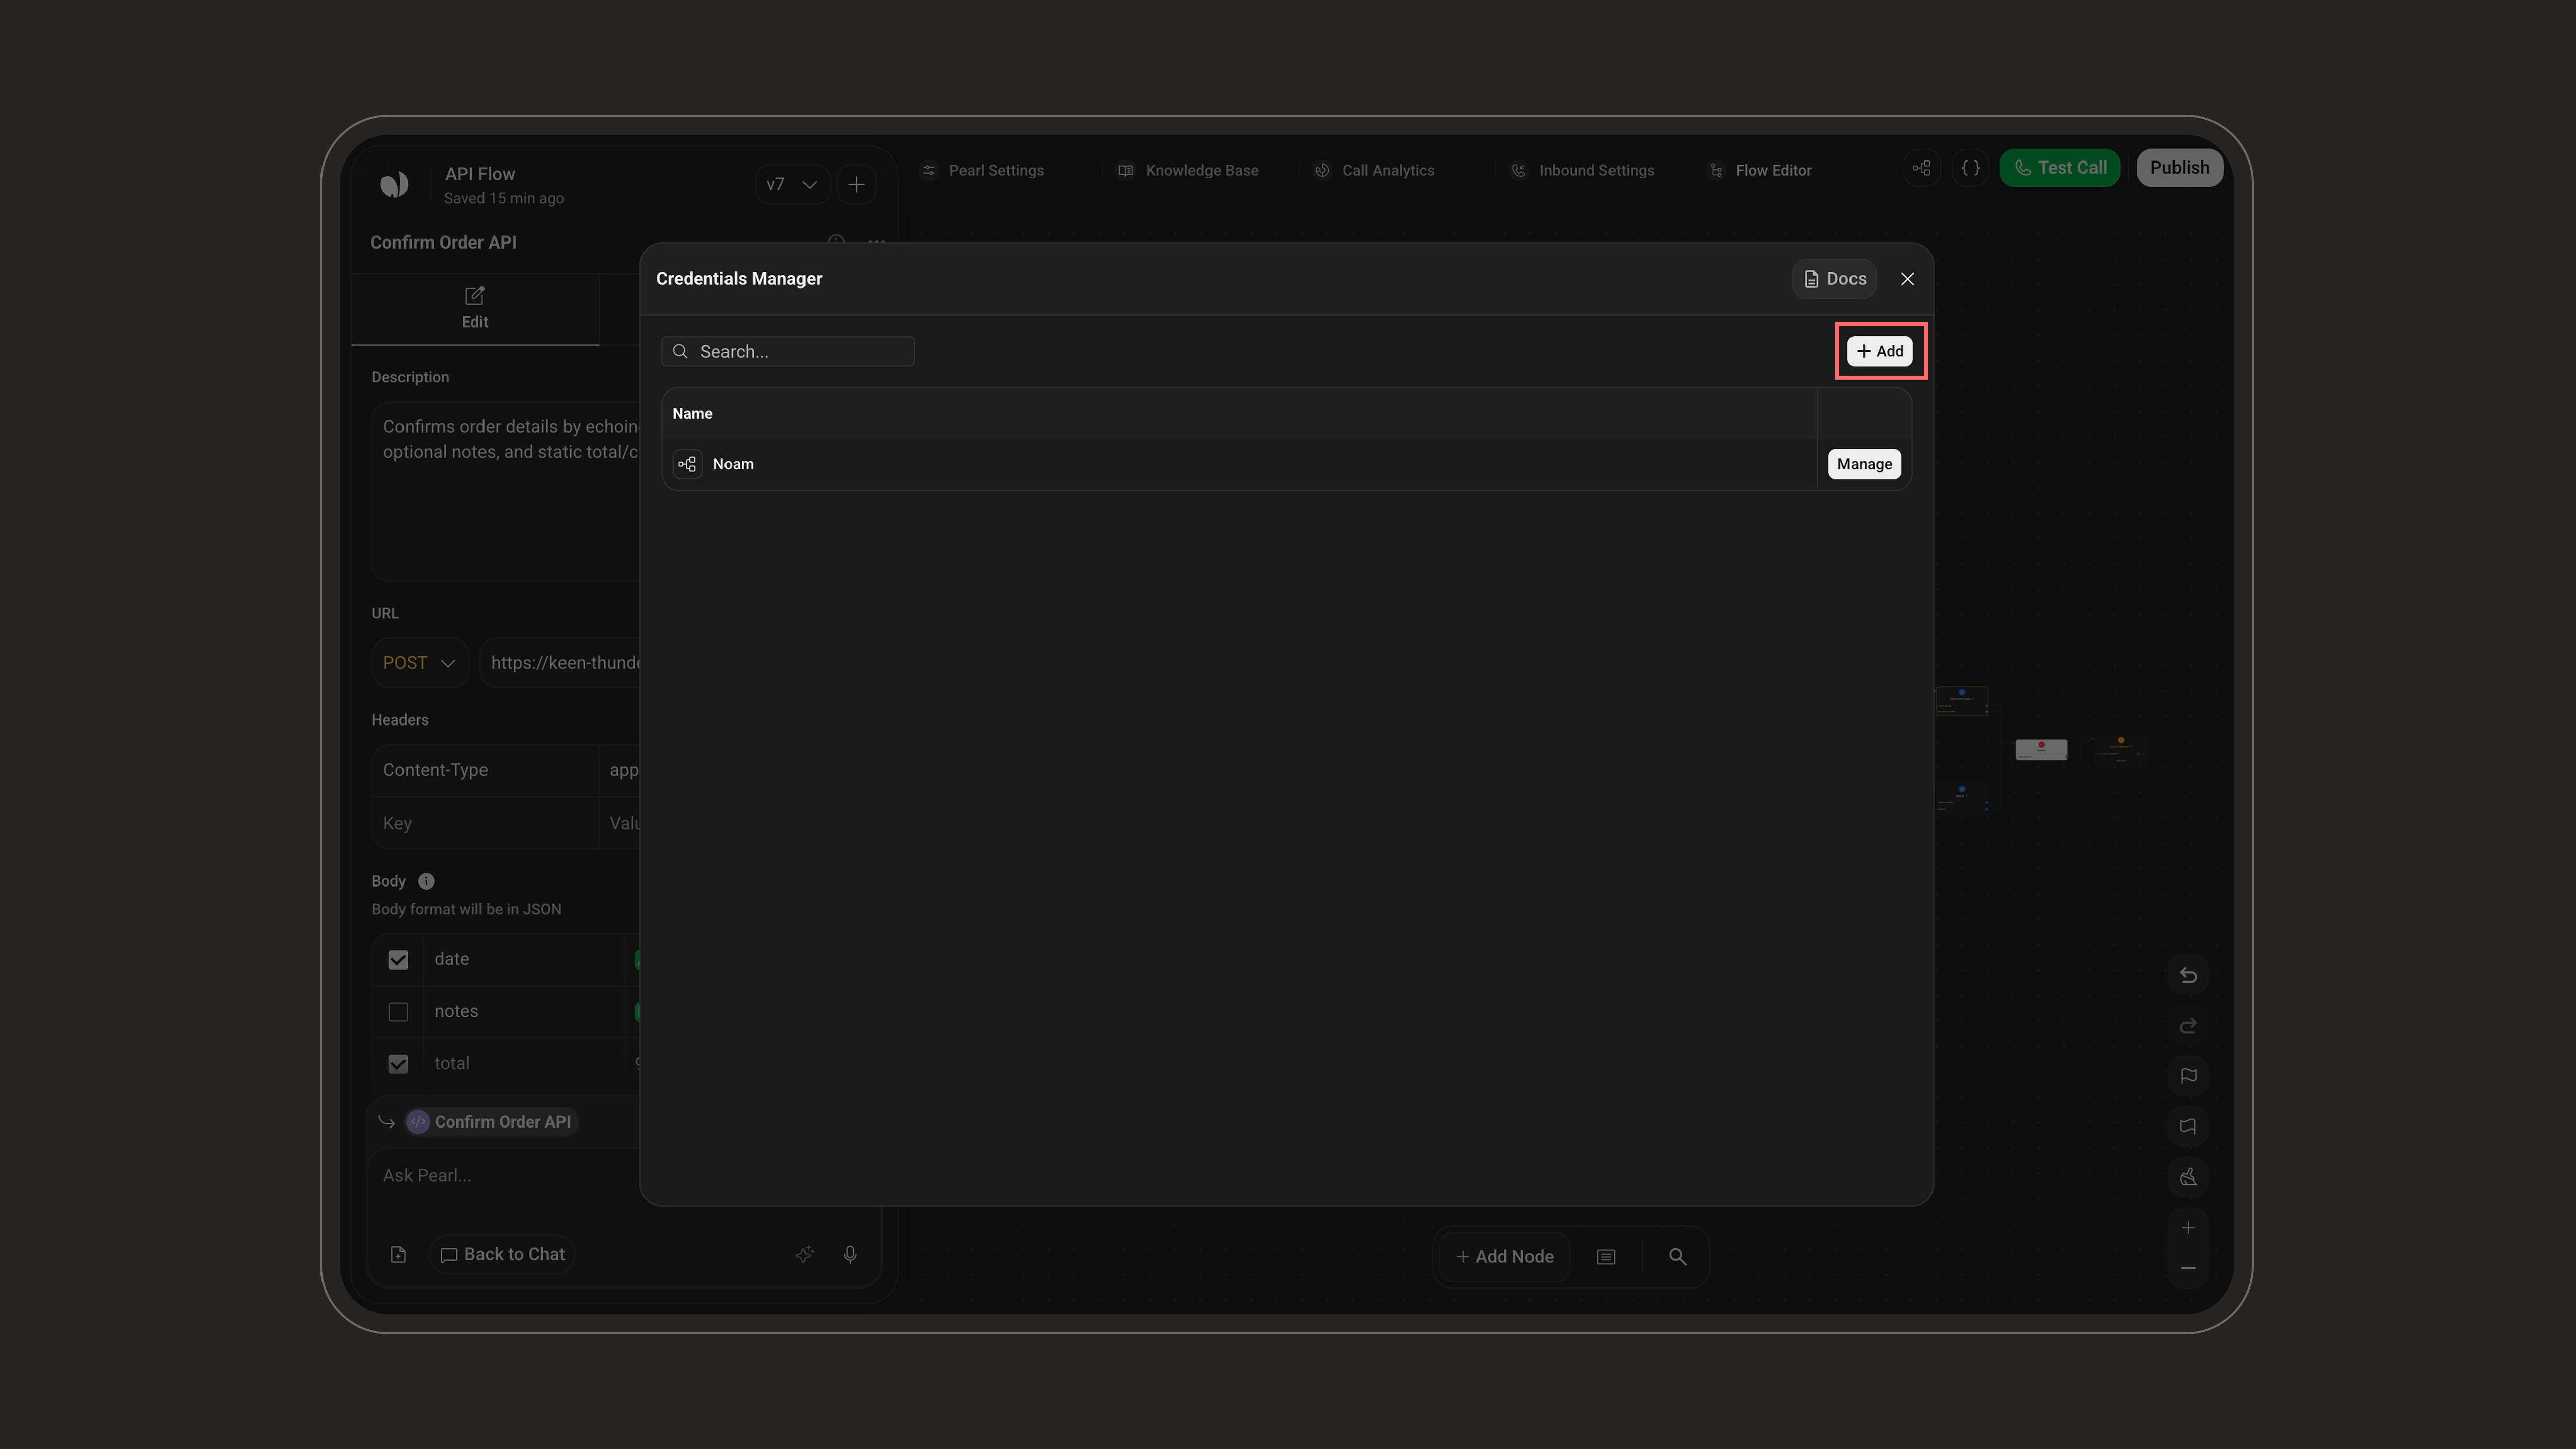
3
Choose how to add it
You can either pick a ready-made integration from the list (Google, Microsoft, Slack, HubSpot, Salesforce, Zoho, and more) to connect through its guided flow, or click Add Manually to configure a custom credential such as a Refresh Token.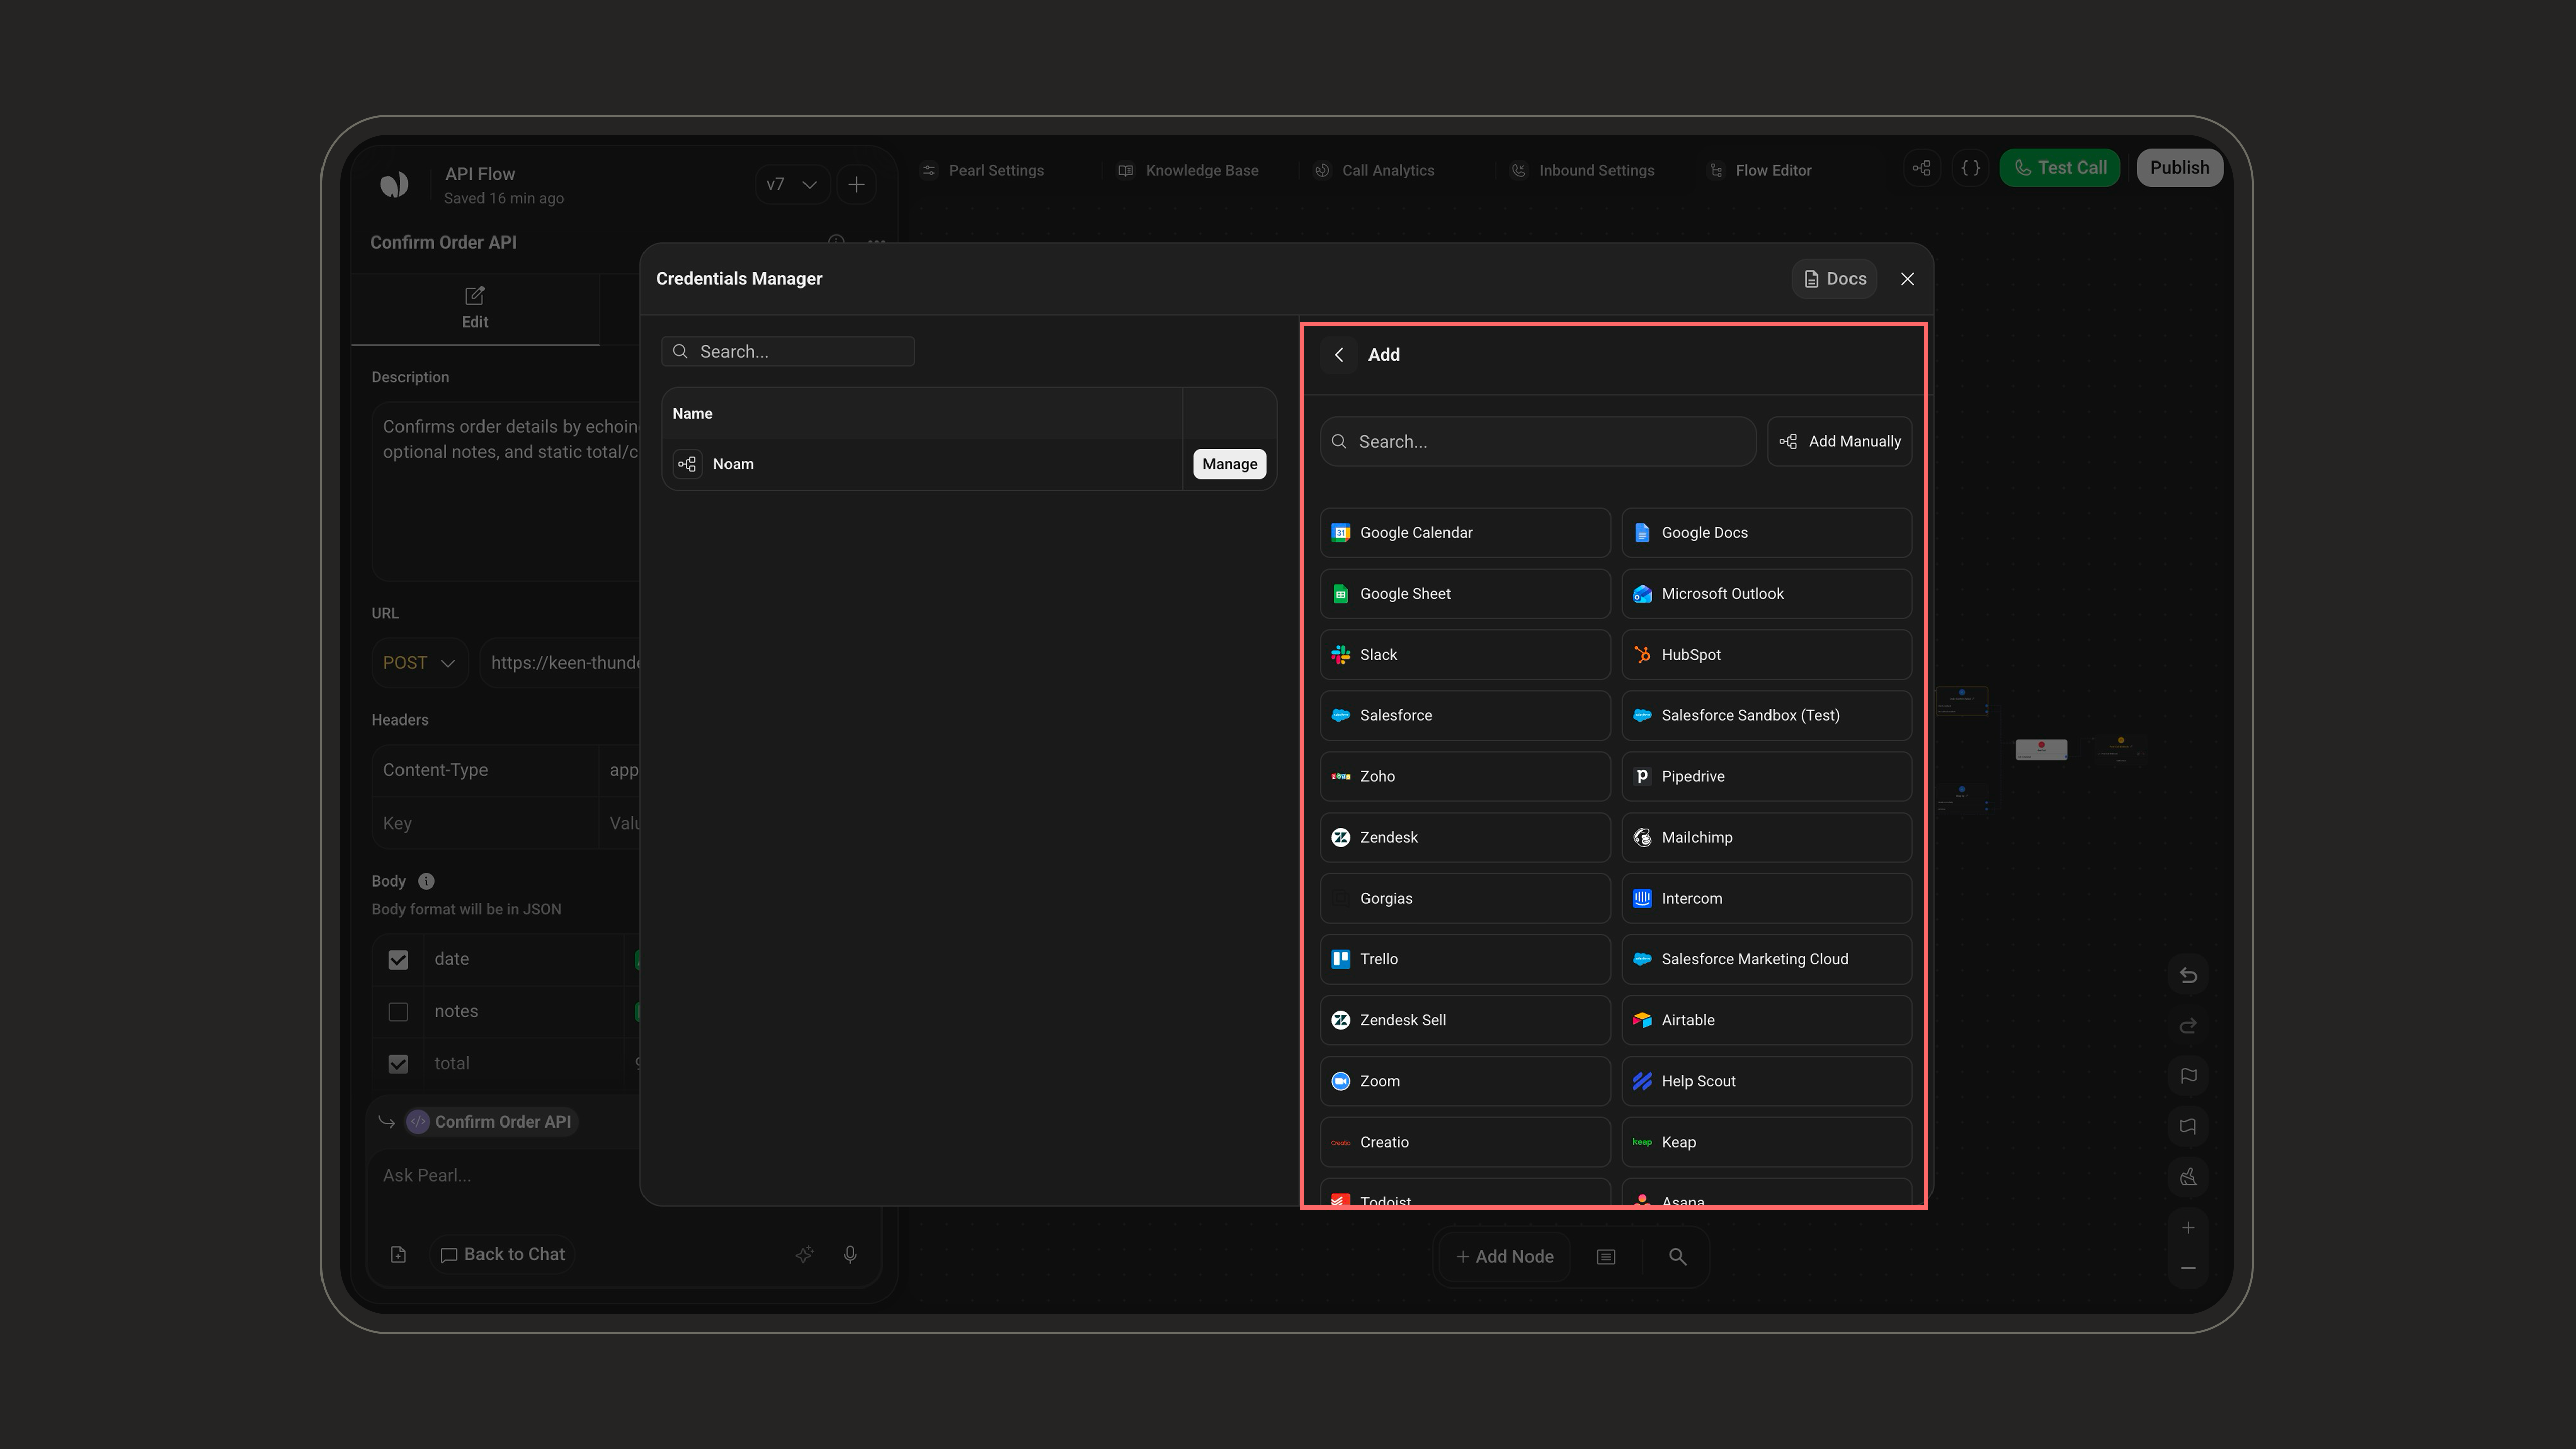
4
Fill in the credential details
If you chose Add Manually, enter a Name (a label to identify it later) and select a Type. The form updates to show the fields specific to the selected type.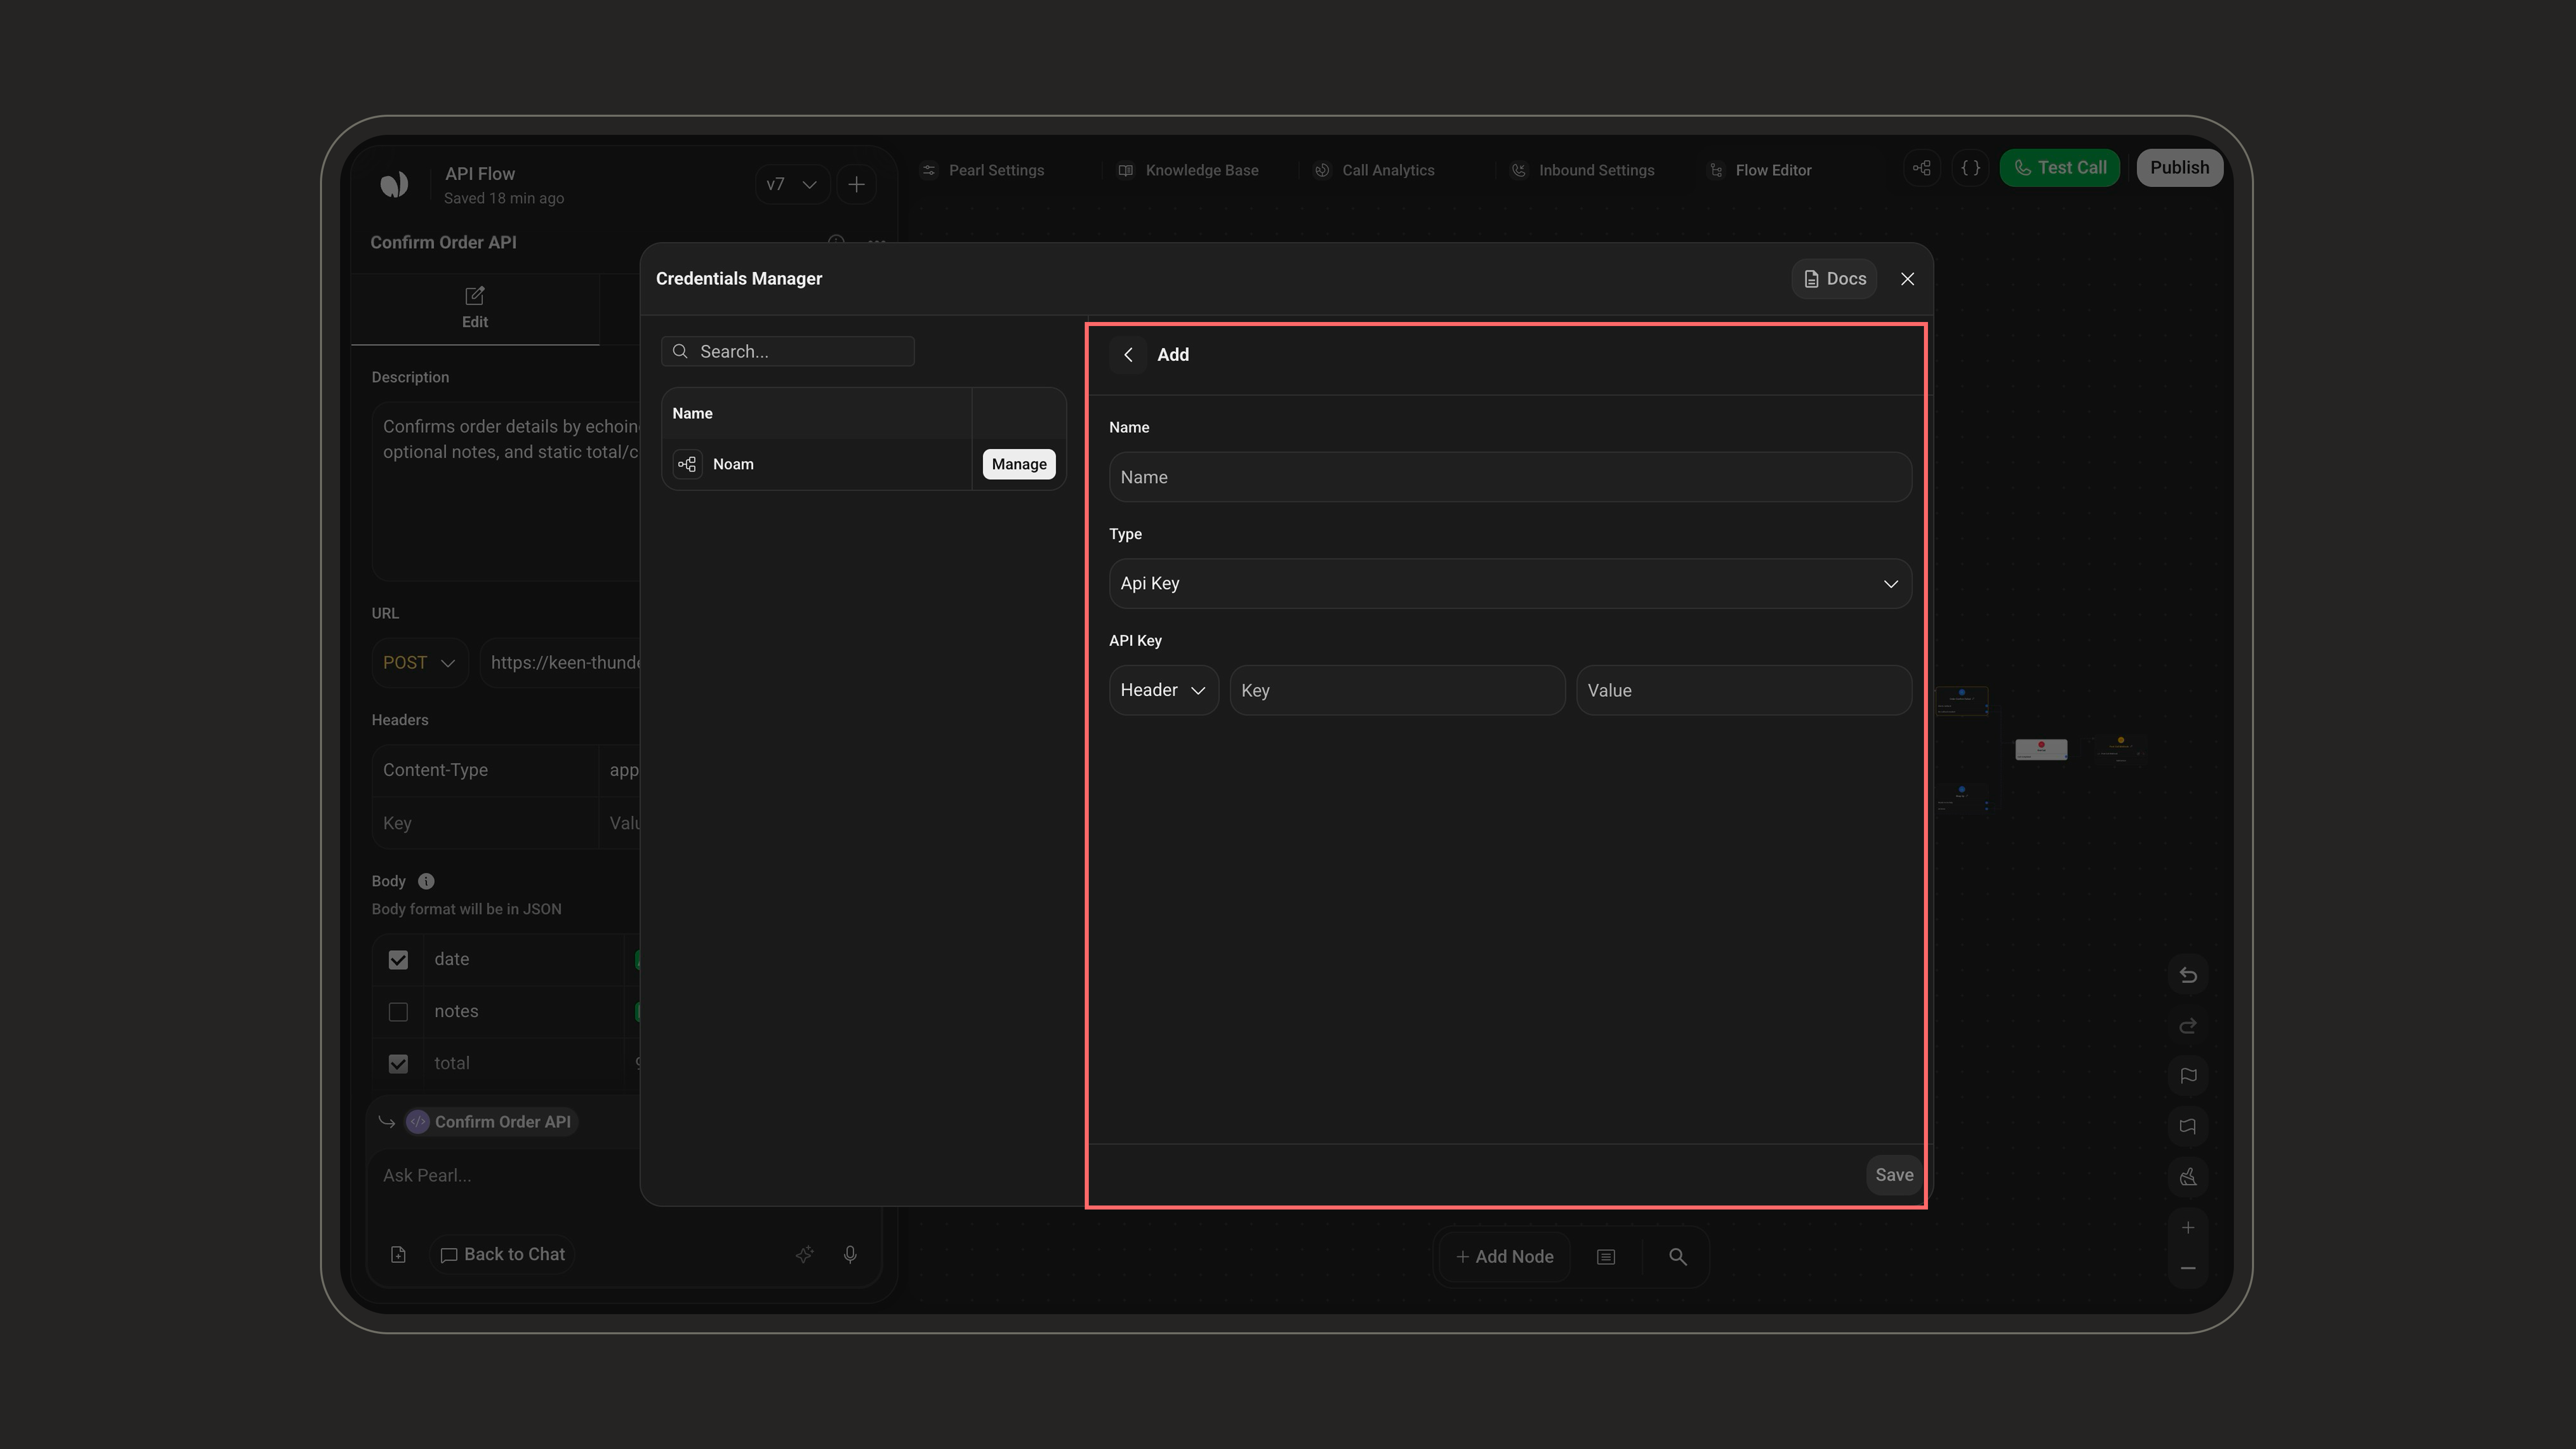
Example: Refresh Token fields
5
Test the Credential
Use Test Credentials to call the token endpoint and preview the JSON response, confirming your configuration retrieves the token successfully before saving.
How the Credential is used
Once saved, select this Credential from the Token dropdown in any API node. When selected:- The platform automatically adds the token to the request header, using the configured Header Key and optional Header Prefix.
- The token is refreshed automatically when it expires, based on the configured TTL.
Context Differences
The same API node behaves differently depending on where you place it in the flow.- Pre-Call API
- In-Call API
- Post-Call API
Runs once before the conversation begins. Typical uses:
- Inbound: look up the caller using the auto-captured phone number and call id.
- Outbound: preload data from Pre-Call variables already stored on the lead.
Only Pre-Call variables are available (system variables like phone number, call id, first/last name, email, plus your own Pre-Call variables).
- Assigning response values to variables is required, that’s how pre-call data becomes usable in the conversation. All required variables must be returned for the node to take the Success path.
- Transitions: a Success branch by default. Enable On Error Transition (in the Transitions tab) to add a Not Success branch for failed requests.
- Pre-Call API nodes cannot be duplicated.
Testing Your API
Use the Test API panel below the form: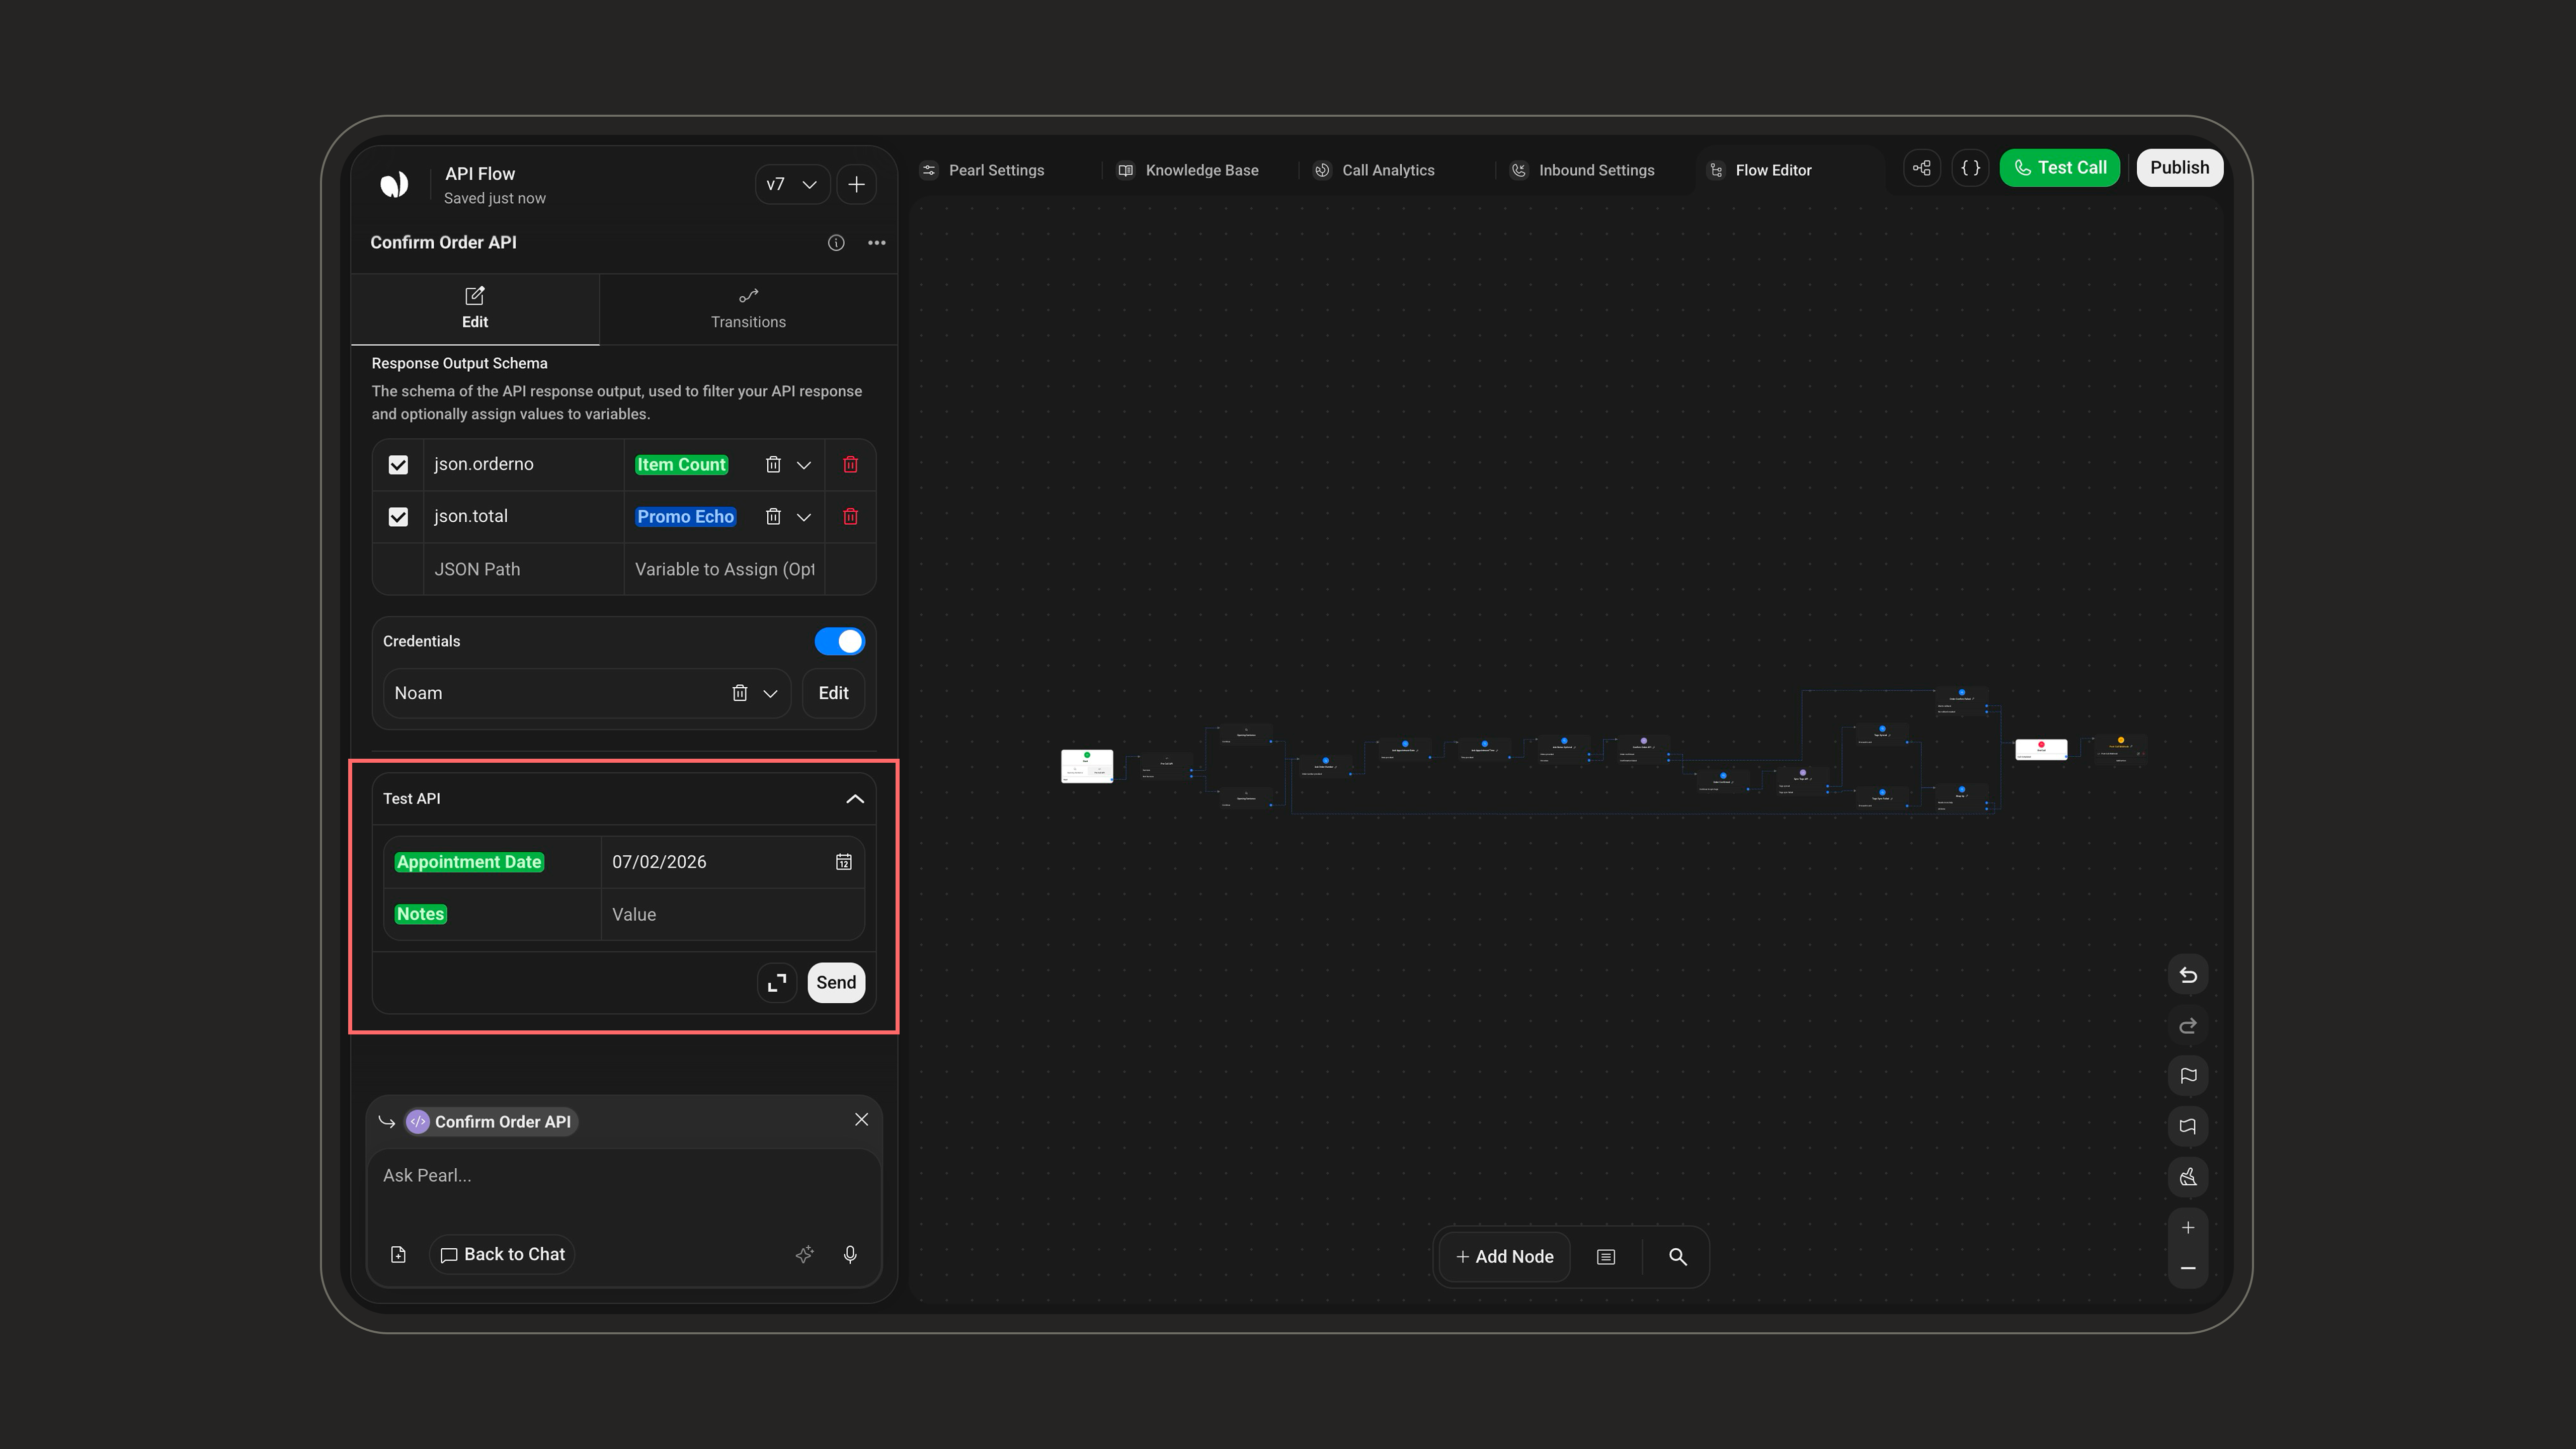
1
Assign Test Values
Give sample values to every variable used in the request.
2
Send
Click Send to run the request.
3
Inspect
Review the raw response, the filtered response (if an Output Schema is set), and any variables populated from it.
Variables
Learn how to create and use variables inside API nodes.