

Introduction
Credentials are the API keys, tokens, and connected accounts your Pearl signs in with when it calls an external service: your CRM, your calendar, Slack, or your own API. You set a credential up once, then pick it in every node that needs it, instead of pasting a key into each request.Connected accounts
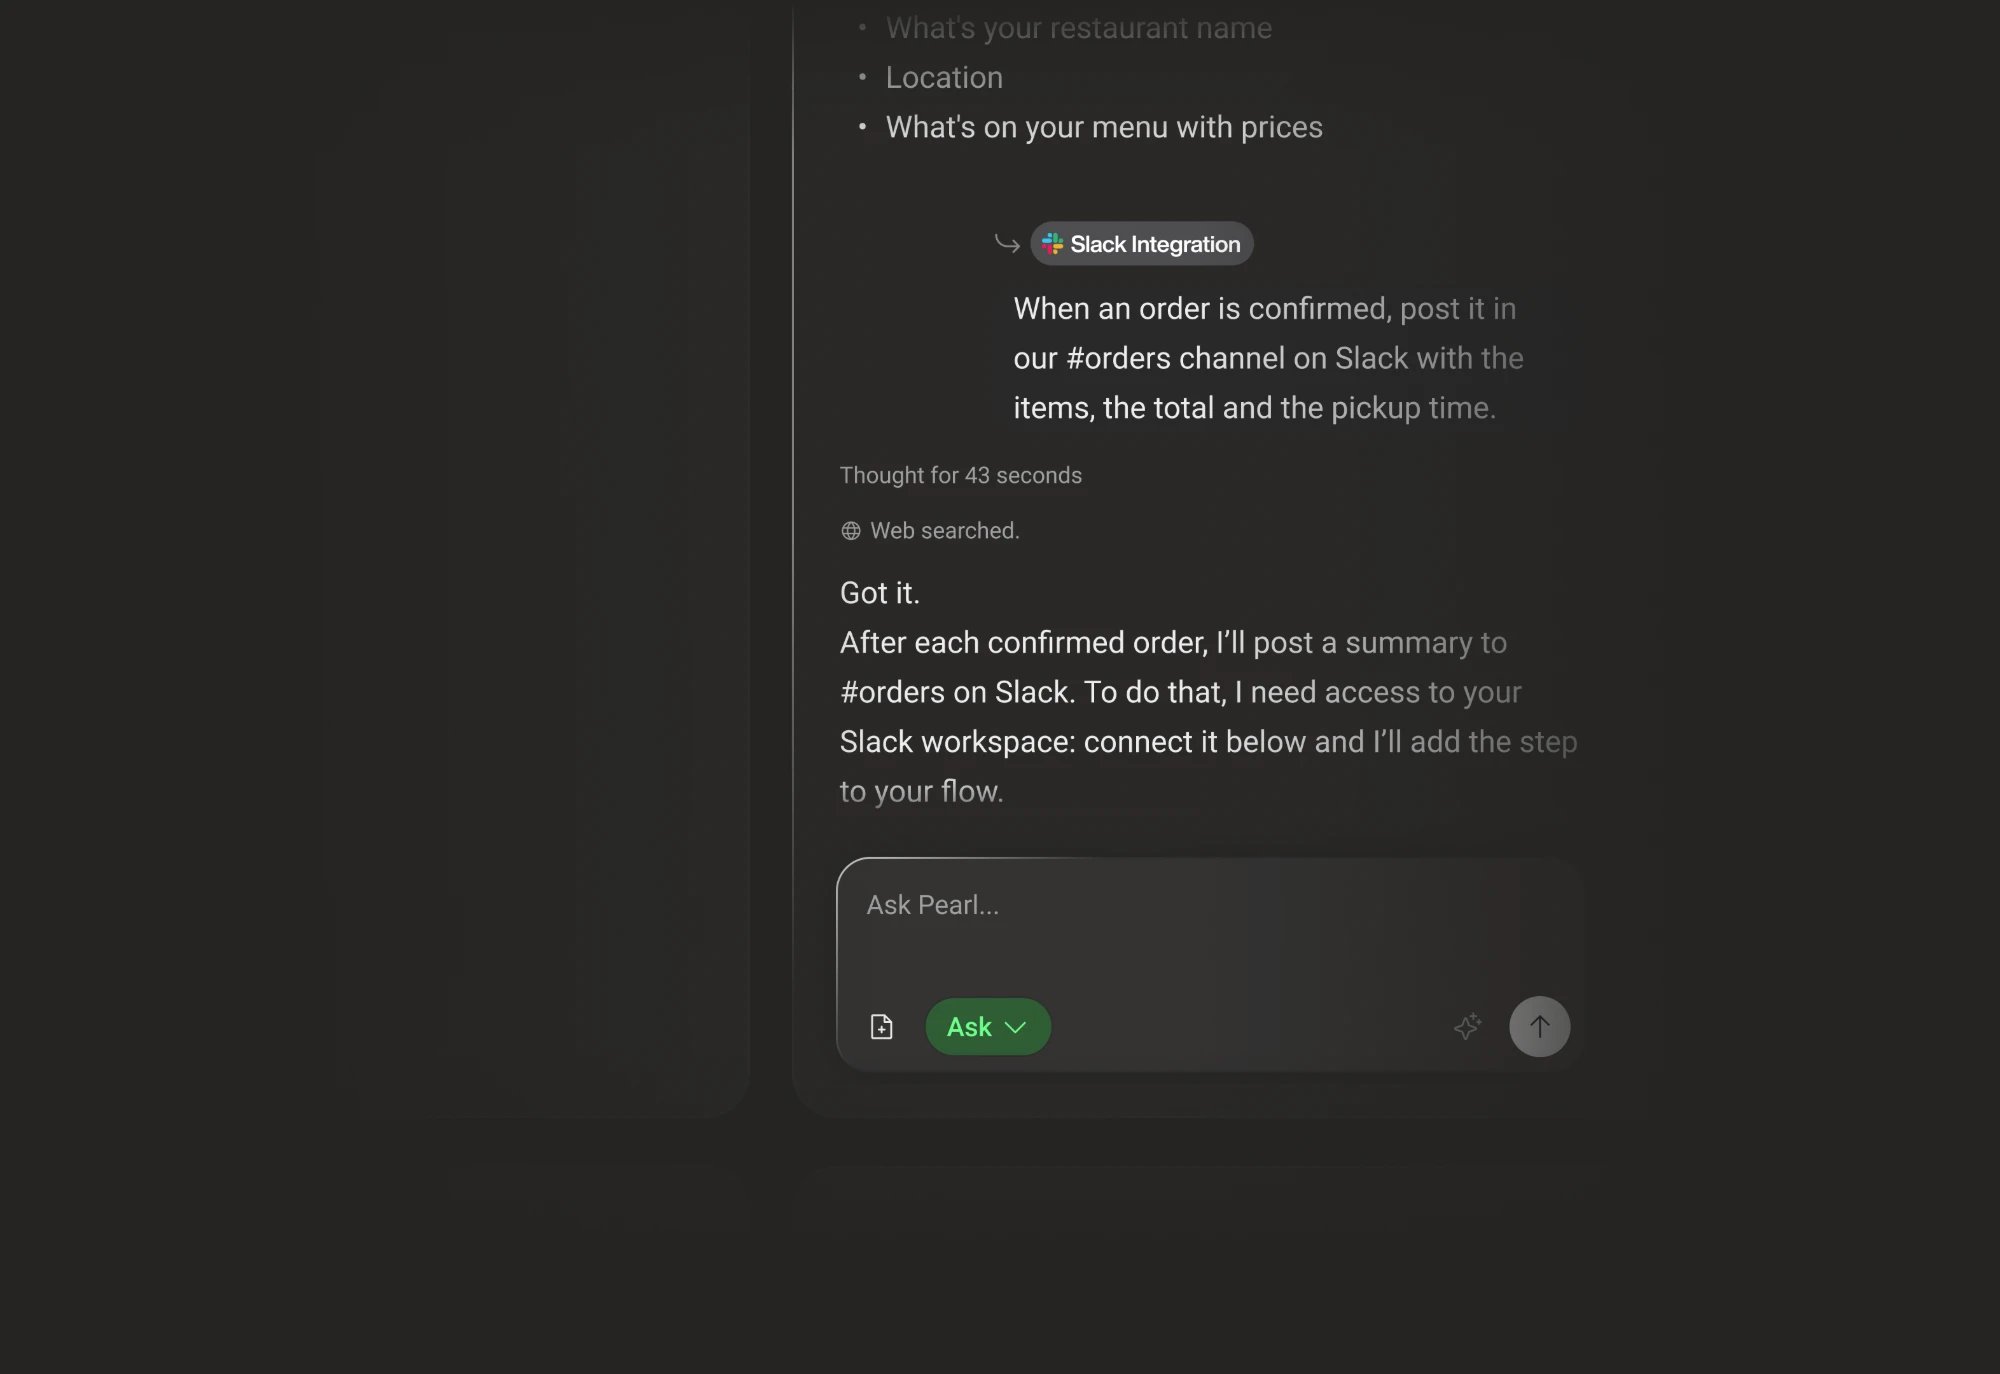
Connect Google, Microsoft, Slack, HubSpot, Salesforce, and more through their own sign-in.
Keys and tokens
Add an API key, a bearer token, a username and password, or a token the platform renews for you.
Credentials Overview
Credentials belong to a Pearl: every node of that Pearl can use them, but other Pearls can’t. Like the rest of your Pearl, they are saved with its version: a change you make in a draft only reaches live calls once you publish it.Some credentials are set by the platform for your workspace. They appear in every Pearl’s list with a lock (Set by the platform: nothing to edit), and can be used but not edited.
Accessing Credentials
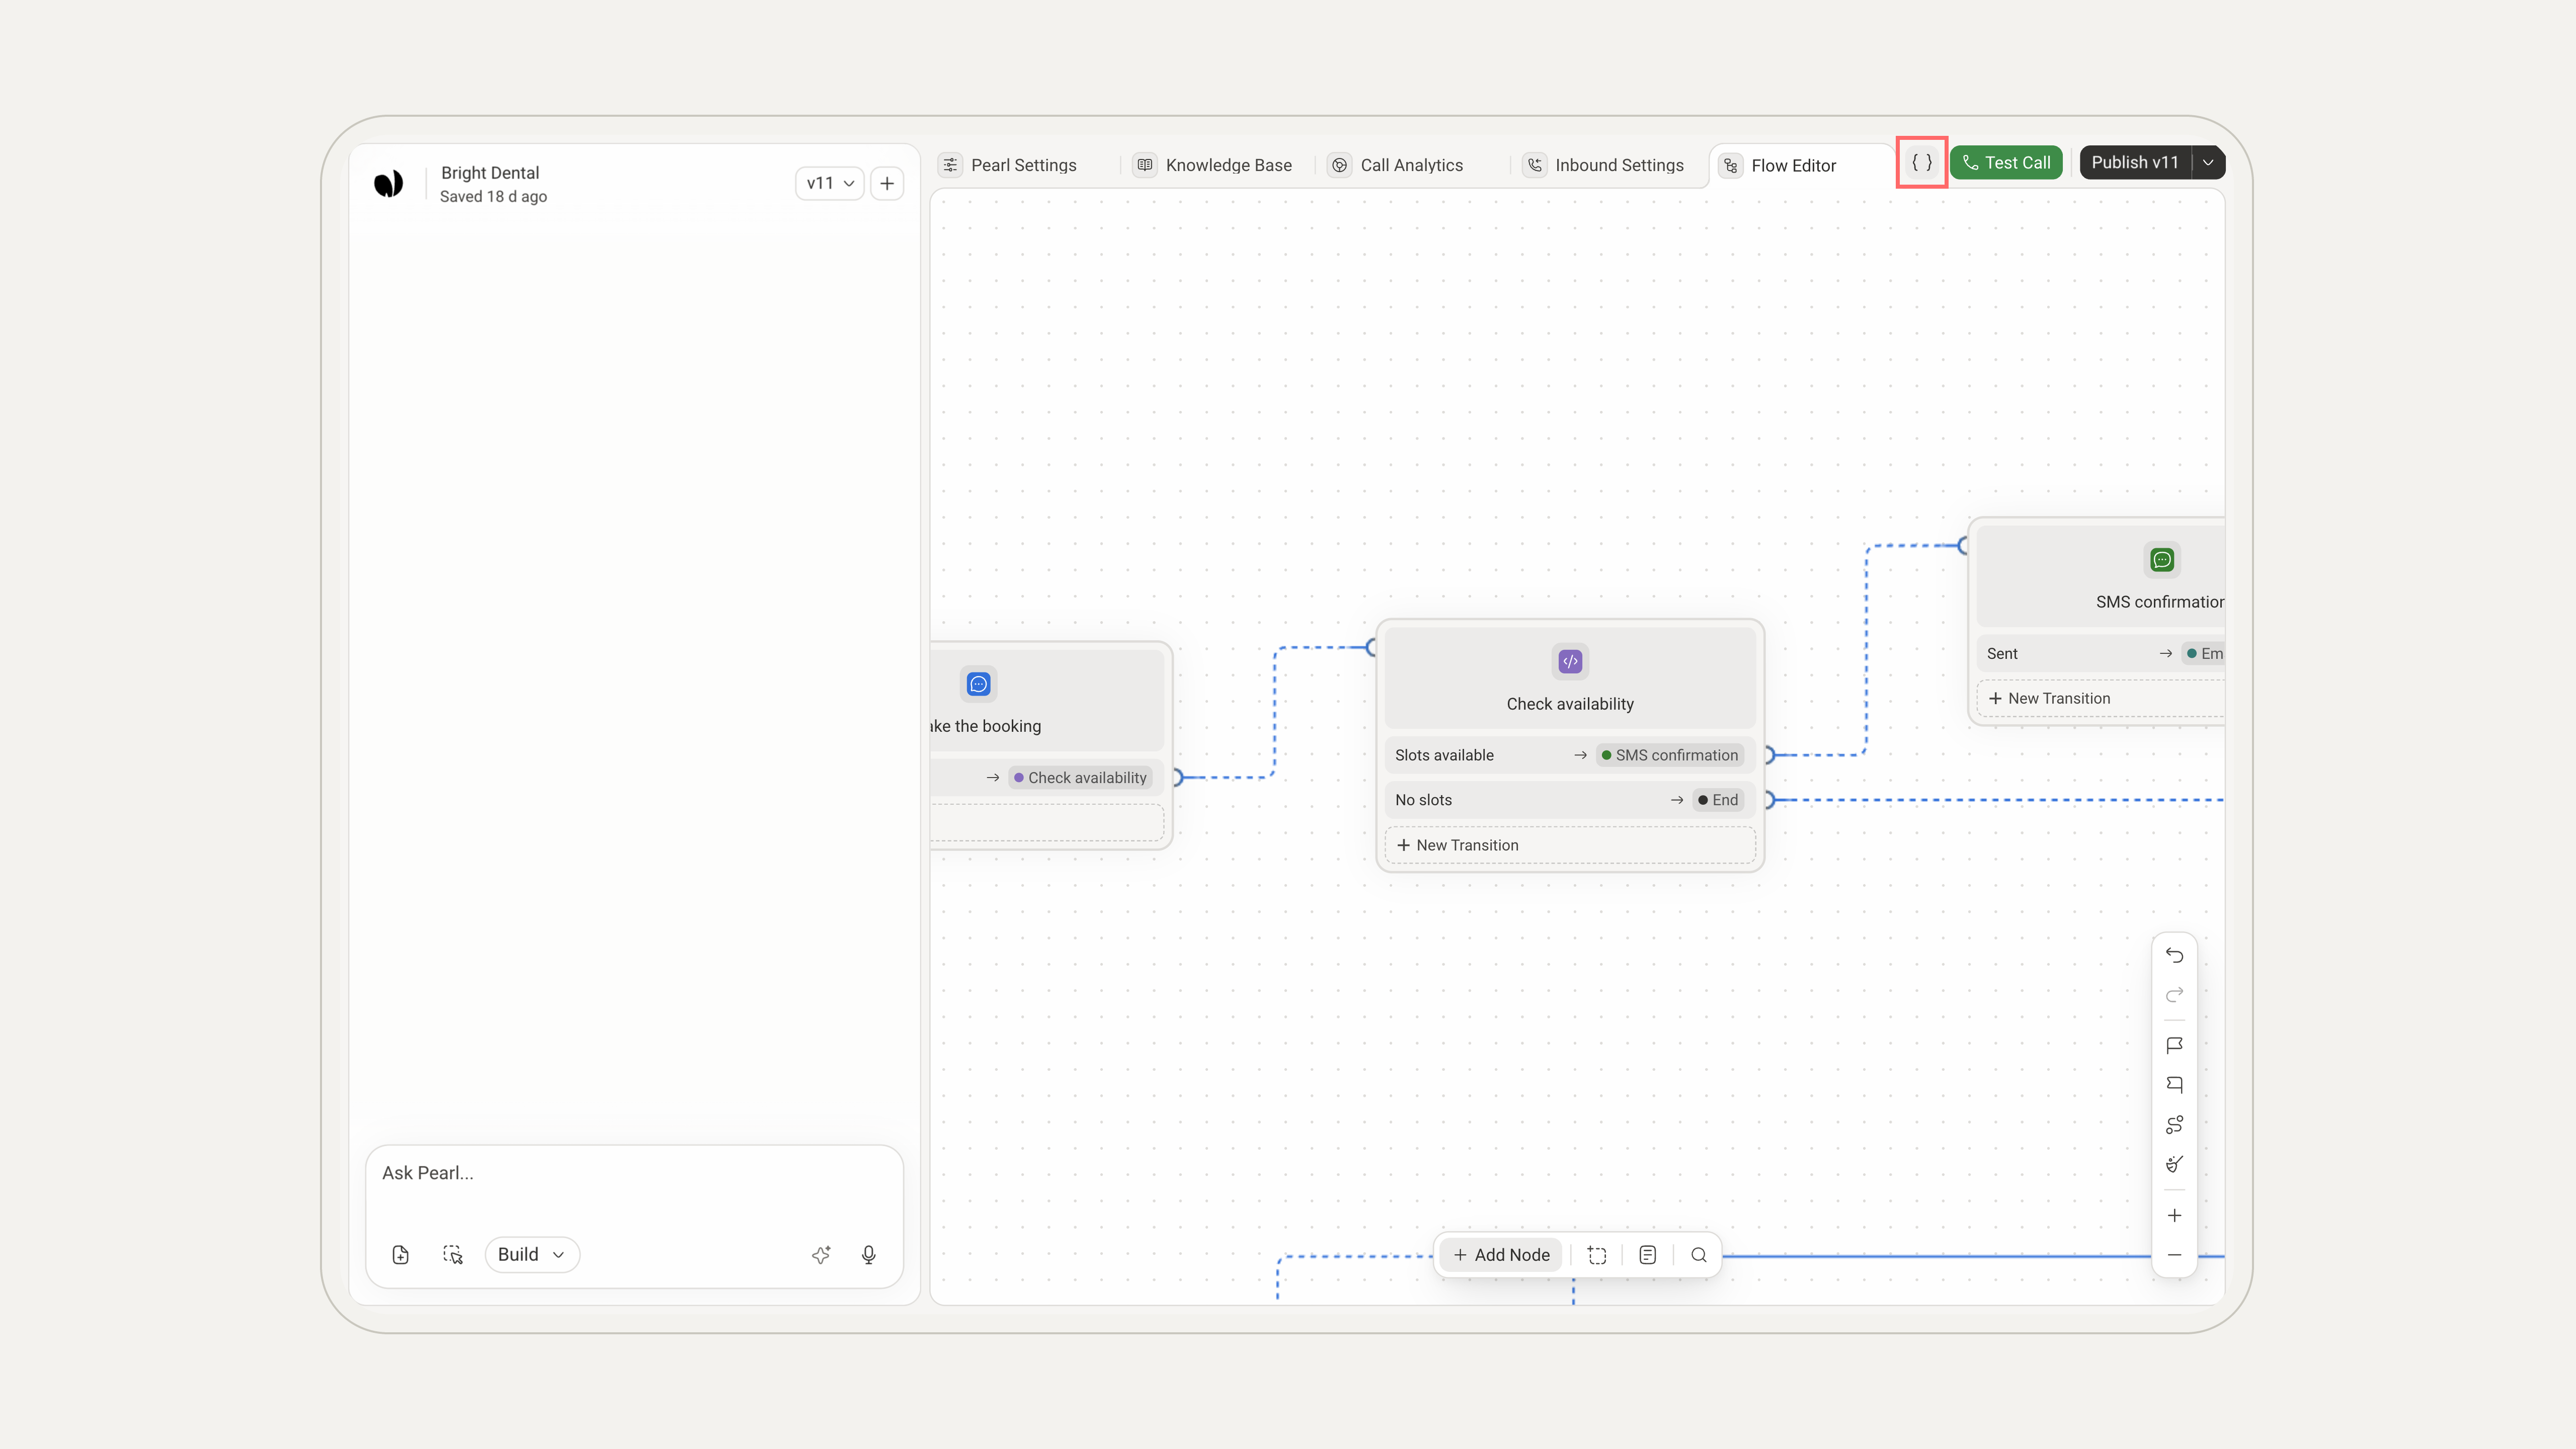
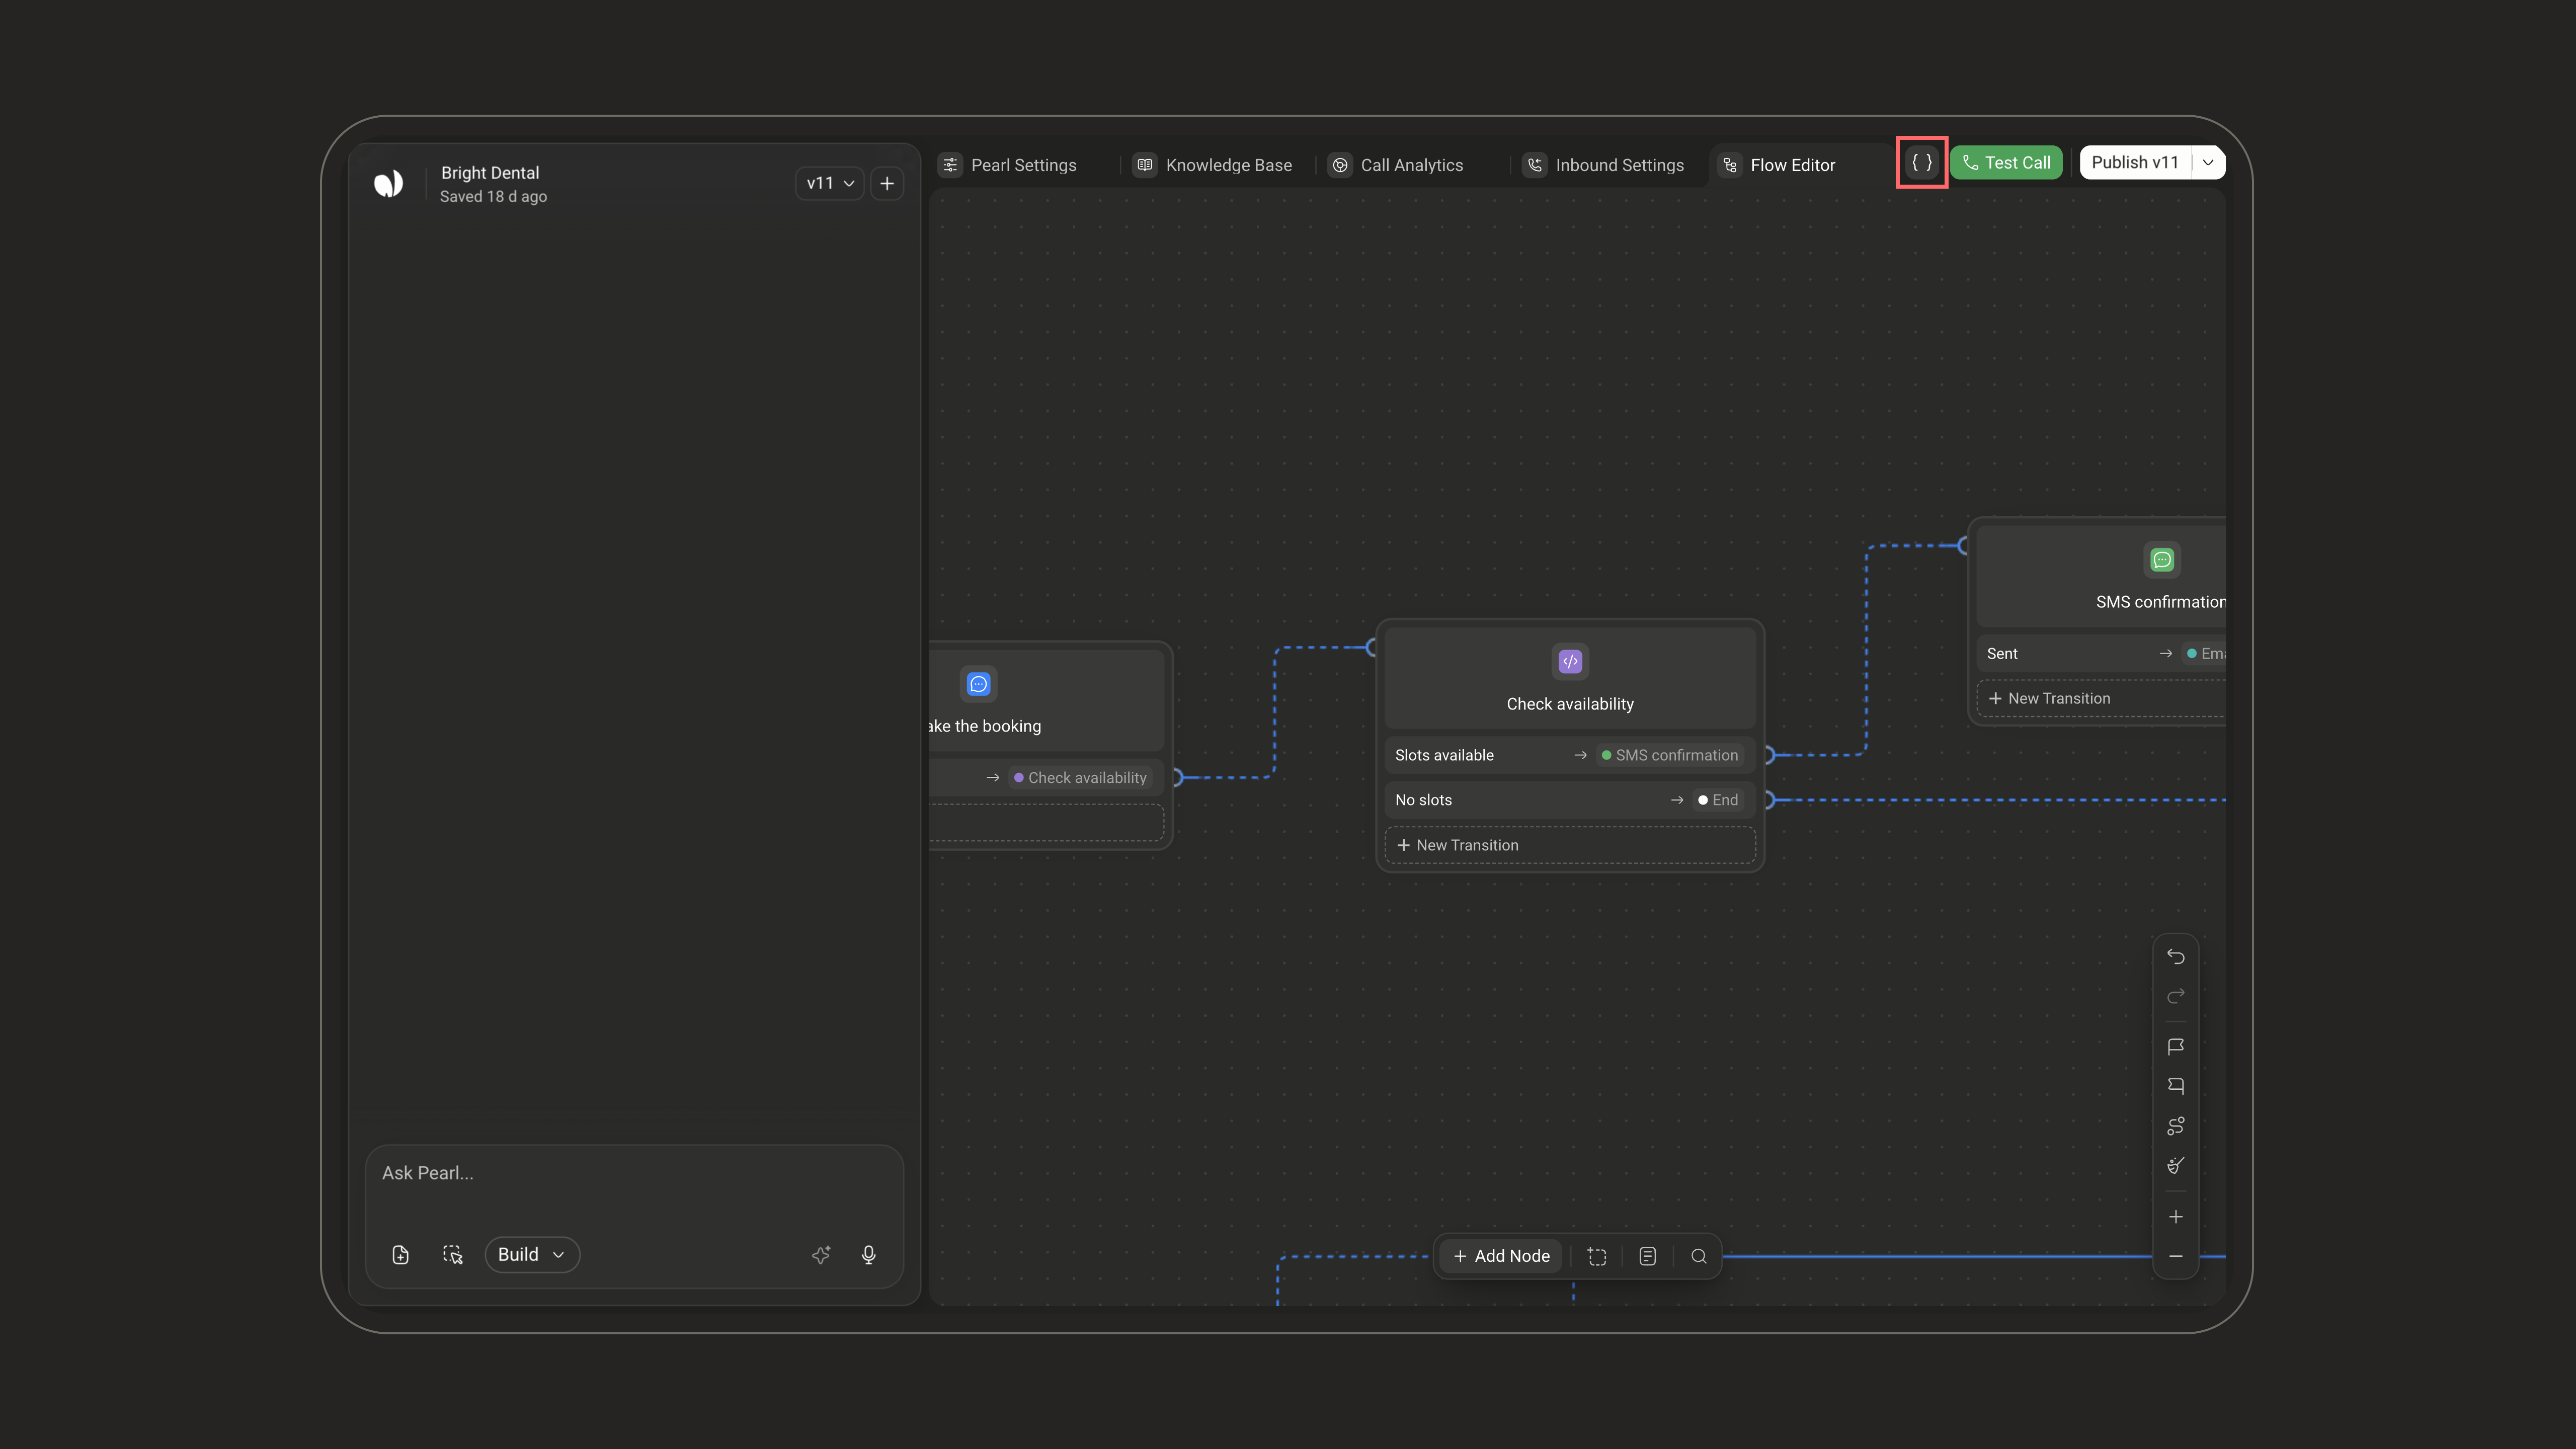
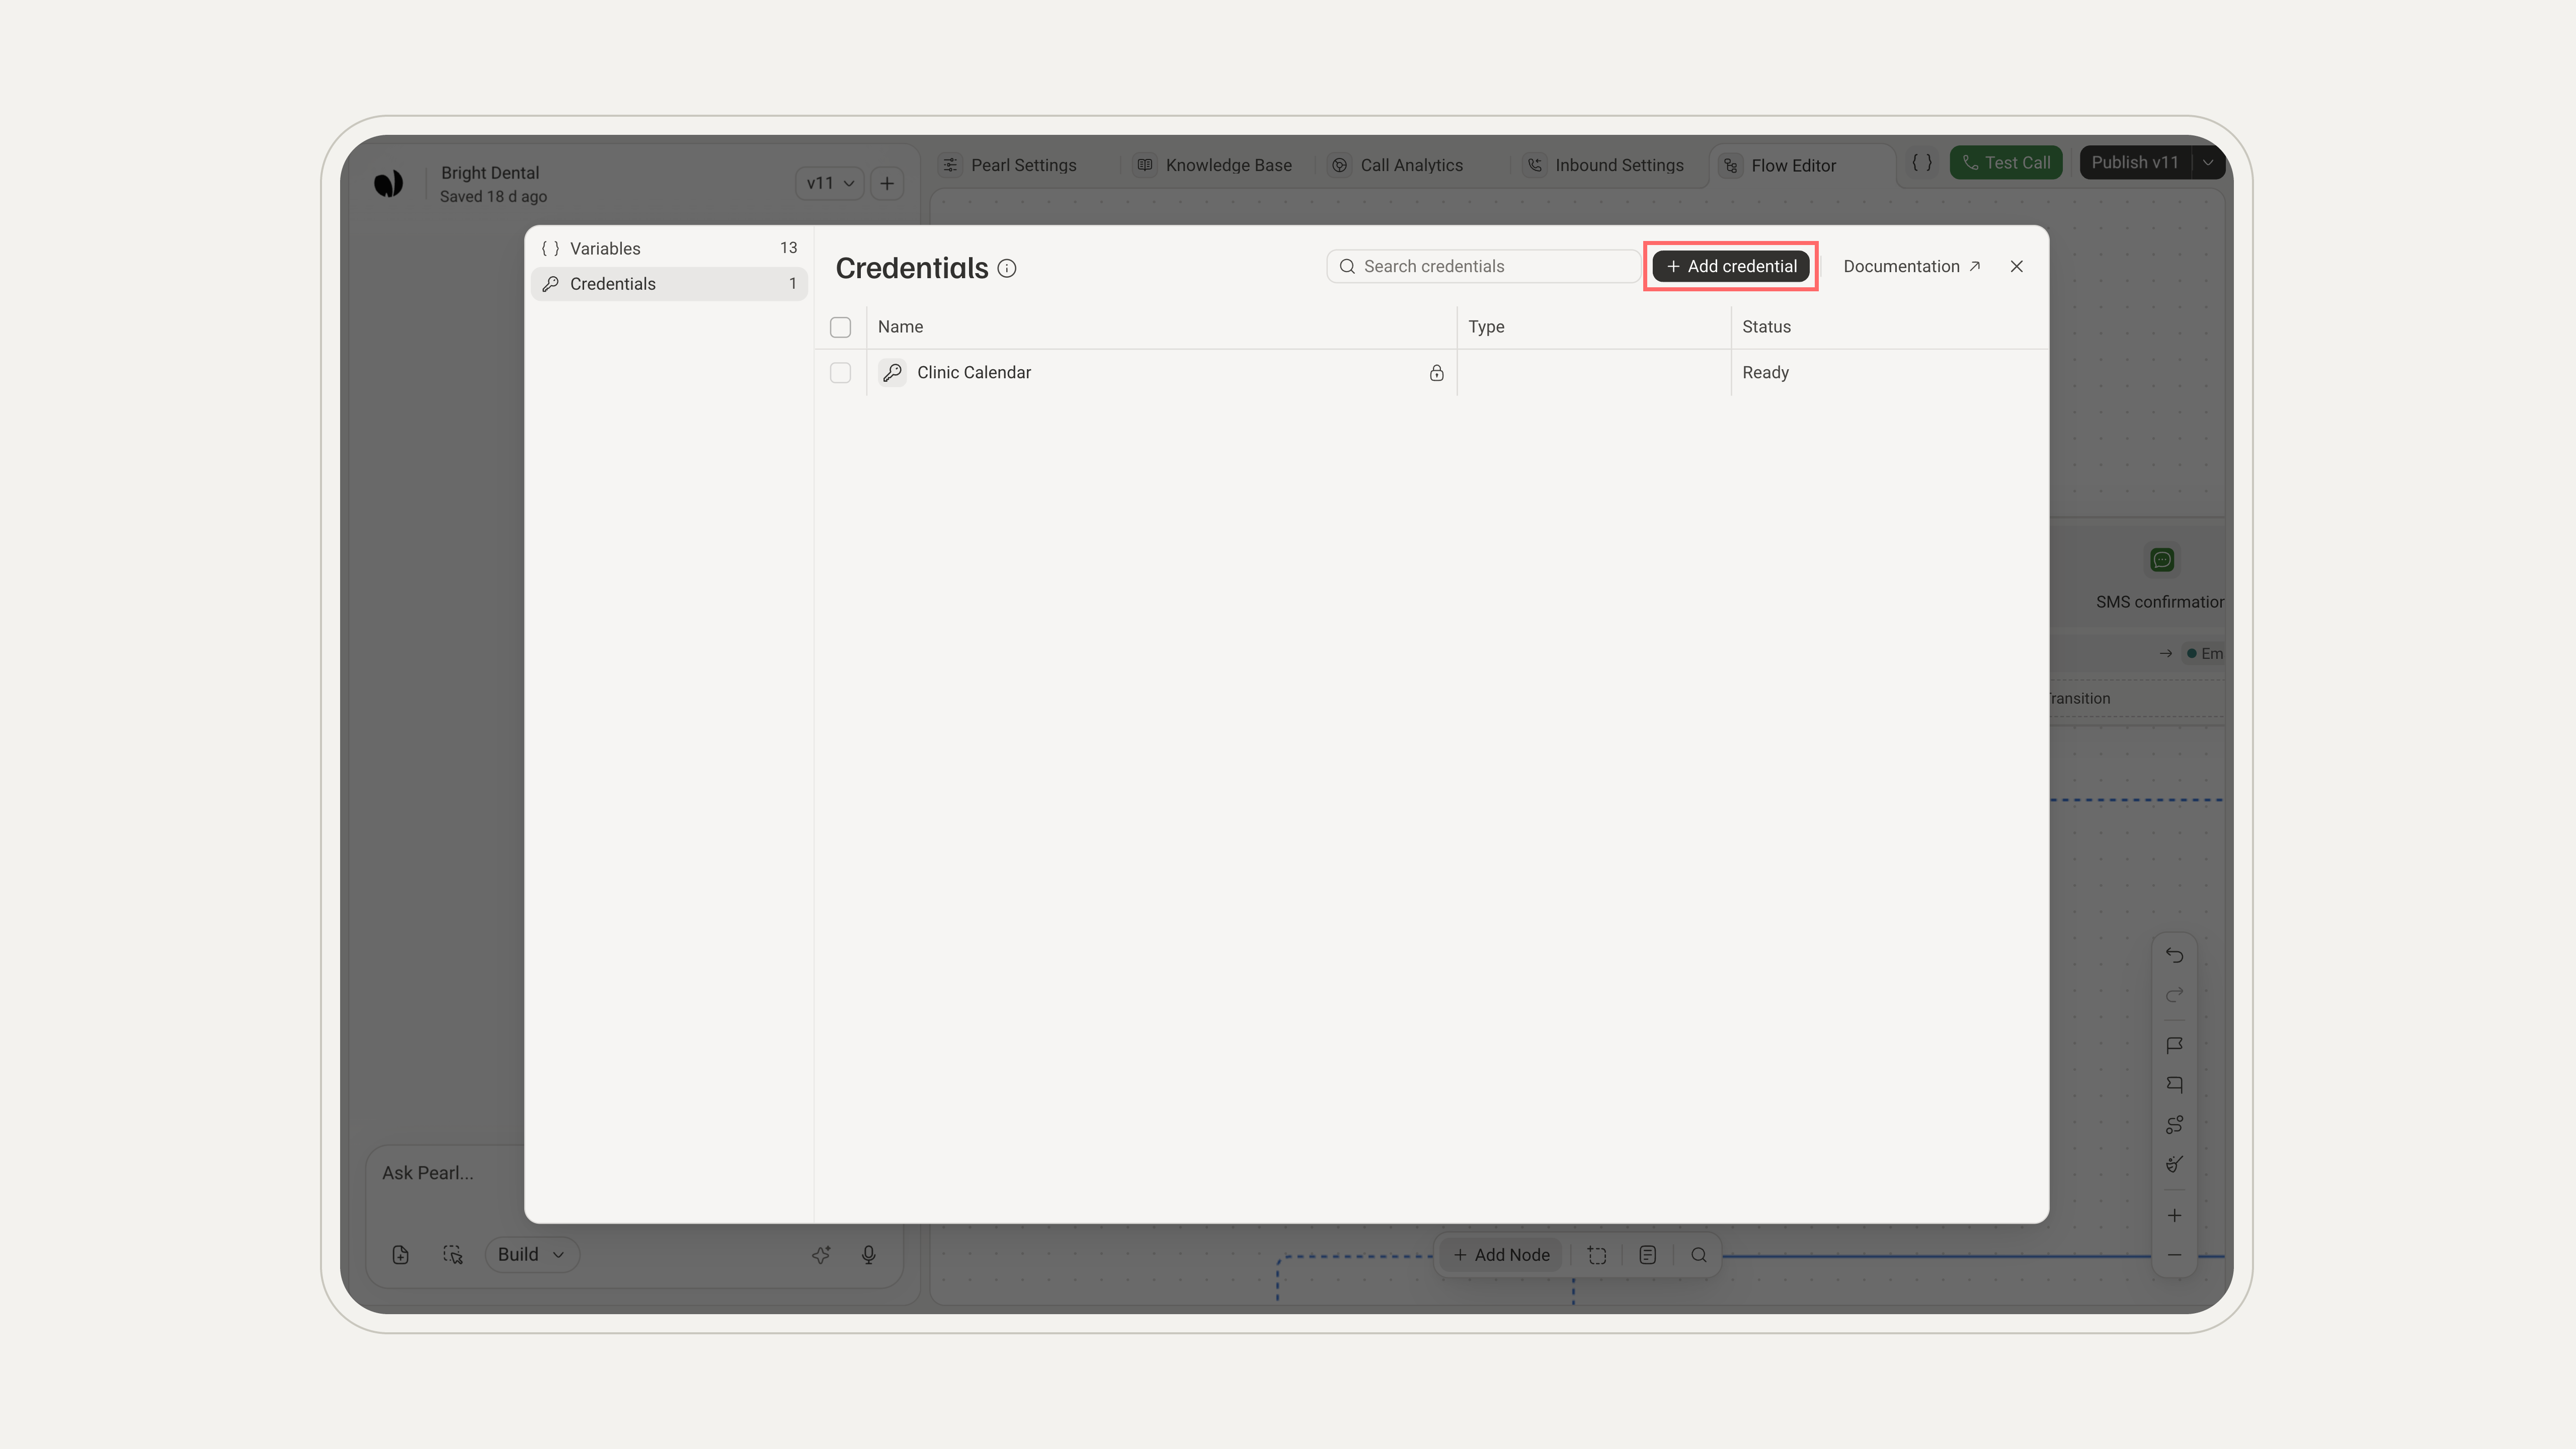
Click the{ } button (Variables & credentials) in the header of the Pearl editor, then select Credentials in the dialog.
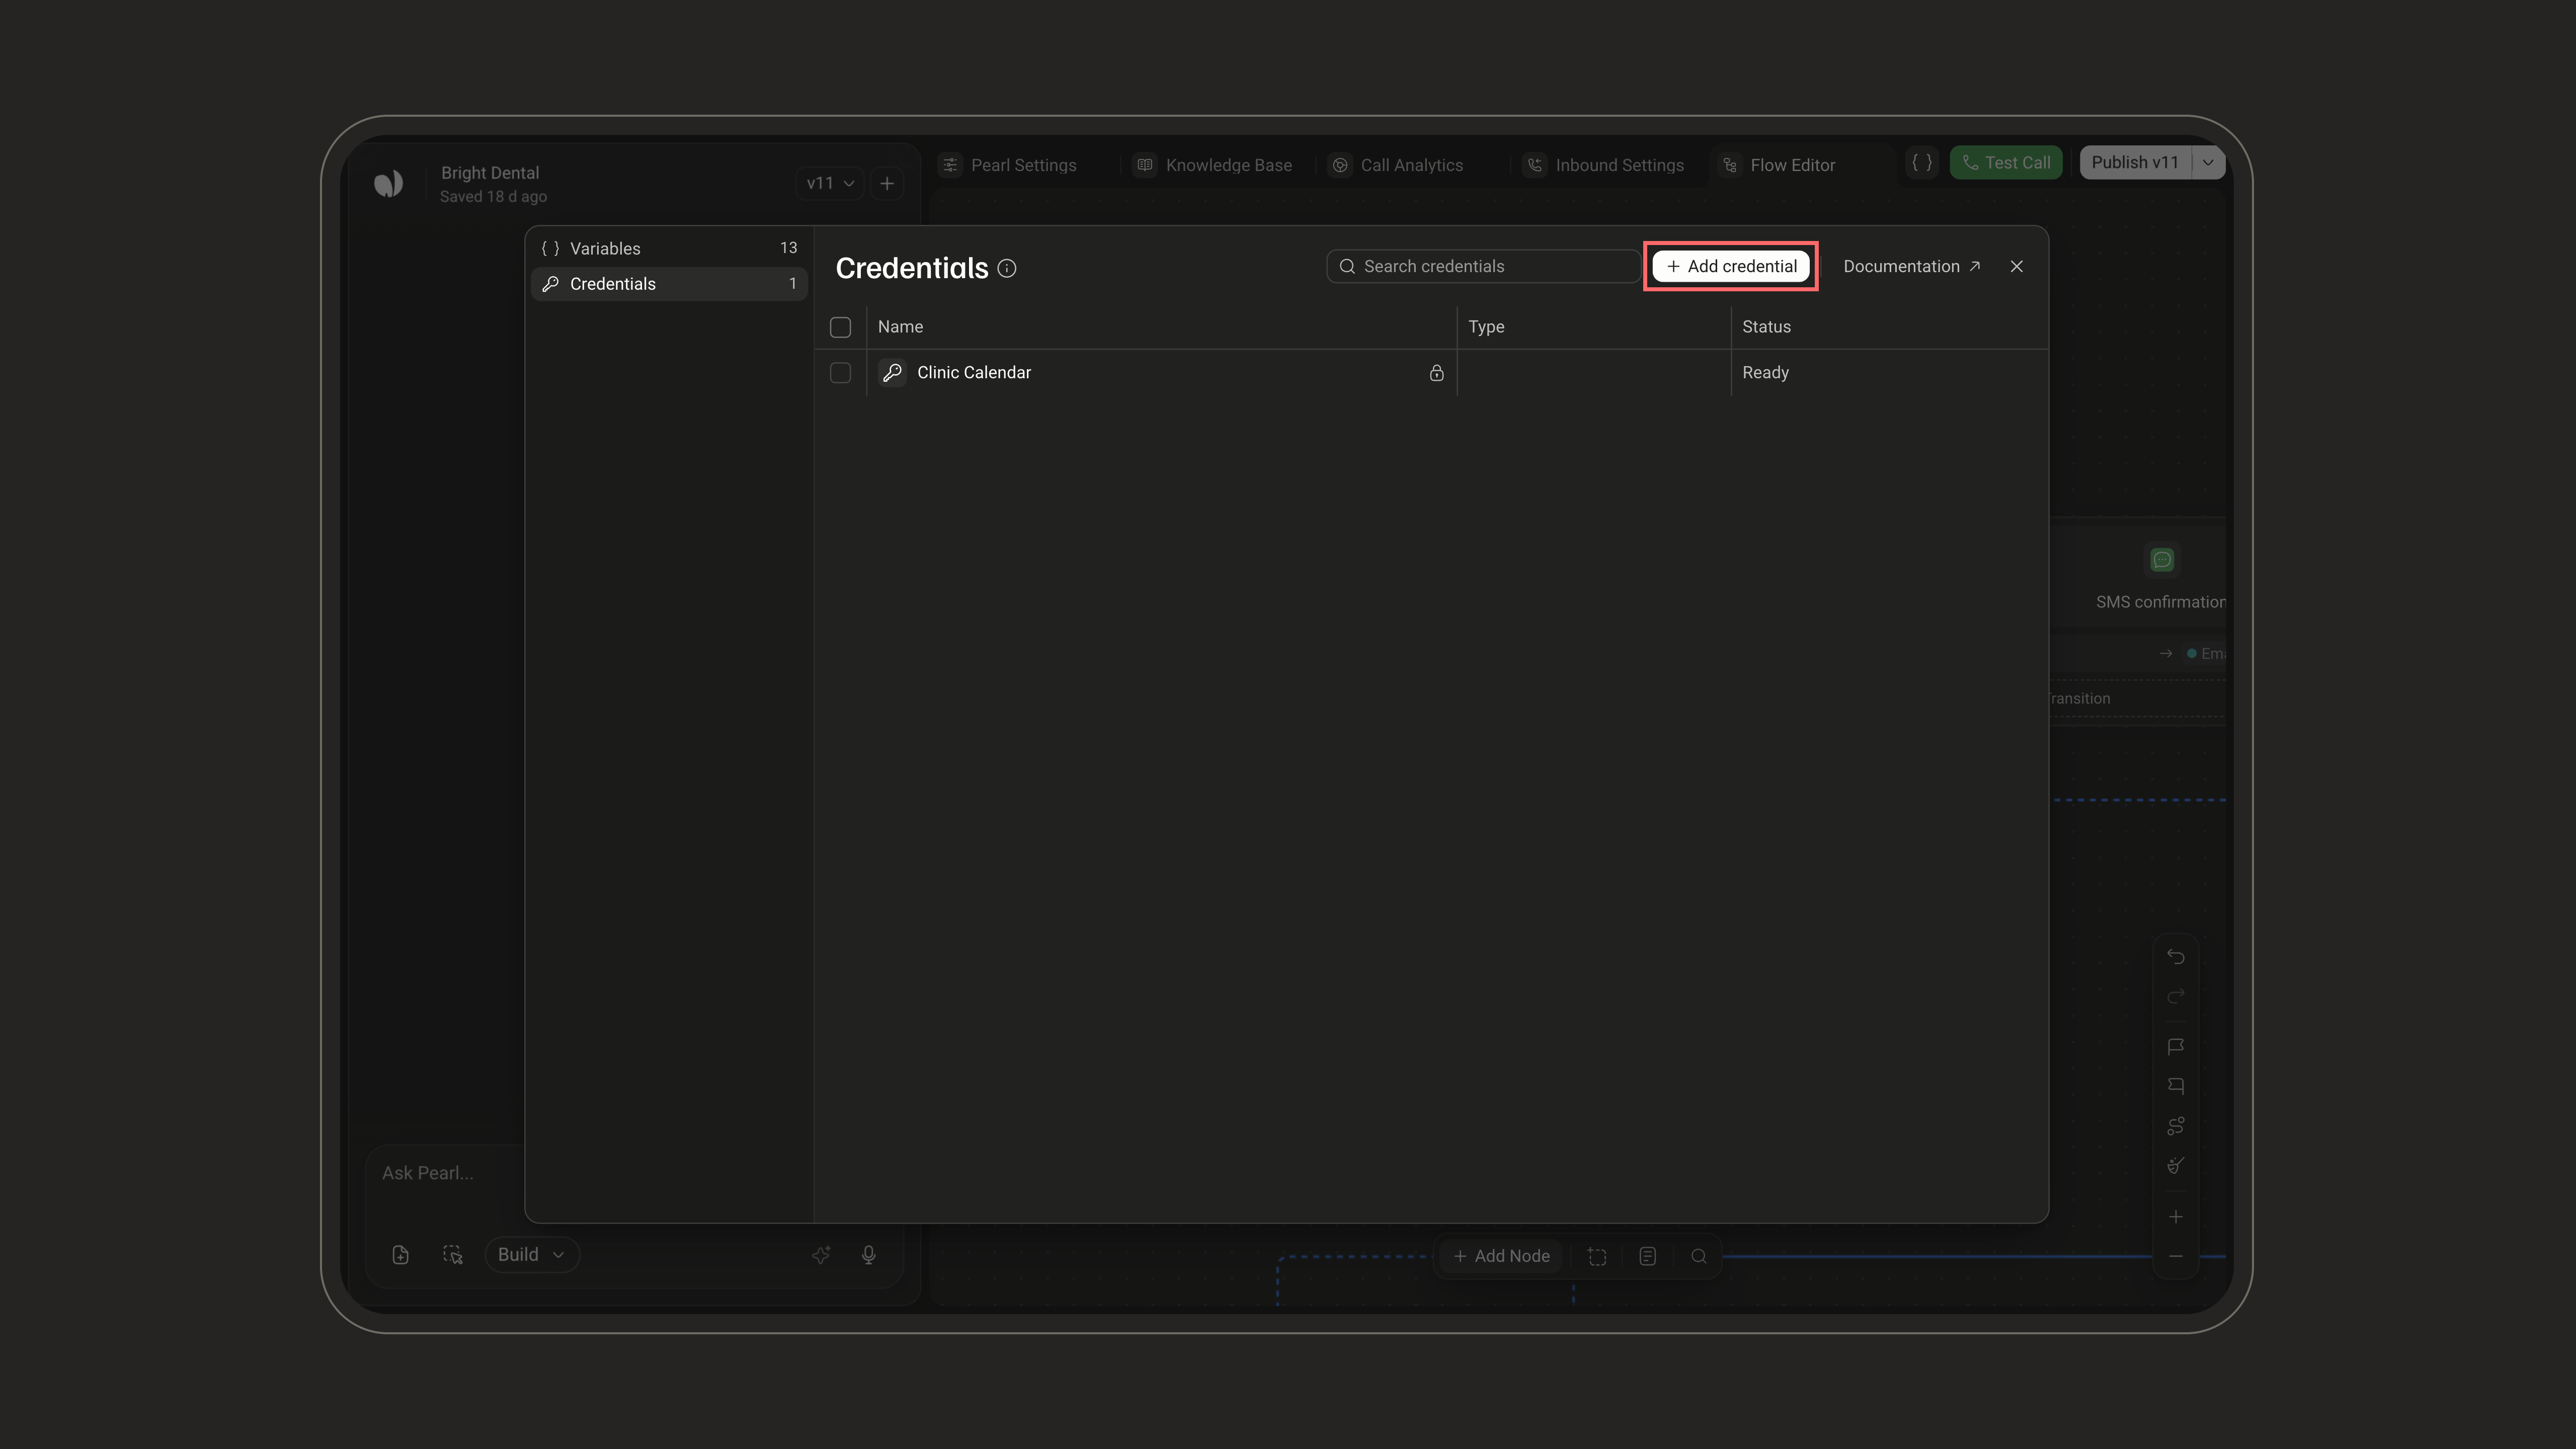
Adding a Credential
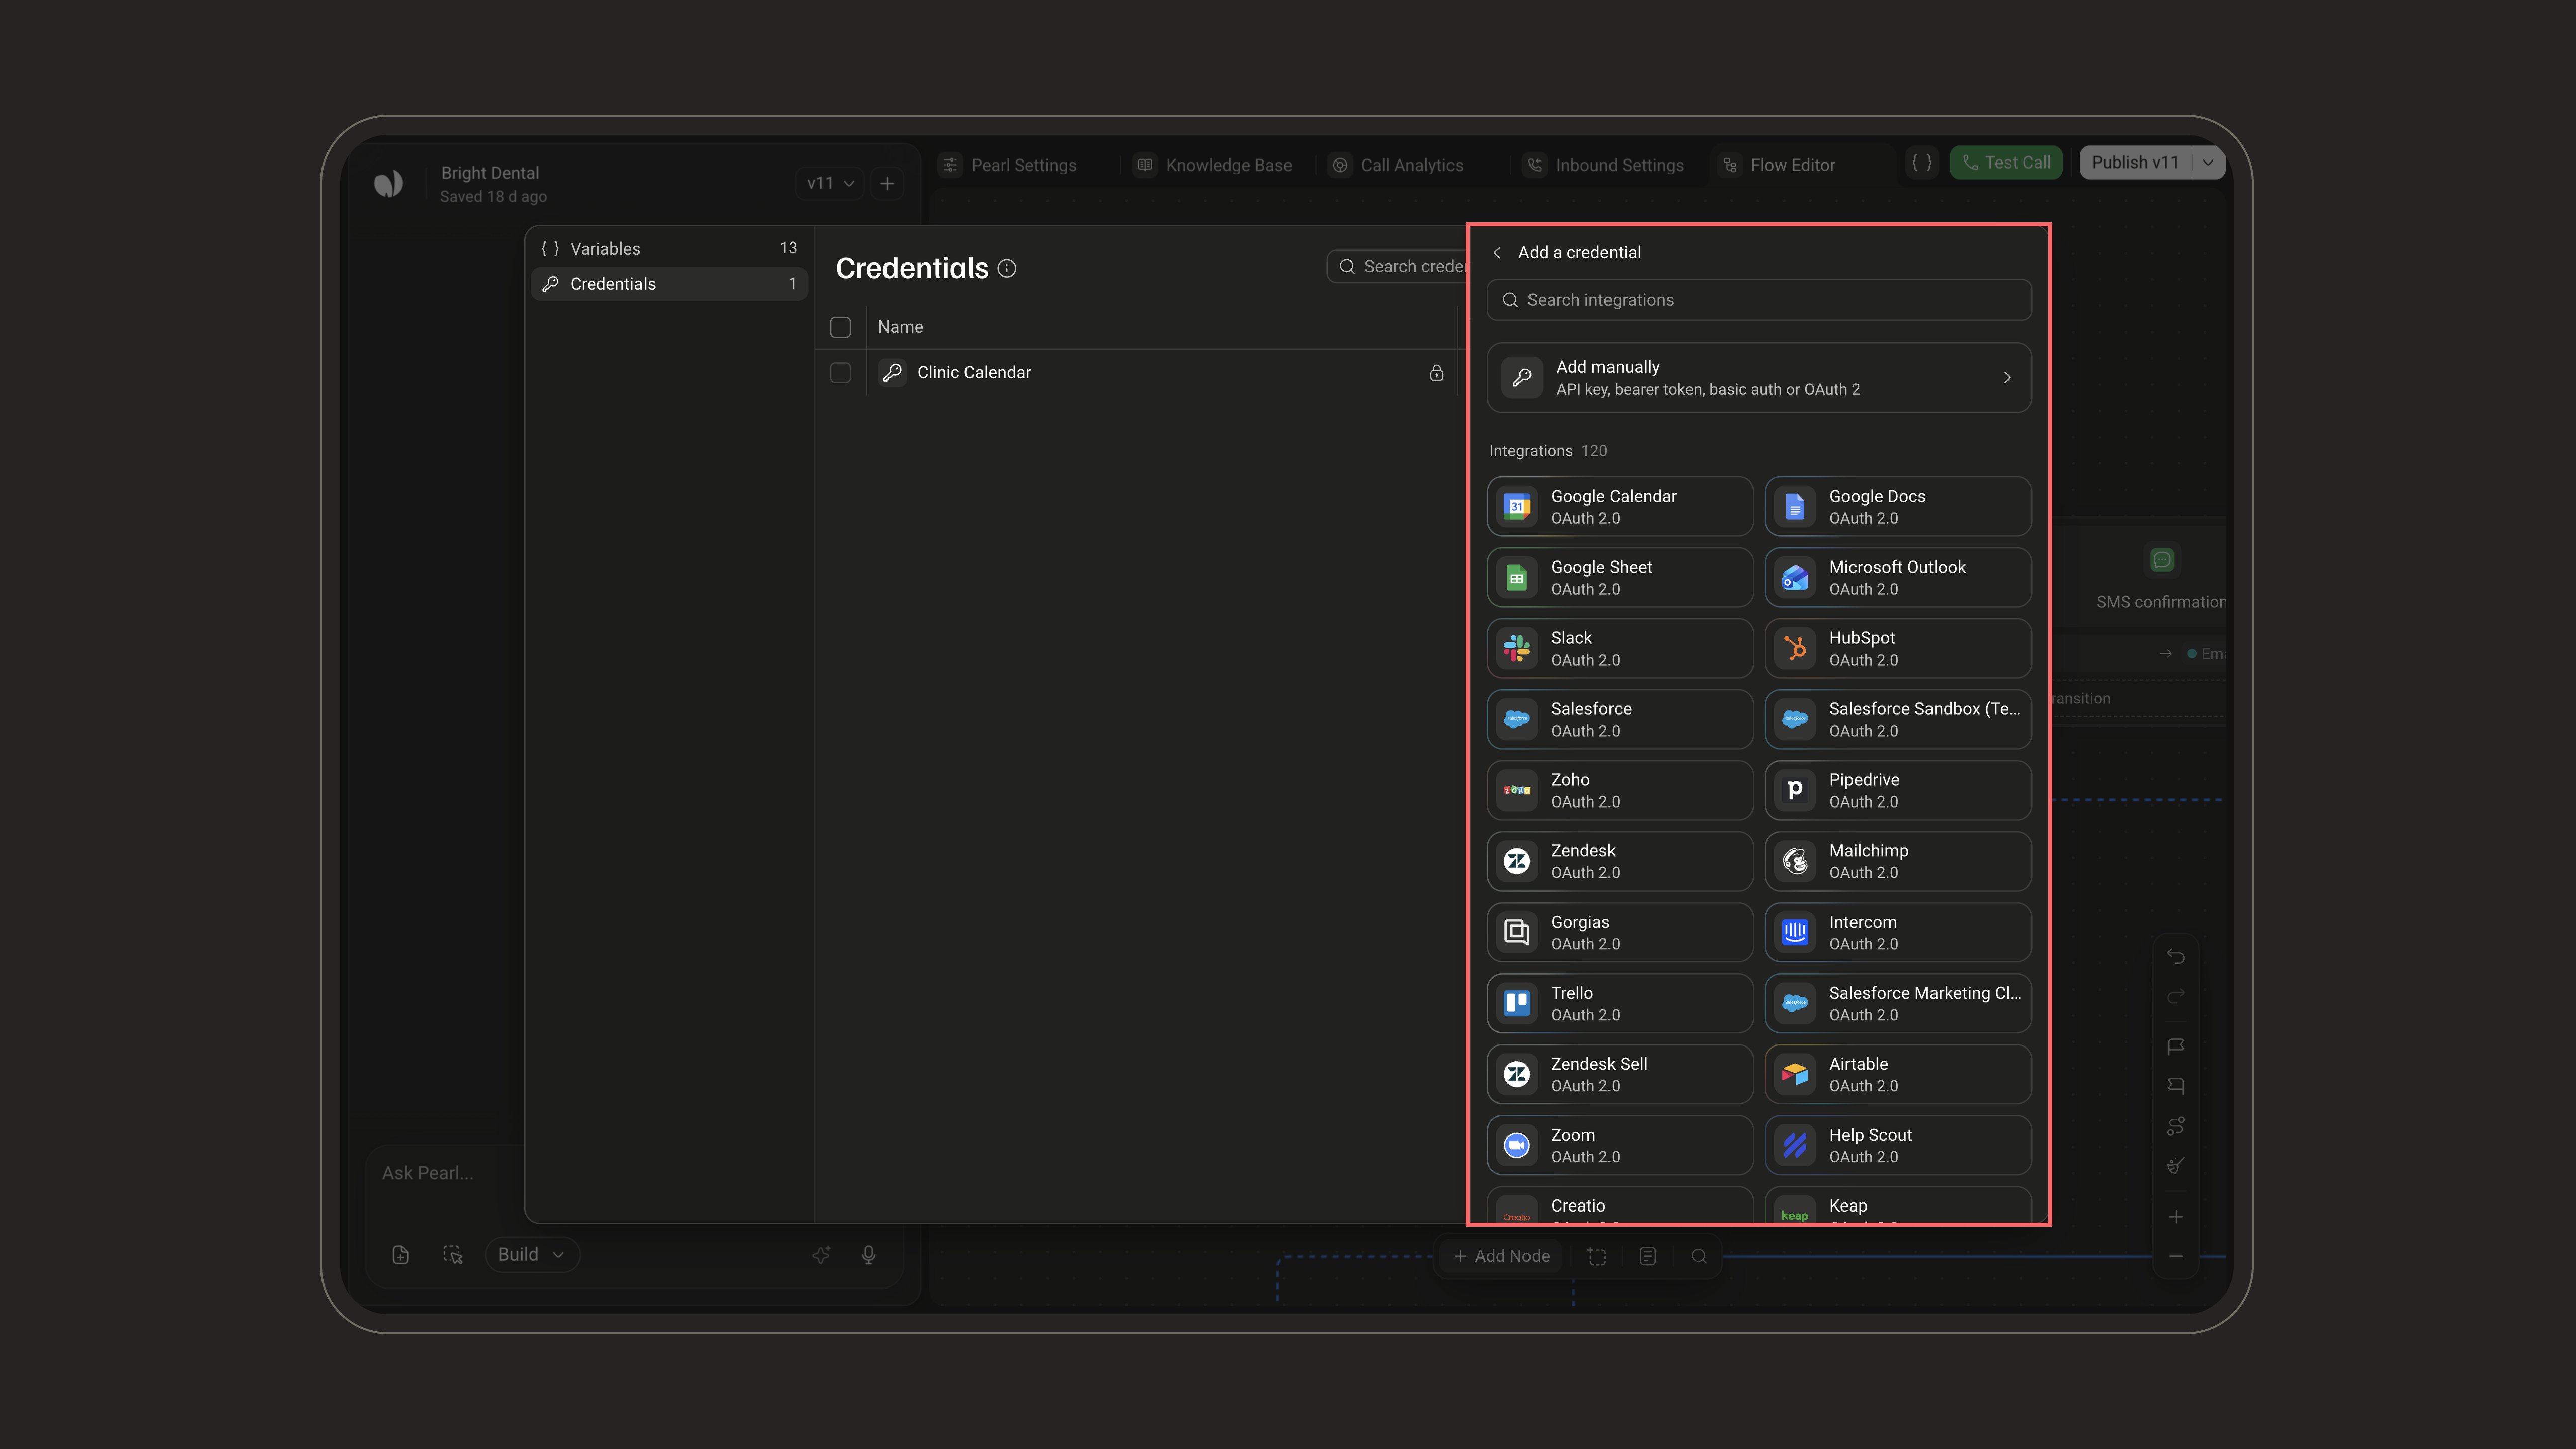
Click Add credential. The Add a credential panel opens with two ways to add one: Add manually, or pick an integration from the list. Use Search integrations to find one.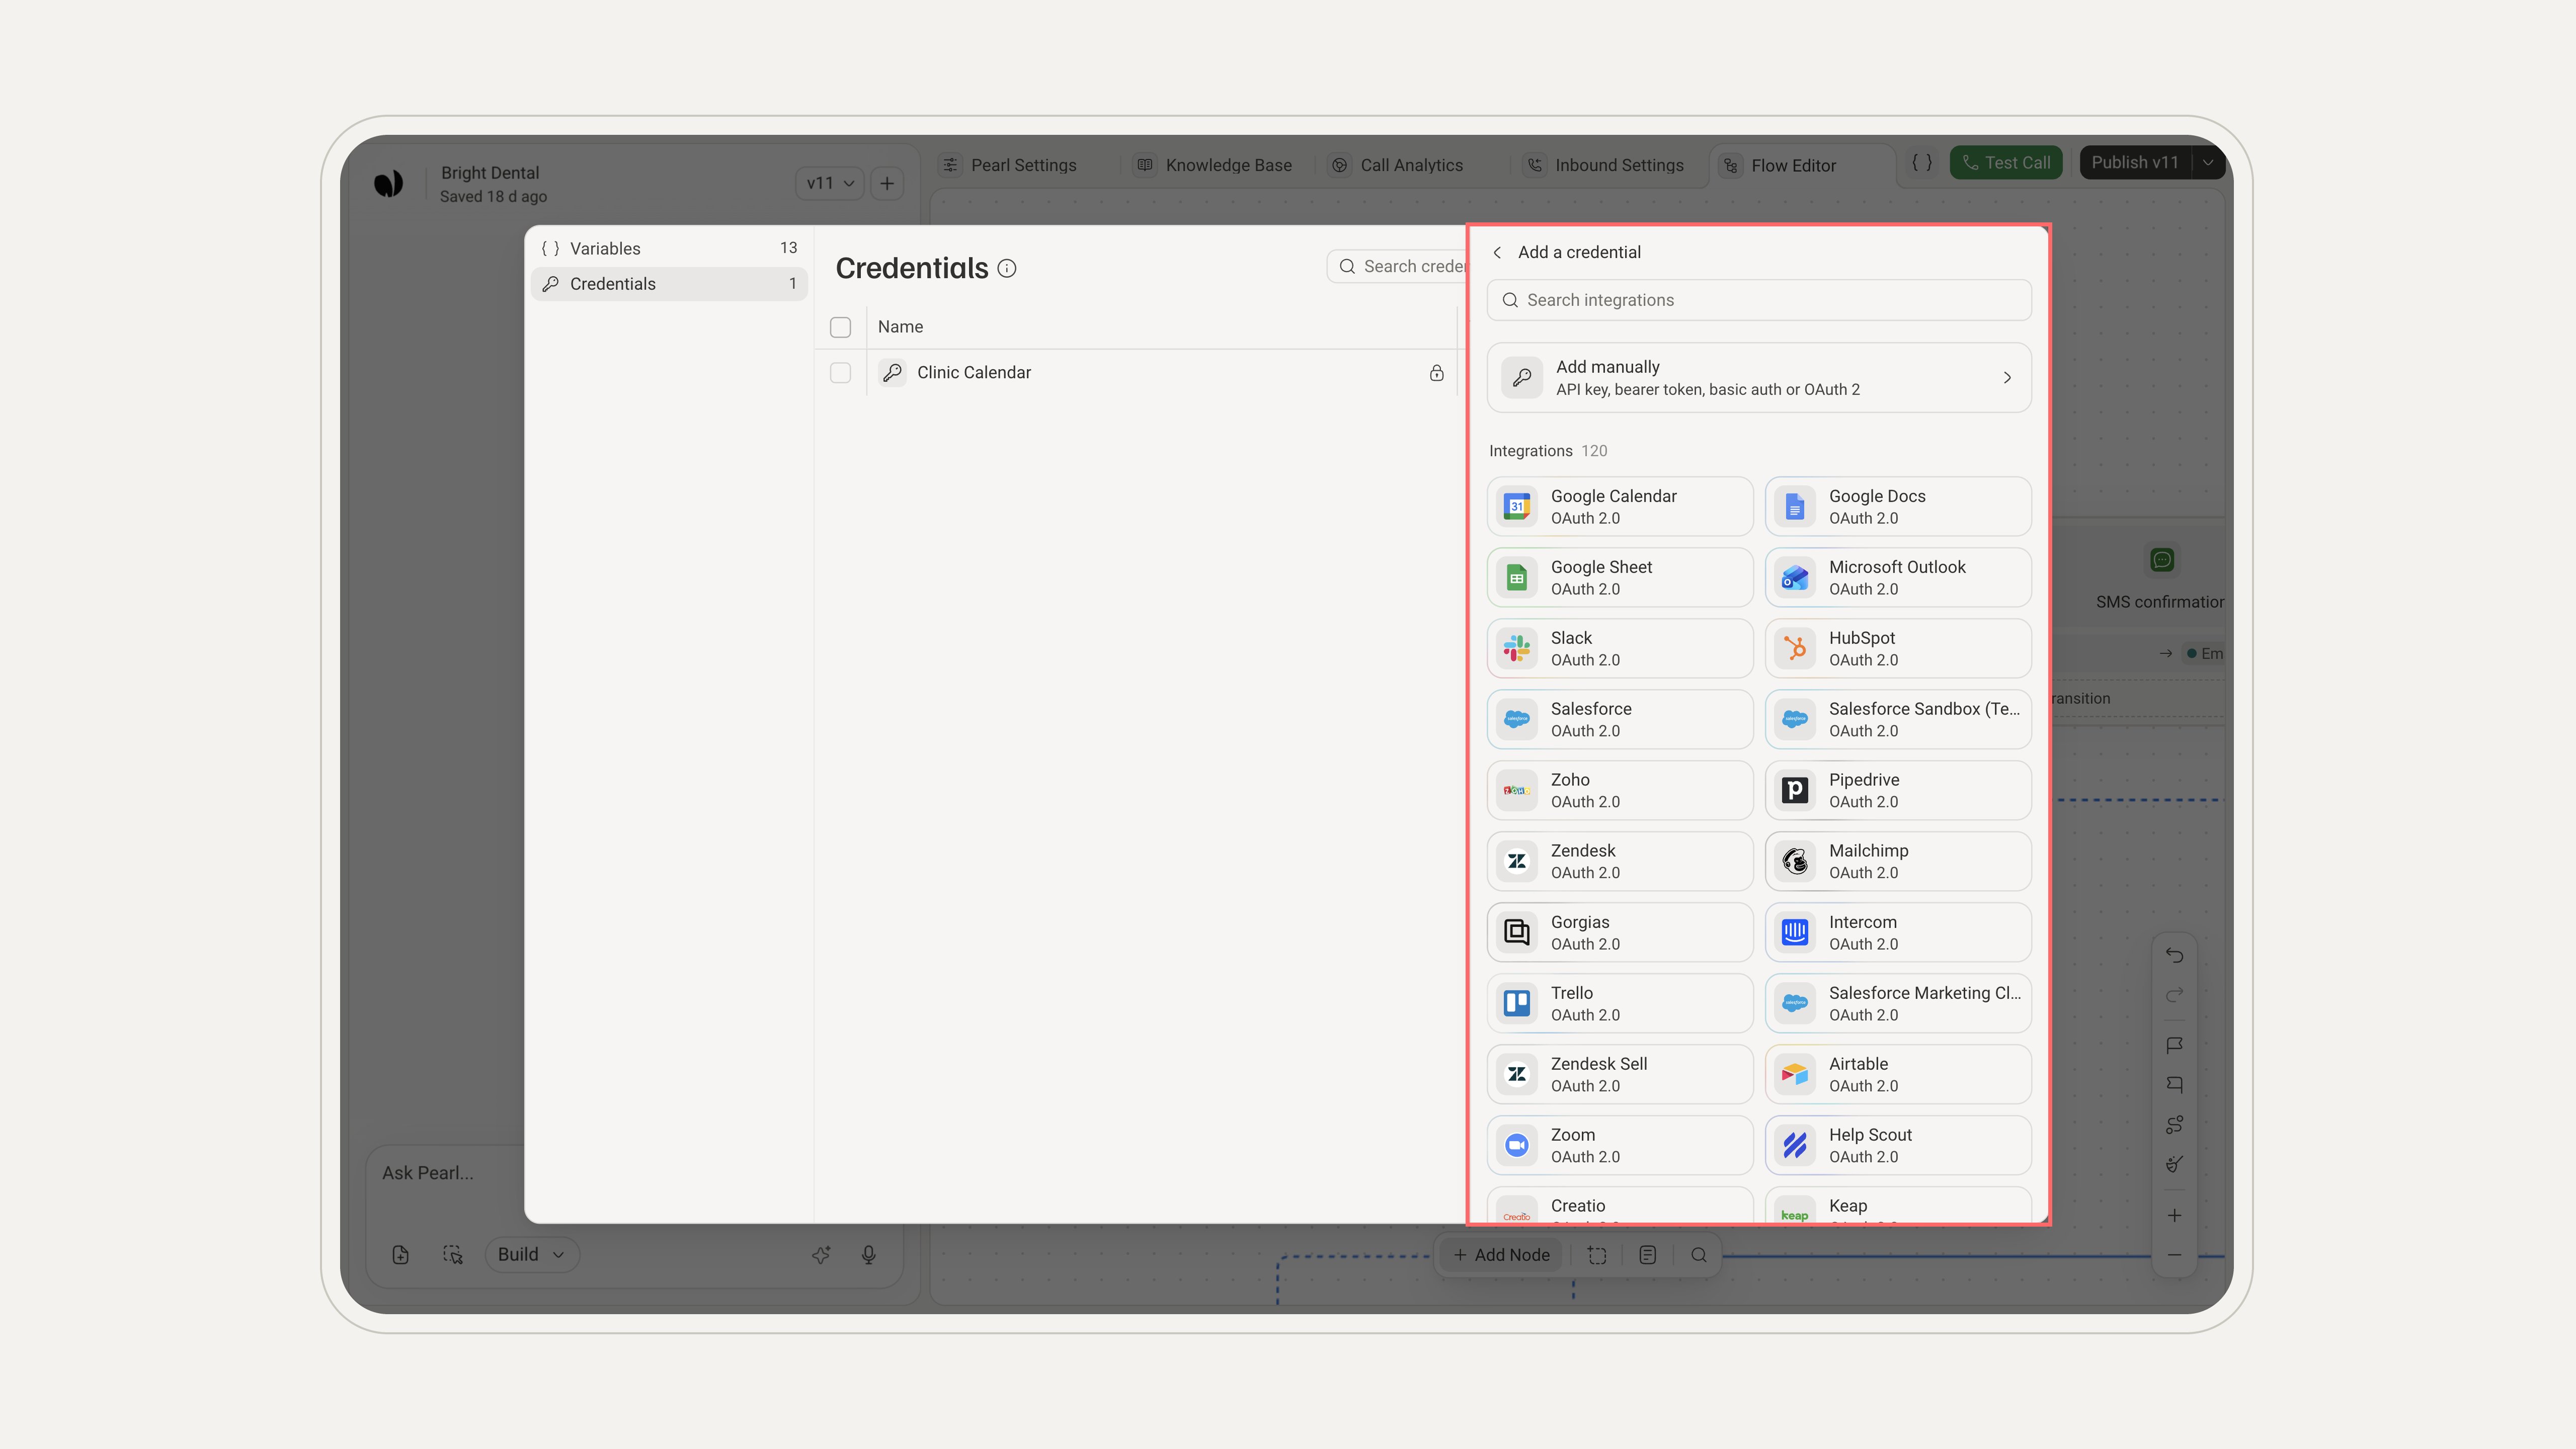
From an integration
Each integration of the catalog shows how it signs in (OAuth 2.0, API key, Bearer token…), or Connected when your Pearl already has a working credential for it (Connected · 2 if it has two).1
Pick the integration
Click the integration. A credential is created for it and opens in the panel. Some integrations first ask for Secure values, such as your app’s client ID and secret or your shop domain.
2
Connect the account
Click Connect. A window opens on the service’s own sign-in page: sign in and grant access. When you’re done, the window closes and the credential is Ready.
Clicking an integration always creates a new credential, even if you already have one for it. To use a second account of the same service, add the integration again and connect the other account.
Manually
Click Add manually, enter a Name (a label to recognize it later, up to 100 characters), and choose a Type. The form shows the fields of that type.The type can’t be changed once the credential is saved: to sign in another way, create a new credential. OAuth 2 accounts are connected through their integration, not added manually.
Configuring a Refresh Token credential
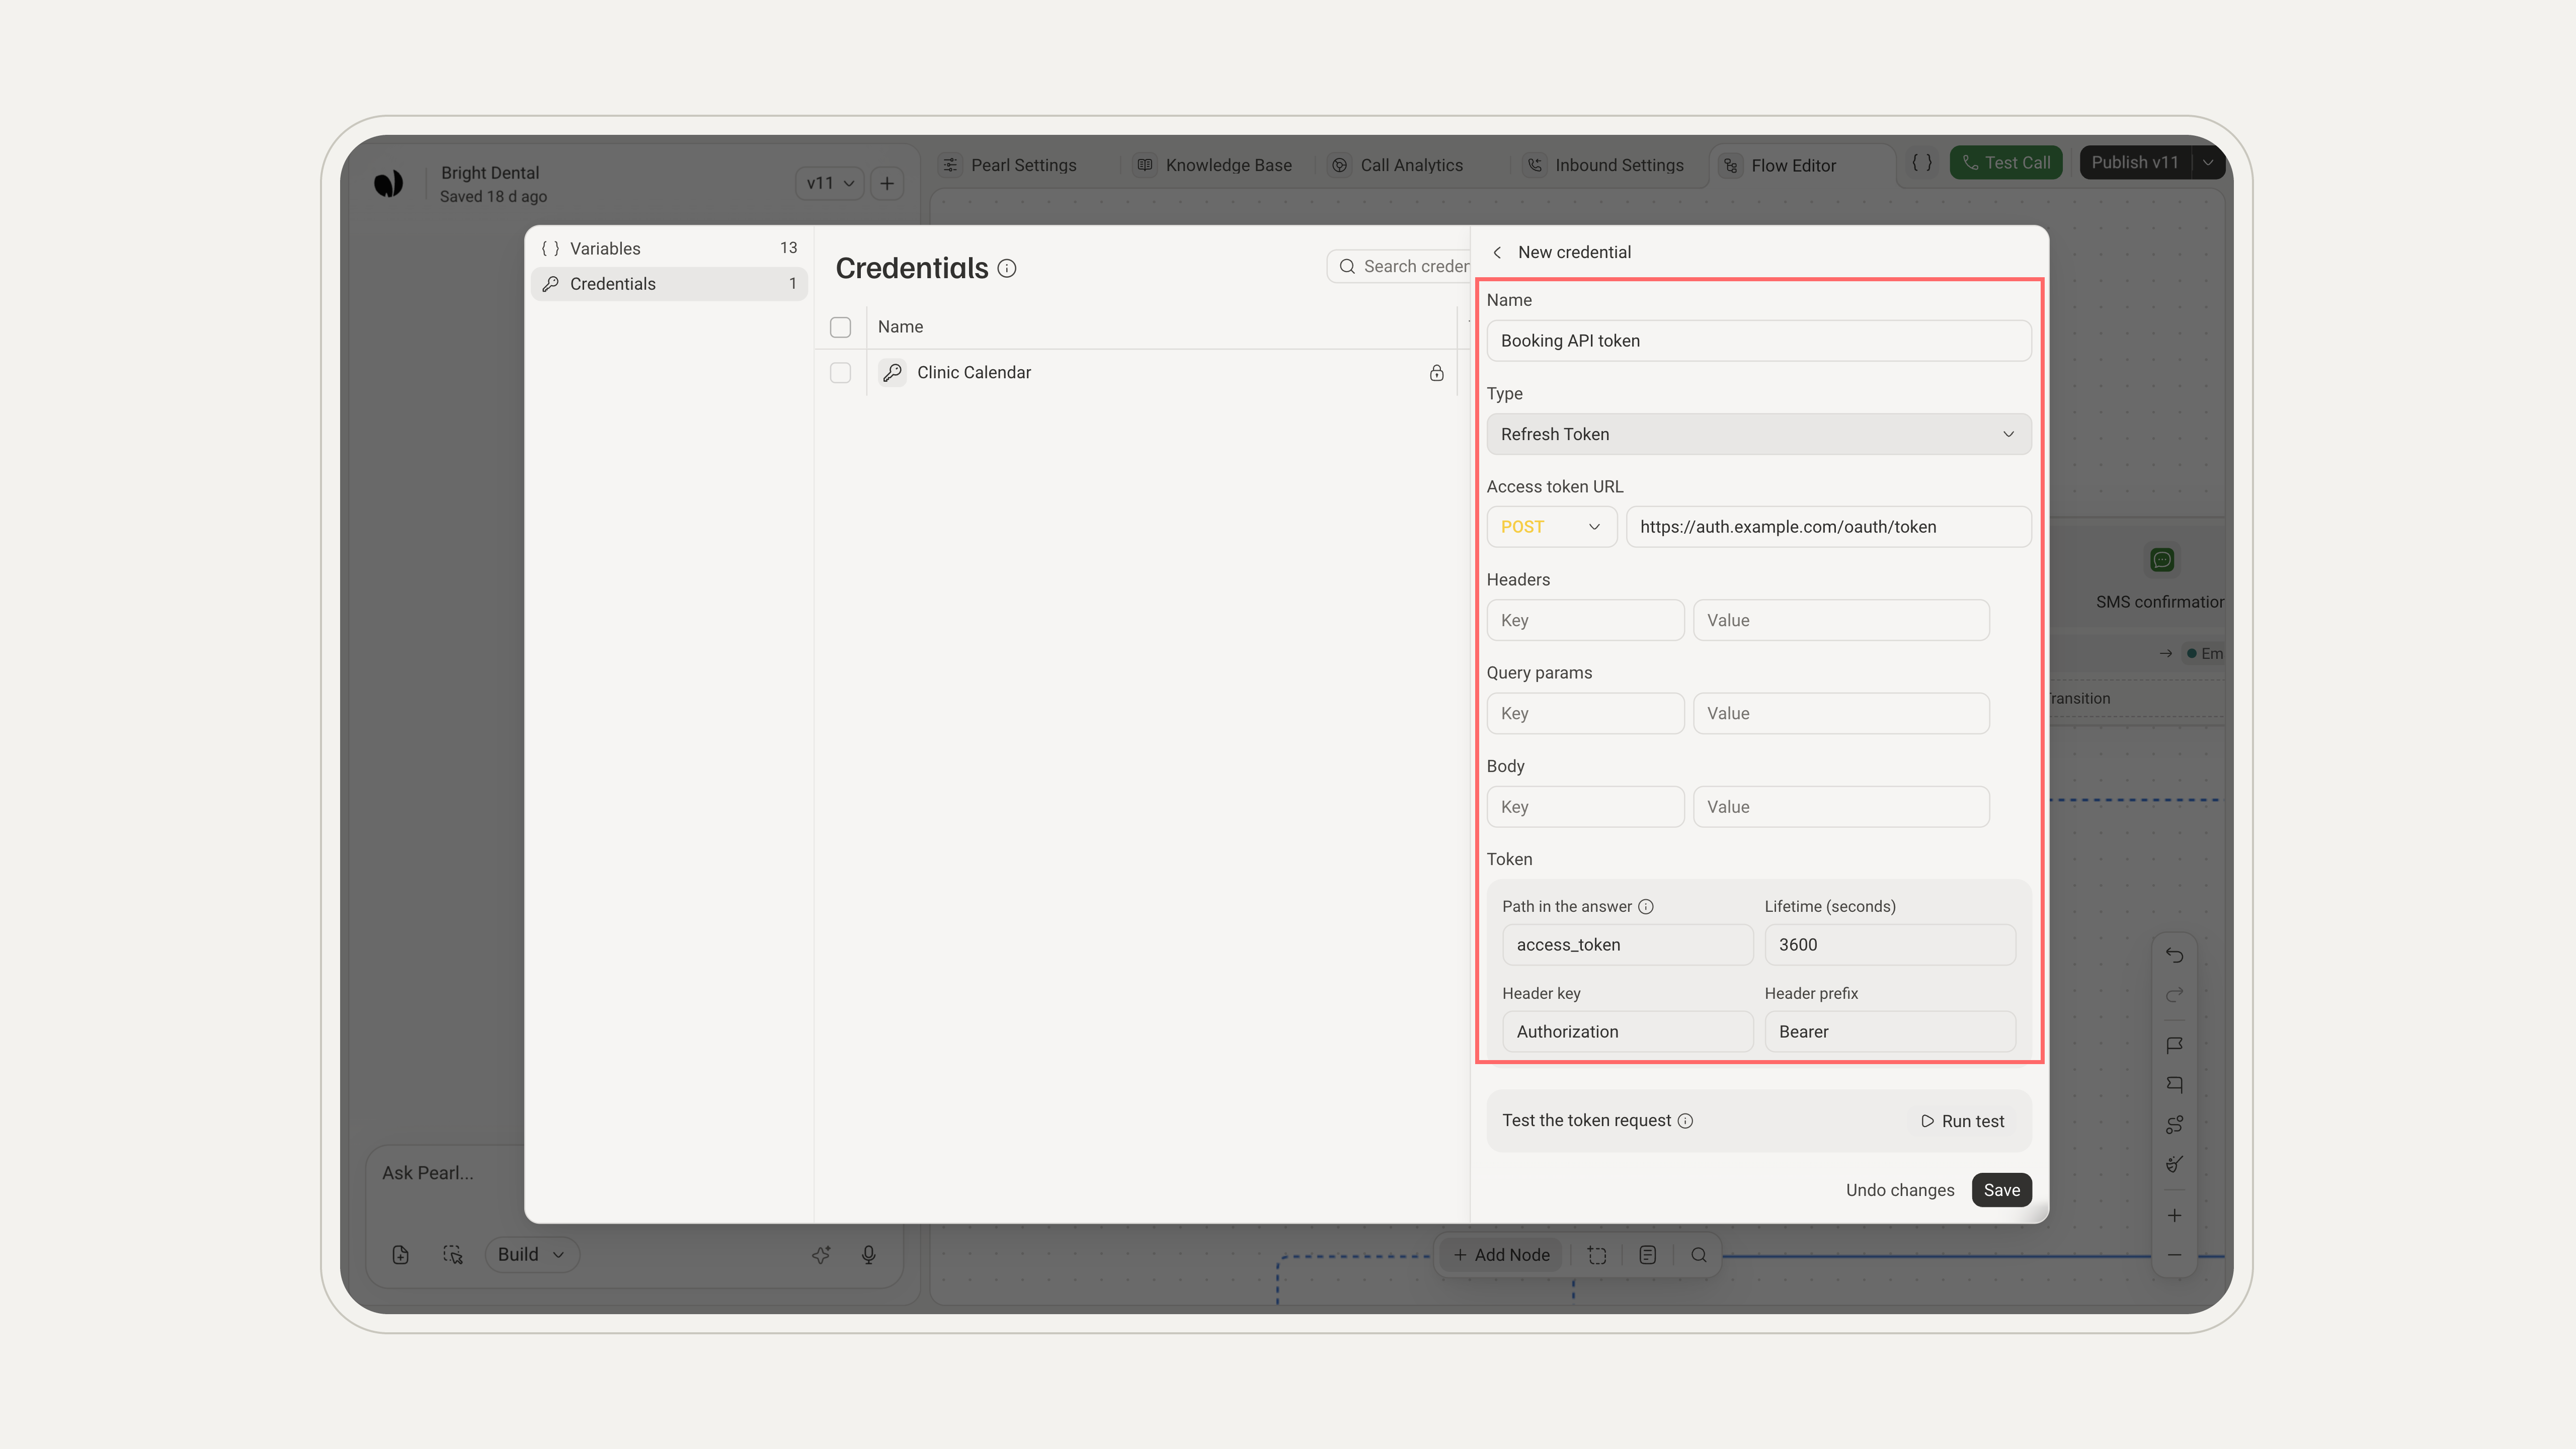
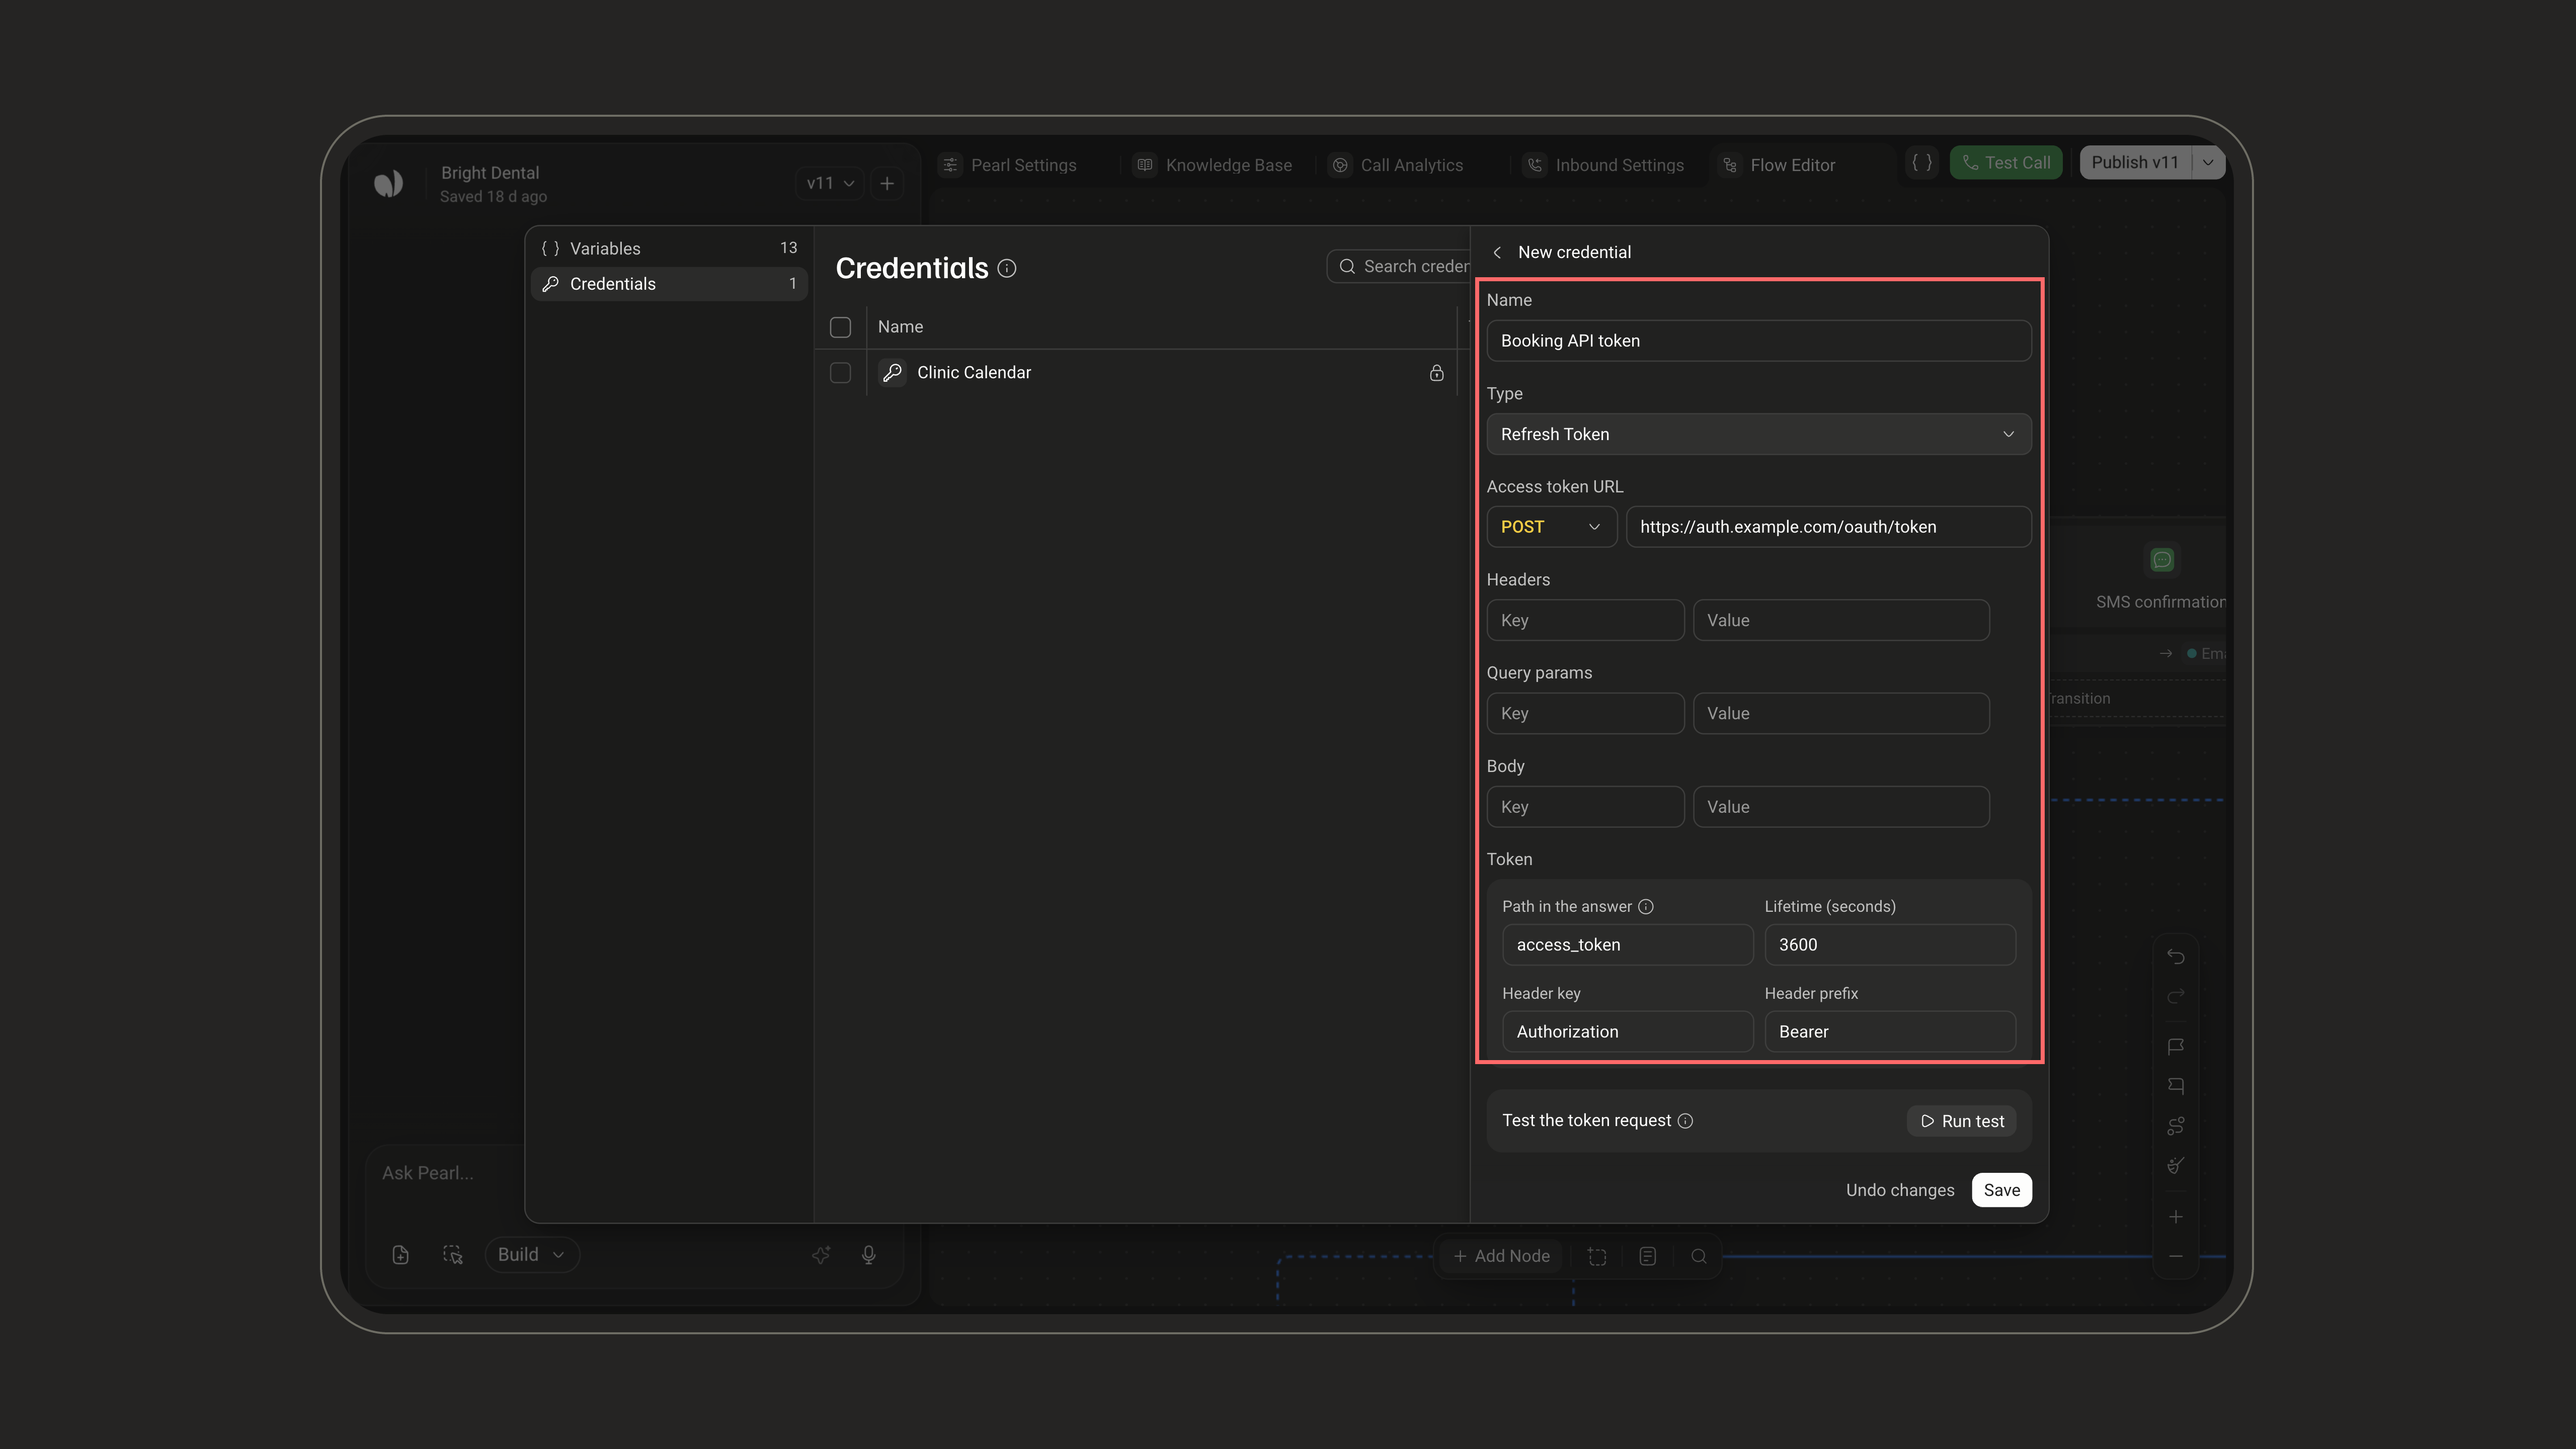
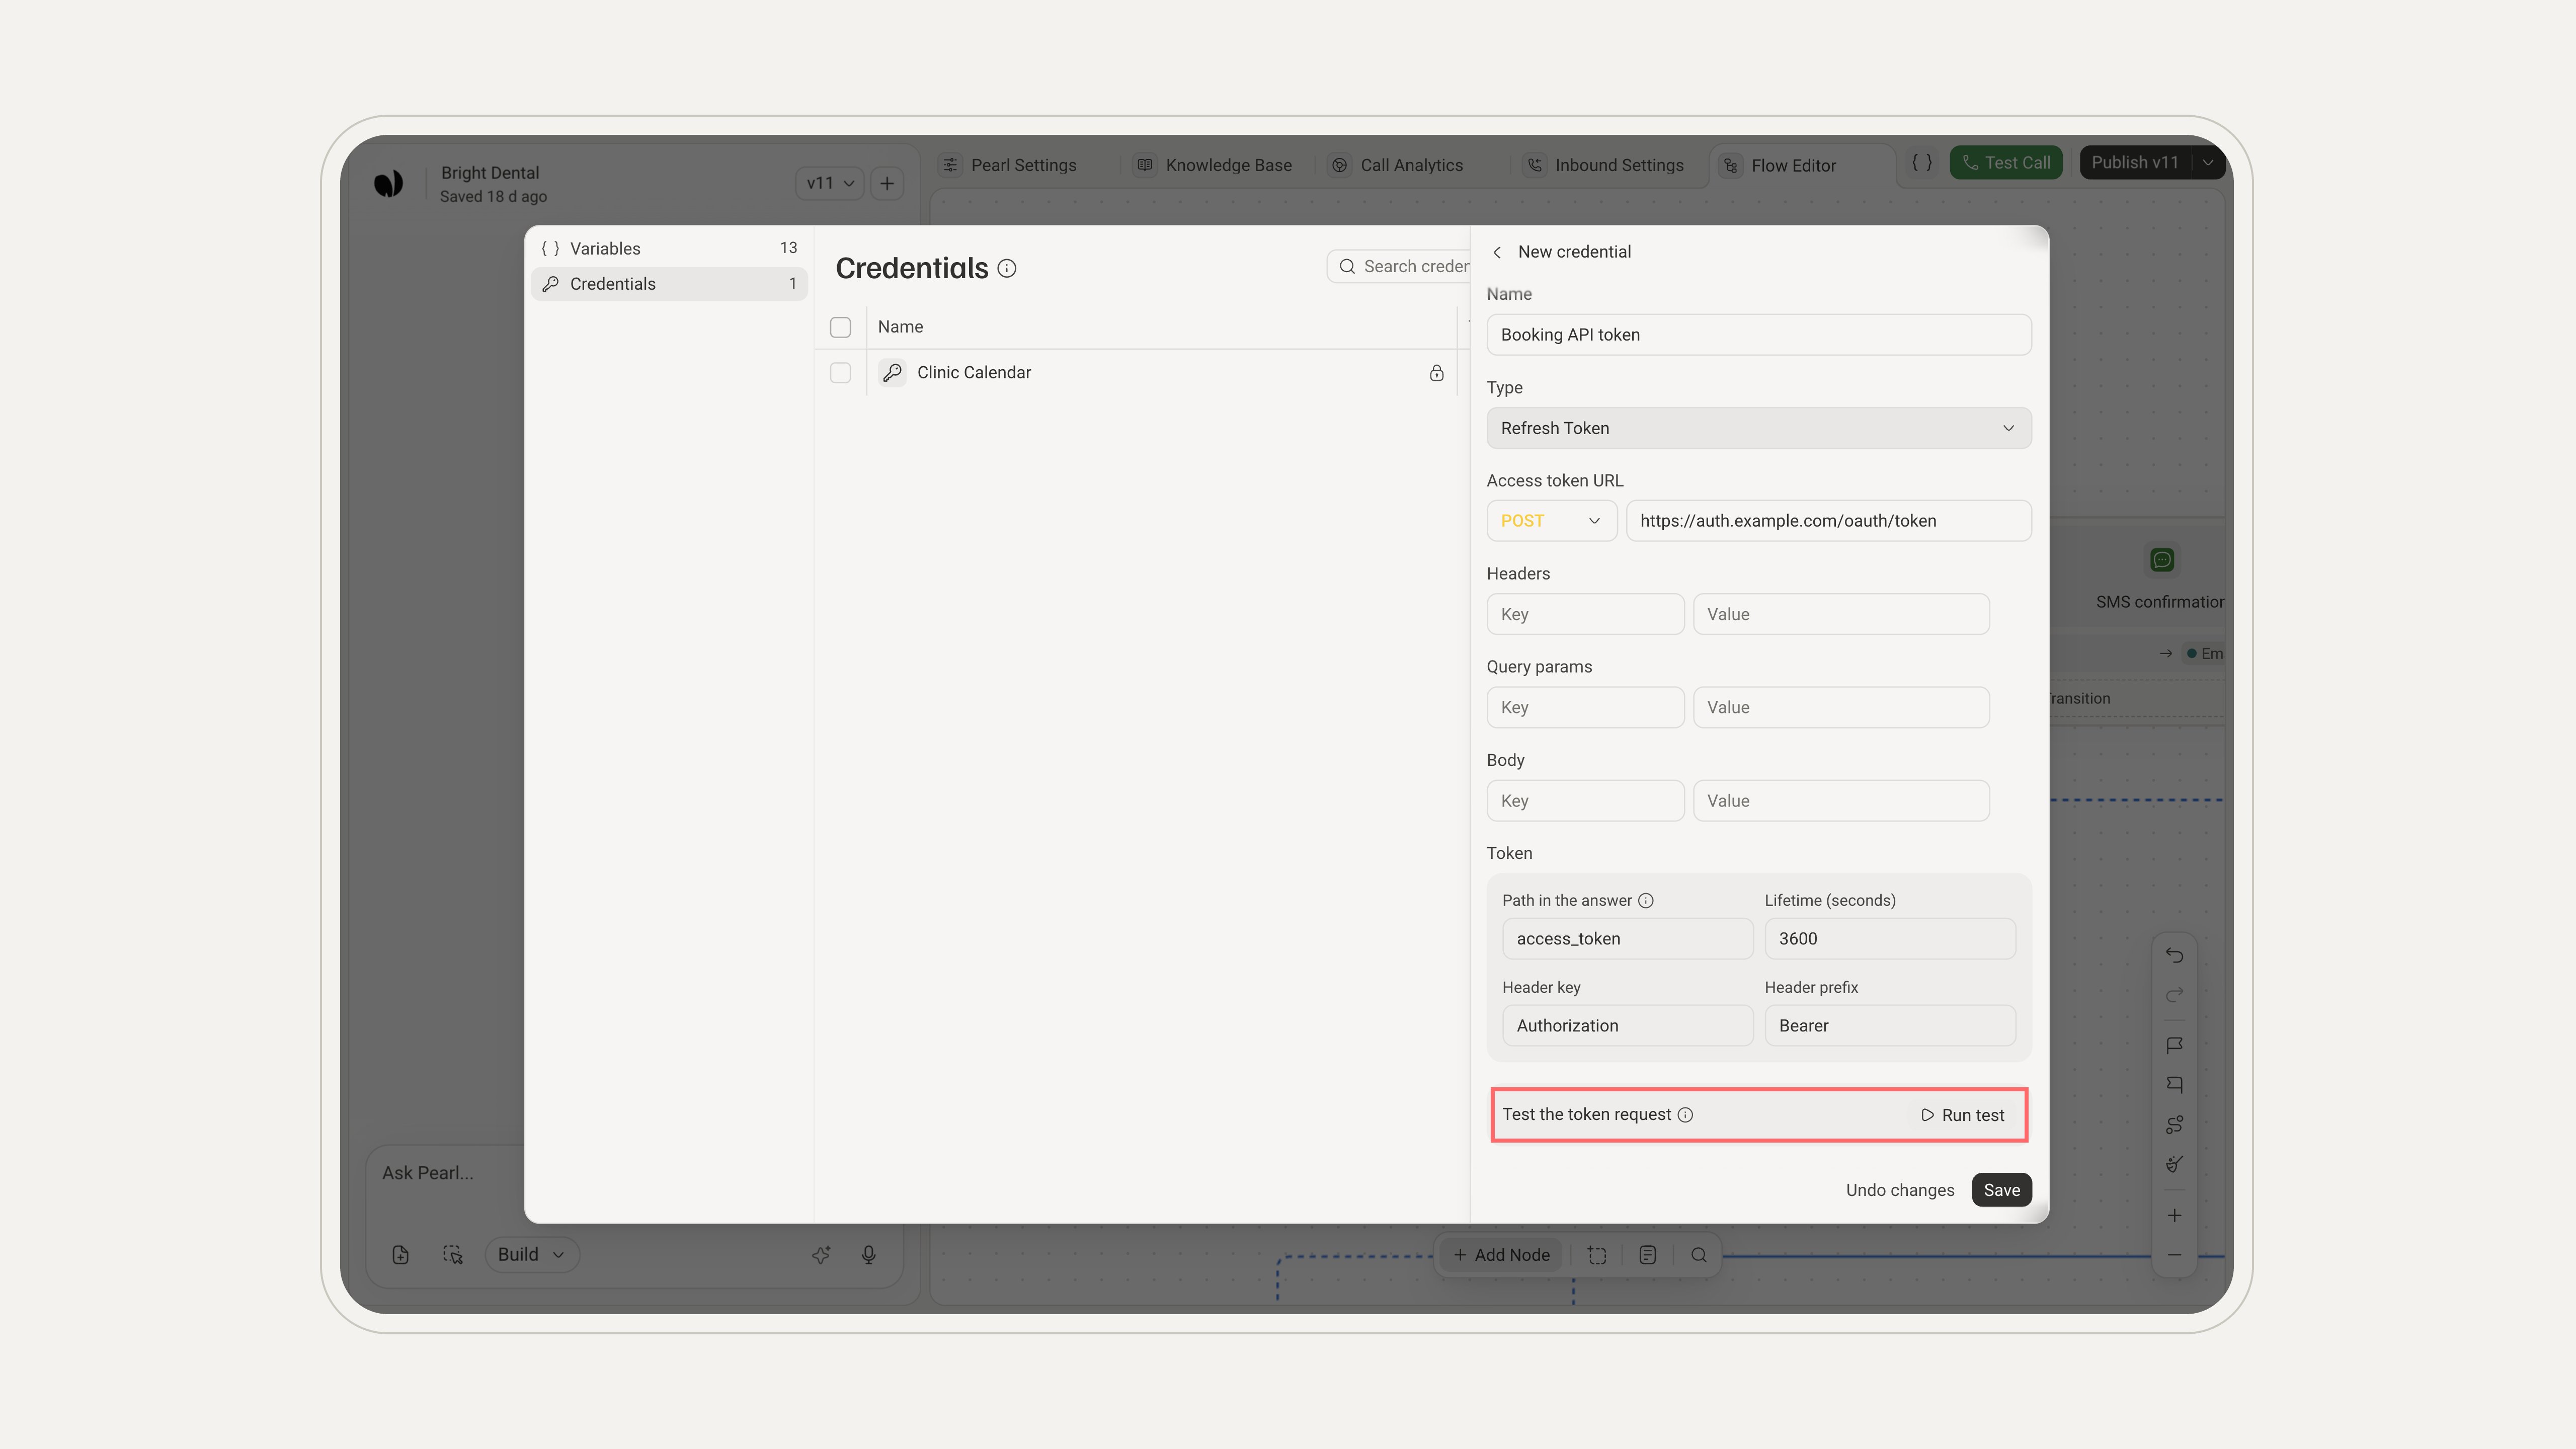
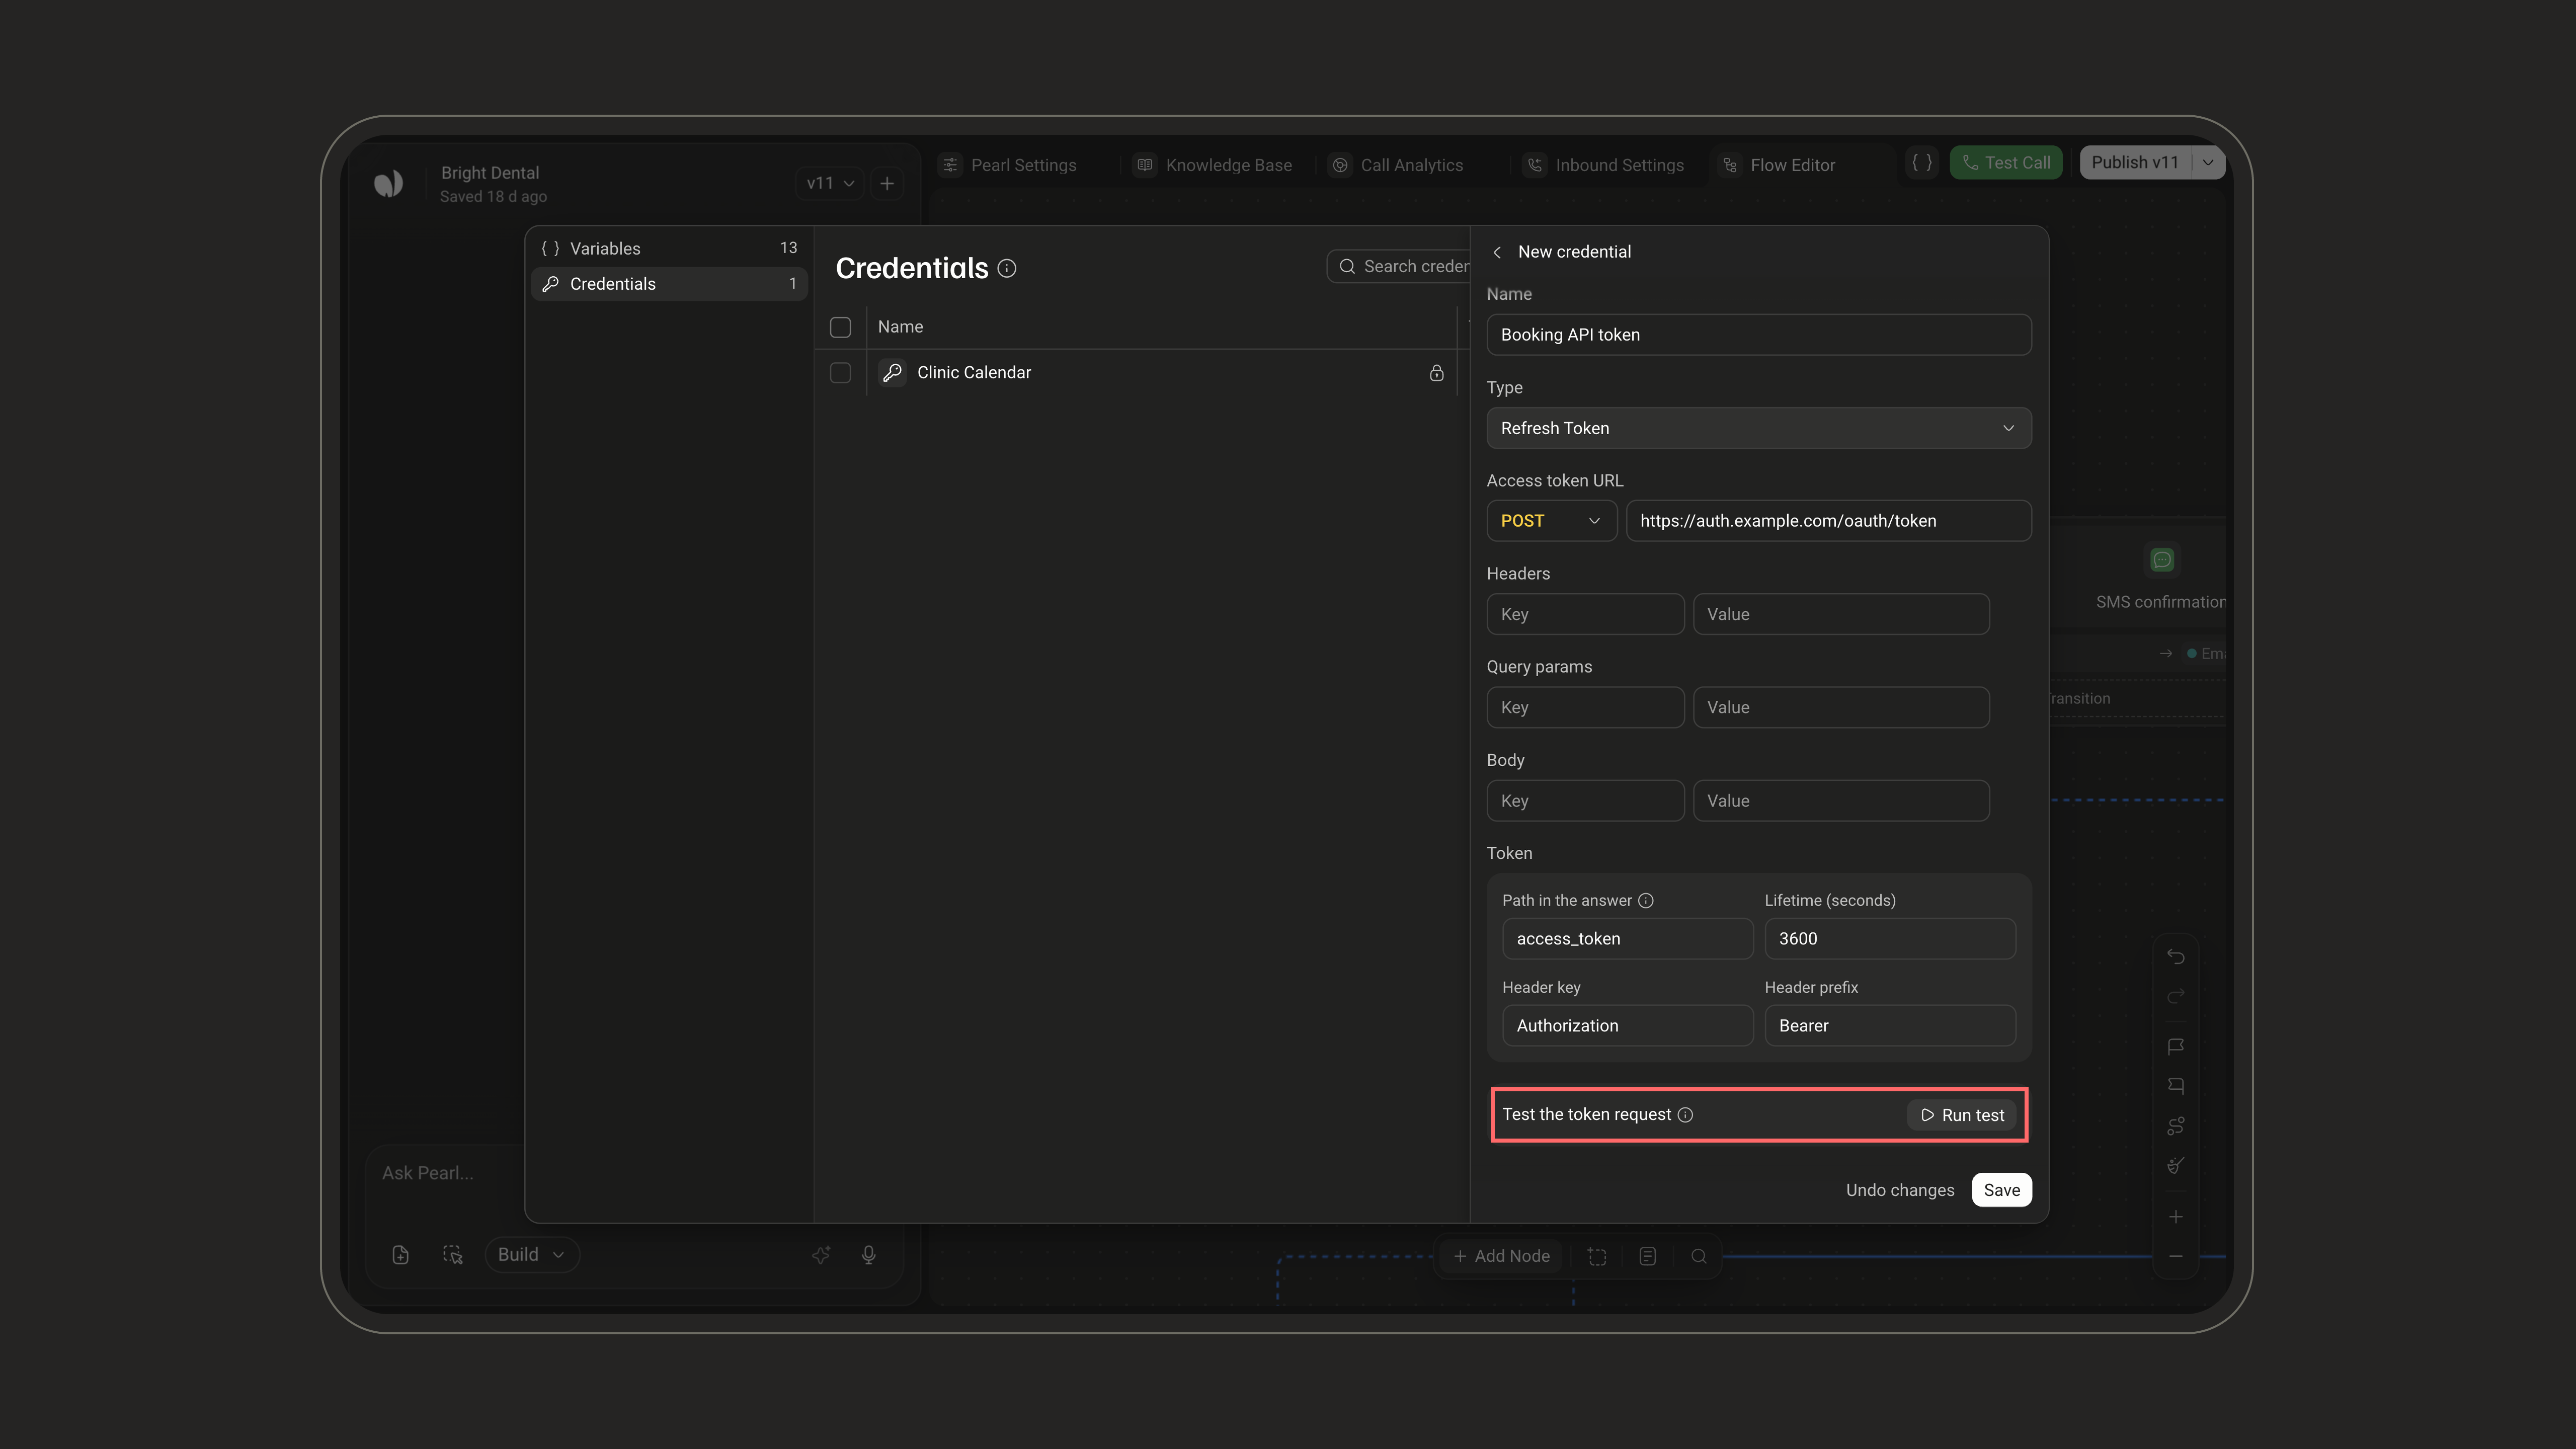
In Test the token request, click Run test to call the token endpoint. The result shows Token ready with the token, how it is sent, and how often it is renewed, or what went wrong. If the token is somewhere else in the answer, a button offers to use the path it found. Then click Save.
Keeping a value out of sight
In a Refresh Token or Custom Api Key credential, keep a sensitive value, such as a client secret, out of the form: click the{ } button of a value (Insert a secured variable), add it as a secured variable (a key made of letters, numbers, - and _, and its value), and insert it as {its key}. Once saved, only its last two characters are shown.
Managing Credentials
Click a credential in the list to open it.- Edit: change its values, then click Save, or Undo changes to go back. Editing a connected account’s settings disconnects it: click Reconnect afterwards.
- Reconnect: sign in to the account again, for example after its access was revoked.
- Delete: in the … menu, click Delete credential, then confirm. To delete several at once, tick them in the list and click Delete.
Using Credentials
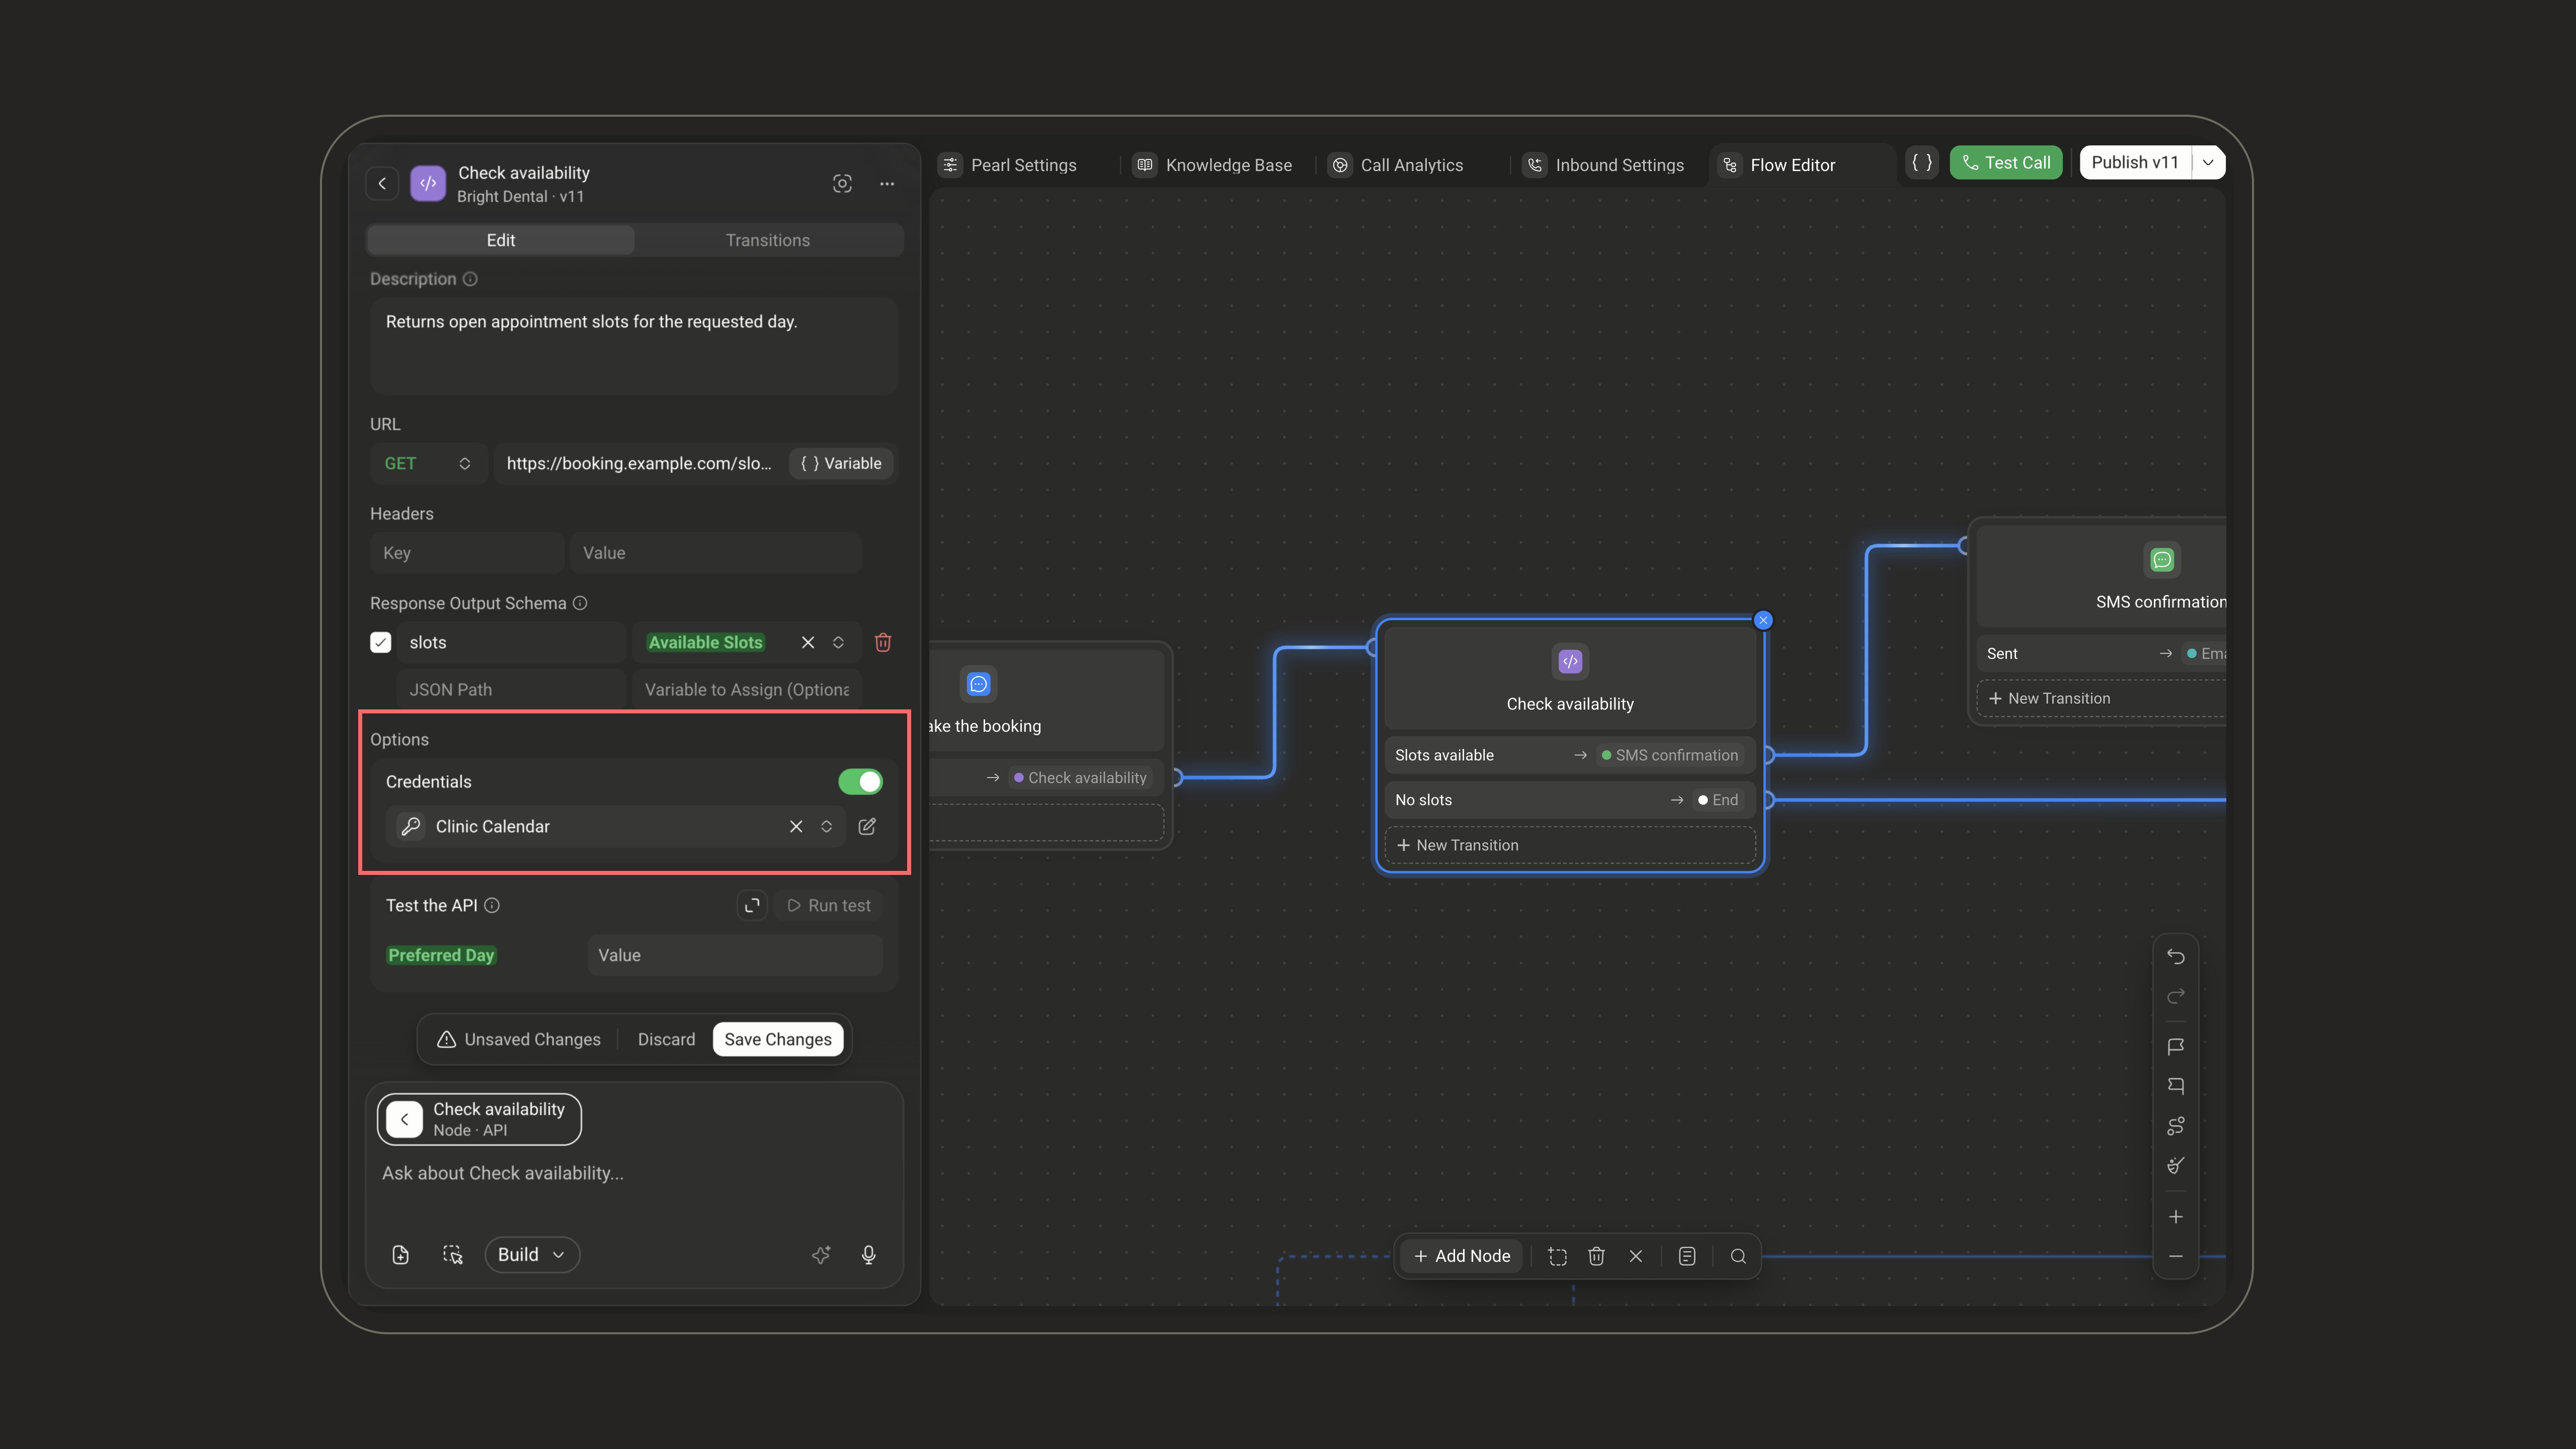
In an API node
In the node’s Options, turn on Credentials and pick one in Token. Add New opens your Pearl’s credentials, and the pencil next to the selected one (Edit) opens its settings. See API node.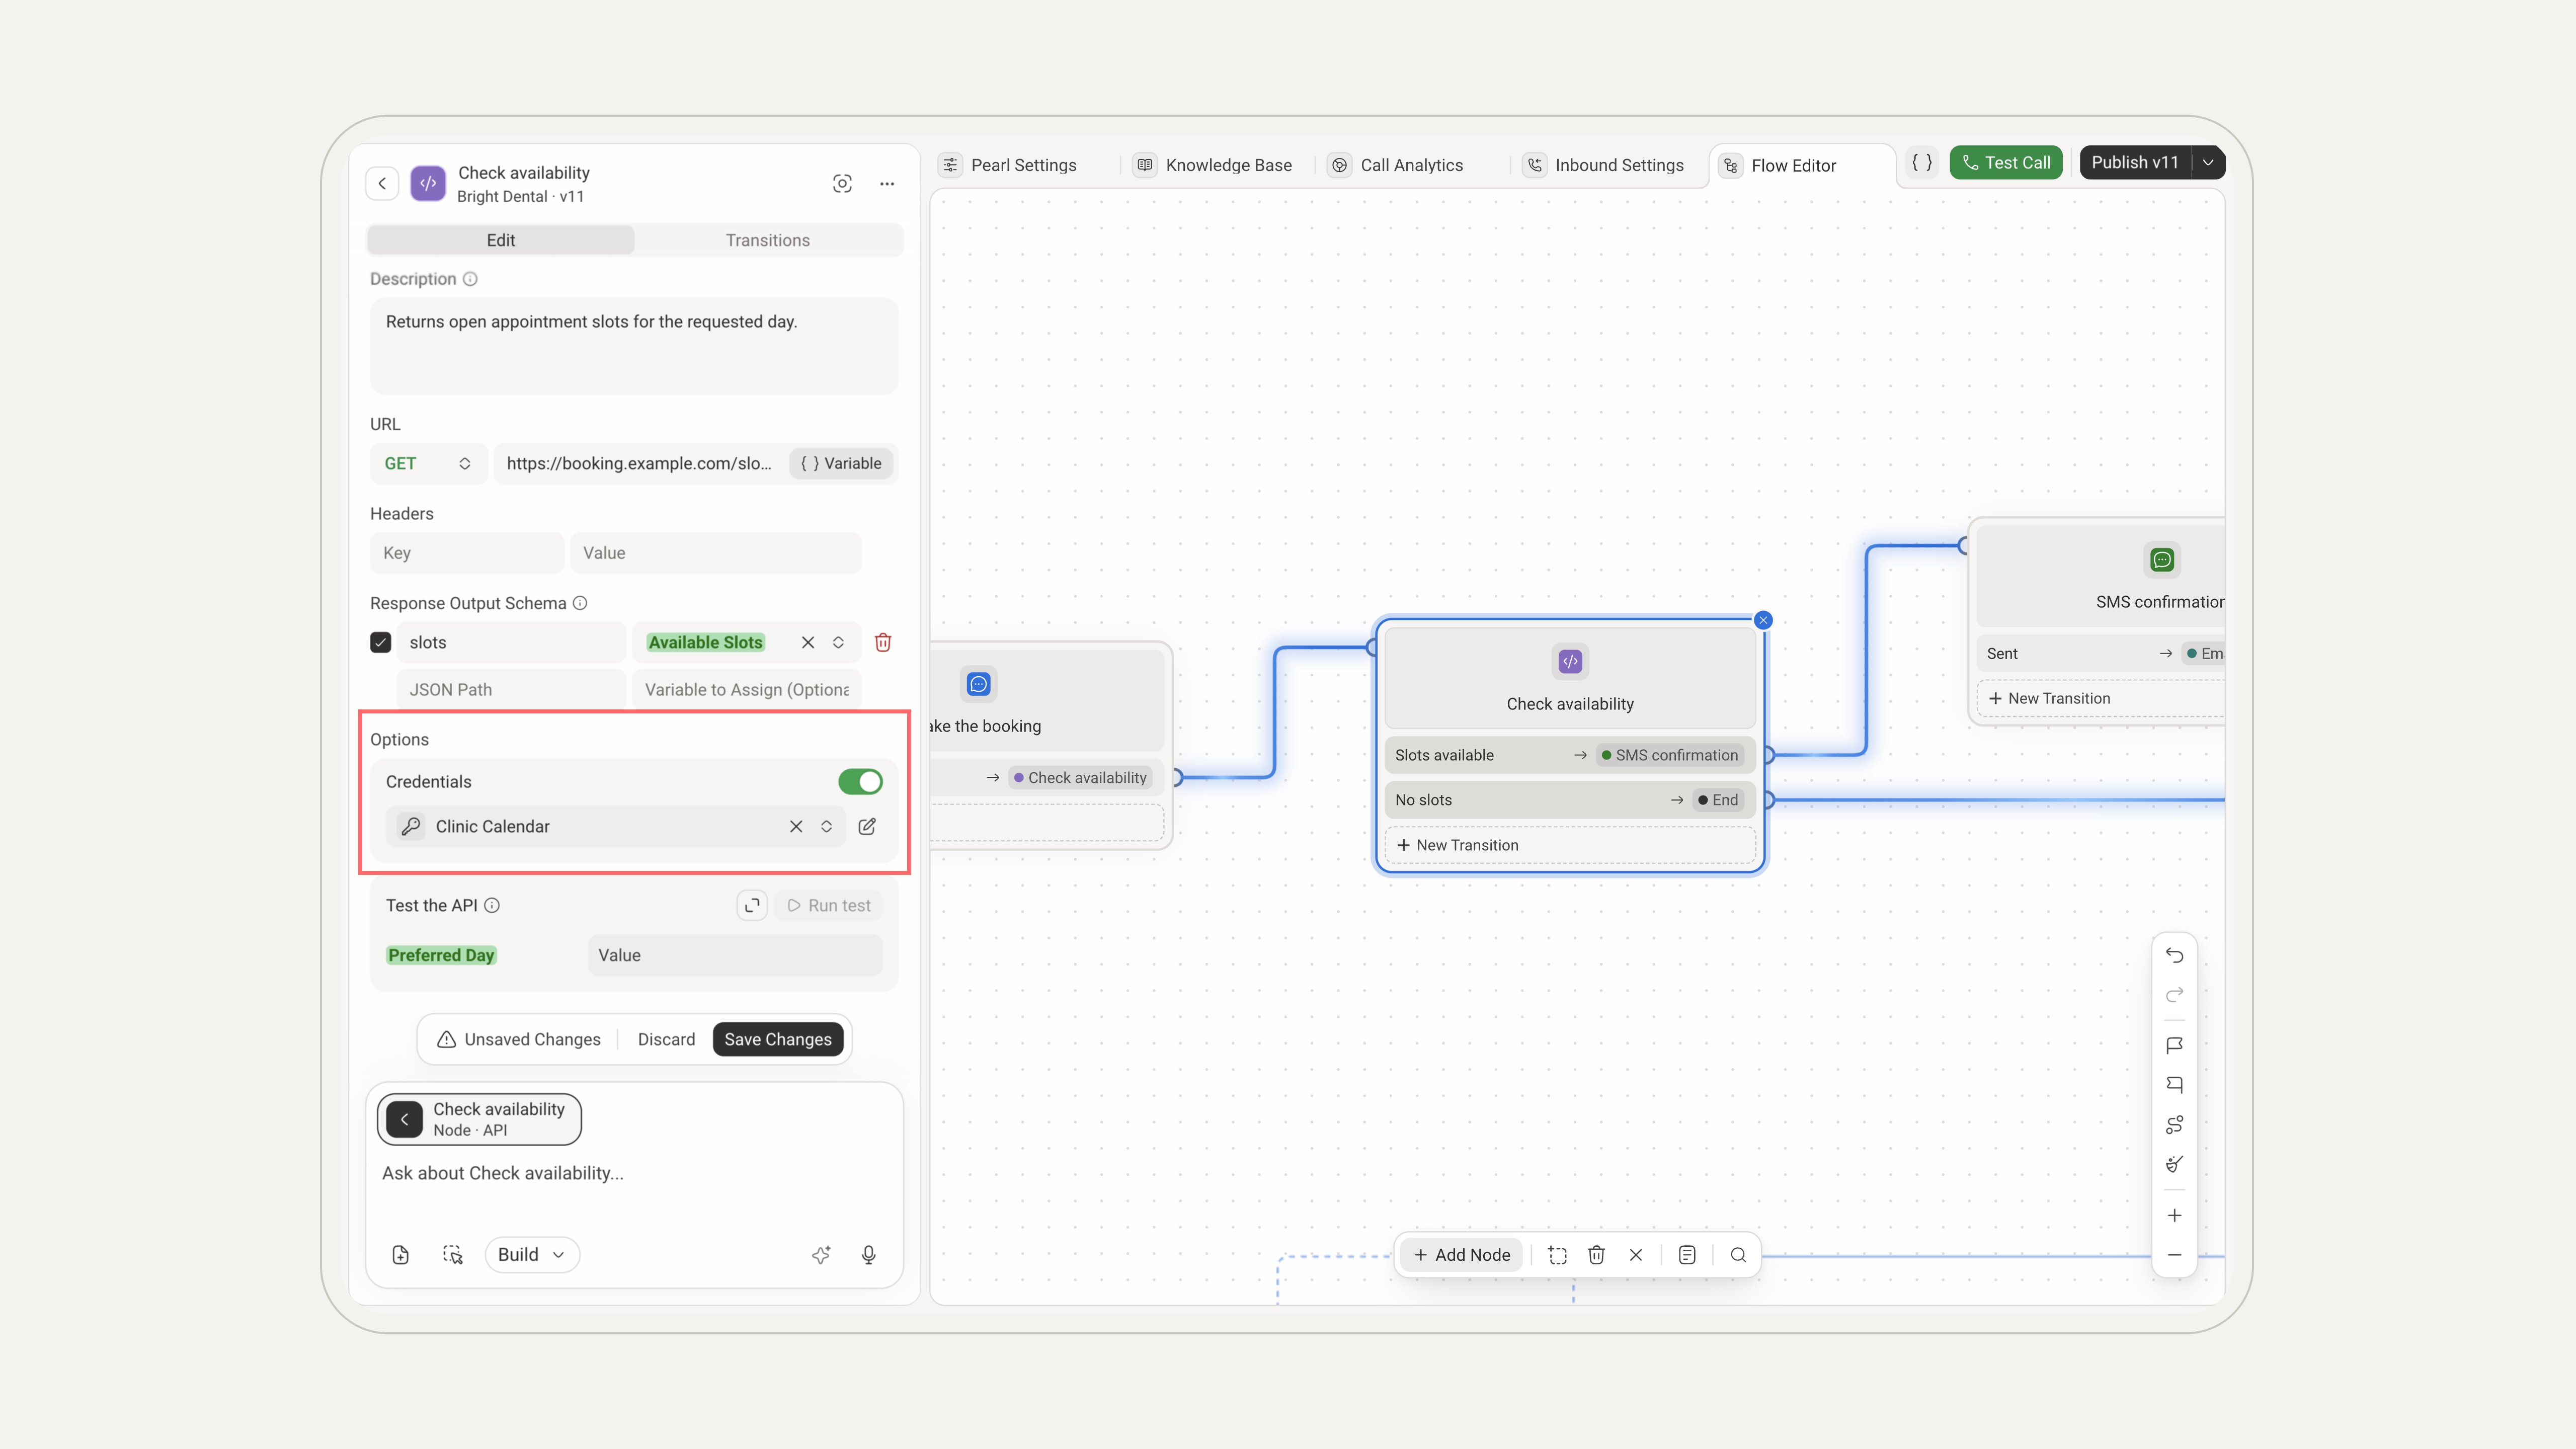
In an integration node
In the Add Node picker, the Integrations section lists the whole catalog, and marks Connected the integrations your Pearl already has a credential for. Picking one adds a node that uses that credential, or creates the credential if there’s none yet.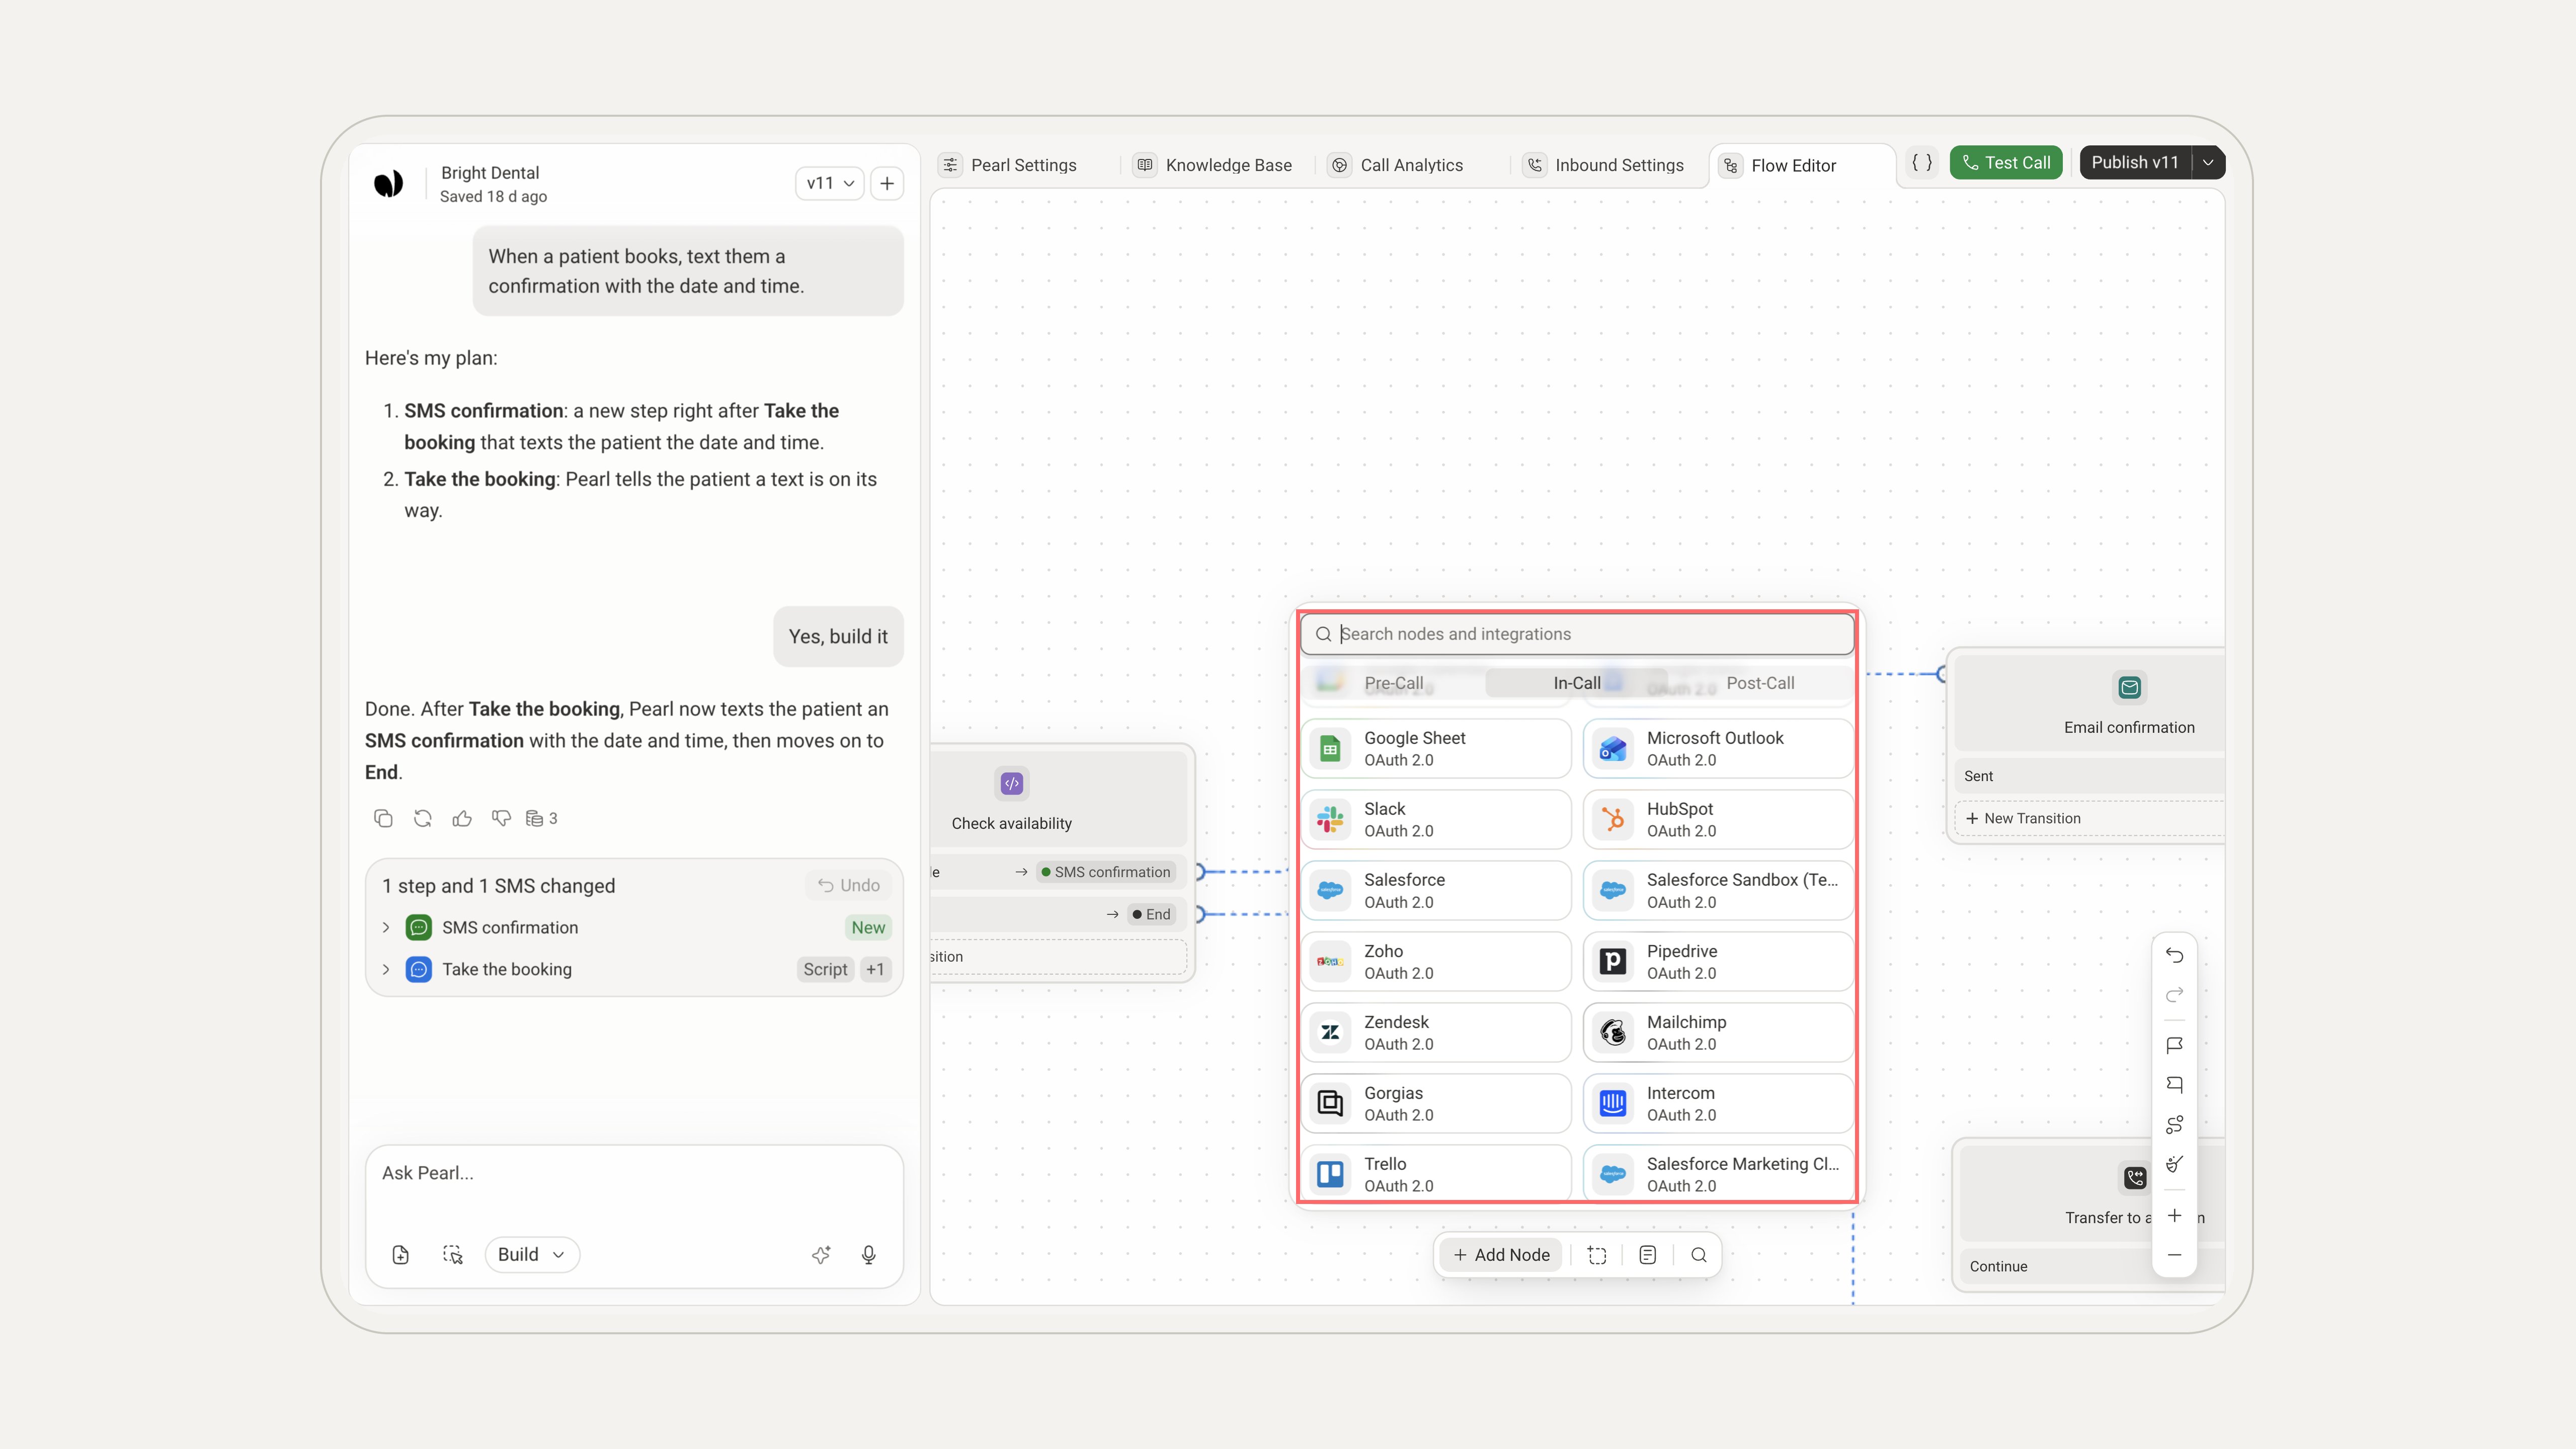
With PearlVibe
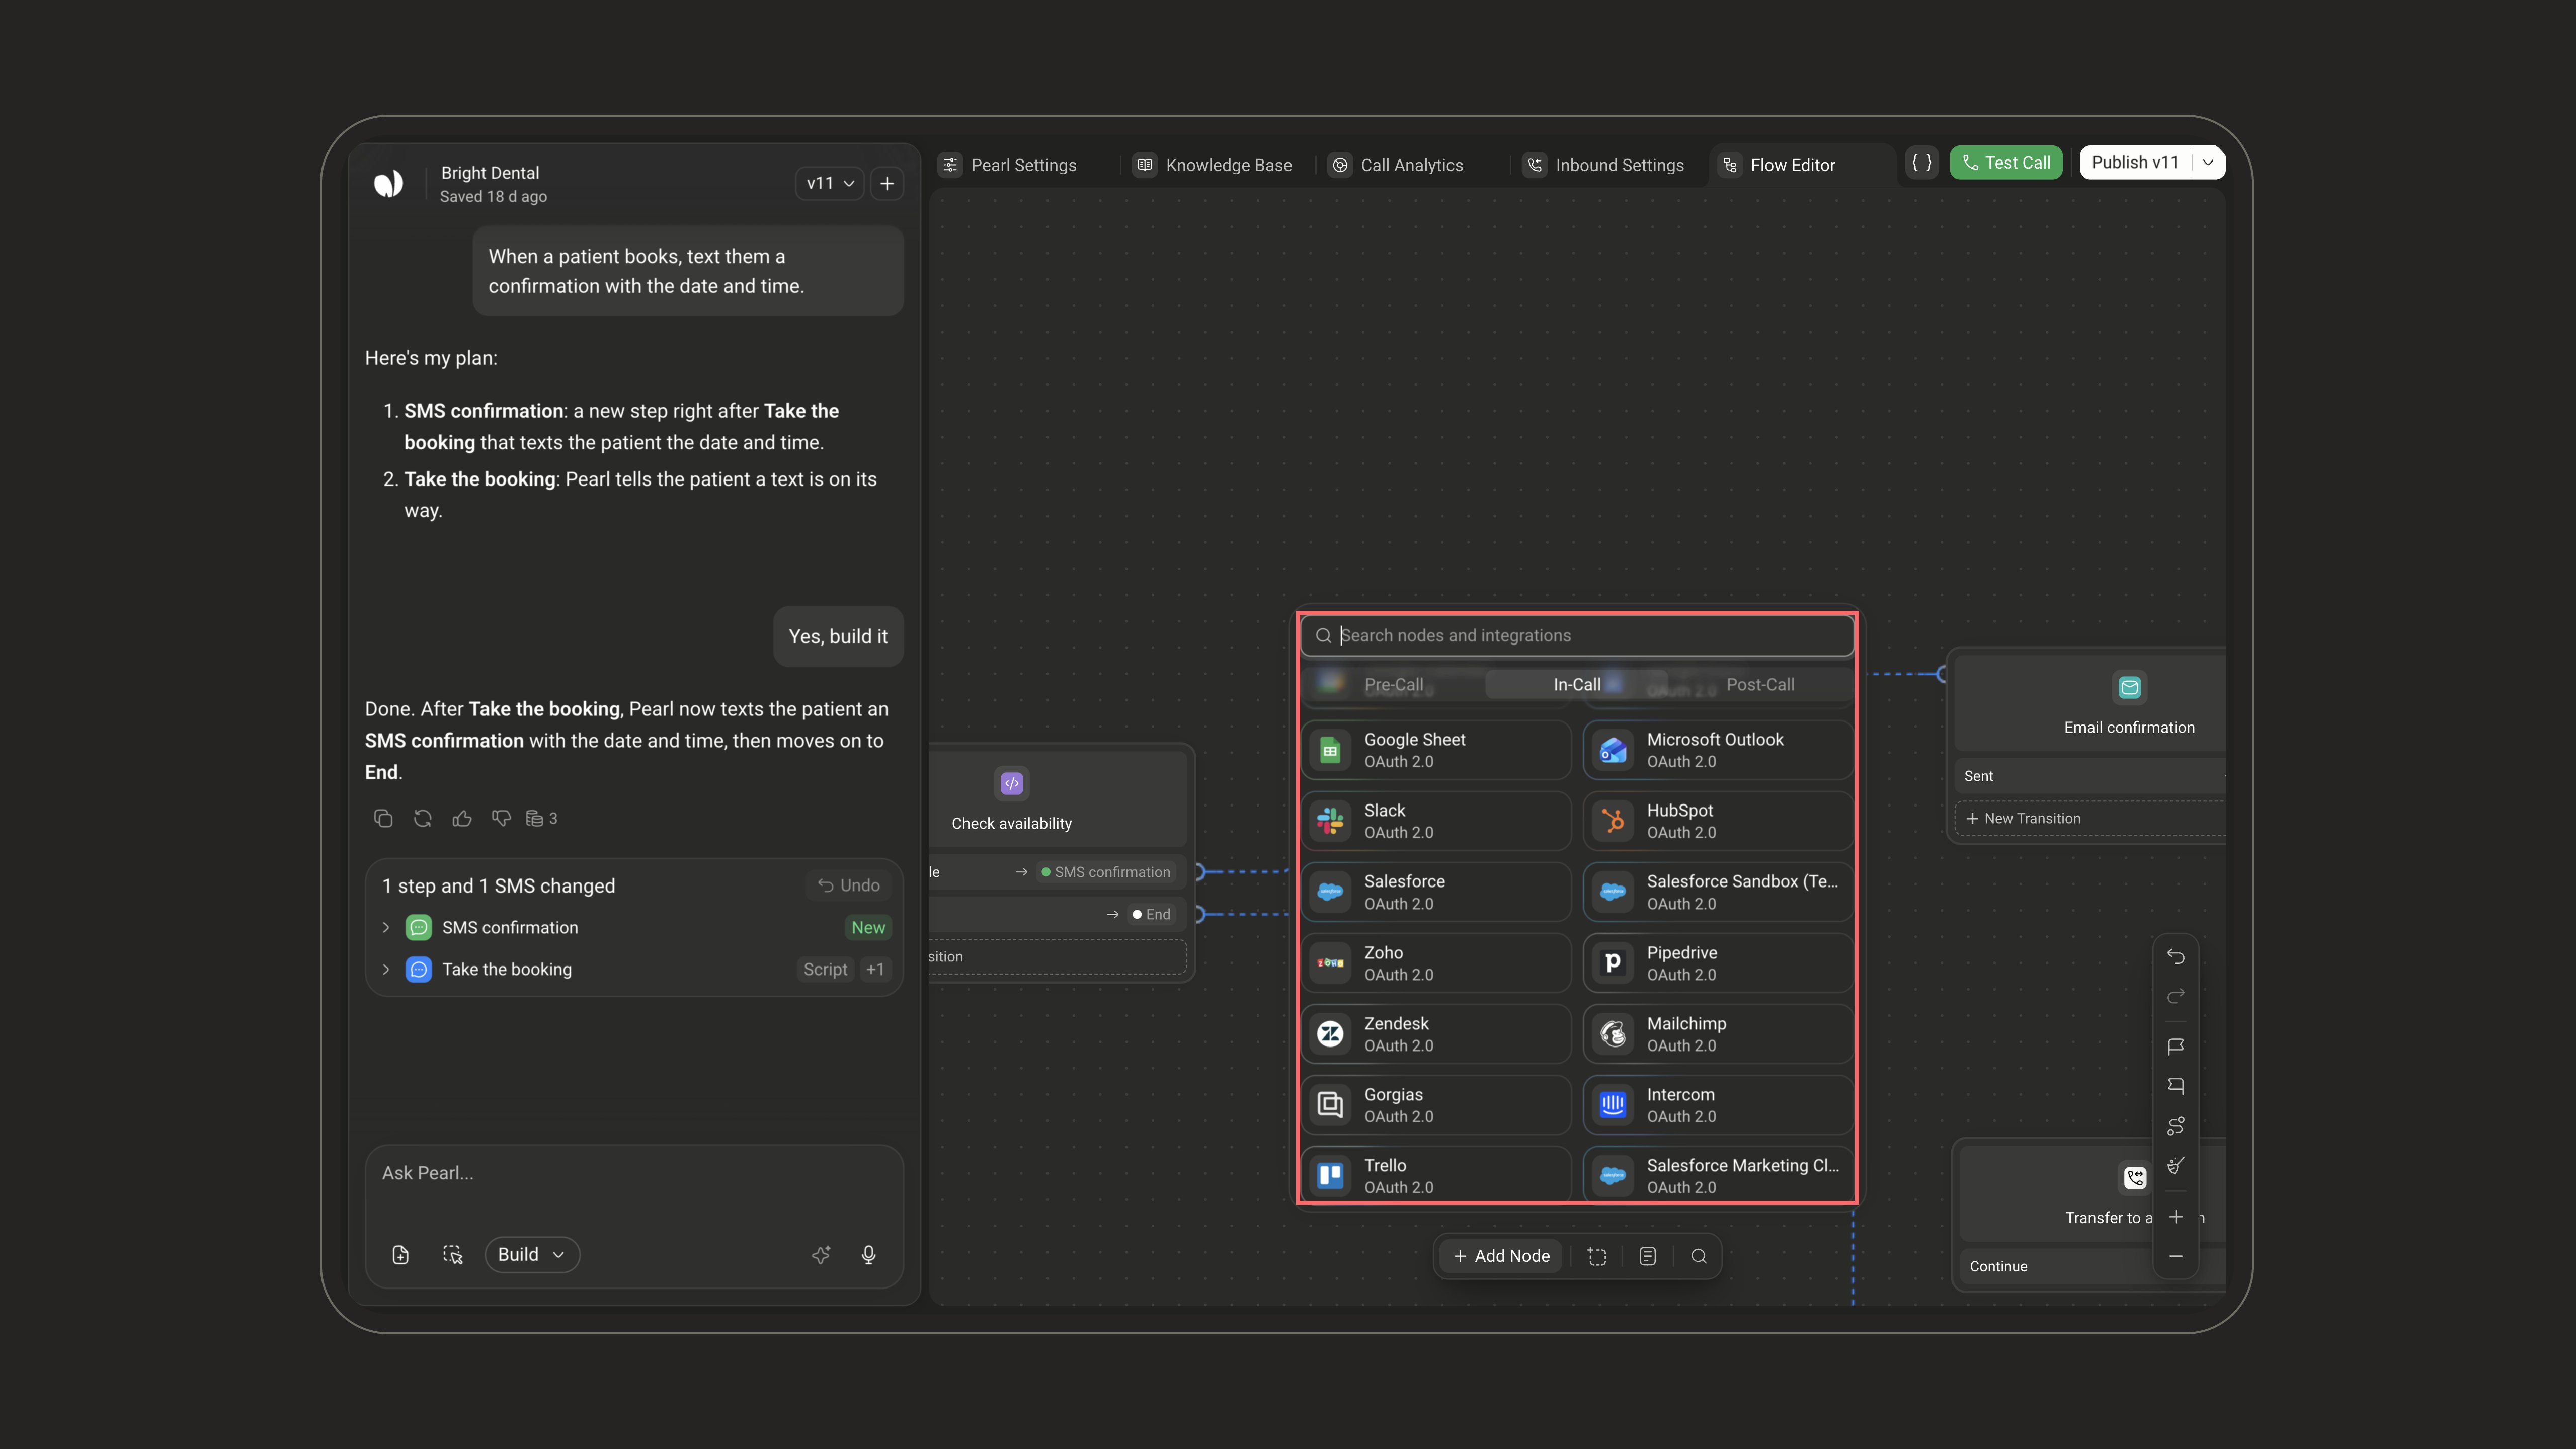
When PearlVibe builds a step that needs an account, it asks for it in the chat with a card: Connect Your … Account for an account you sign in to, or Set Up Your … Account for keys. Click Connect and sign in, or fill in the keys and click Save; Dismiss skips it. If the sign-in window closes before you’re done, click Ask Pearl next to Having trouble? and PearlVibe helps you.When a credential fails during a call
If the platform can’t get a token (an account to reconnect, a token request that fails), the API request isn’t sent. The node then behaves as if the API had failed, and the error appears in the call’s events. Publishing is also blocked while a credential used by a node isn’t Ready: the errors panel lists it under Credentials, with a button to connect it or fill it in.Frequently Asked Questions (FAQ)
What happens to credentials when I duplicate or transfer a Pearl?
What happens to credentials when I duplicate or transfer a Pearl?
The copy gets the same credentials, values included, whether you duplicate the Pearl or transfer it to another workspace.
What happens when I copy nodes to another Pearl?
What happens when I copy nodes to another Pearl?
Credential values never travel with copied nodes. On paste, each node keeps its credential if the target Pearl has it, or takes the target Pearl’s credential for the same integration. Otherwise, you’re asked to Choose a credential again on those nodes.
Can two credentials have the same name?
Can two credentials have the same name?
Yes, but give each one a clear name (for example
Stripe production and Stripe test) to pick the right one in your nodes.How do I use a credential in the API?
How do I use a credential in the API?
GET /v2/Pearl/Credential/{pearlId} returns the Id and Name of the published Pearl’s credentials, never their values. Use an Id as the credential of an API action. See Get Pearl Credentials.Where are the credentials of the Email node?
Where are the credentials of the Email node?
The Email node doesn’t use these credentials: it sends through the email providers of your workspace. See Email node.