

Looking for the simpler scheme? An API key is one secret with full access
to your workspace, best for your own backend code - see API Secret
Key.
Overview
An OAuth 2.0 app is a credential with a client ID, a client secret you can rotate, and a set of scopes that decide exactly what it may reach. NLPearl implements the client credentials grant: the app authenticates with its own credentials and receives an access token limited to the scopes you granted it. There is no redirect, no login screen and no end user in the loop - it is machine-to-machine authentication.OAuth 2.0 apps and API keys both live on the API Access page of your
workspace settings. Creating either one requires an active subscription.
Creating an OAuth 2.0 App
1
Open the API Access page
Click your profile card at the bottom-left corner of the sidebar, open Settings, then select API Access in the settings menu. You can also go there directly: platform.nlpearl.ai/app/settings/api.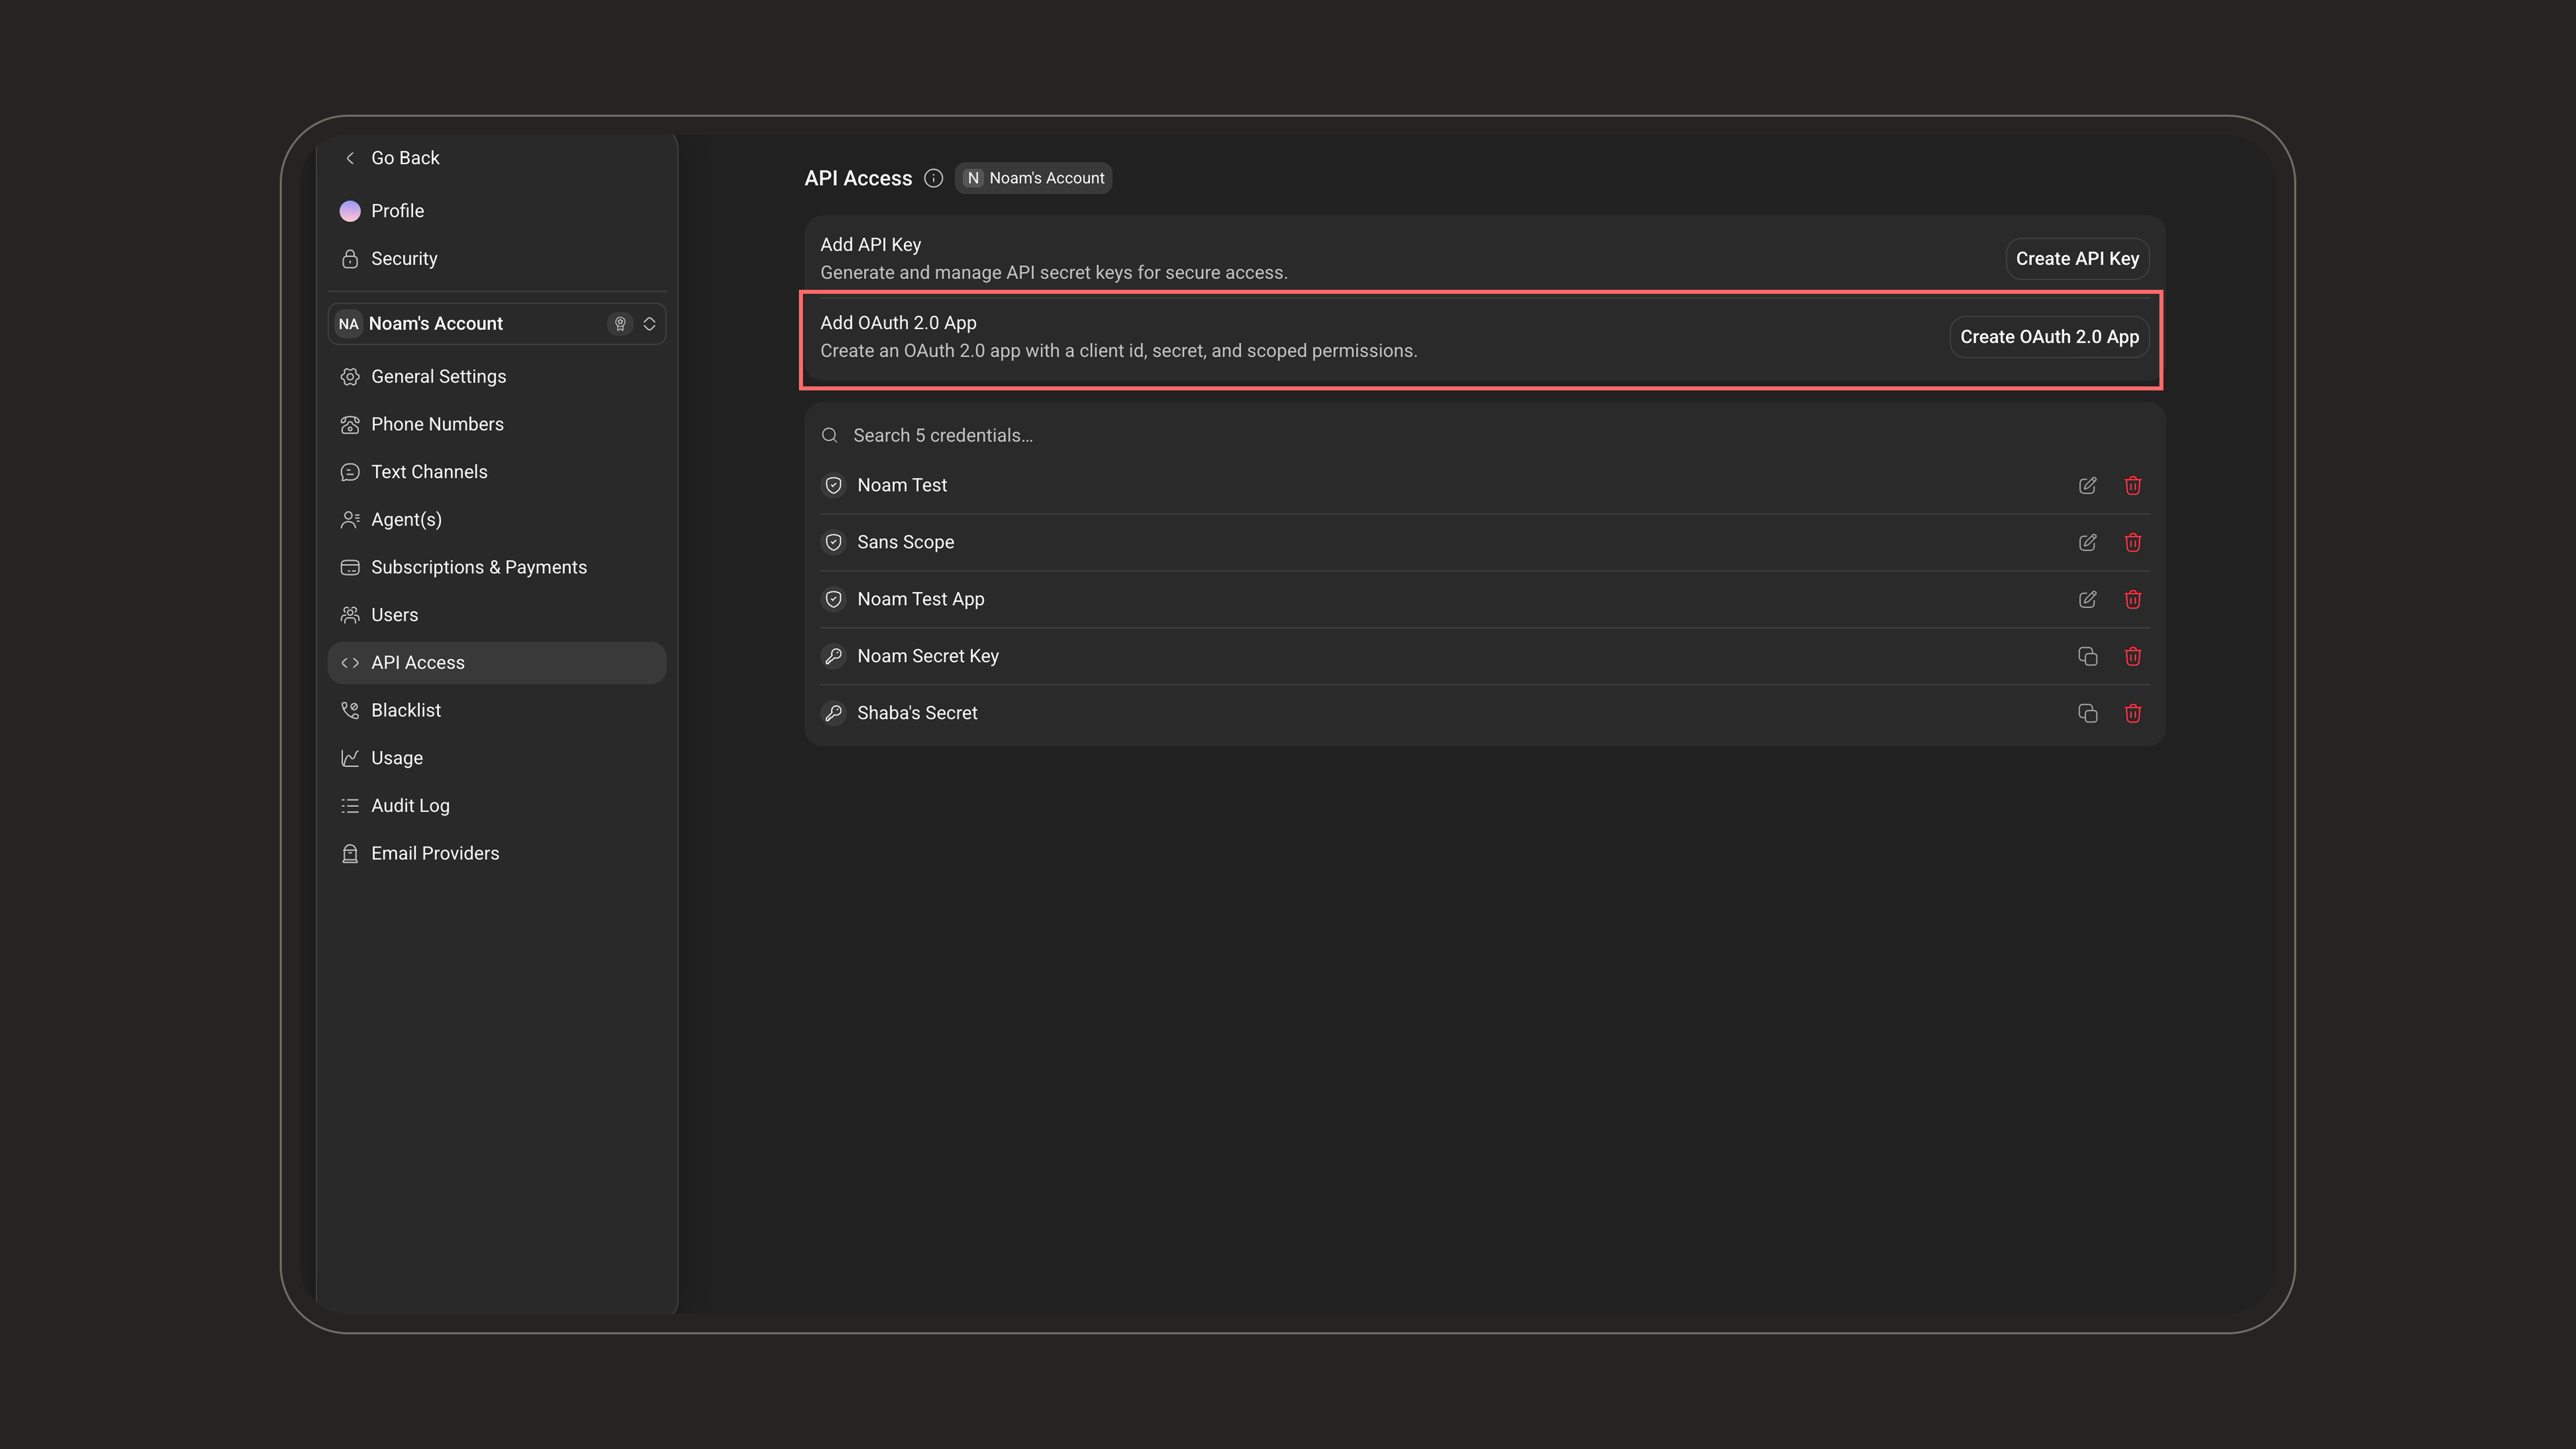
2
Add OAuth 2.0 App
Click Create OAuth 2.0 App. The window that opens holds everything the app
is made of: a Name, its Client ID and Client Secret, and the
Scopes it is allowed to use.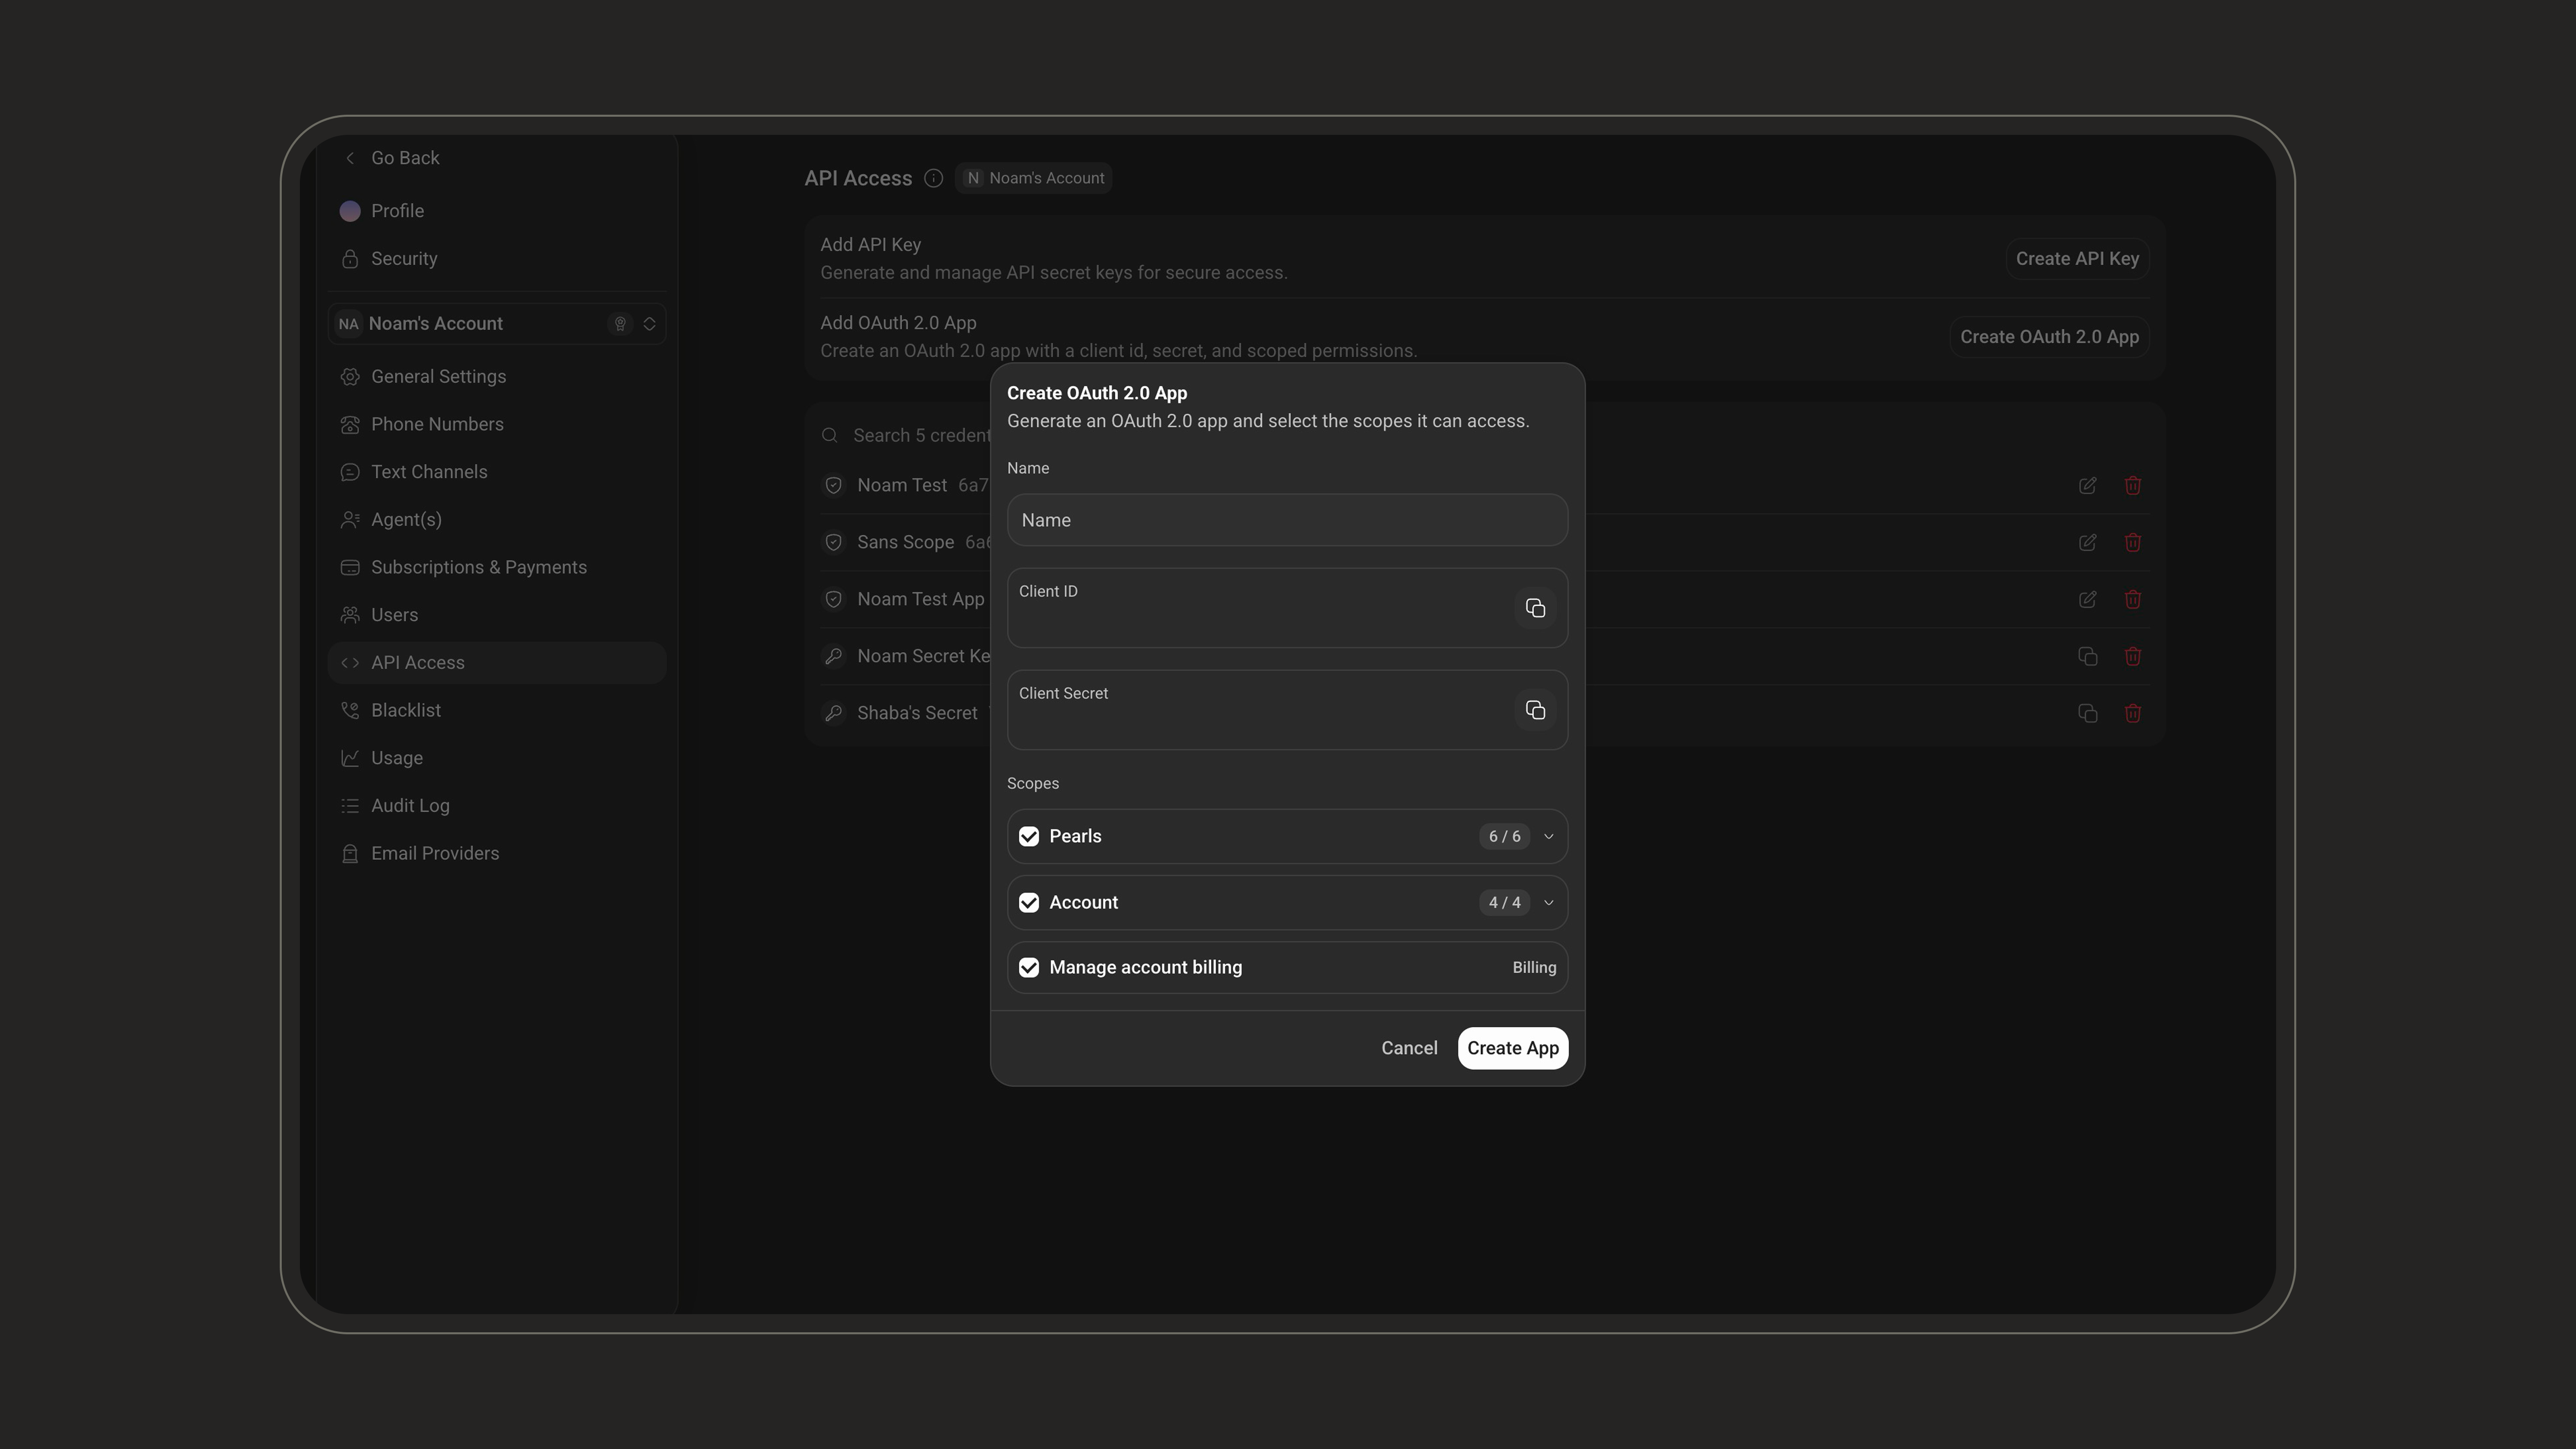
3
Name it and choose its scopes
Give it a name that identifies the integration. Then select its scopes,
grouped under Pearls, Account and Billing. Grant the fewest the
integration actually needs.
4
Copy the Client ID and Client Secret, then create
Both are already filled in, above the scopes - copy them and only then click Create App.
Requesting an Access Token
The token endpoint sits at the root of the API host. Unlike every other
Client API route, it is not under
/v2.Request parameters
Your credentials can be sent either in the request body or in an HTTP Basic header. Both methods are supported and issue the same token.
- Credentials in the body
- Basic authentication header
Also known as
client_secret_post.Response
There is no refresh token. When a token expires, request a new one with
the same credentials. Cache the token and reuse it for its whole lifetime.
Do not request a new one on every API call.
Calling the API
Send the access token as a bearer token on any/v2 endpoint:
There is no
AccountId: prefix here, unlike the secret key
scheme - the workspace the token belongs to is
already part of the token.Scopes
A scope is a permission. An app only reaches what its scopes allow; everything else is refused with403.
The tables below map every checkbox in the OAuth 2.0 App window - grouped Pearls, Account and Billing, exactly as the platform groups them - to the scope string it produces in the token.
Pearls
Any Pearls scope also grants
pearls:read. Every integration needs to
list Pearls to resolve their ids, so selecting View calls alone still yields
pearls:read pearls:calls - you will see it in the token’s scope.Account
GET /v2/Account/Voices sits under pearls:write, not under an account
scope: the list of voices is part of building a Pearl.Billing
Changing an app’s scopes
Open the app with the edit button, tick or untick scopes, then click Save Scopes.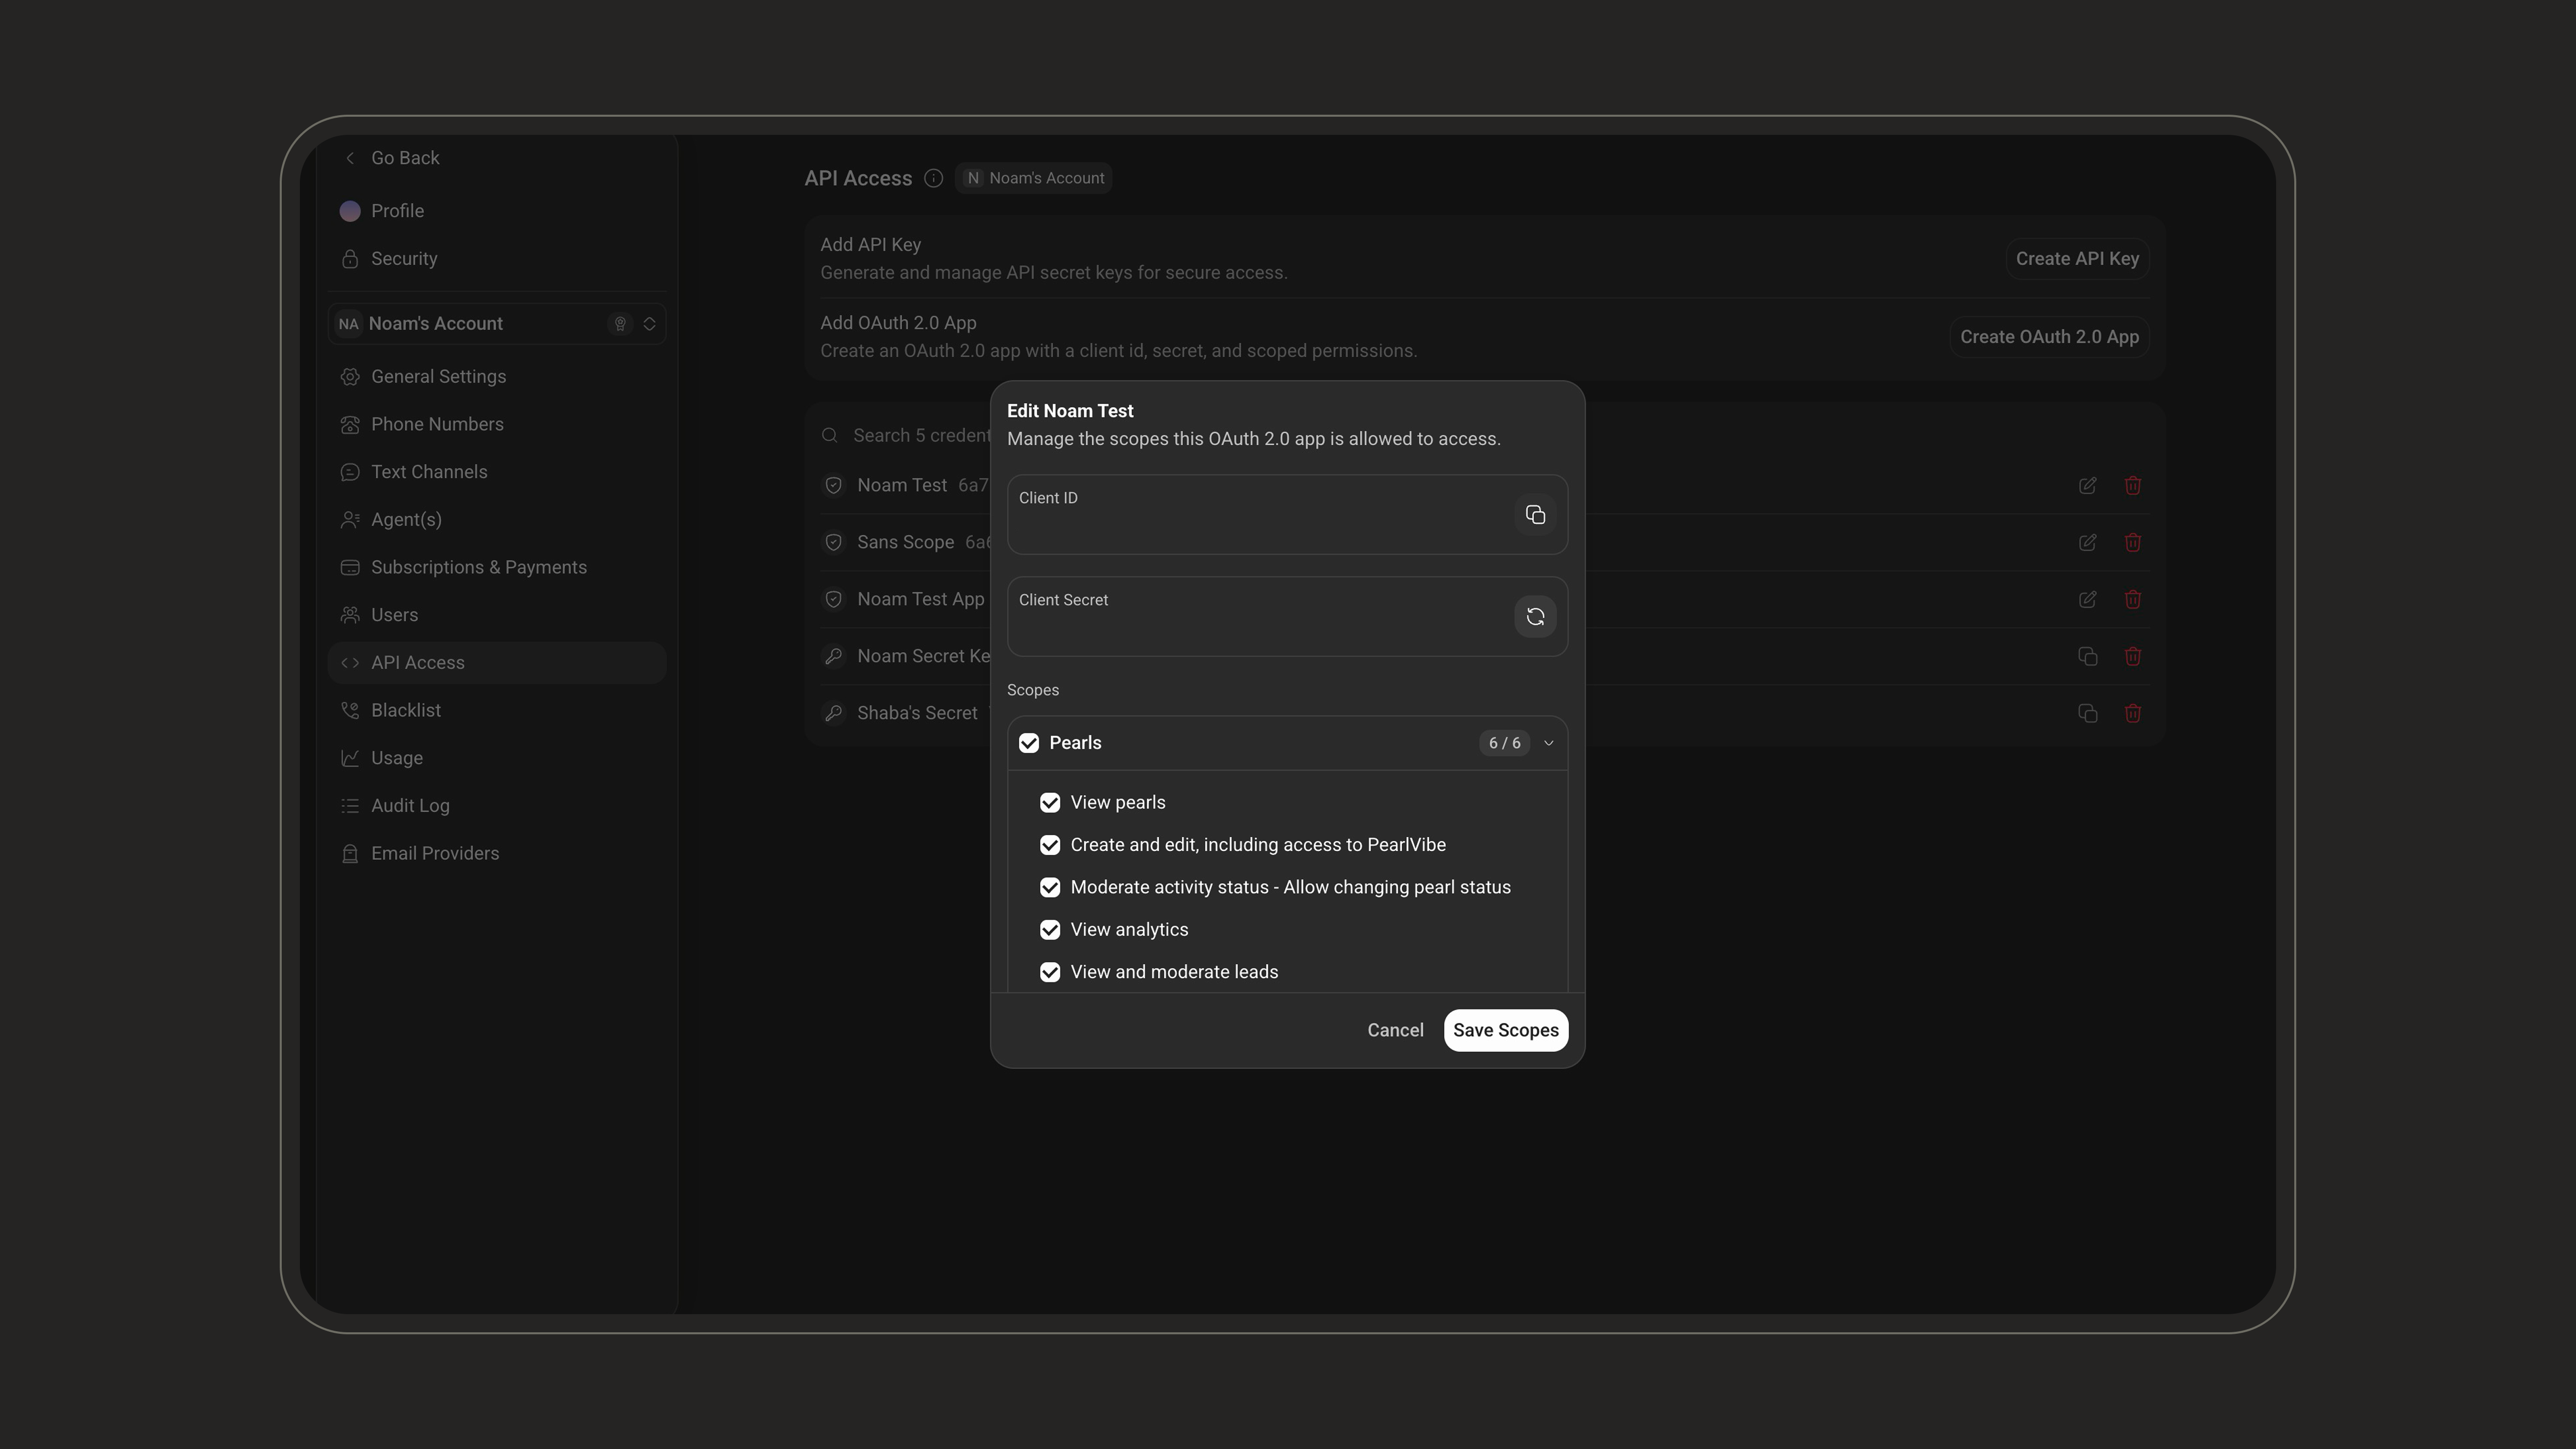
Errors
Token endpoint
Every error comes back as JSON:
API endpoints
A
403 carries a challenge header and a machine-readable body:
Rotating the Client Secret
Rotation replaces an app’s secret without changing its Client ID, its scopes, or anything else about it. Use it when a secret may have been exposed, or as routine hygiene.1
Open the app
On the API Access page, open the OAuth 2.0 app with the edit button.
2
Rotate the secret
Click the rotate button next to Client Secret.
3
Copy the new secret
The new secret replaces the masked one in the field - copy it before closing the window.
Token Format and Discovery
You do not need any of this to call the API, but it is there if your OAuth client expects it. Access tokens are RS256-signed JWTs. You can verify a token’s signature against the public keys published in the JWKS below.
Both are public and require no authentication.